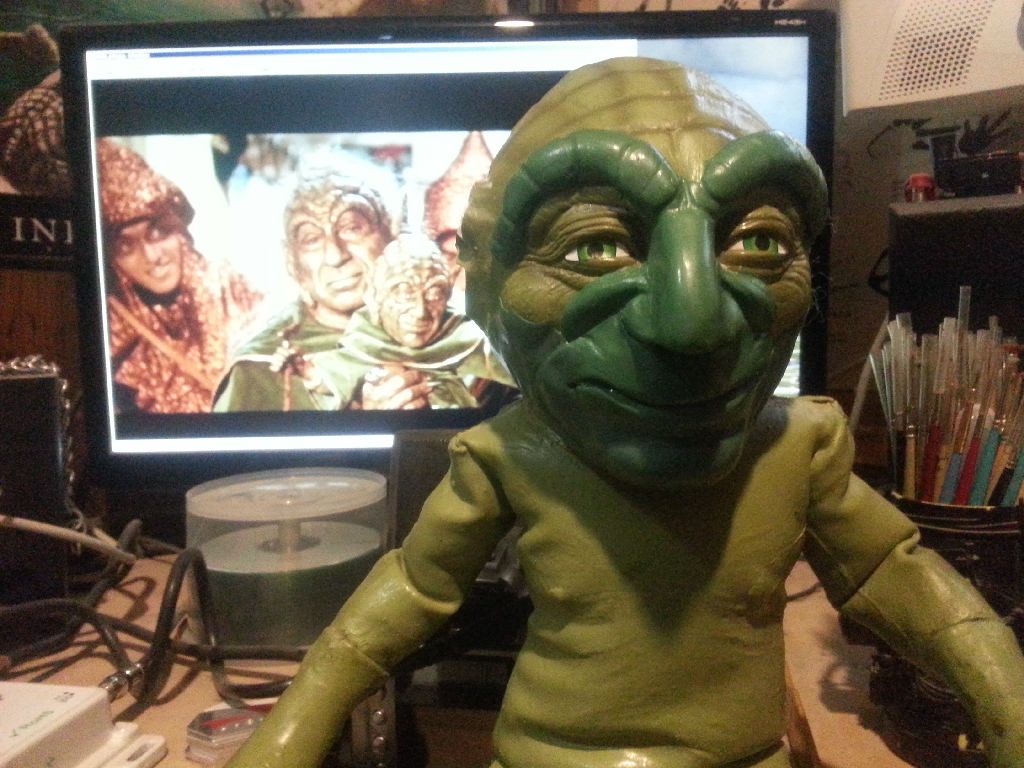
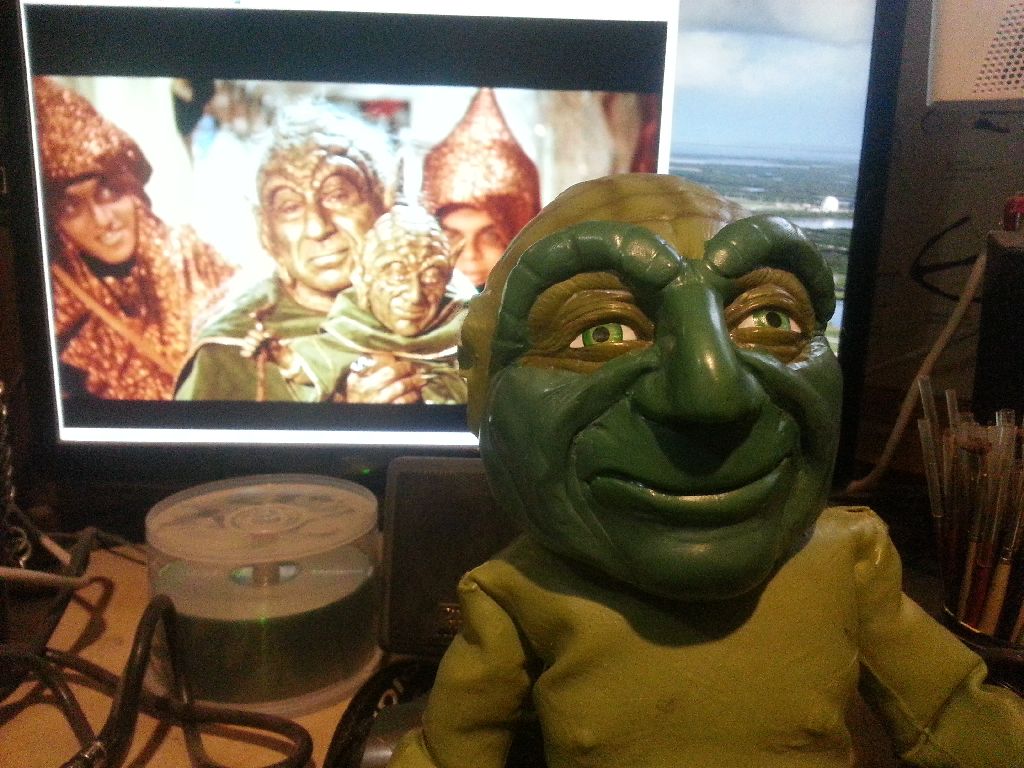
Bloody Plastic's Spaceballs the Yogurt Doll
So in early 2014 a friend of mine handed me a vinyl Disney Studios Yoda doll and a pair of costume pointed ears and asked me to make him a Spaceballs Yogurt doll. Always up for a challenge I accepted.

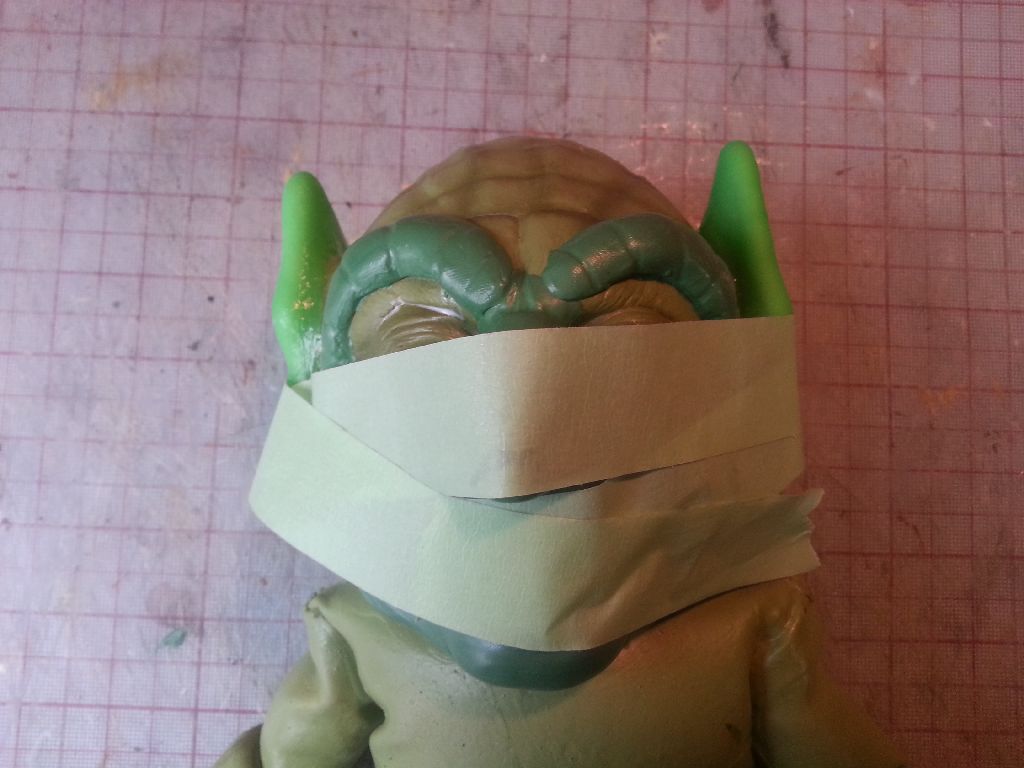
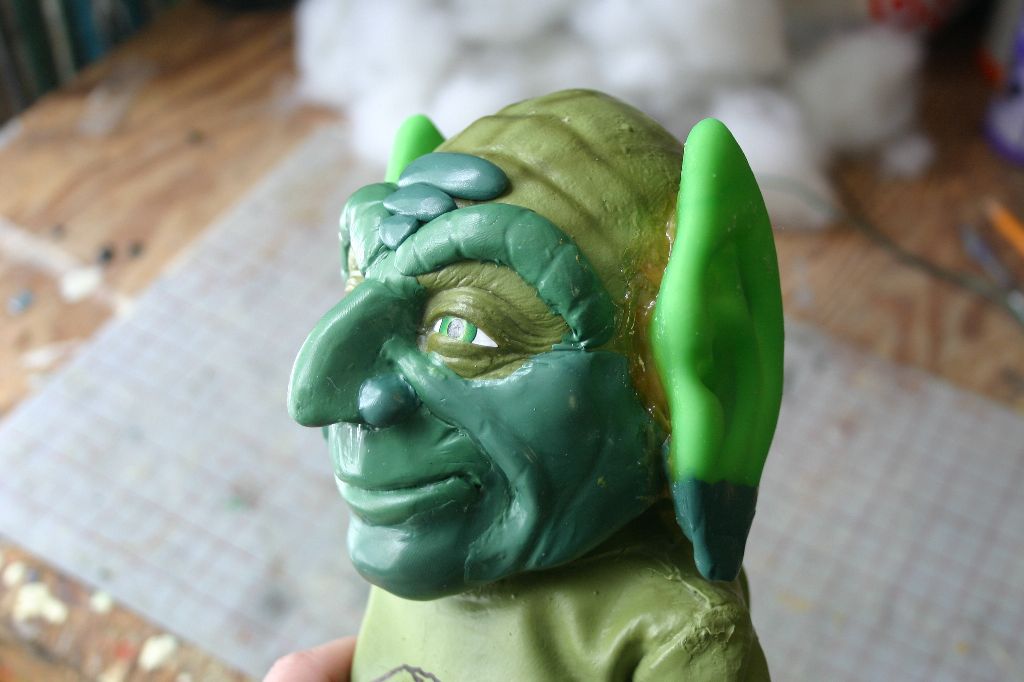
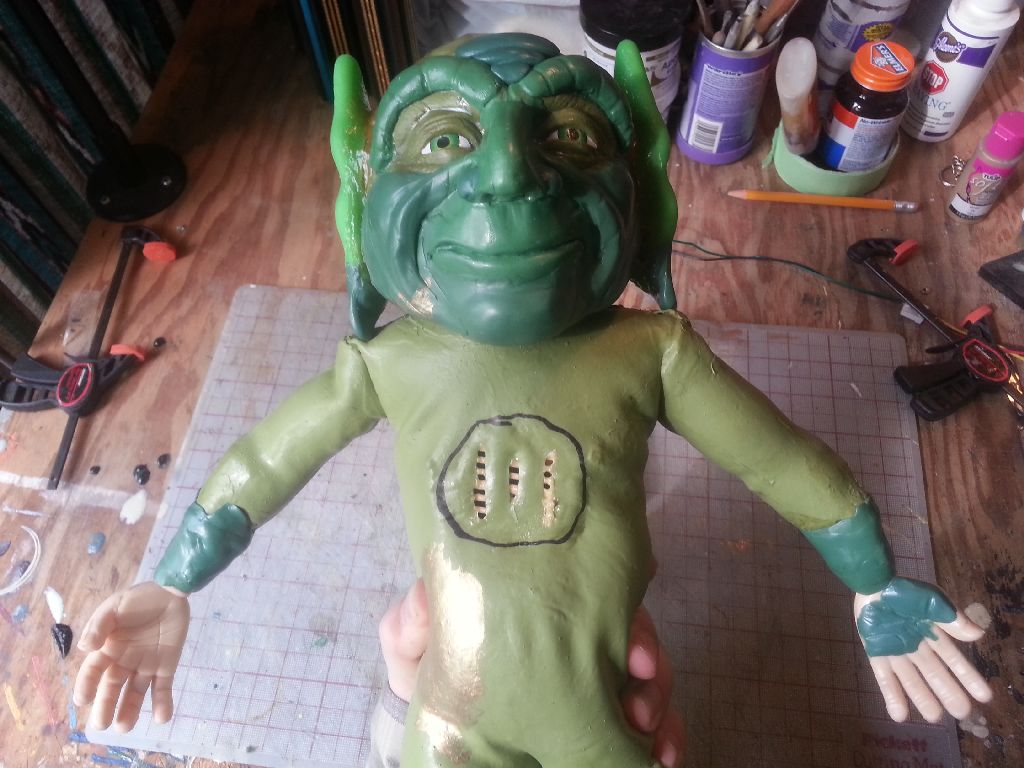
I started by cutting off the ears. I did a test with some Kneadatite green stuff modeling putty and found that it stuck pretty well to the vinyl.
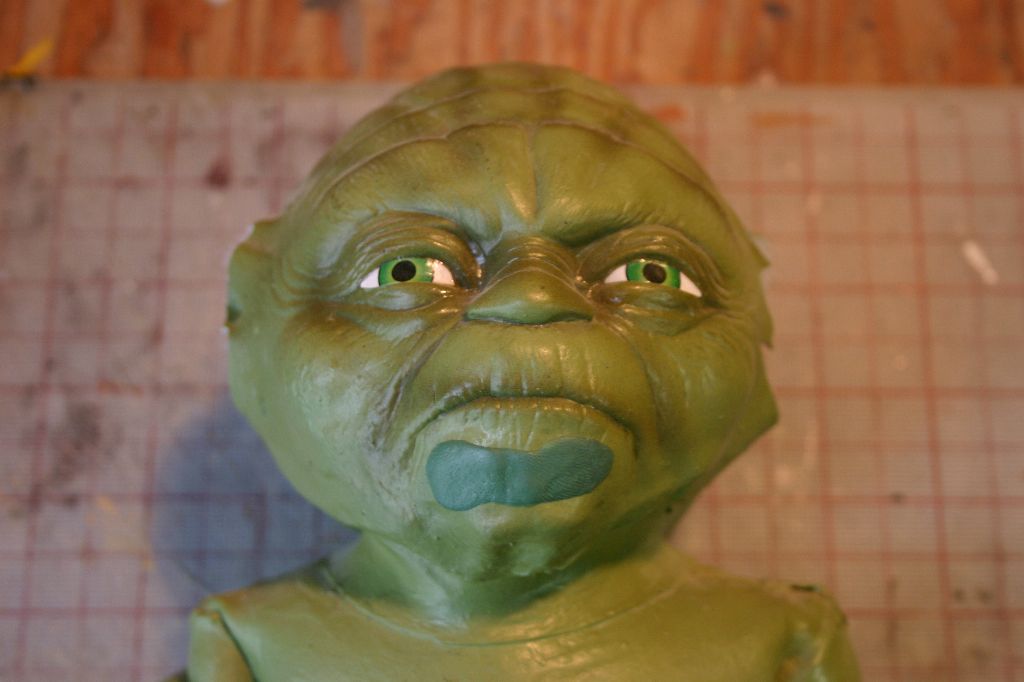
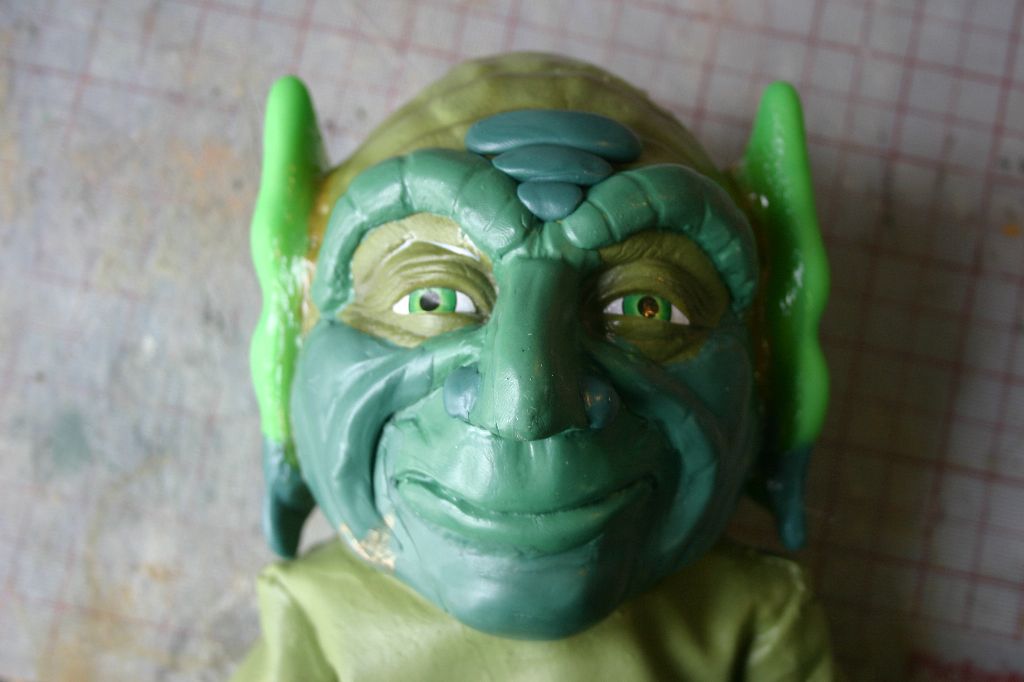
I then built up the face in sections. Green stuff has an 8 hour drying time so I could only do so much at once.

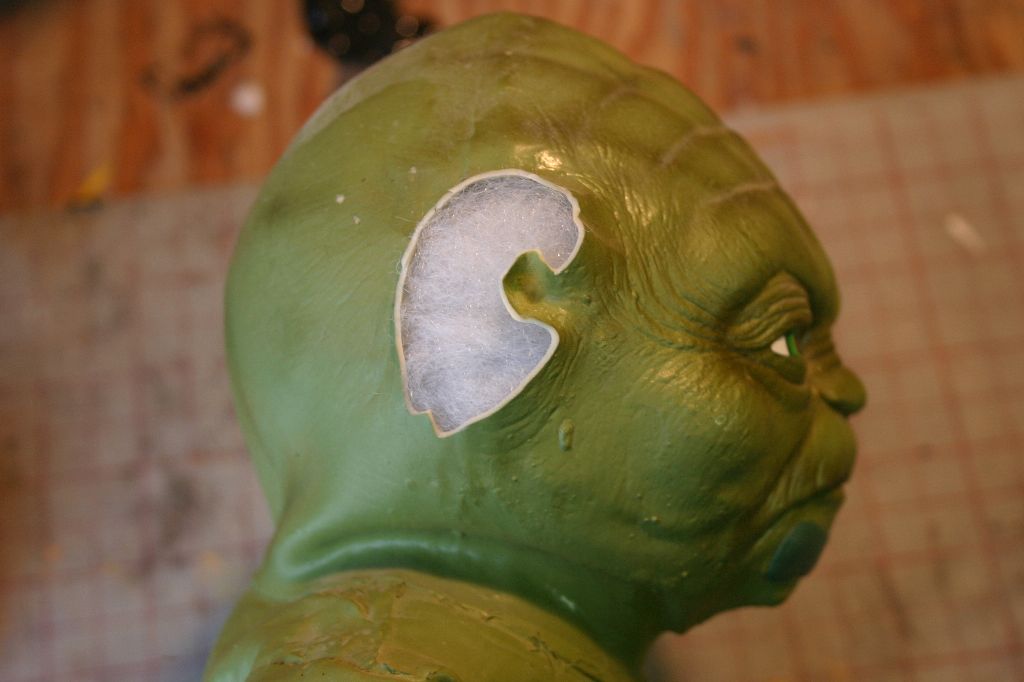
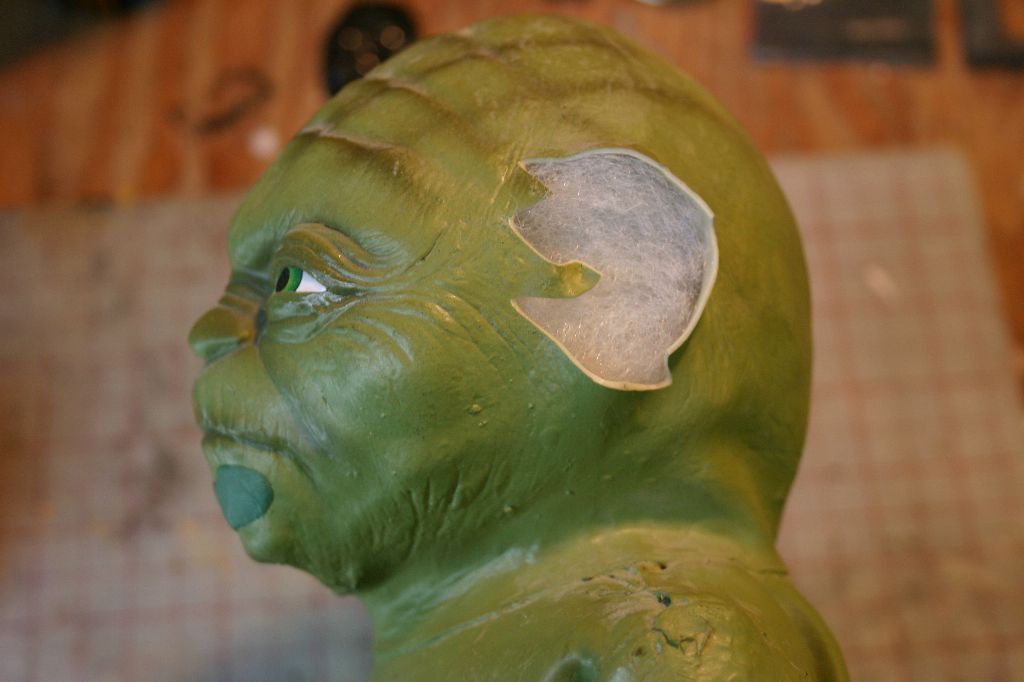
I then attached the ears with a combination of contact cement and brushable latex. If I had to do it again I'd probably just skip it and sculpt the ears from scratch as nothing seems to want to stick to them.
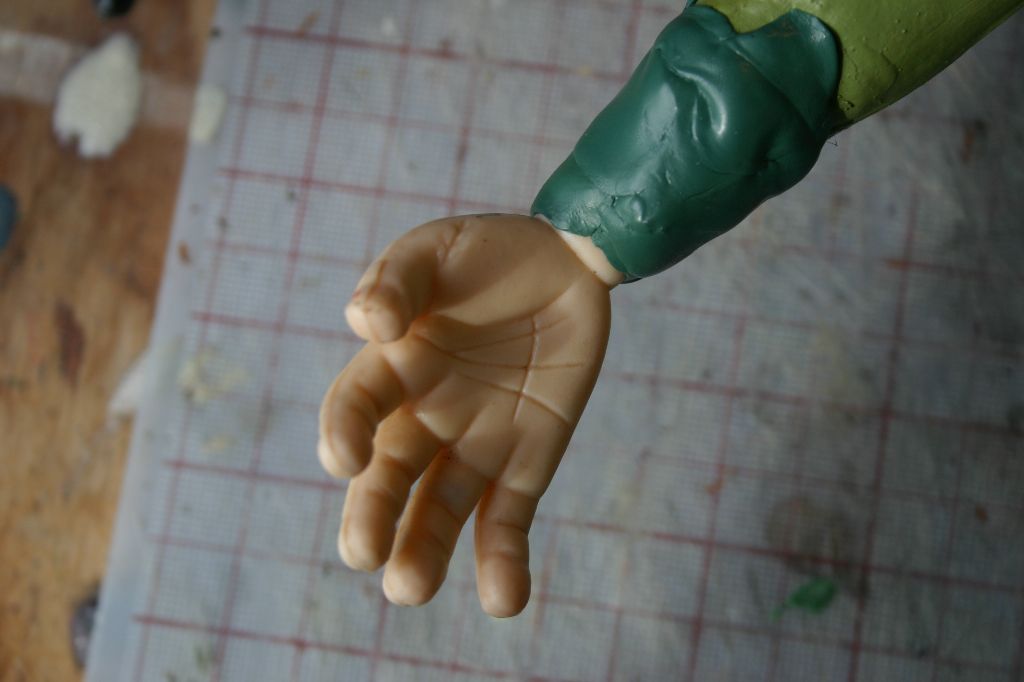
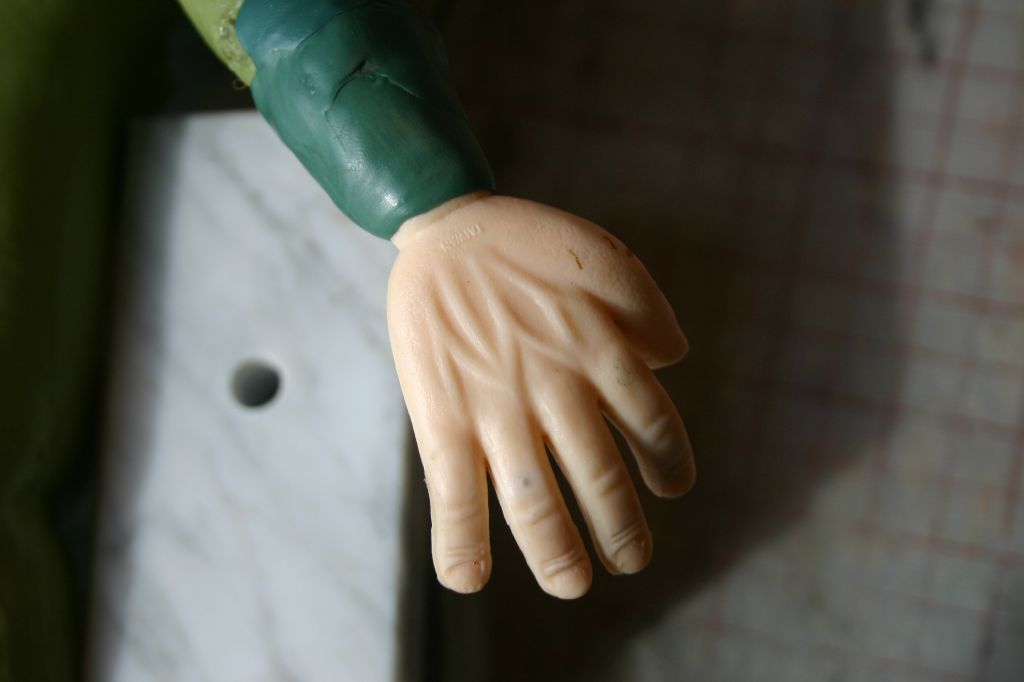
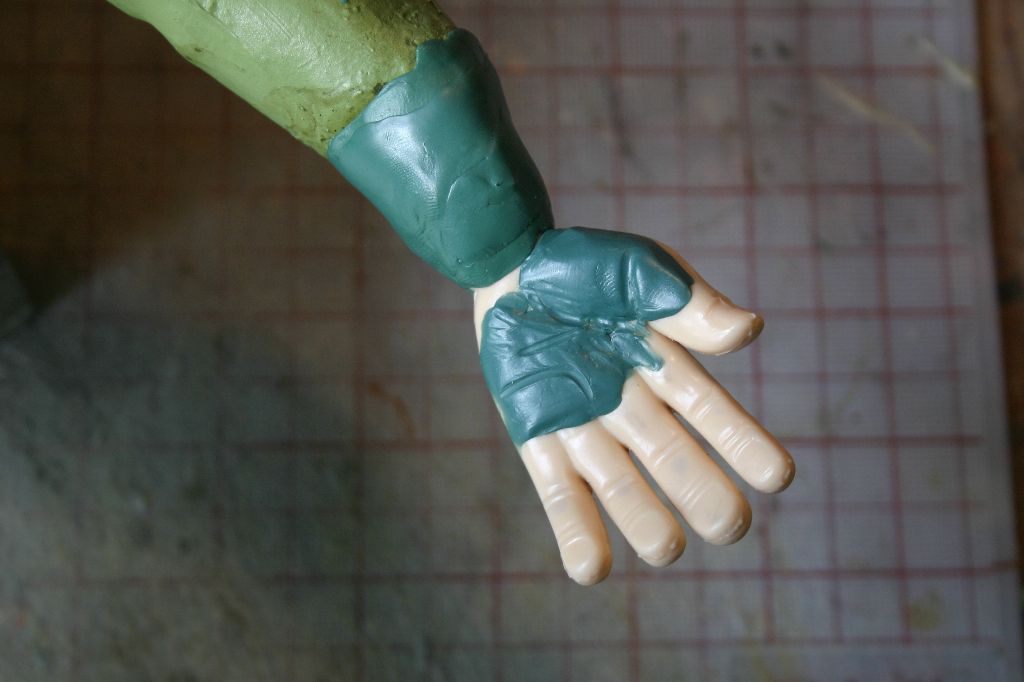
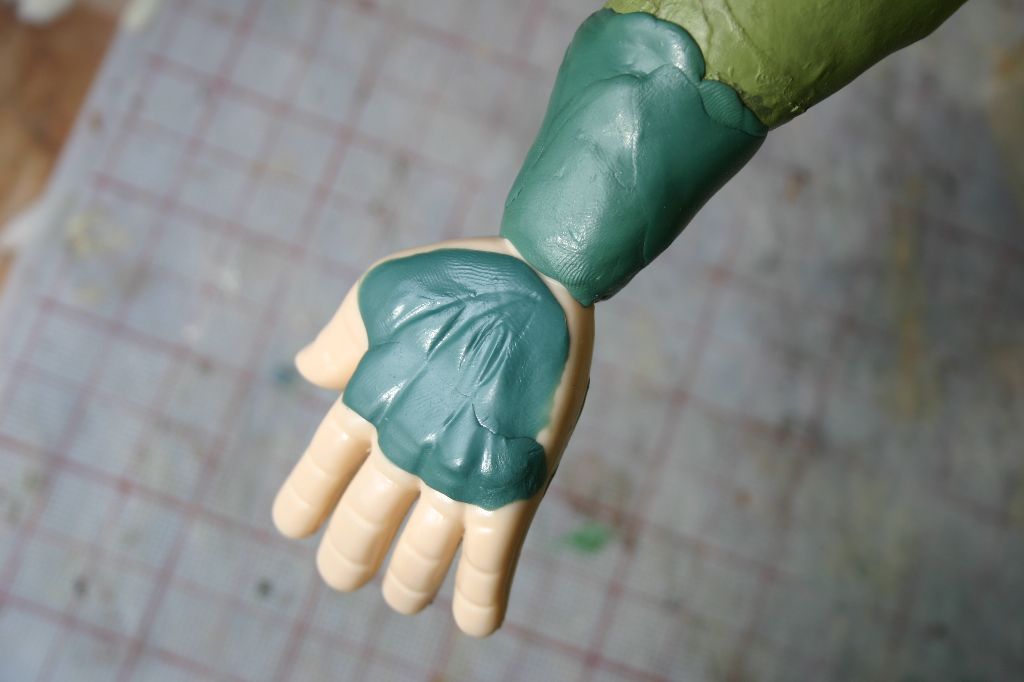
My friend gave me a pair of novelty bendy hand keychains to use for the hands. Again, I probably should have just sculpted them from scratch as painting them turned out to be a problem. He could only find right hands as well so I had to modify one into a left. I ziptied them onto the ends of the arms then used greenstuff to blend them in a bit.
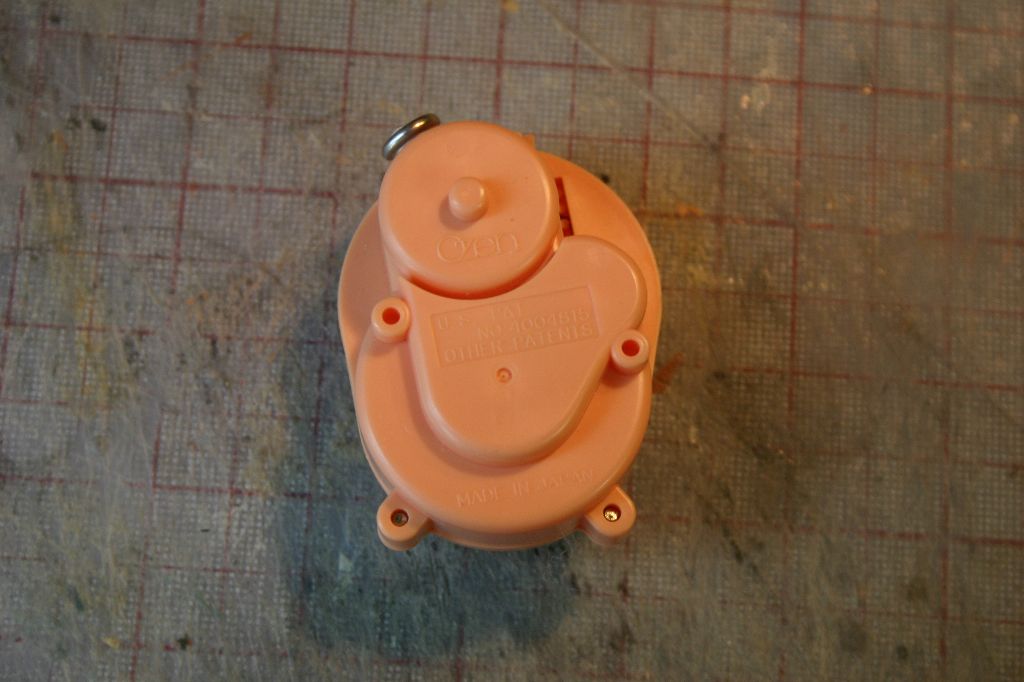
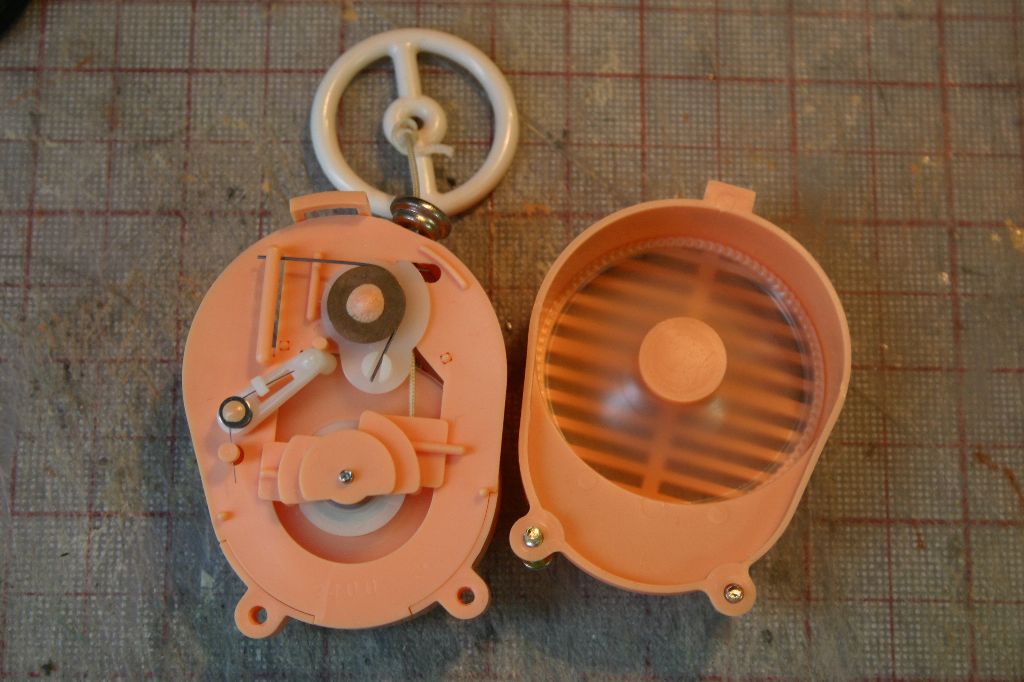
At this point I wanted to take it to the next level and add a pullstring. After searching online and locally it turns out even finding a pullstring doll is next to impossible. I finally lucked out and found a vintage Roger Rabbit doll at a thrift store.

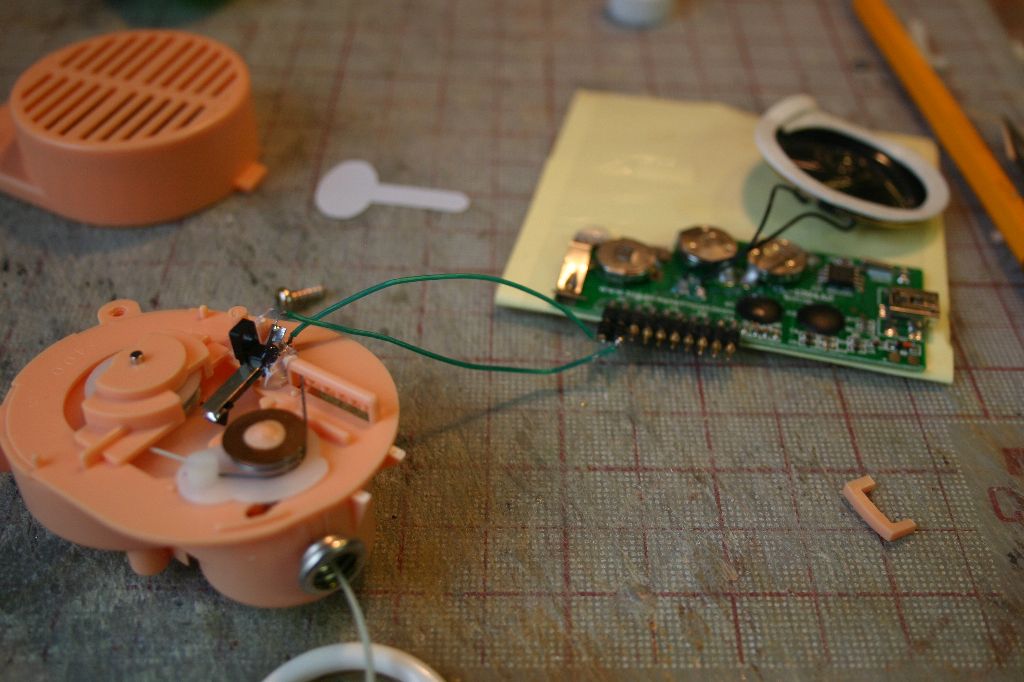
I kinda felt bad tearing apart a new in box toy from 1988 but it was only $5. The voicebox didn't work anyway, the speed on it was messed up and garbled but the pullstring still worked which is all I needed.

Next I bought a customizable greeting card off a guy on Ebay.
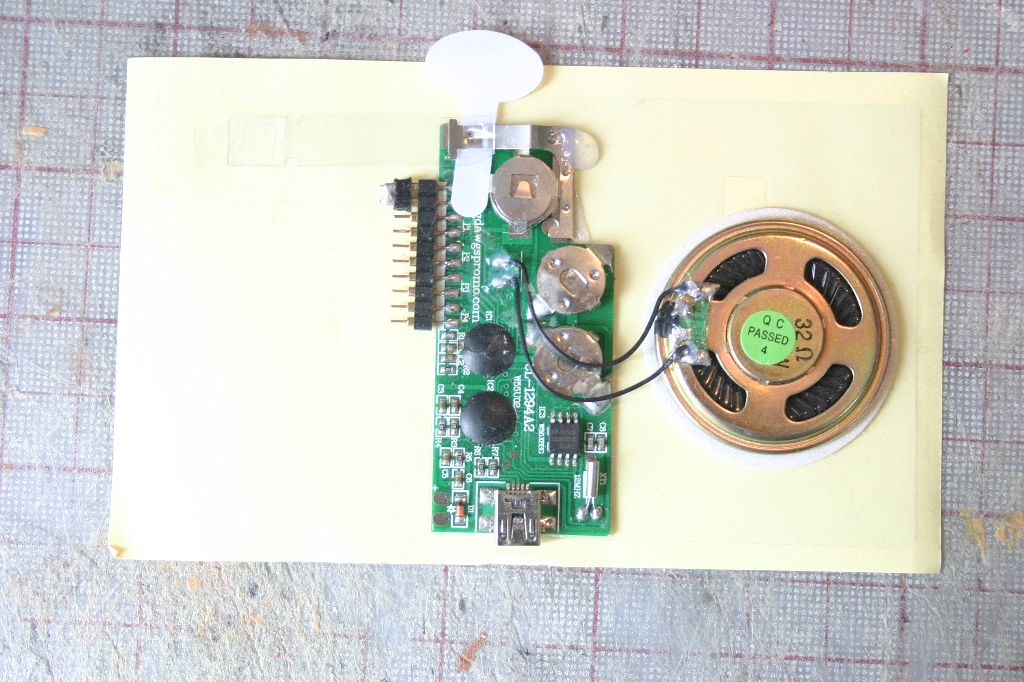
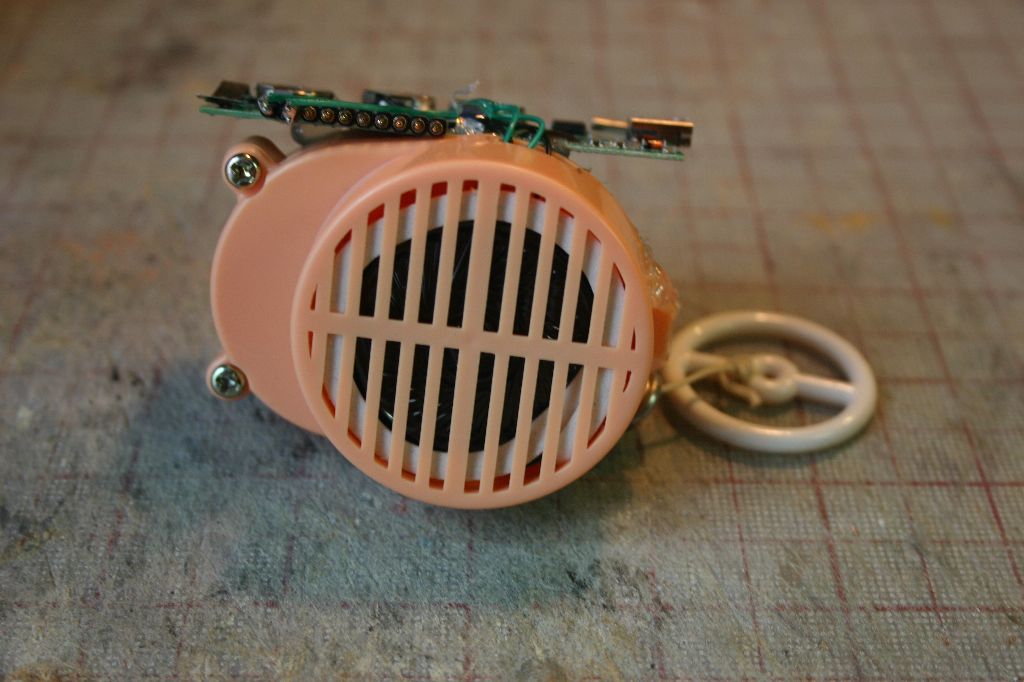
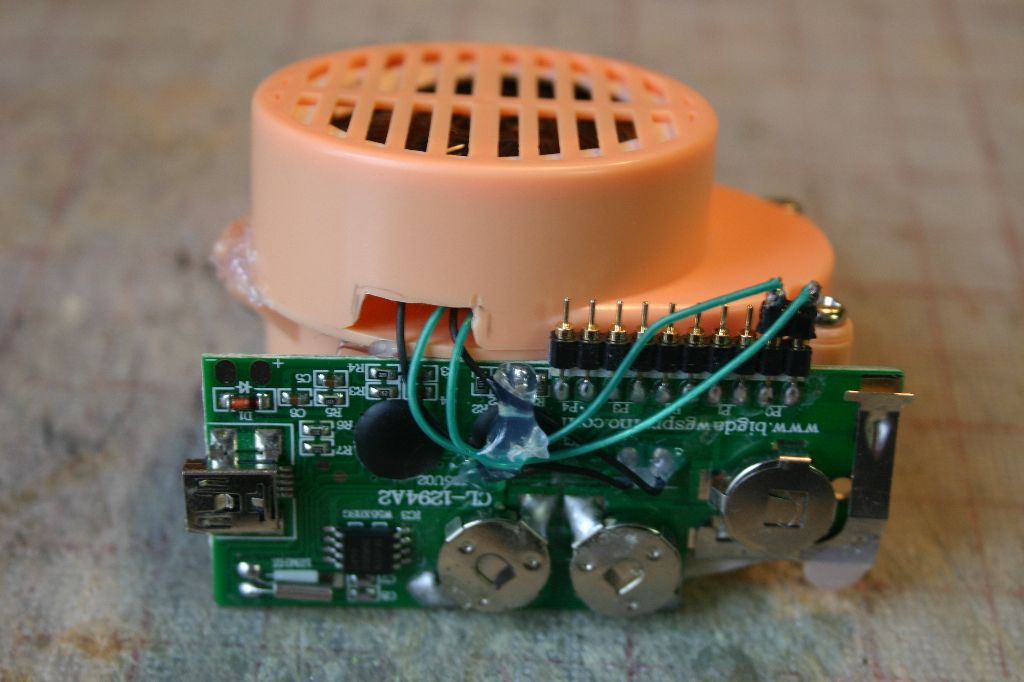
Download the software from his website, rip the audio from the movie, download to the chip and I had a triggerable audio player. I mounted a reed switch inside the pullstring box and finetuned the sensitivity.

Here's a video of the pullstring in action:
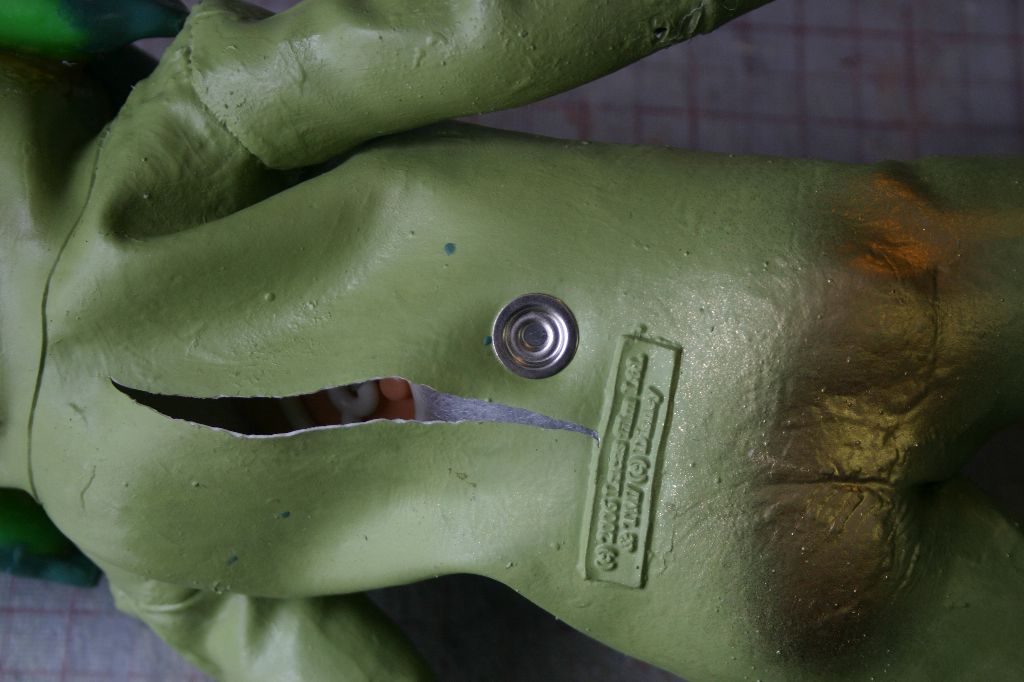
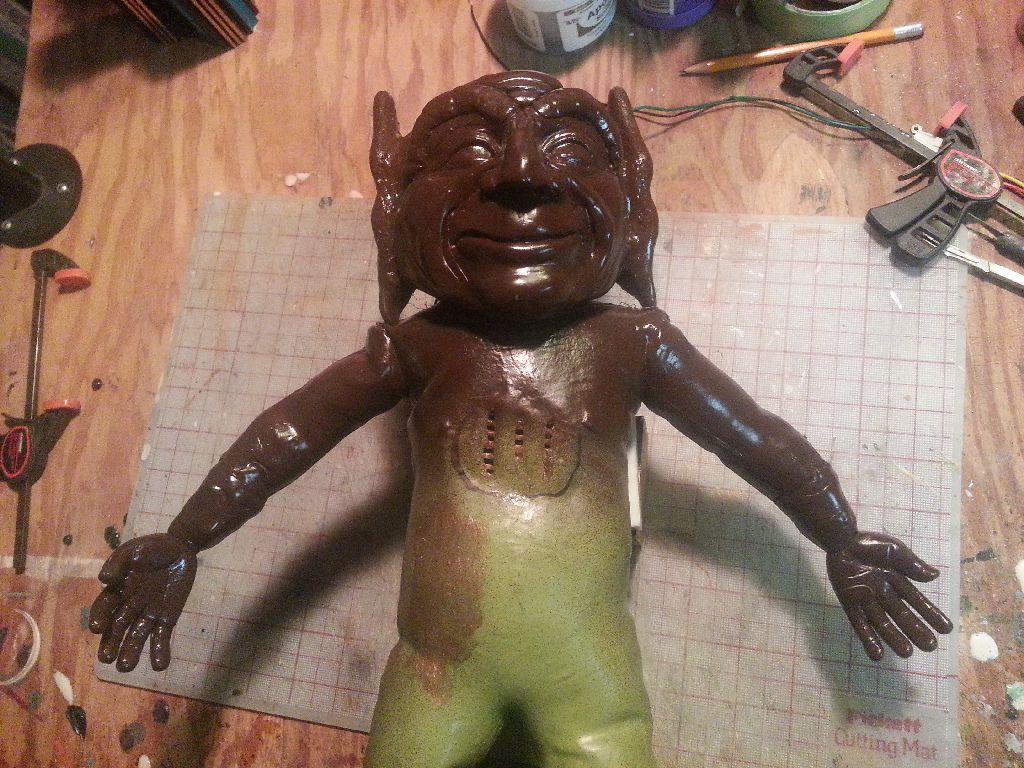
Next up was mounting the voicebox in the doll. I slit the back and removed the stuffing. Cut some holes in the front to let the sound out then gorilla glue the voicbox in. A snap collar was added for the string to pass through then once the glue was dry he was restuffed and the back sealed up. Changing batteries will be a pain.
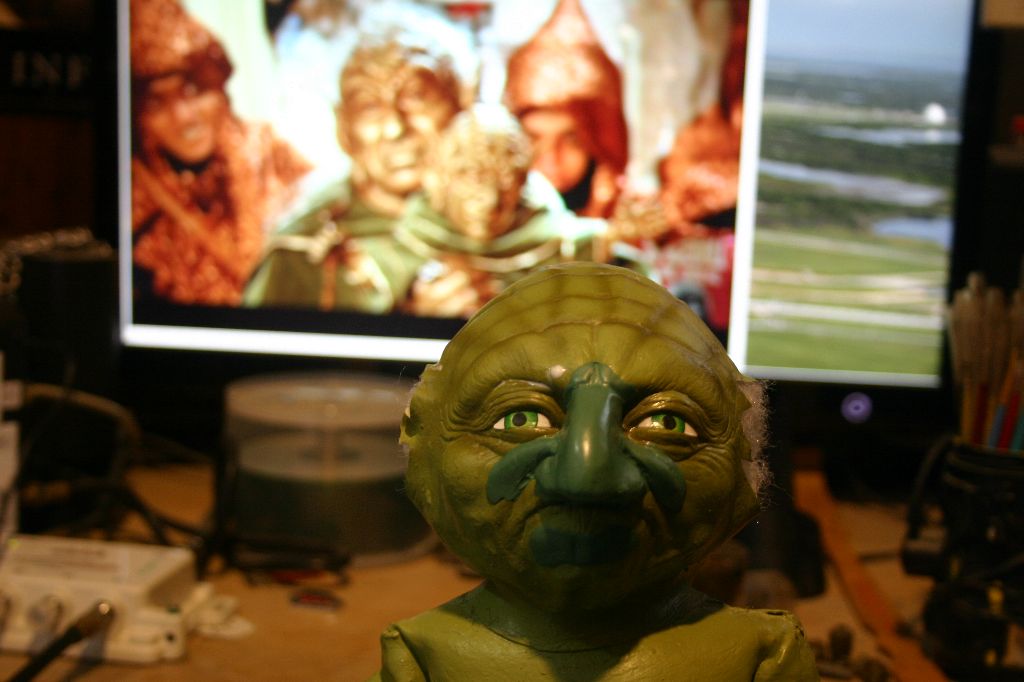
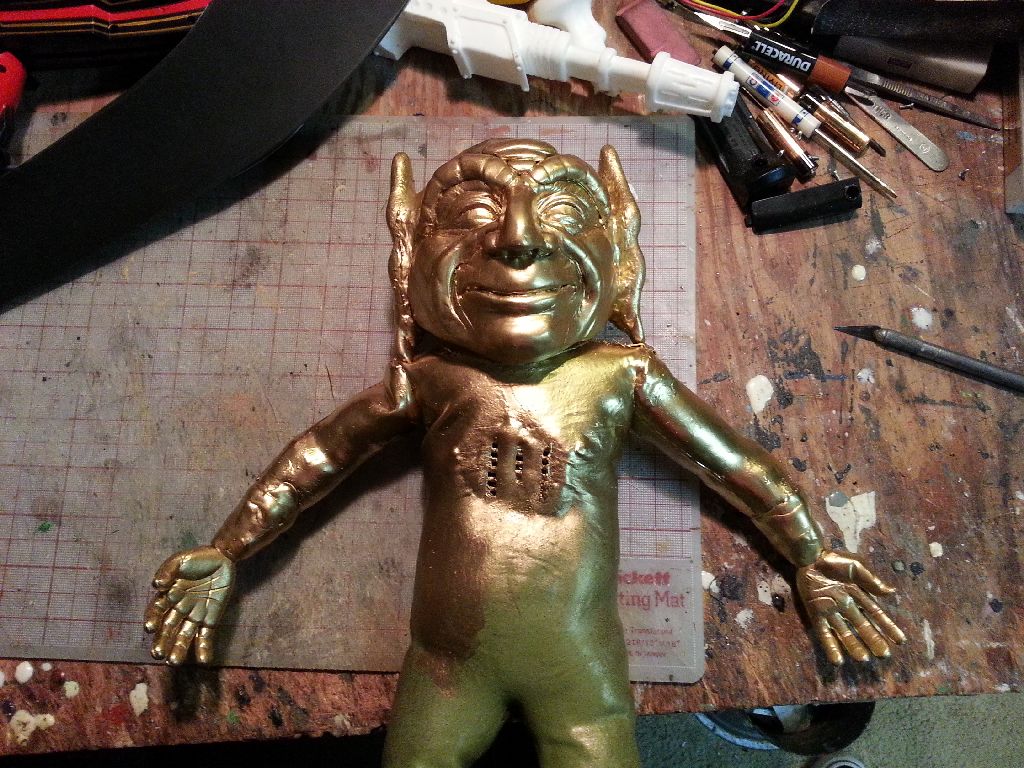
Next up was painting. As I said the ears and hands gave me trouble with the paint not drying. I started with a brown base coat the worked up levels of various golds and brown washes.
A mutual friend sewed up the robes.

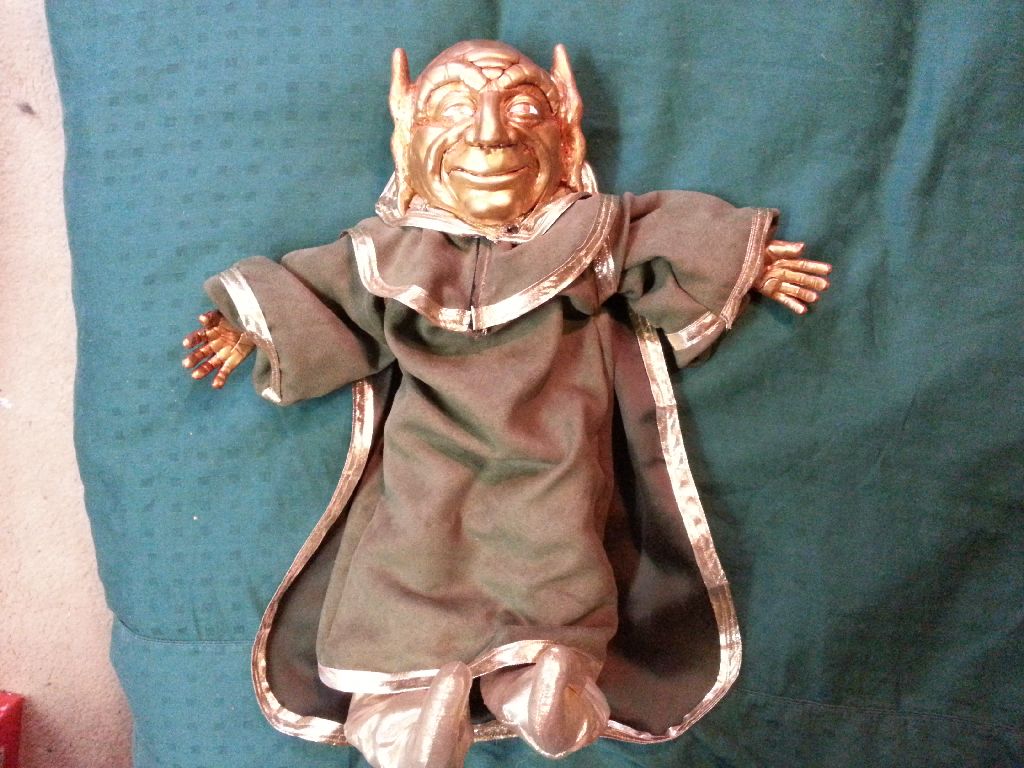
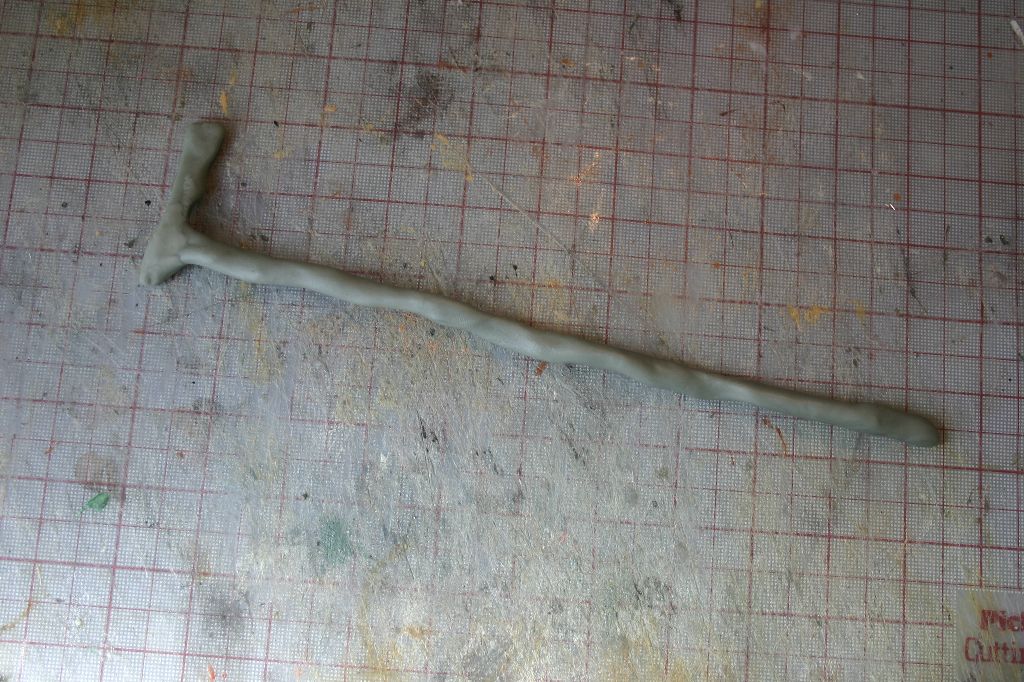
Then I tossed together a quick cane out of a coathanger and Apoxie Sculpt.
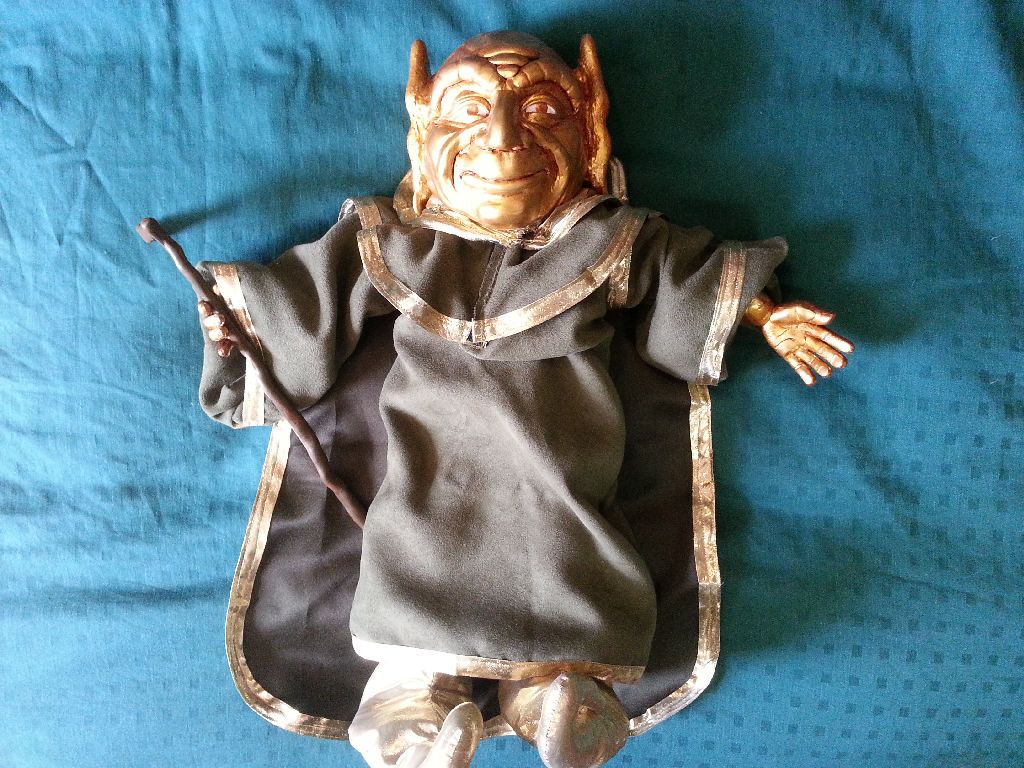
Adorable...
Tweet
