IG-88 Droid Head
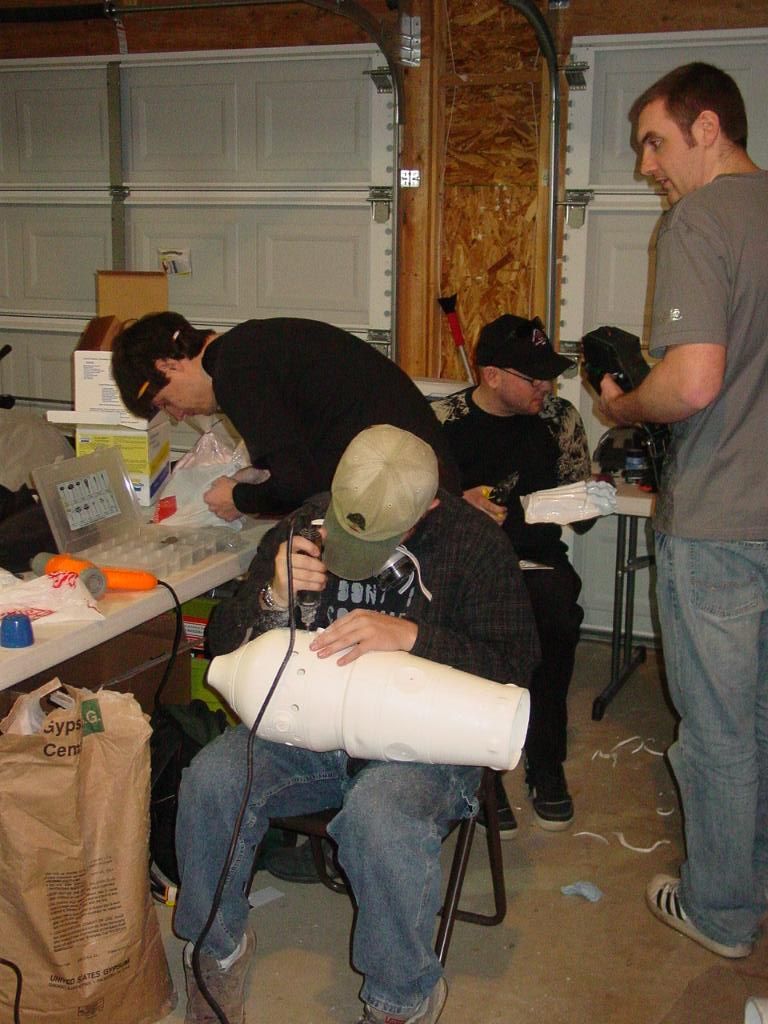
My 501st garrison is attempting to do all 6 bounty hunters from The Empire Strikes Back. We already have Dengar, Boba Fett and Zuckuss. With that goal in mind we pooled some money to build an IG88 assassin droid. After getting a resin copy of a real Derwent engine flame tube it somehow became my job to build the head.
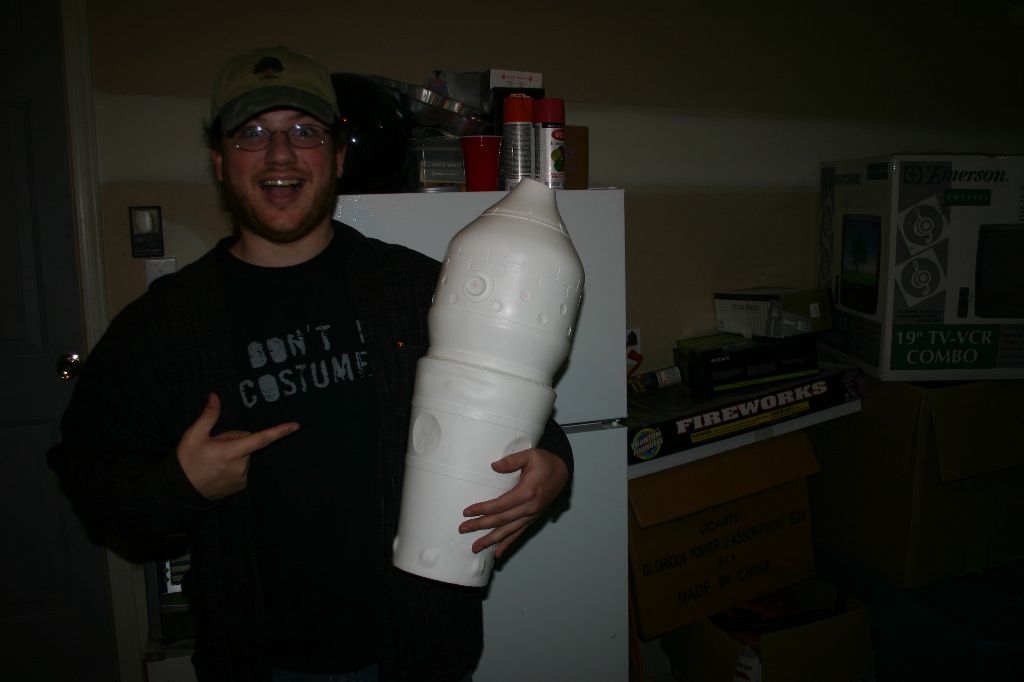
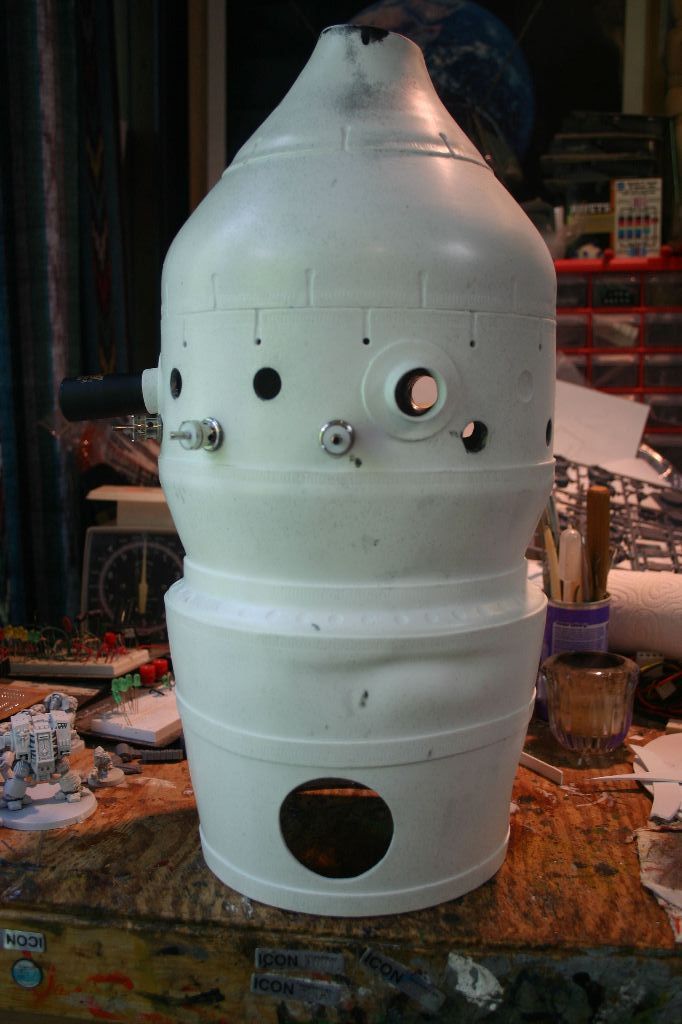
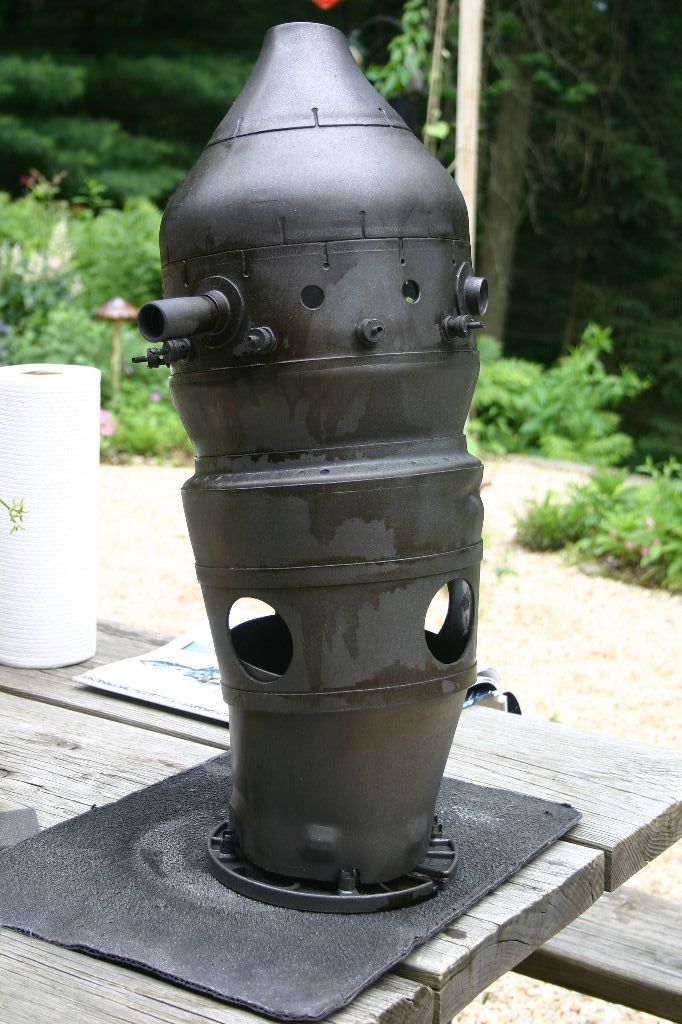
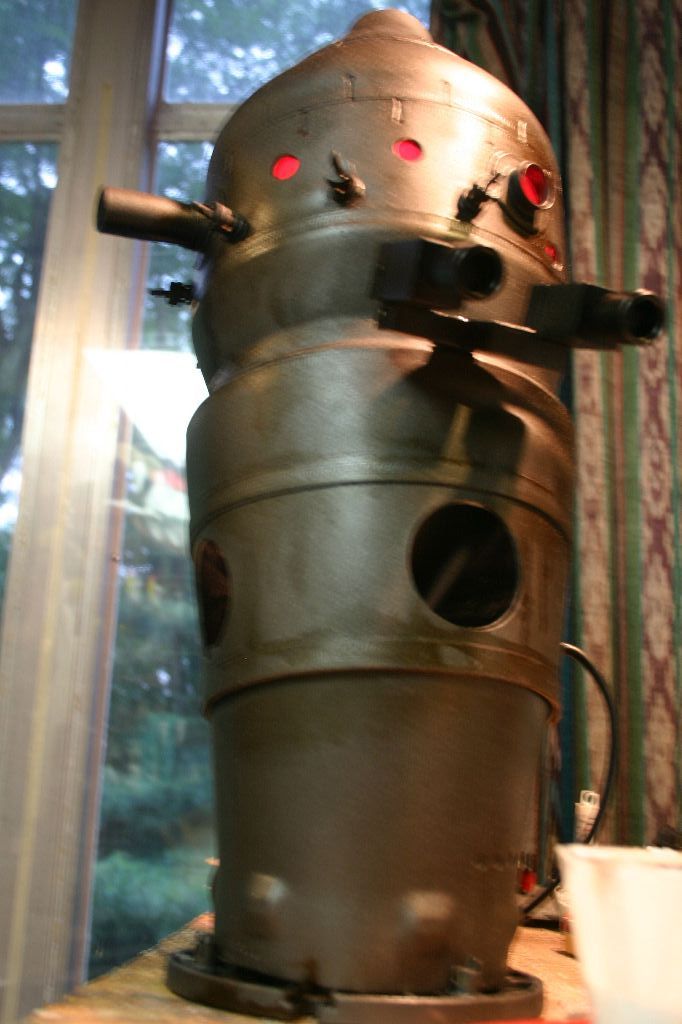
After collecting as much reference as I could find I marked out all the holes I had to cut and then went at it with a dremel, X-acto knife and files. I also cleaned up and puttied the mold seam.
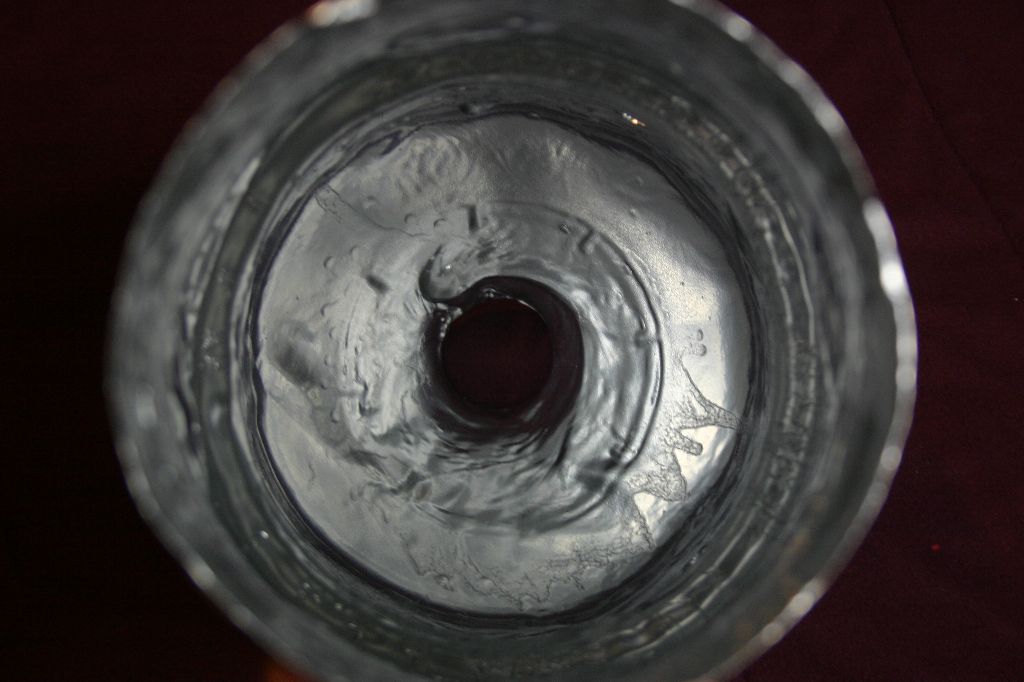
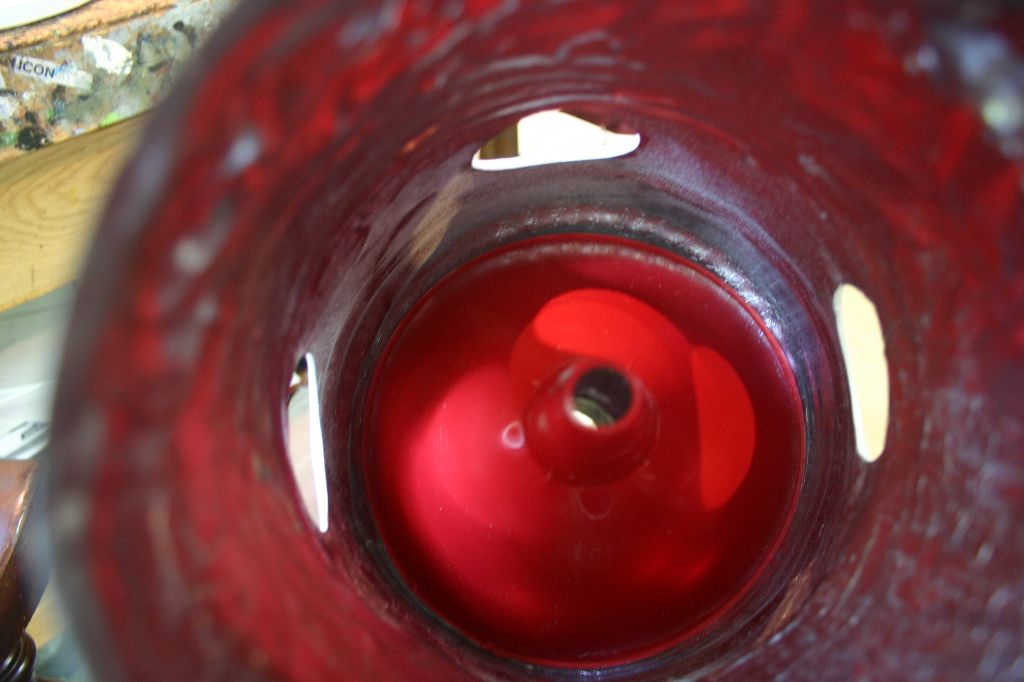
With the holes cut I then gave the interior of the head multiple coats of gloss black spraypaint followed by a few coats of silver. We wanted to light the head but since the resin is so thin the light would shine right through the skin without a few layers of paint to block it.
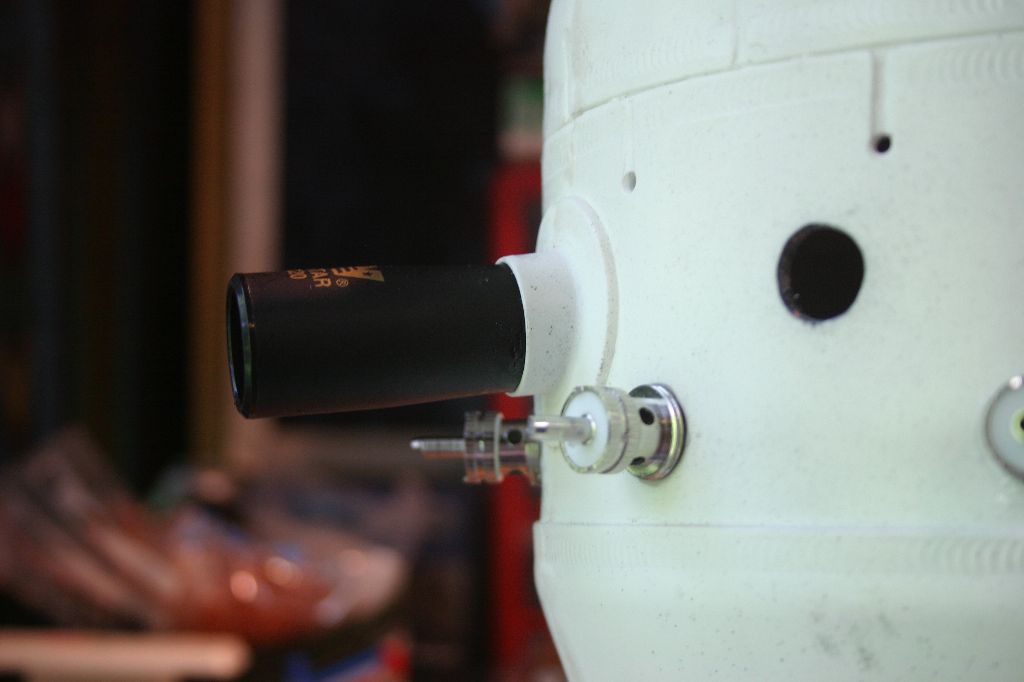
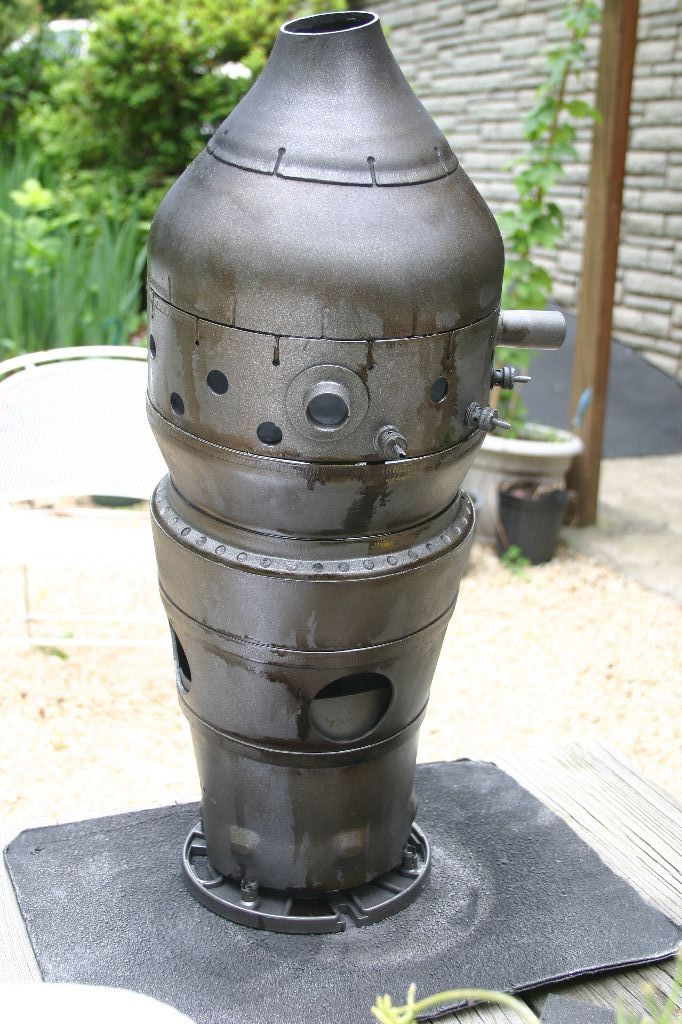
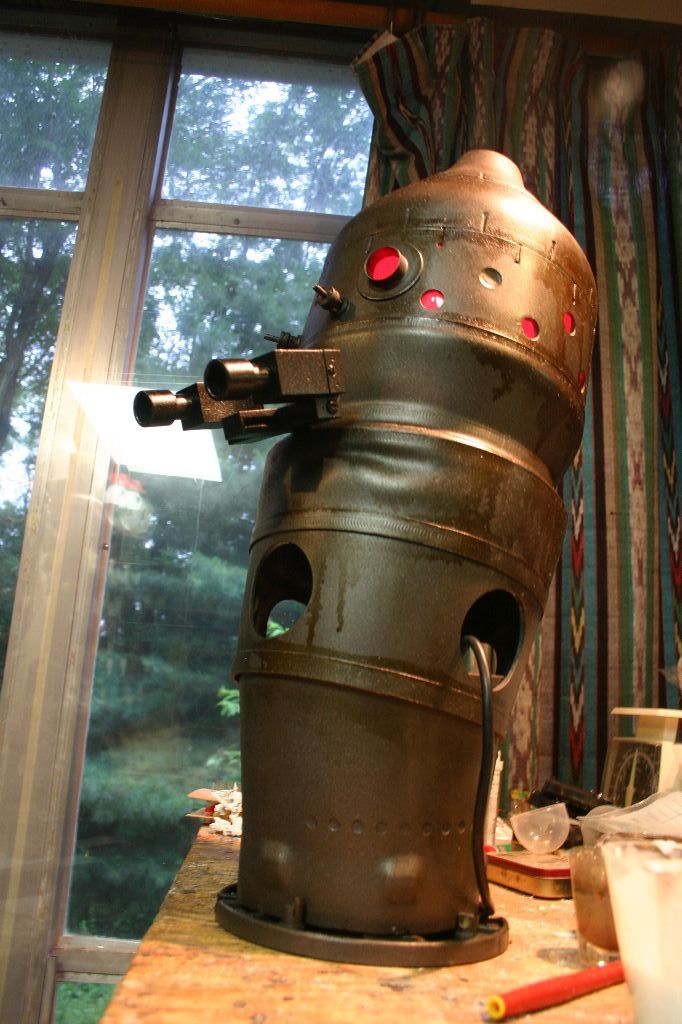
Next I separated the "neck" section from the rest of the head. For full accuracy it should have been trimmed down a bit and cut at an angle but I wanted to leave it long for now so we'd have something to work with if and when we get the rest of the body built. I also added the few found parts of the droid, the large end of a 4x20 rifle scope and six PL-259 UHF Coax connectors with the collars removed.
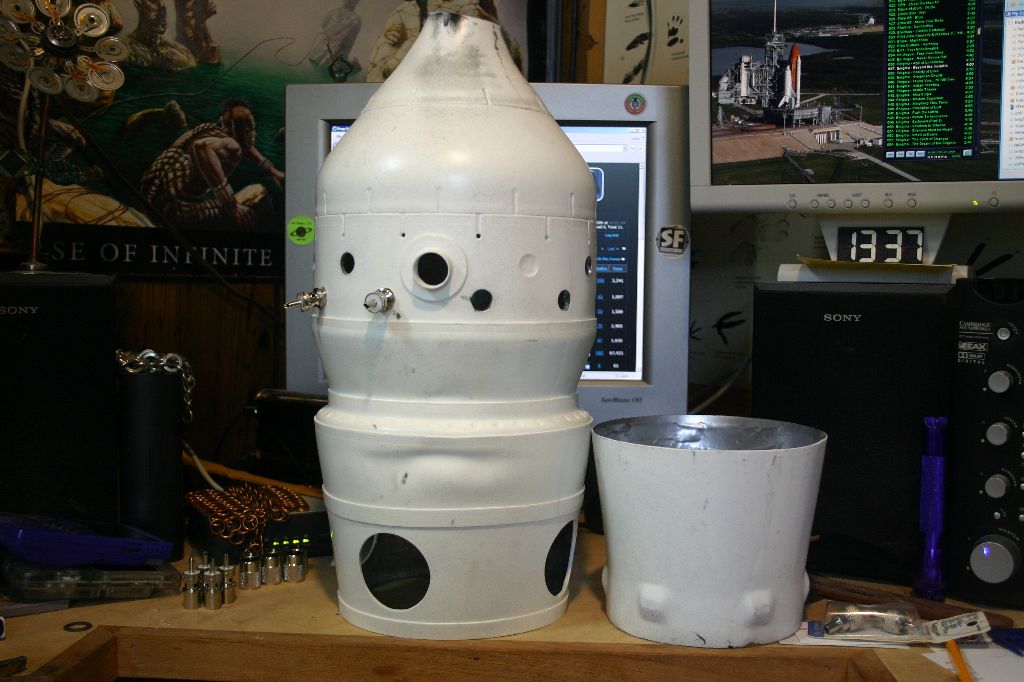
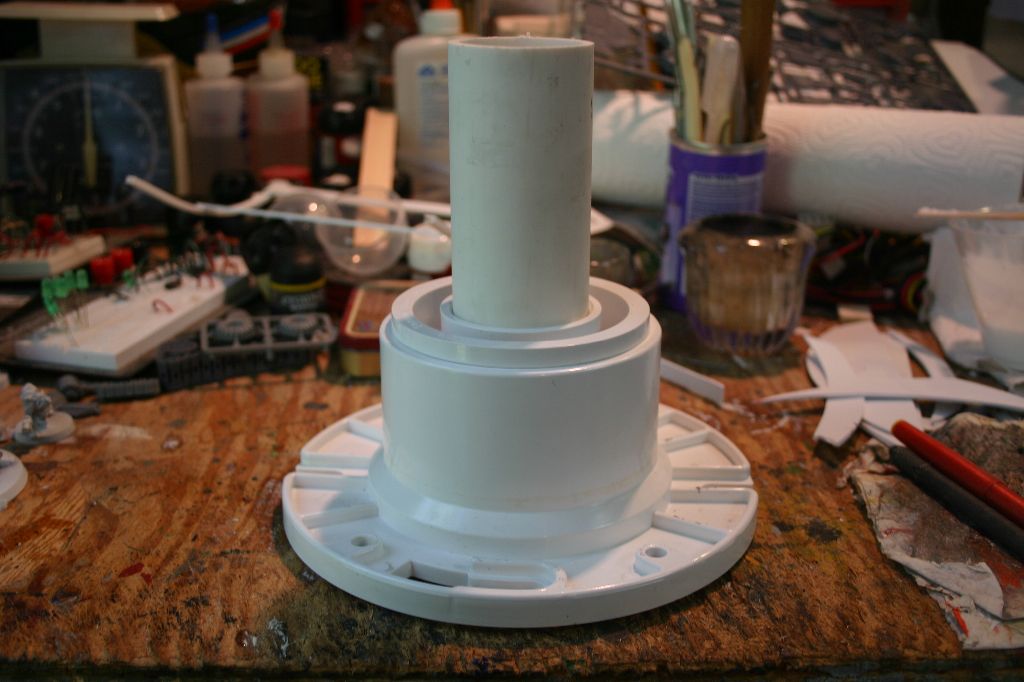
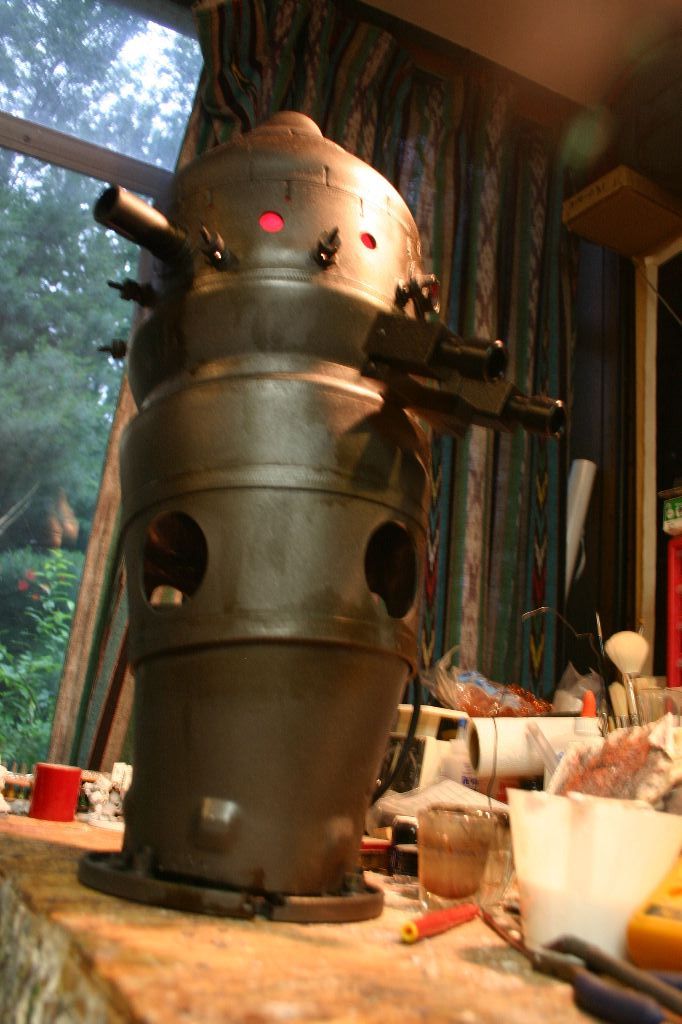
Since this was going to be a free-standing head until the body is completed I needed to make some type of stand. For this I picked up a length of PVC, a coupler, a base and a funnel. The funnel fits into the lower portion of the head and holds it up above the free-floating neck section. It also provides a light baffle so no light comes out of the large lower holes.


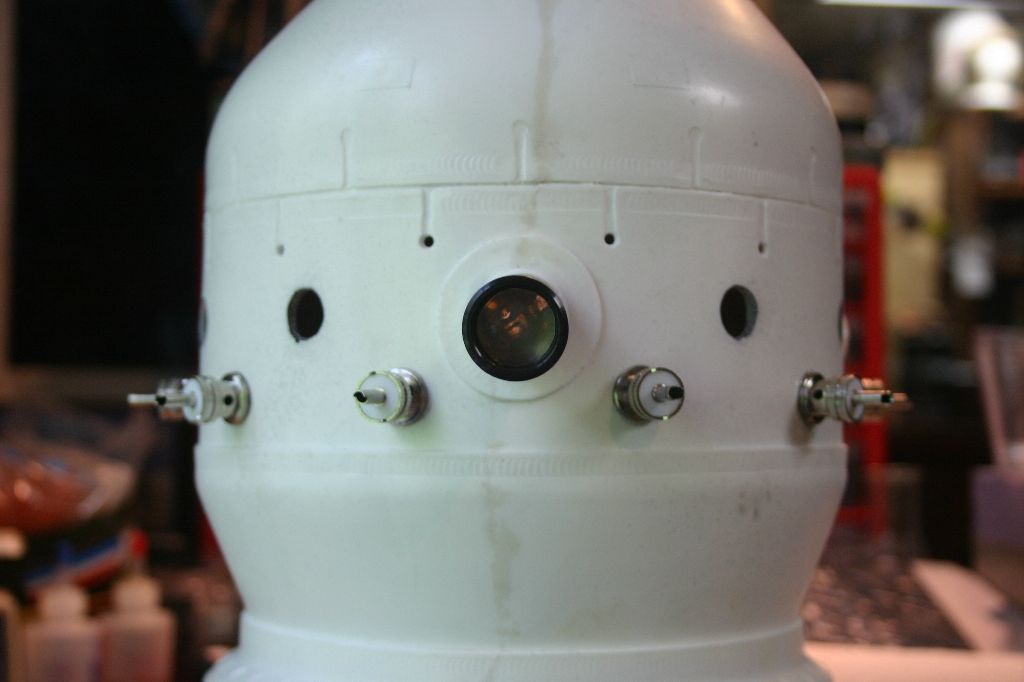
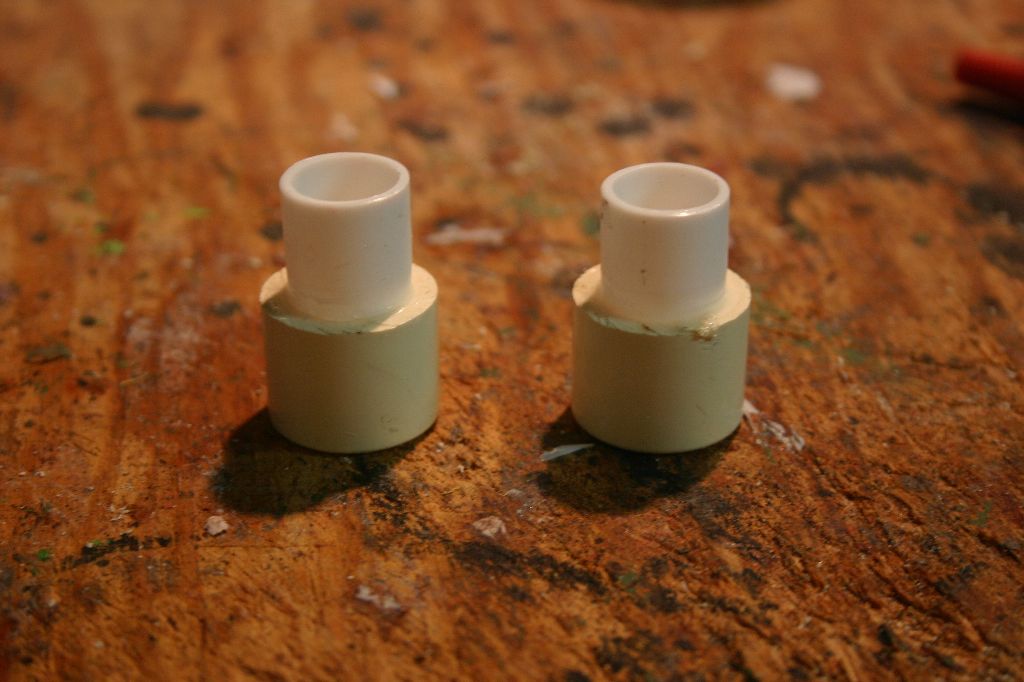
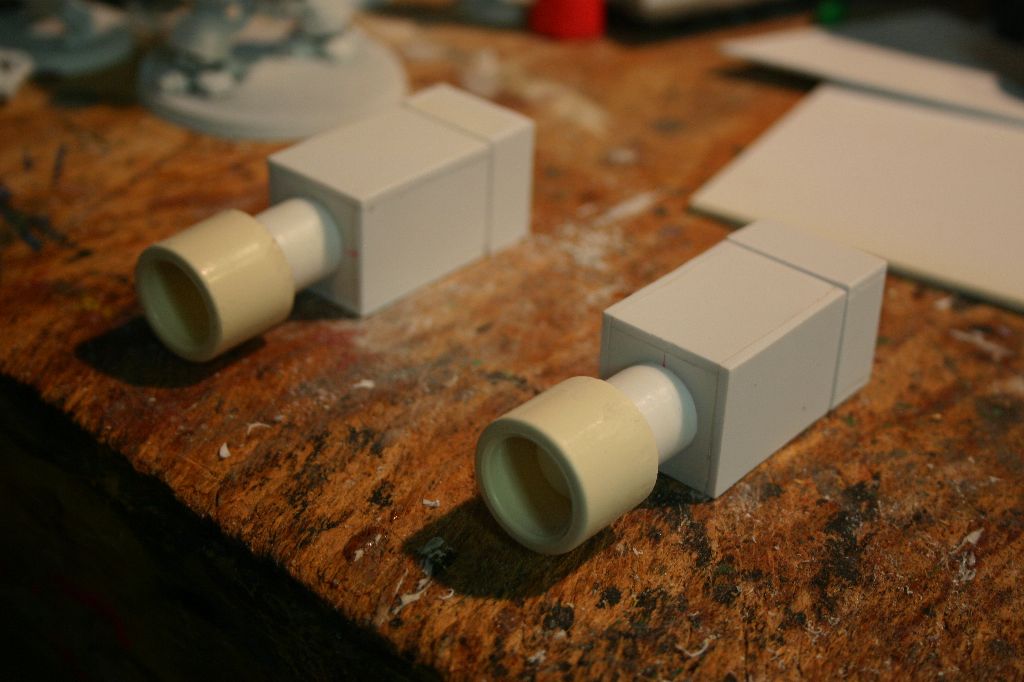
With the head essentially done I moved on to the eyes. No one knows what was used originally for them and none of the reference photos are very clear. In the end I just shot for something that looked close. Most people have no idea what they're supposed to look like anyway. I started with some PVC couplers and krazy glue tubes. The rest of the parts were scratchbuilt out of styrene off a partial blue print I made up so I wouldn't have to keep referring to my reference photos.

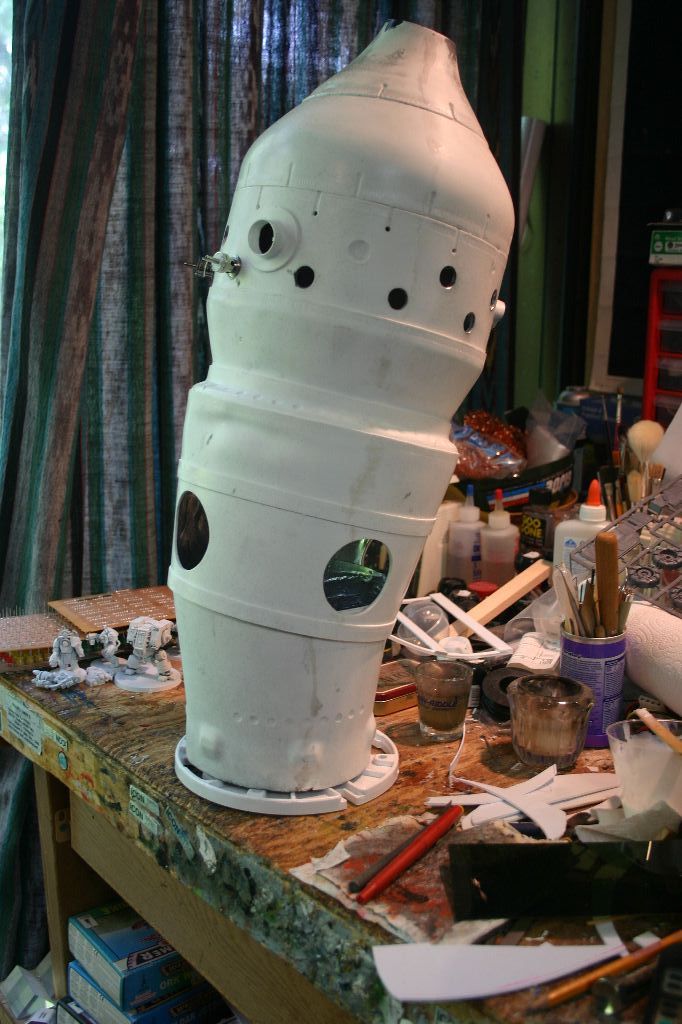
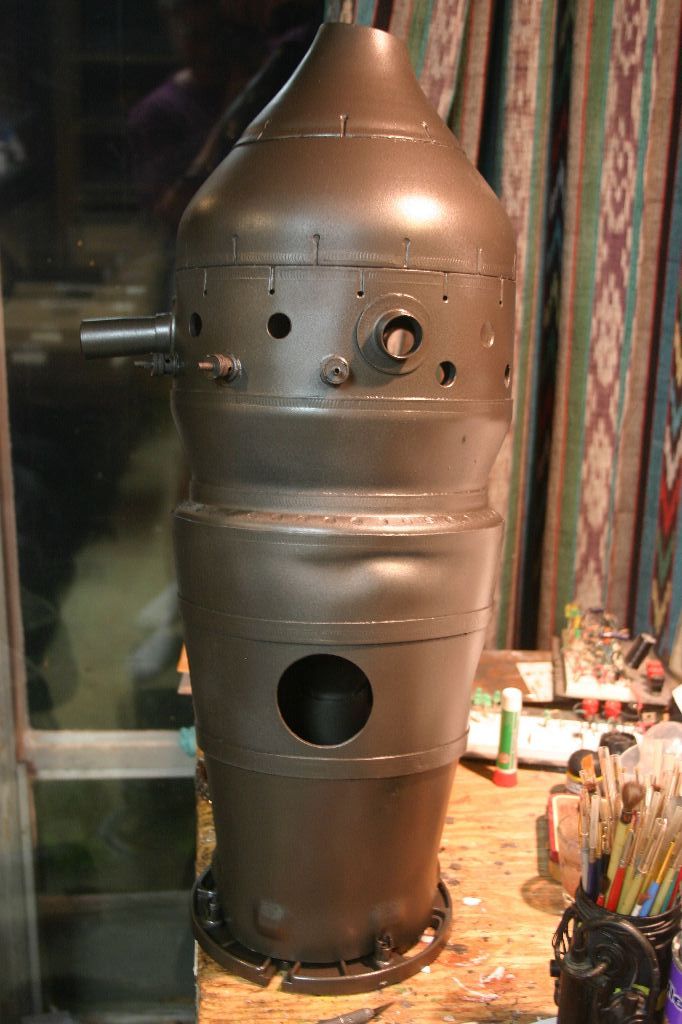
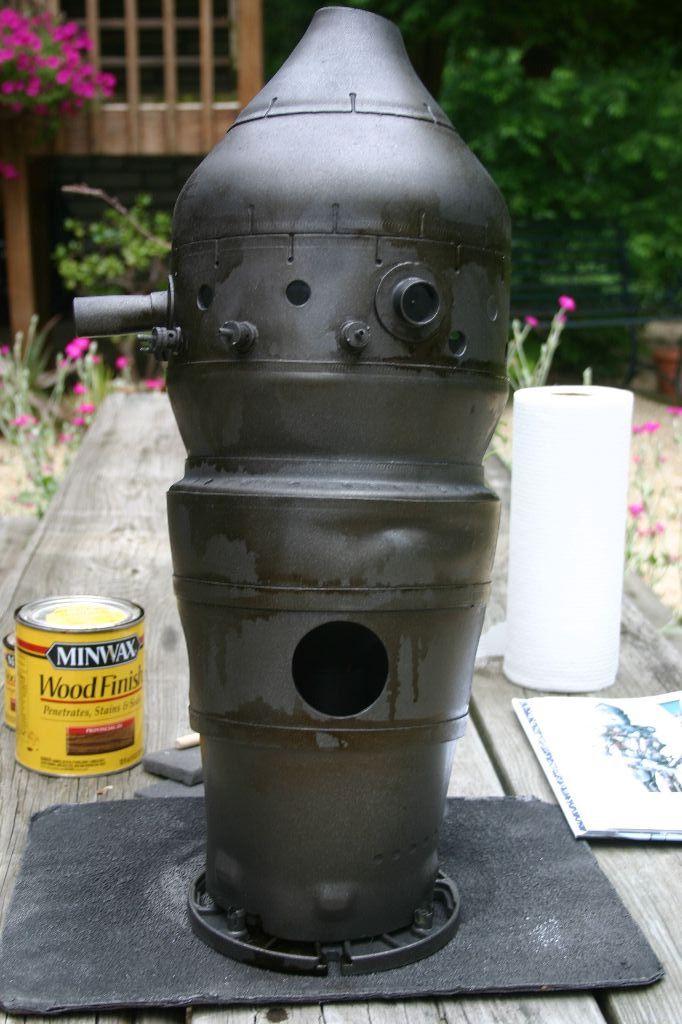
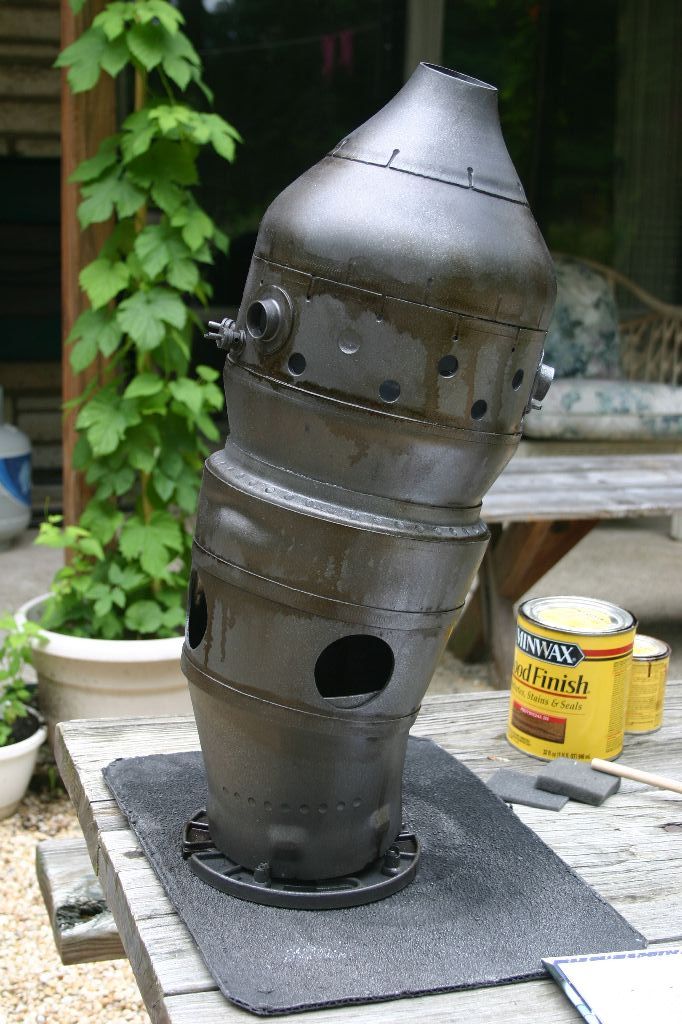
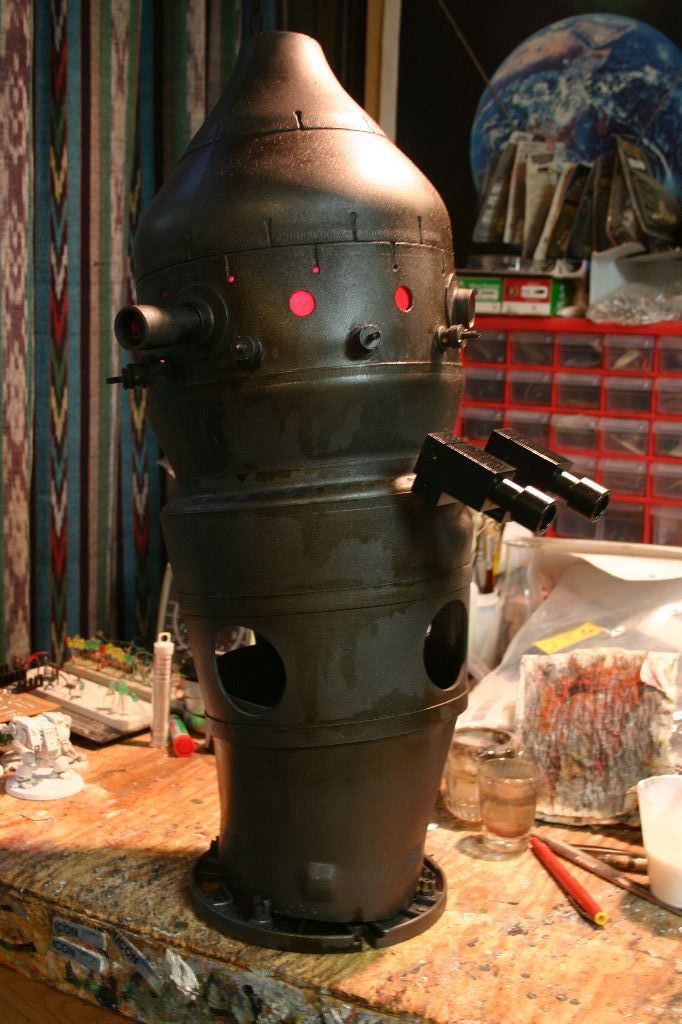
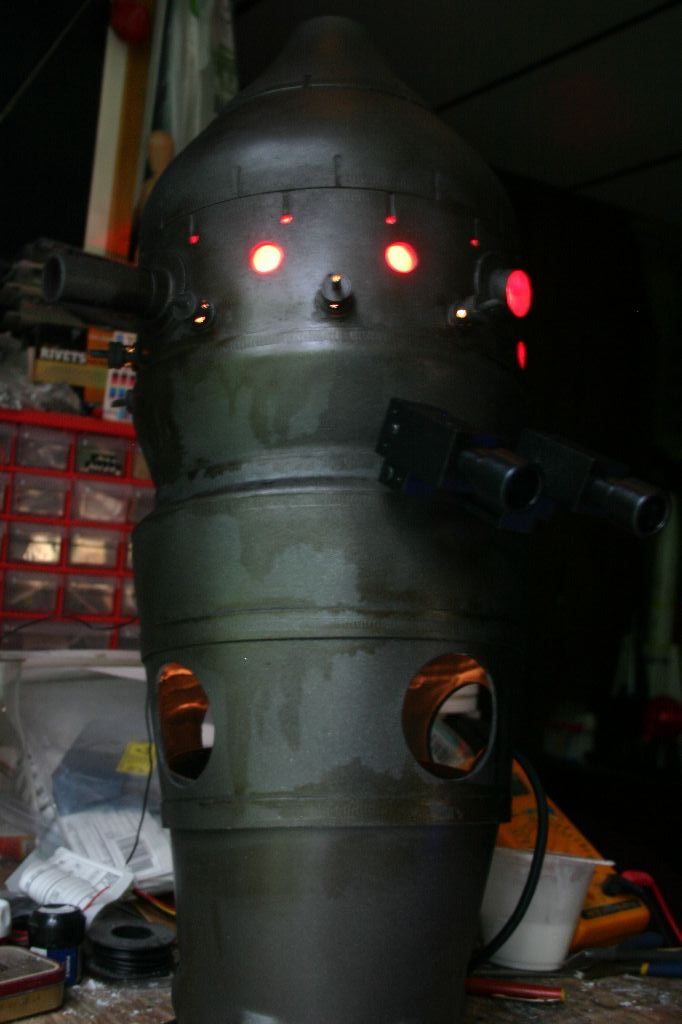
The head was initially painted with a coat of Rustoleum Hammered Dark Bronze over a black primer coat. The whole thing was then misted with varying amounts of silver, black, dark metallic and brown spraypaint until it had a good weathered look. Once the sprays were dry I took dark wood stain and liberally applied it to the creases in the head with a sponge brush. Some drips I wiped immediately with a rag while others I let sit longer or never wiped at all. I just kept going until it looked right. Once the stain dried the whole head was sealed with clear lacquer. The eyes were painted with Rustoleum Dark Metallic spray.

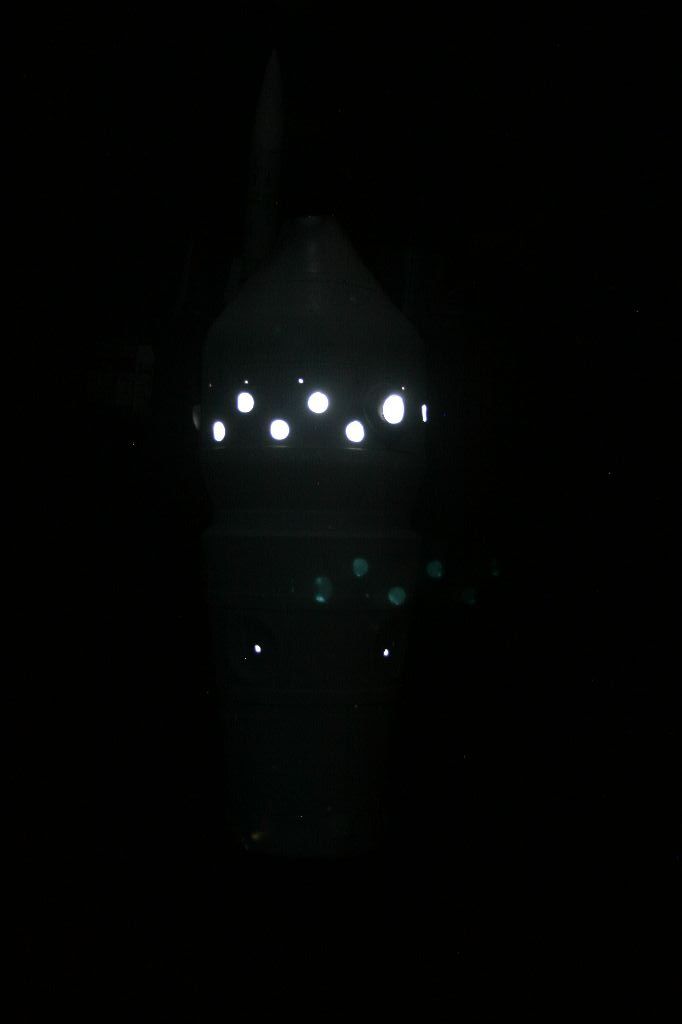
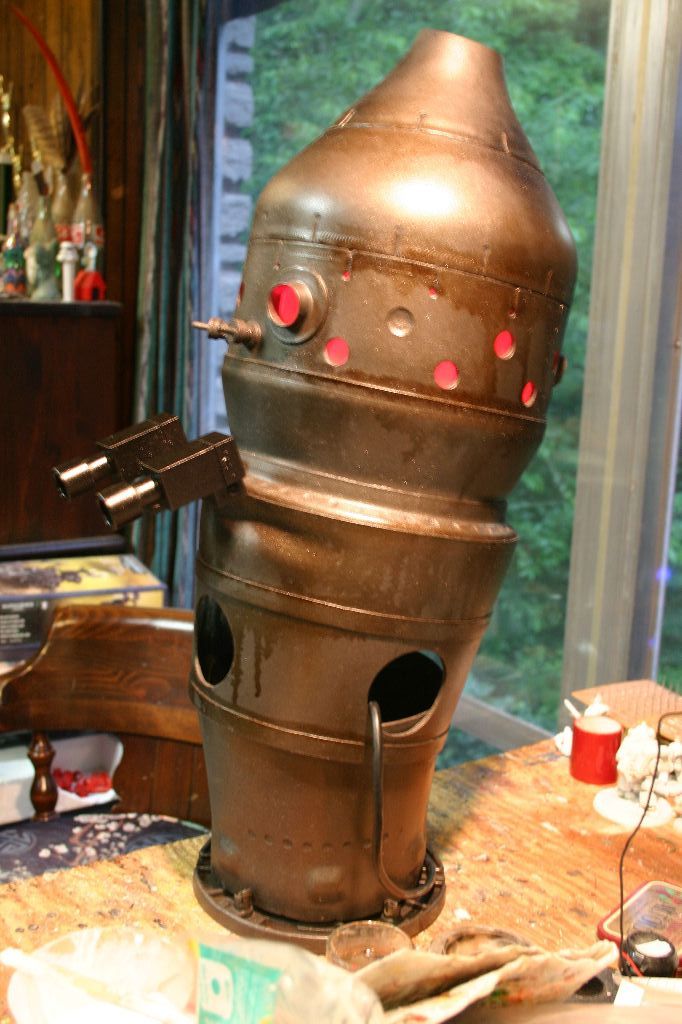
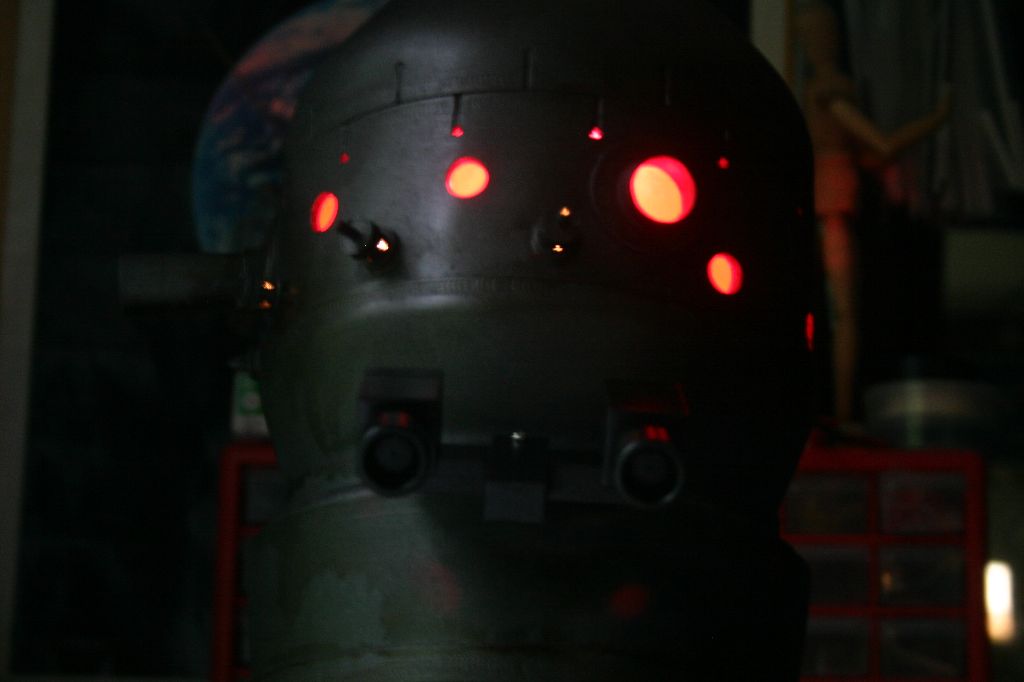
With the head painted I could install the red gels in the head. Instead of finding real lighting gels I took an easy option and used self-adhesive automotive tail light repair tape. I doubled up an area large enough to cover the hole I was working on to keep stuff from sticking to the adhesive and then applied it over the hole. The color seems a little more on the blue side than I'd have liked but it works well enough.

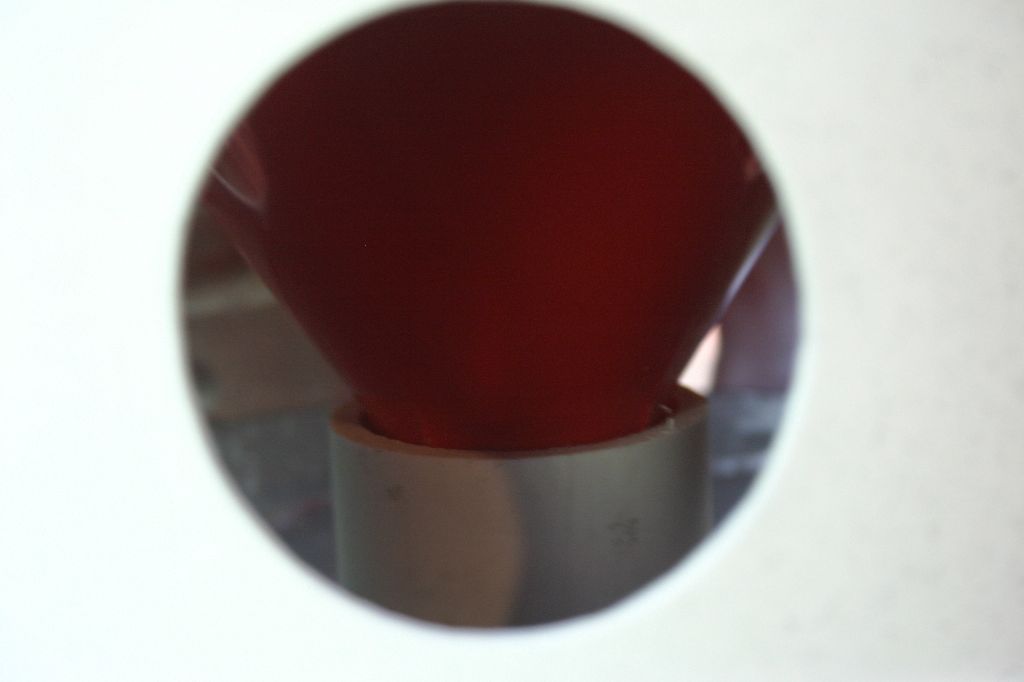
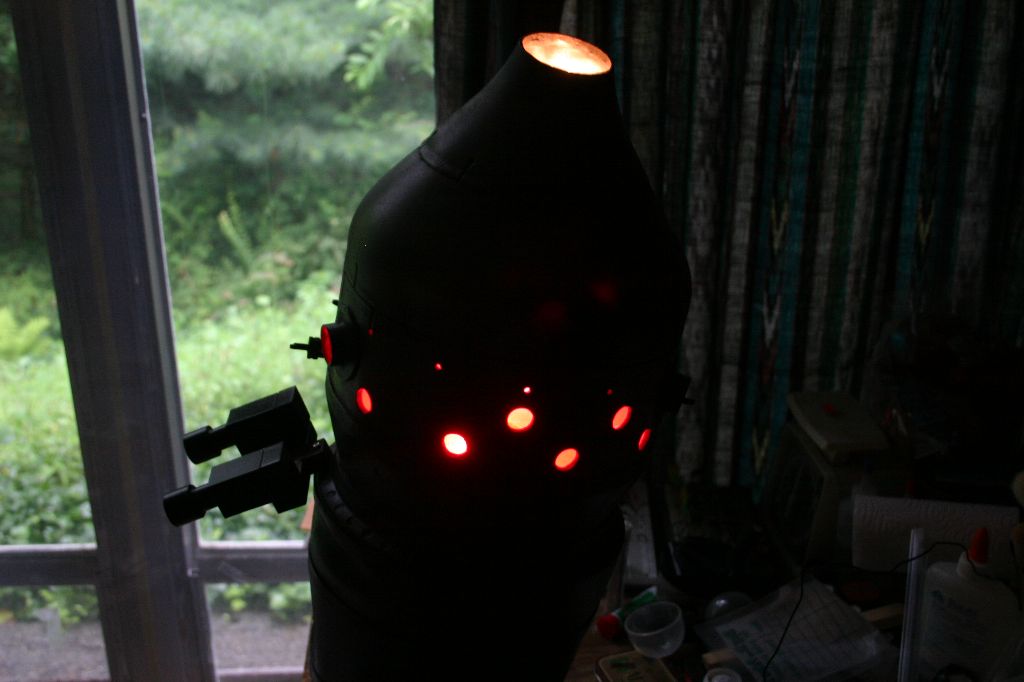
I tried a couple options for illuminating the head. I needed something battery operated as the main venue it will be shown at is conventions and bright enough to see under typical room light. Initially I messed around with white LEDs but found that their small viewing angle and tight focus meant getting them arranged to light the head evenly would be a real pain in the ass. For plan B I picked up a six volt battery operated lantern at the hardware store. Removing the lens made the light omni-directional and the four D-cell batteries meant it'd have a long running time. In order to get it to sit straight inside the head I hot glued a combination of a PVC coupler and a krazy glue container to the bottom of the lamp. This fits nicely down inside the funnel and keeps everything aligned.
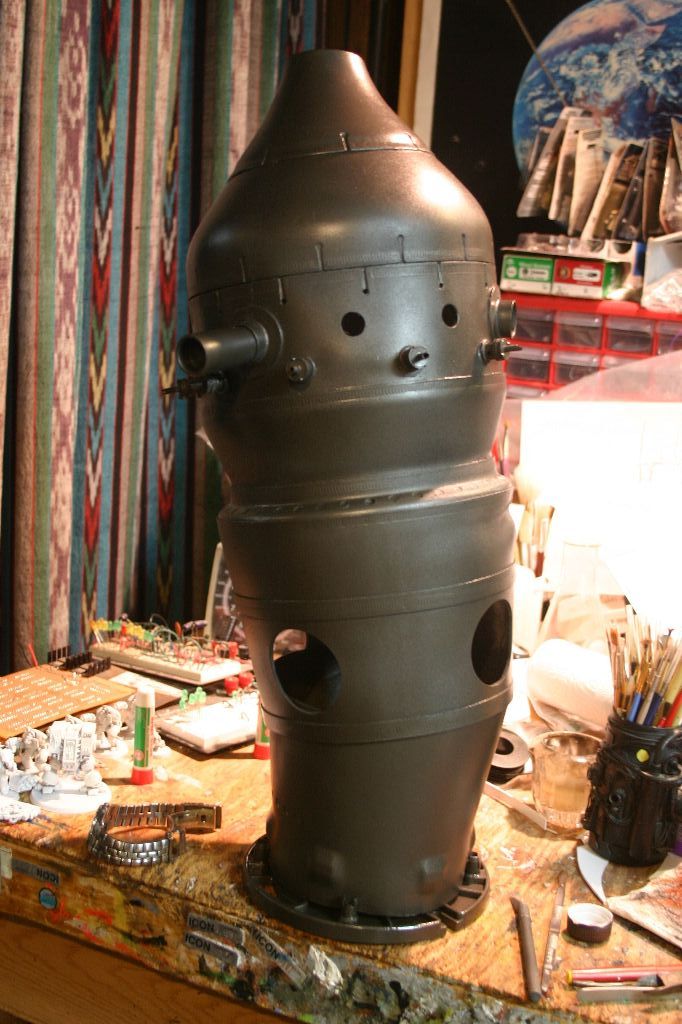
And here's the completed head.


Tweet
