Ghostbusters 2 Ghost Trap
This is a build log for a scratchbuilt Ghostbusters ghost trap. I wanted it to be relatively light so I decided to use foamcore and styrene.
I started by digging through the various trap plans on GBFans.com, comparing them to screenshots and evaluating the given dimensions. Eventually I settled on jt001's modified version of Venkman71's plans for the main parts with Venkman71's and SG1's plans for the details and dimensions. Even still none of the plans were "easy" to use as none of them took material thickness into account, many measurements had to be inferred and a few were even mislabeled.
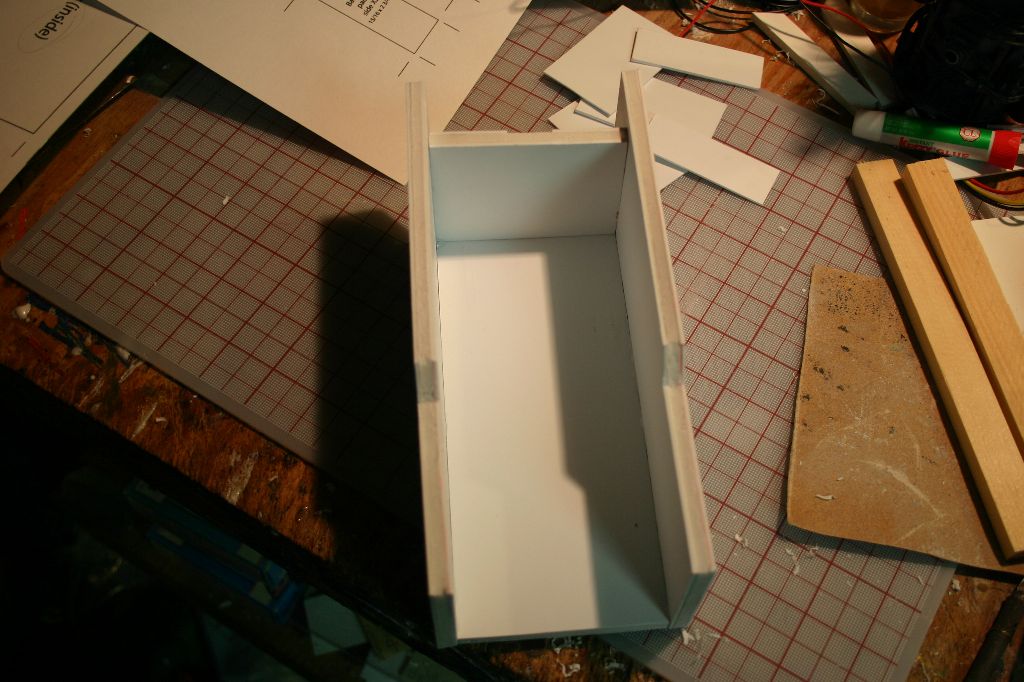
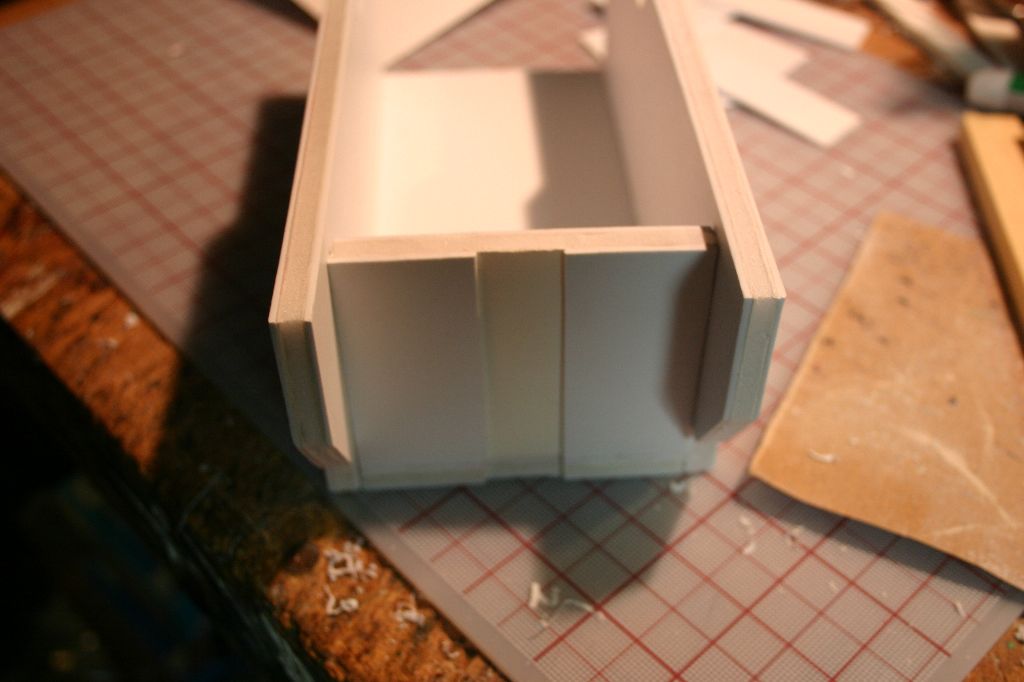
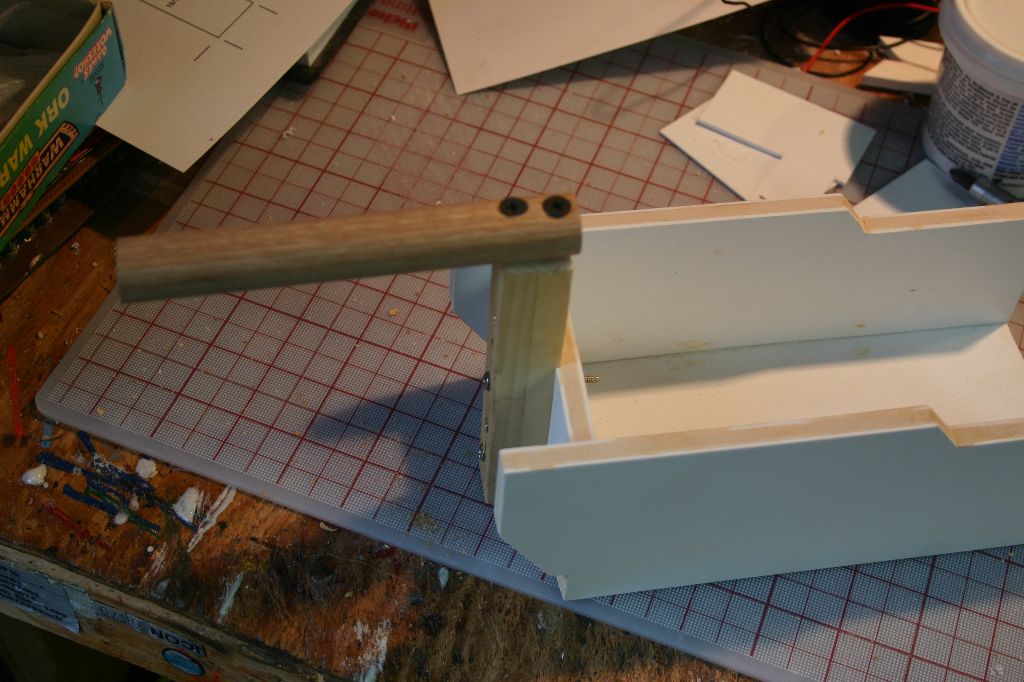
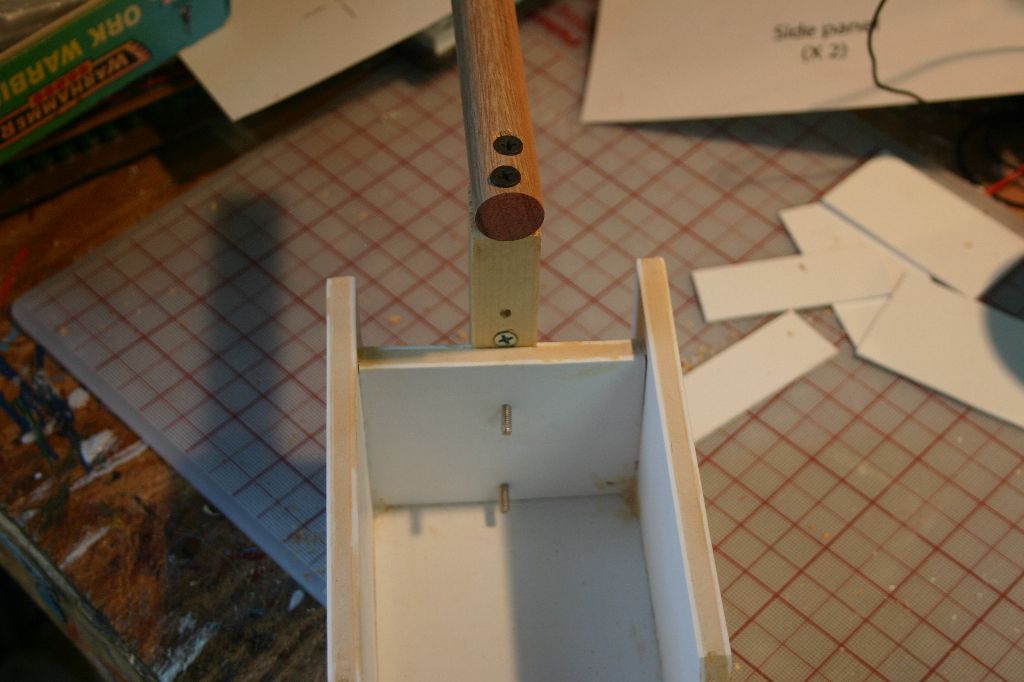
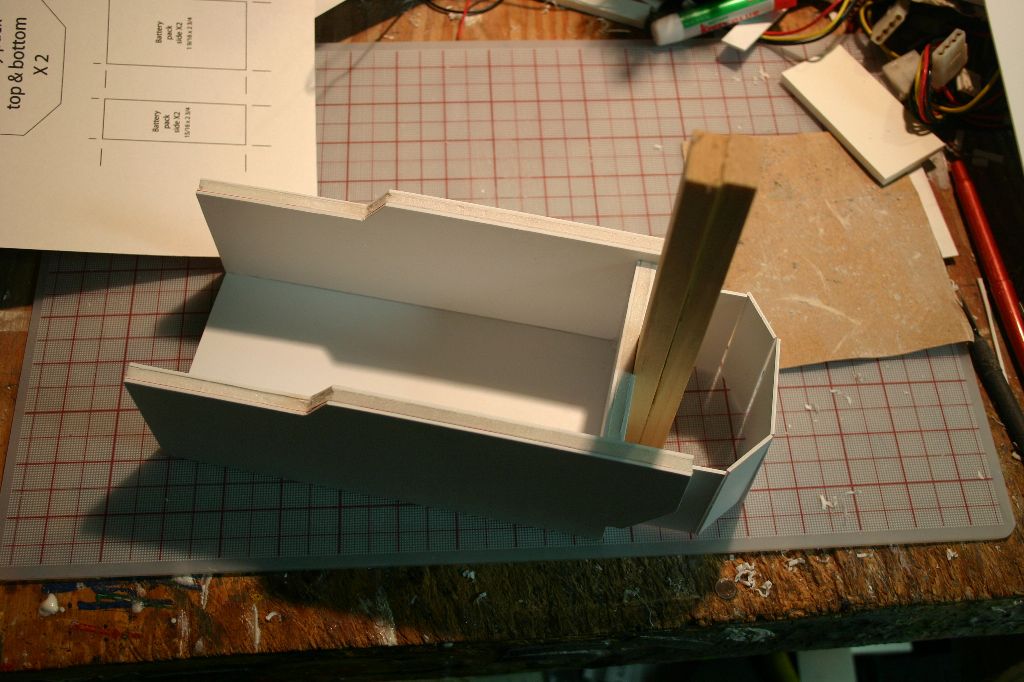
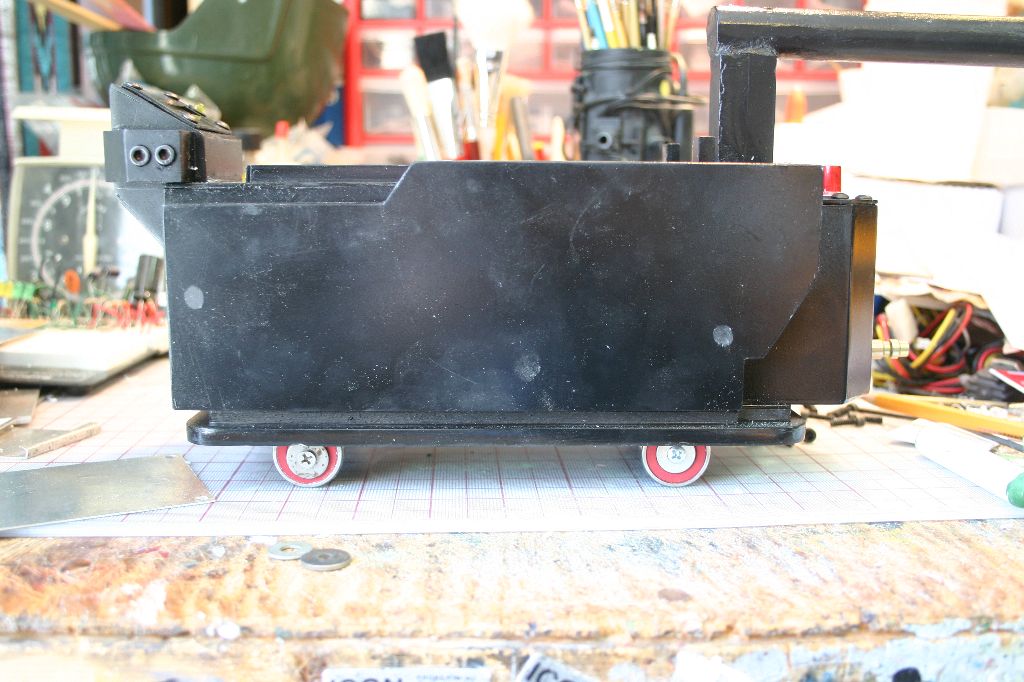
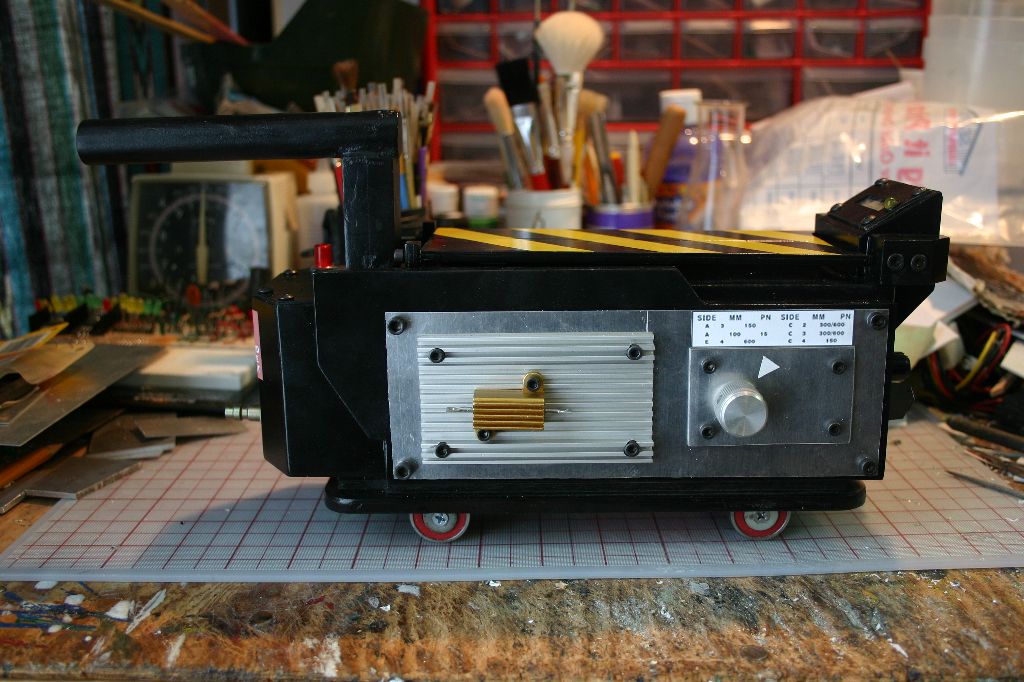
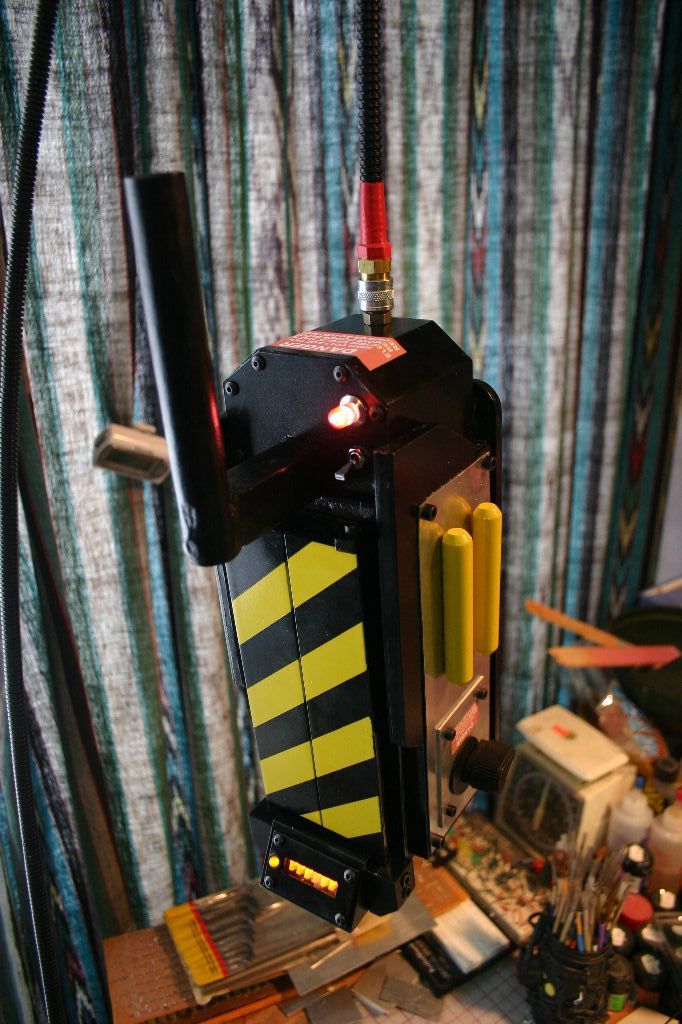
I began with the canister. I layered .06 styrene over foamcore then puttied the edges to seal the foam. The handle was made from wood and attached with screws.

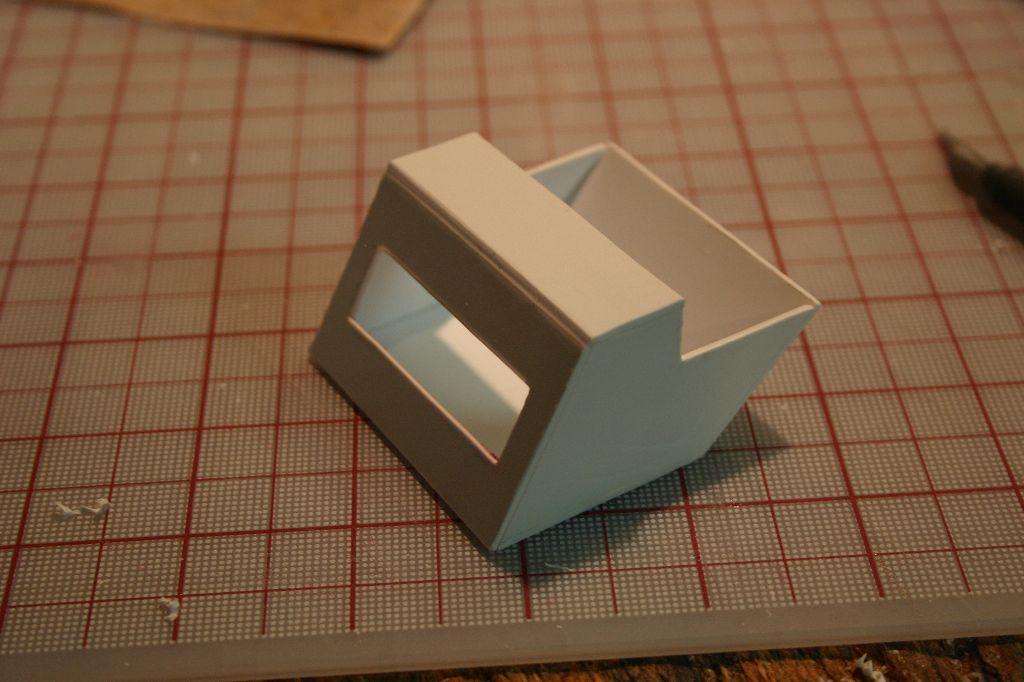
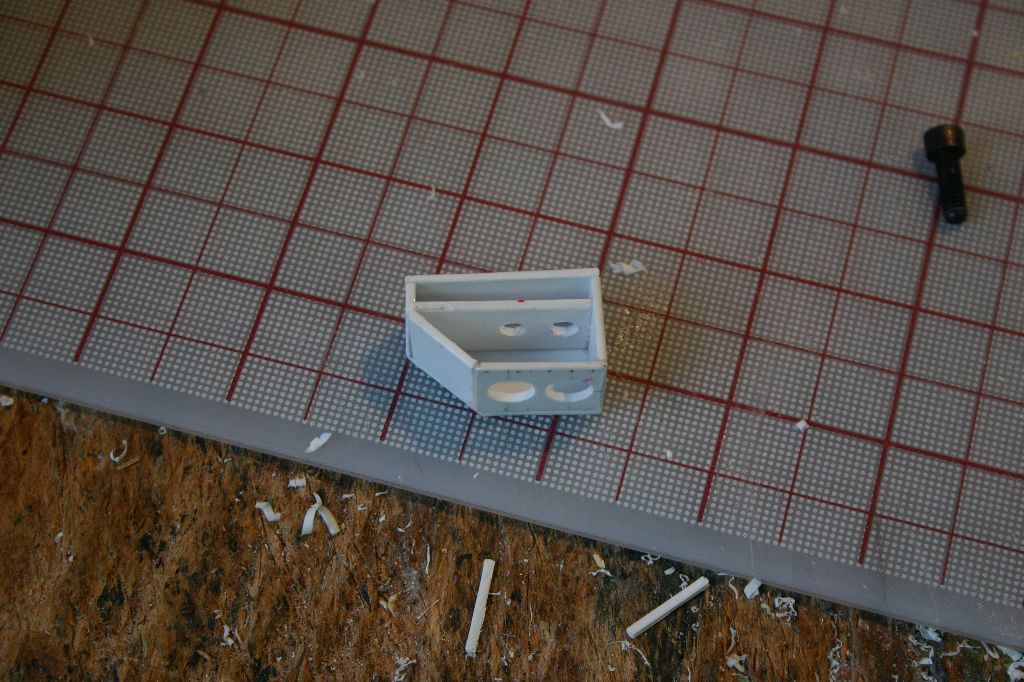
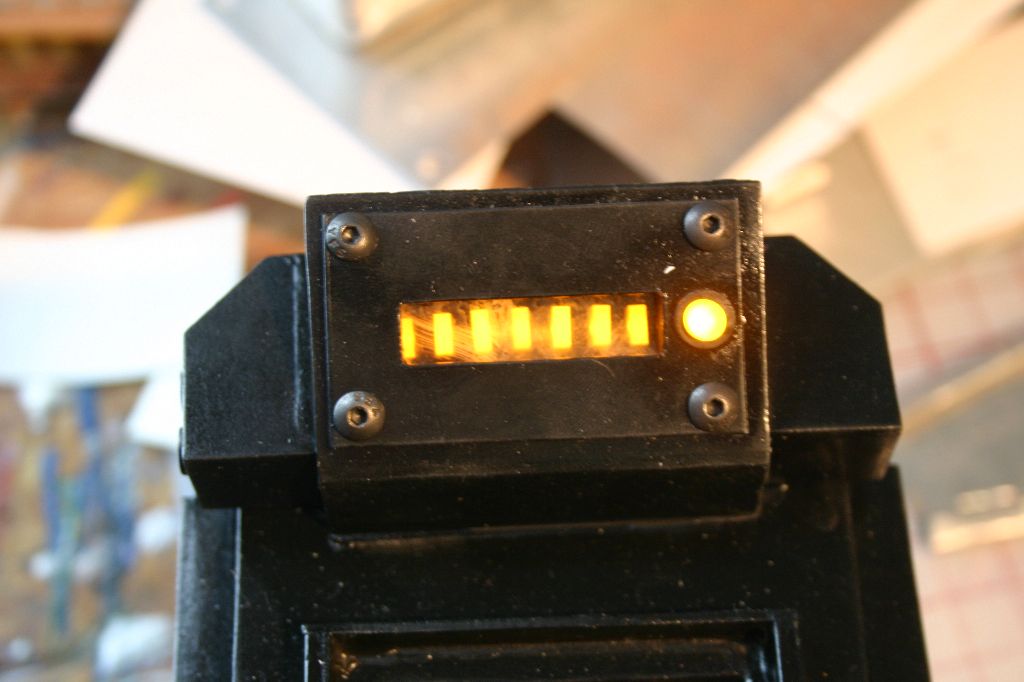
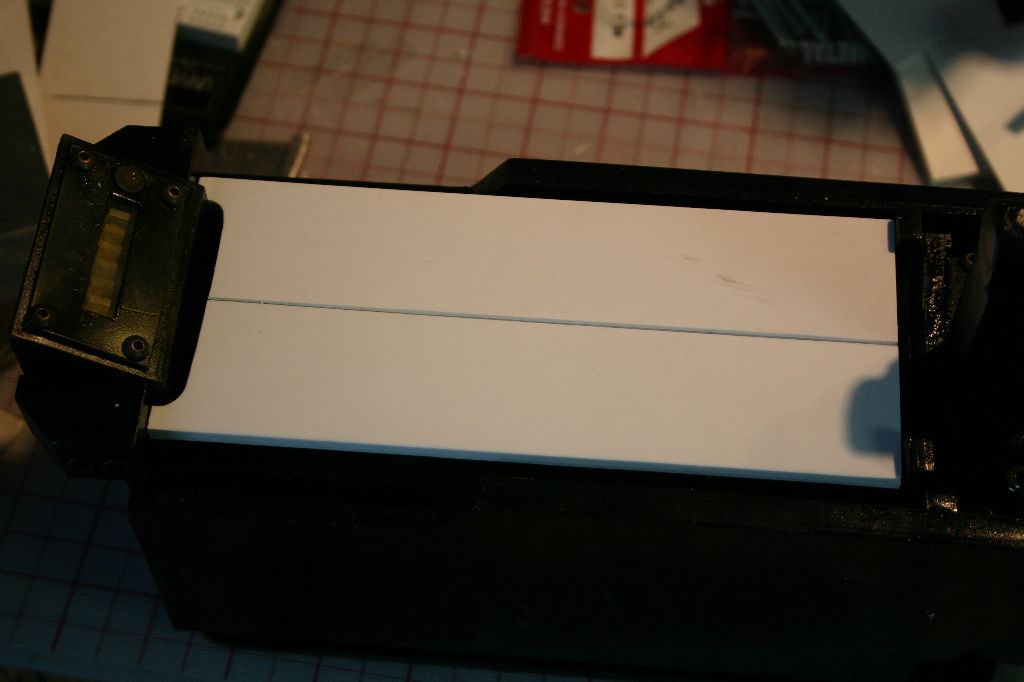
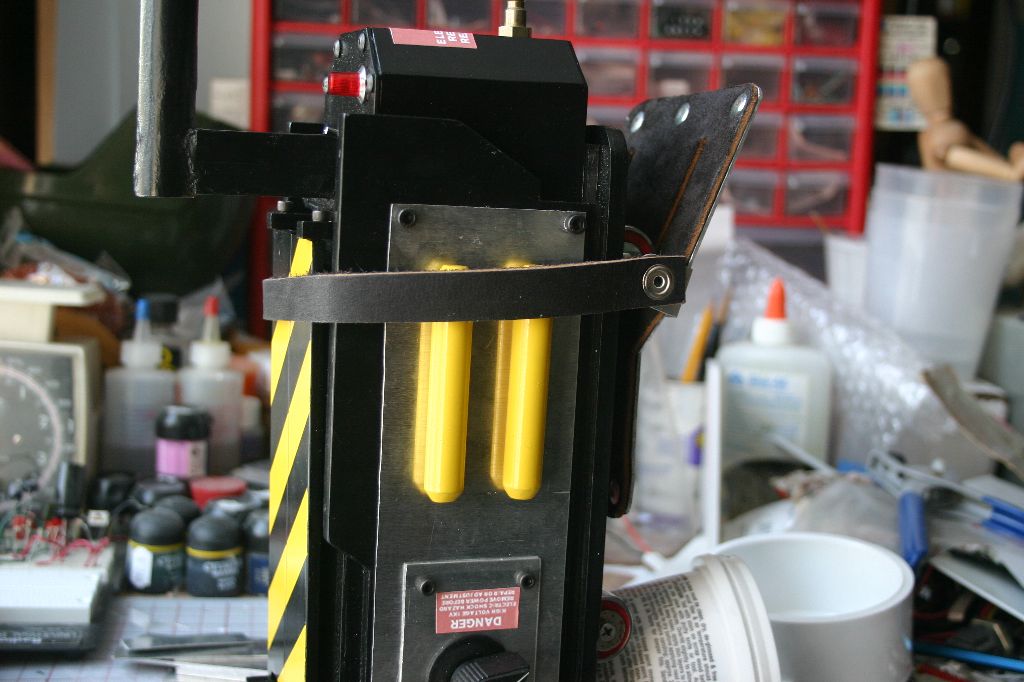
The cartridge is straight .06 styrene. Since I was going to add lights I cut out the front edge to give access to the forward indicator. For the "ears" I added an internal piece of plastic so I could screw in the hex bolts after painting.
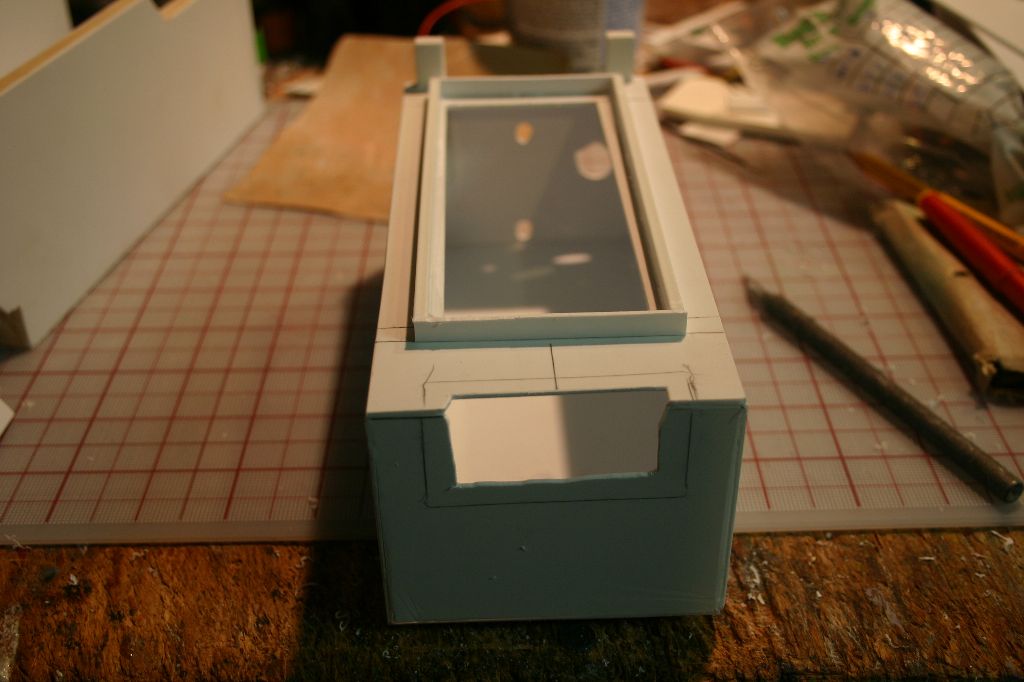
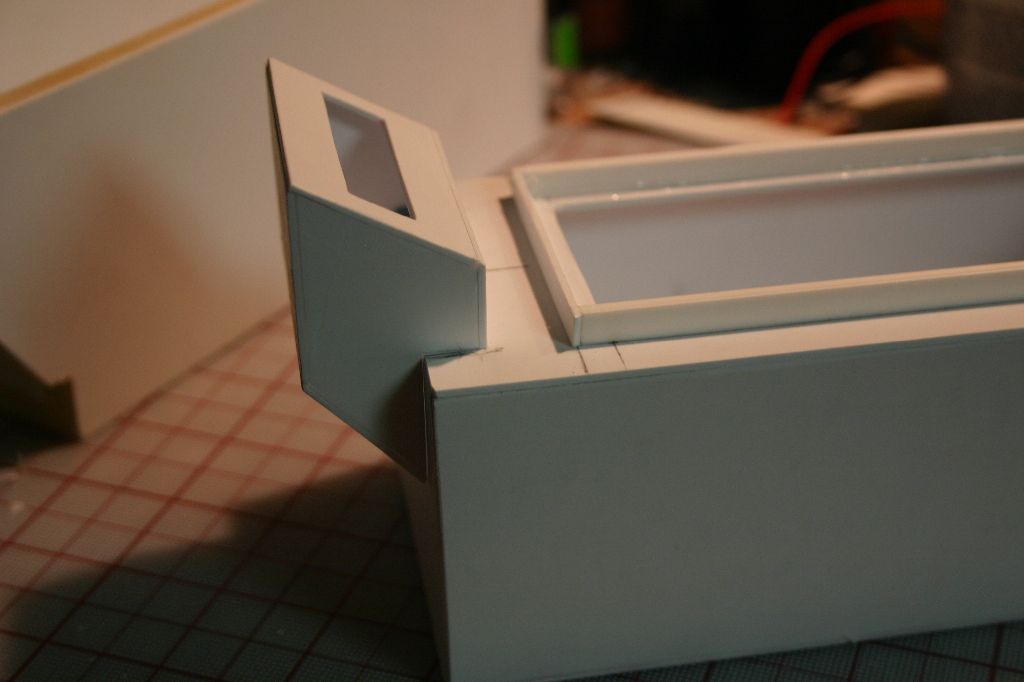
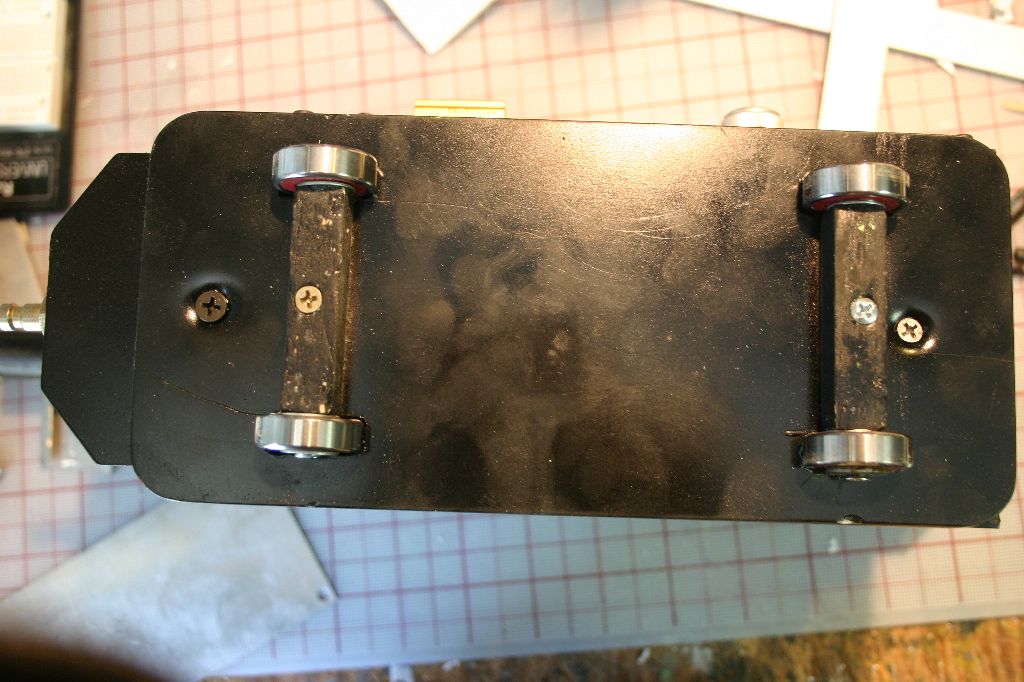
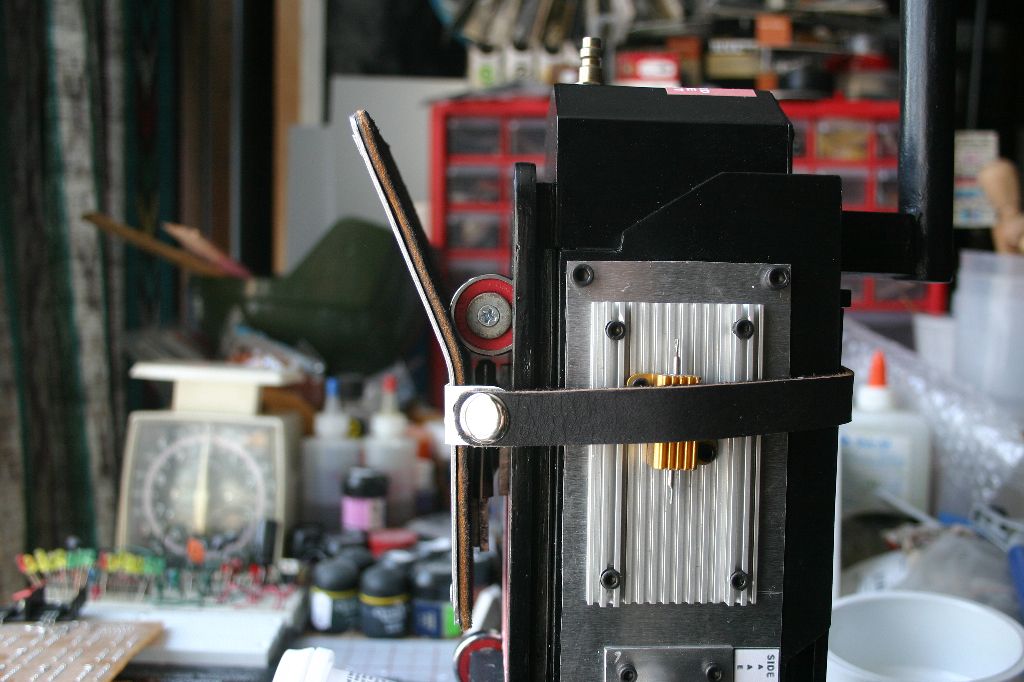
The battery box is a double layer of styrene as I wanted to be able to hold the trap by the cord.
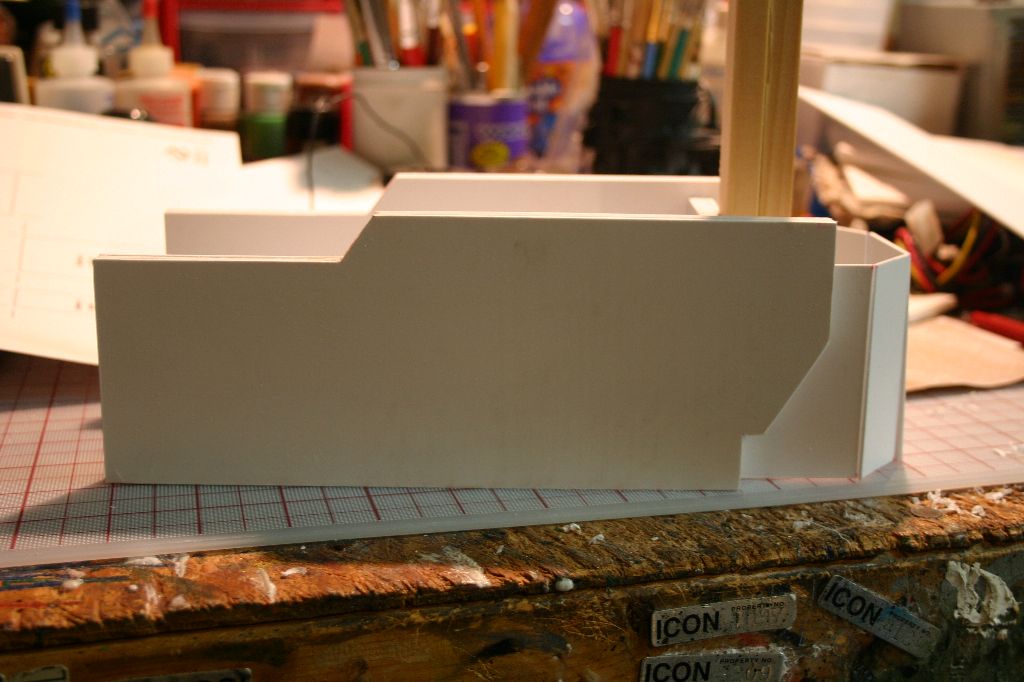
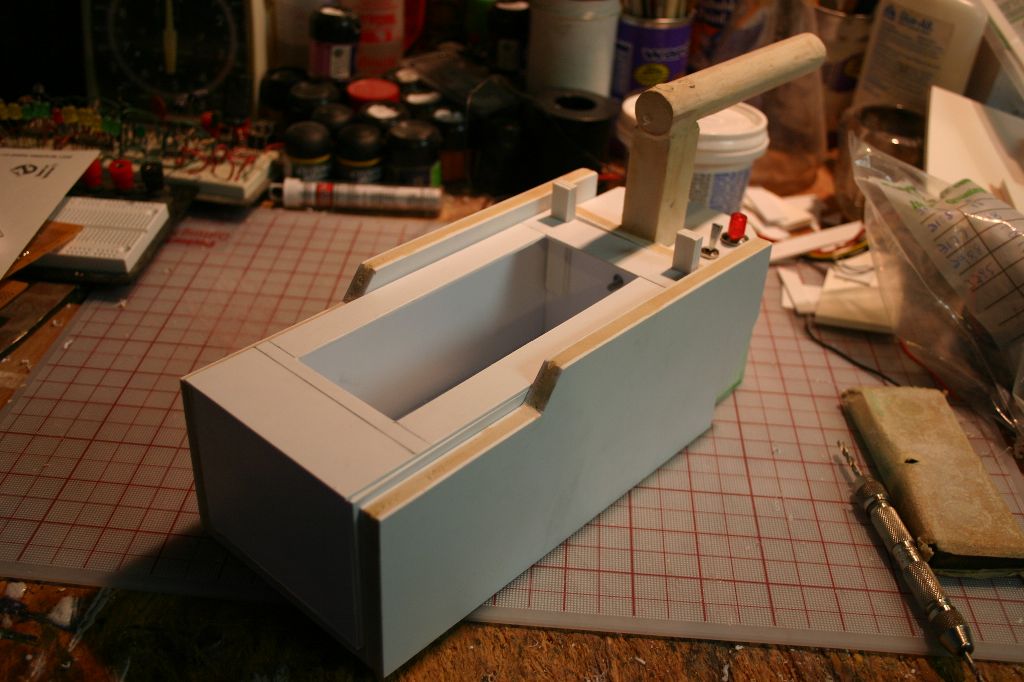
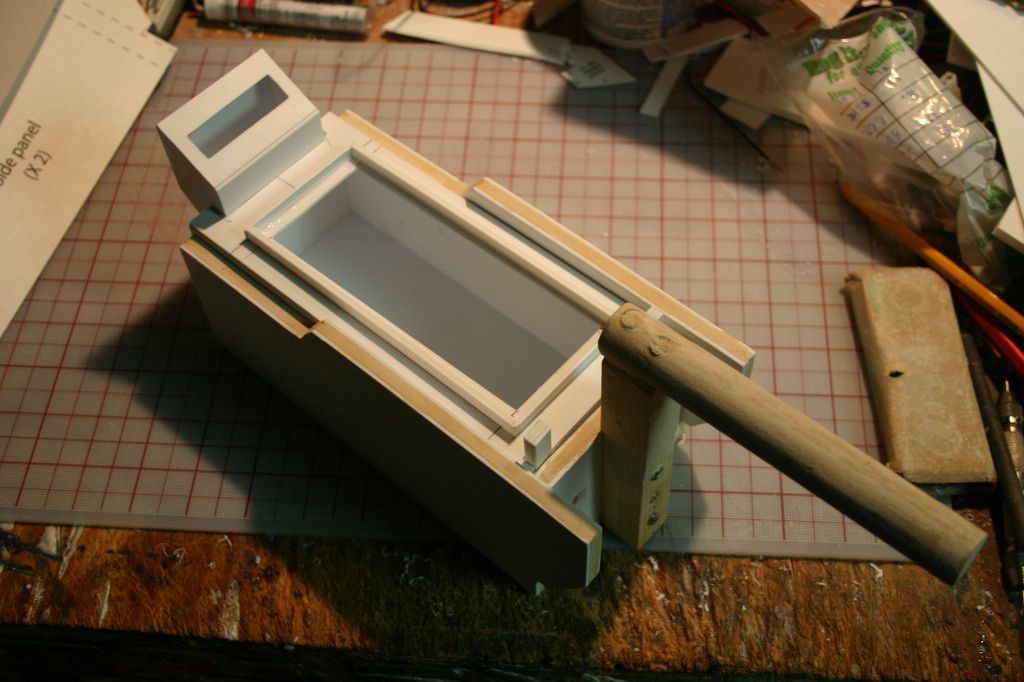
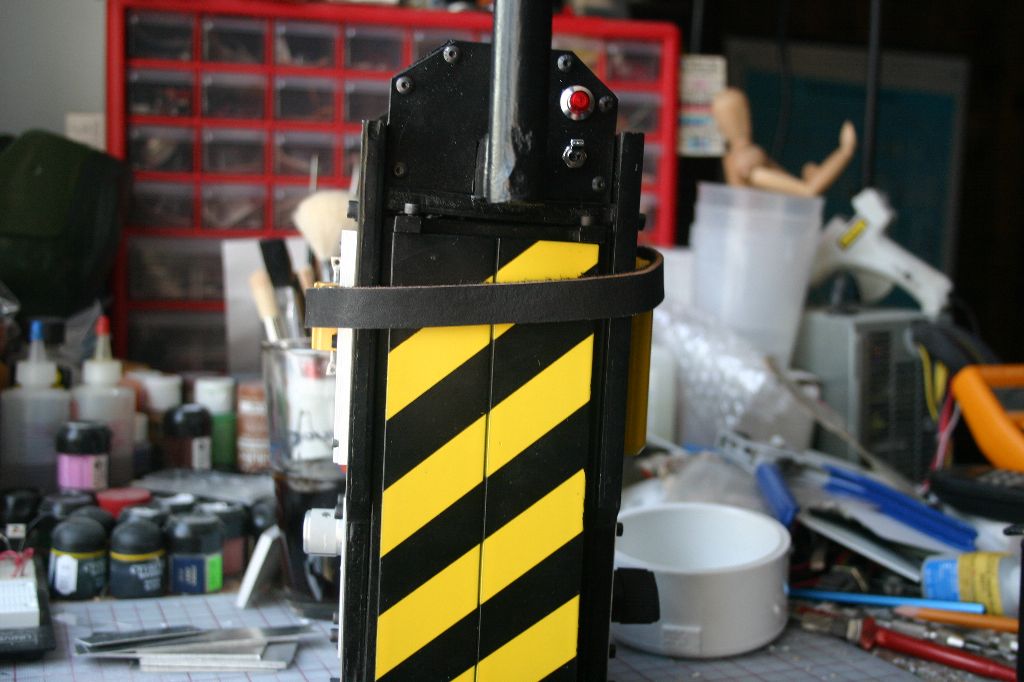
For the base I layered .06 styrene over 1/16th balsa.
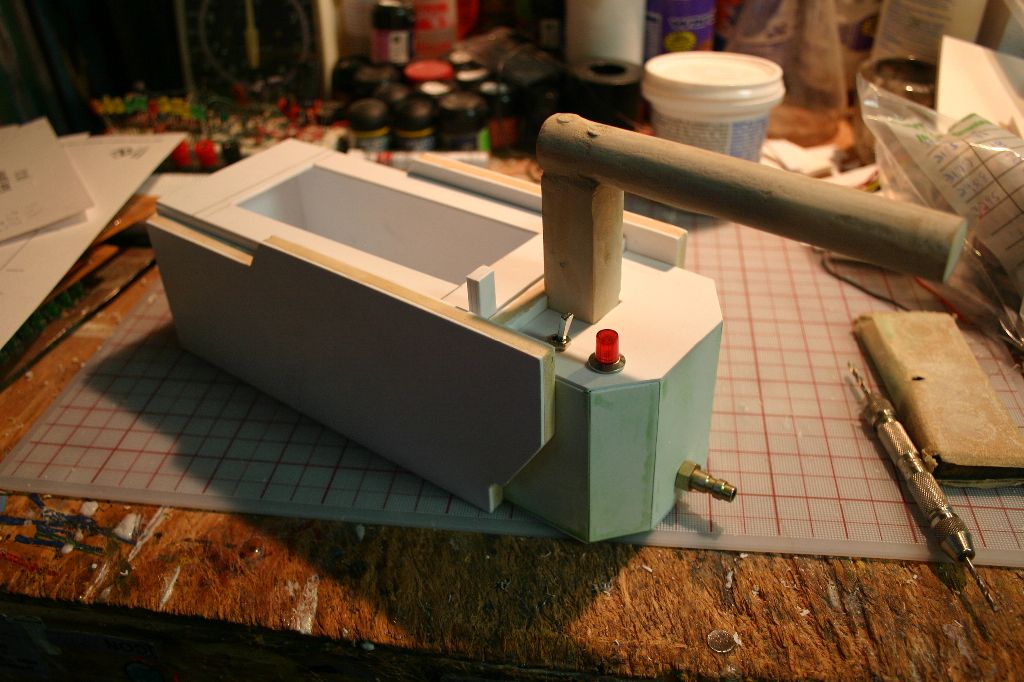
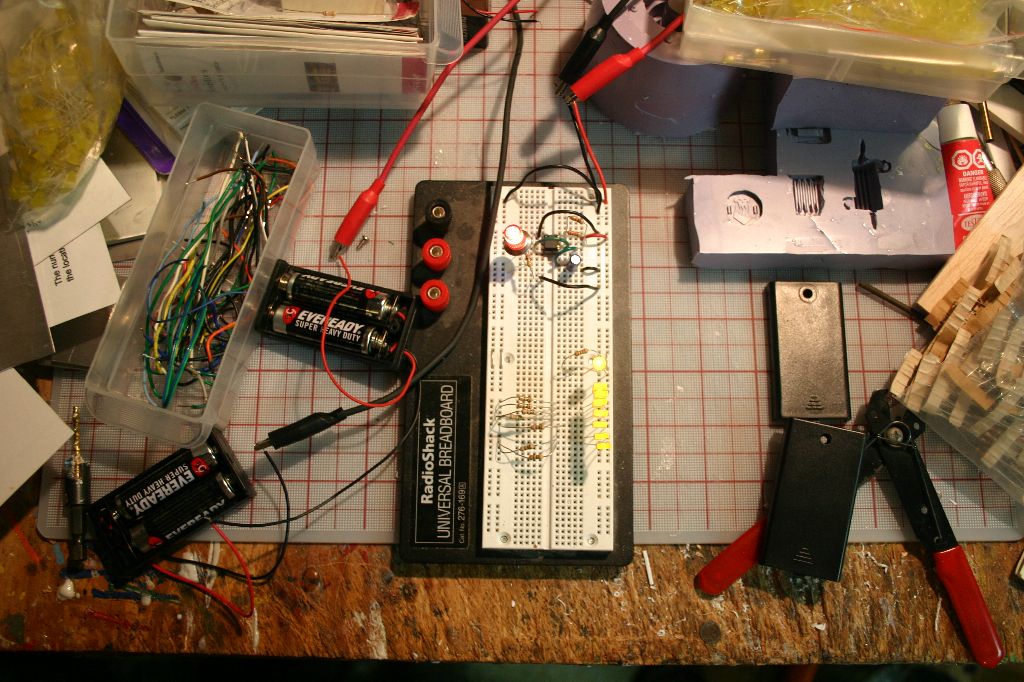
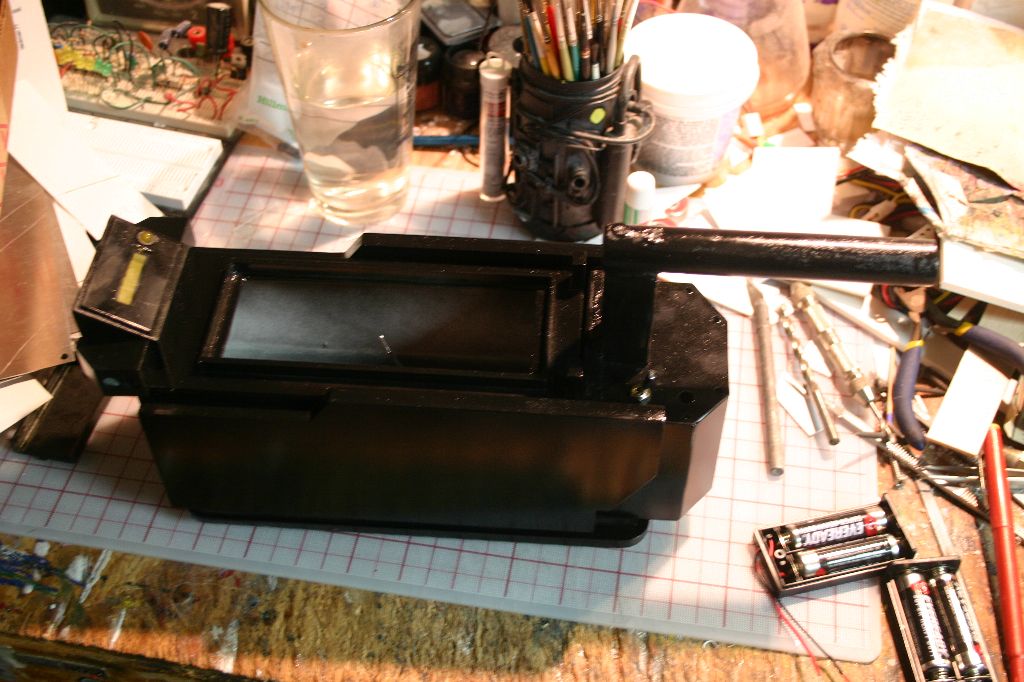
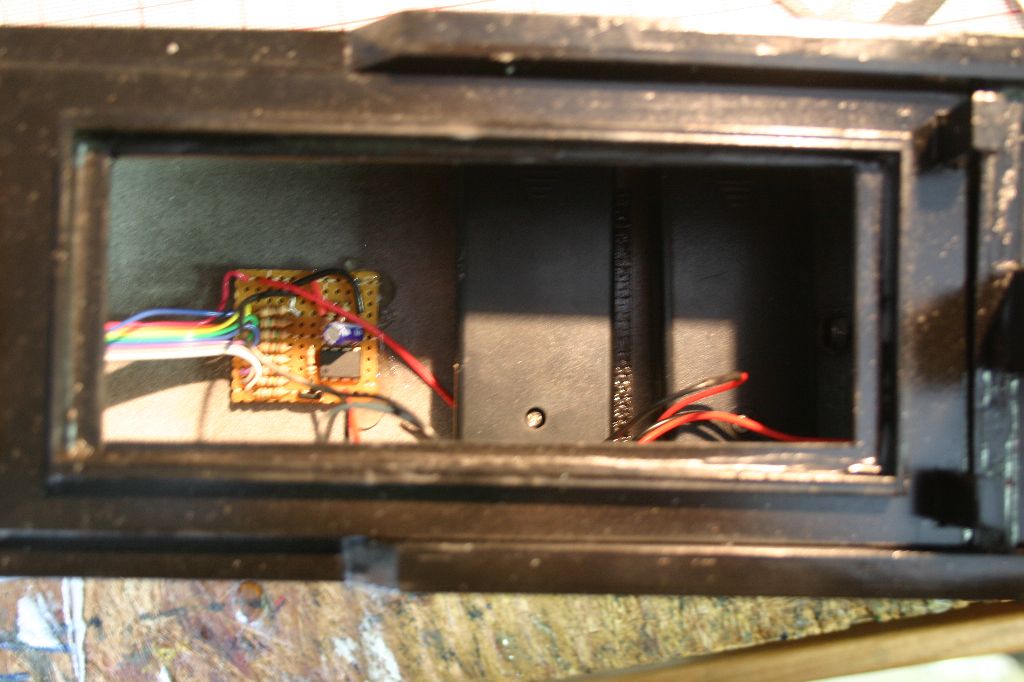
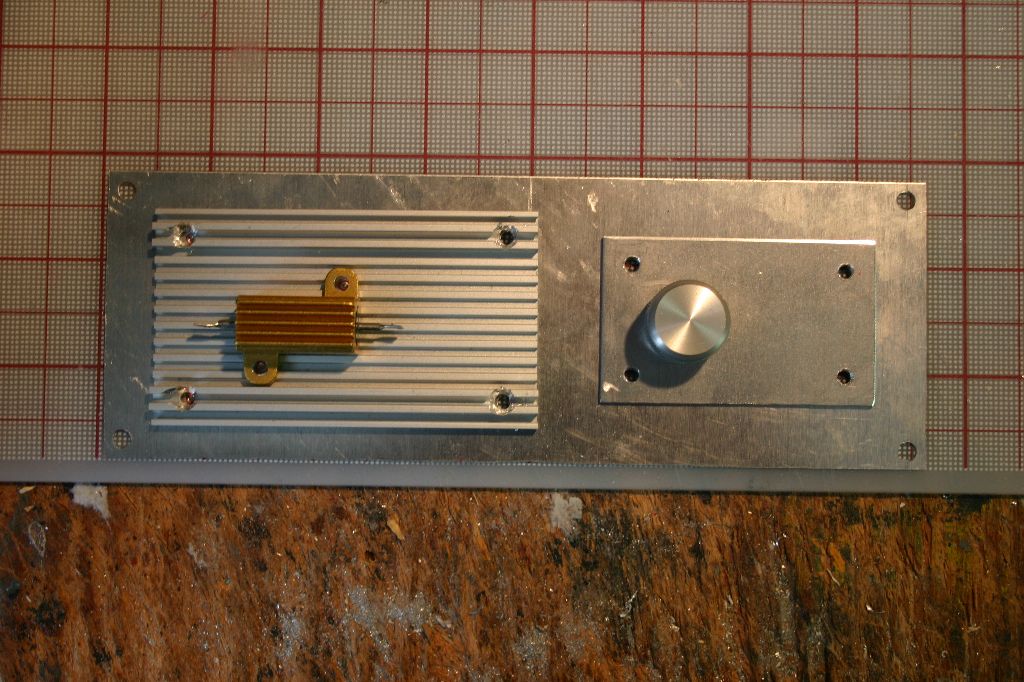
For the electronics I decided to do a static forward indicator and a blinking rear light. I made a simple circuit with a 555 timer and some LEDs.
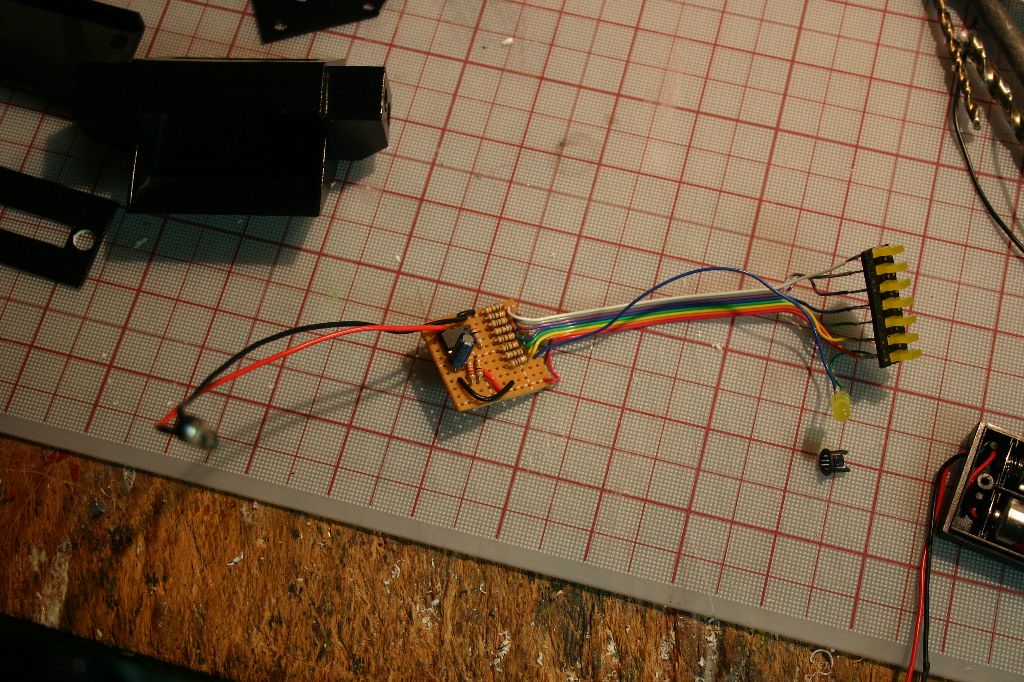
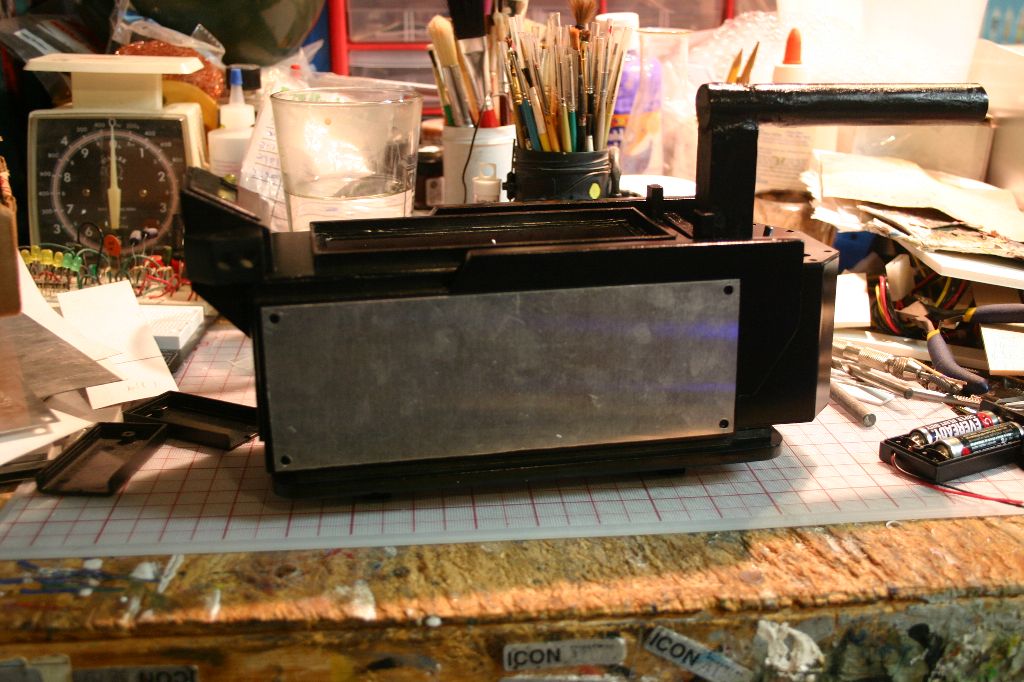
After painting everything black I installed the electronics and some of the detail hardware.


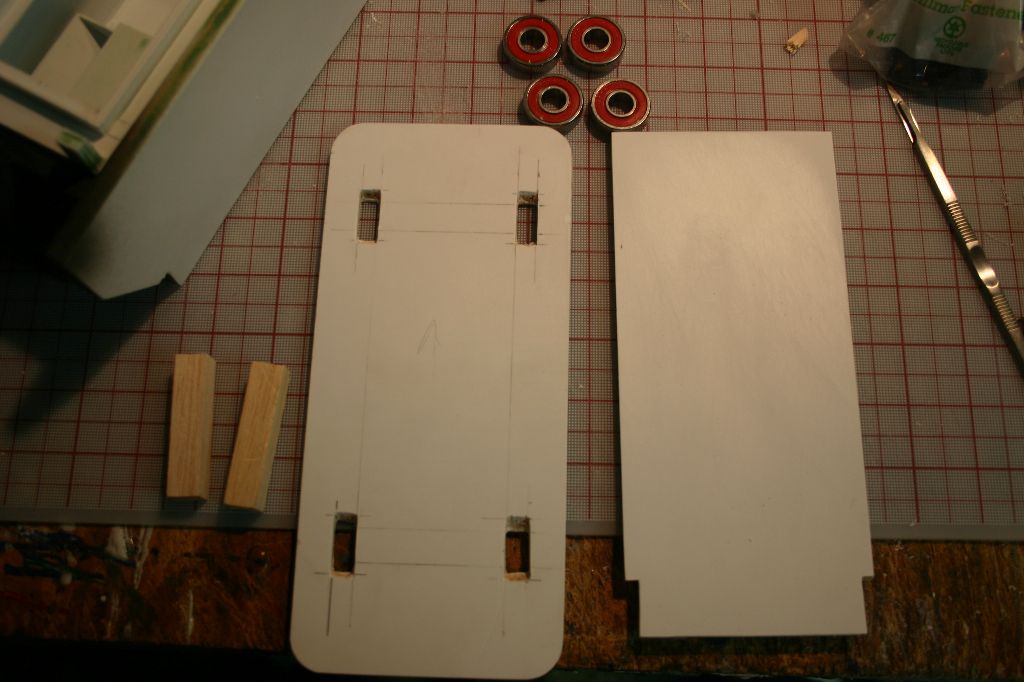
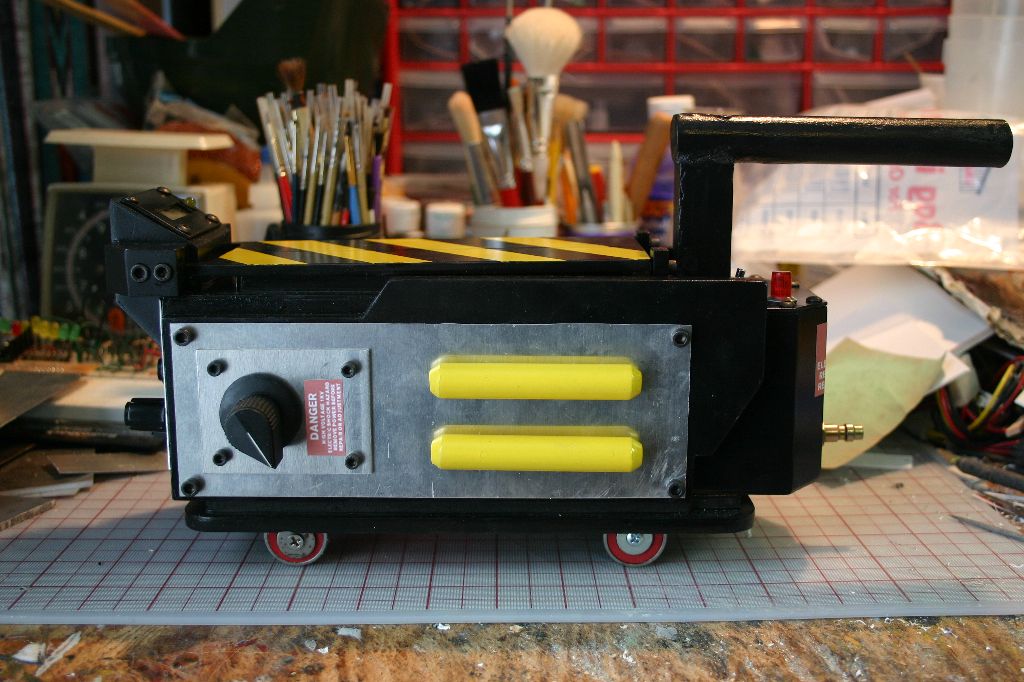
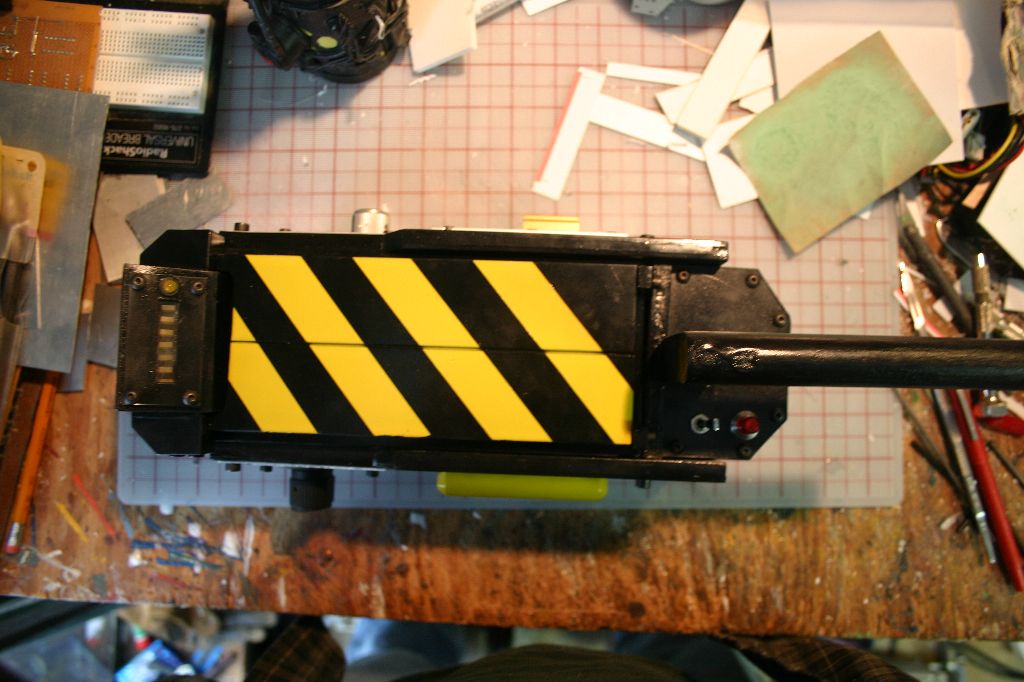
The doors were made as a single piece out of three layers of .06 styrene.

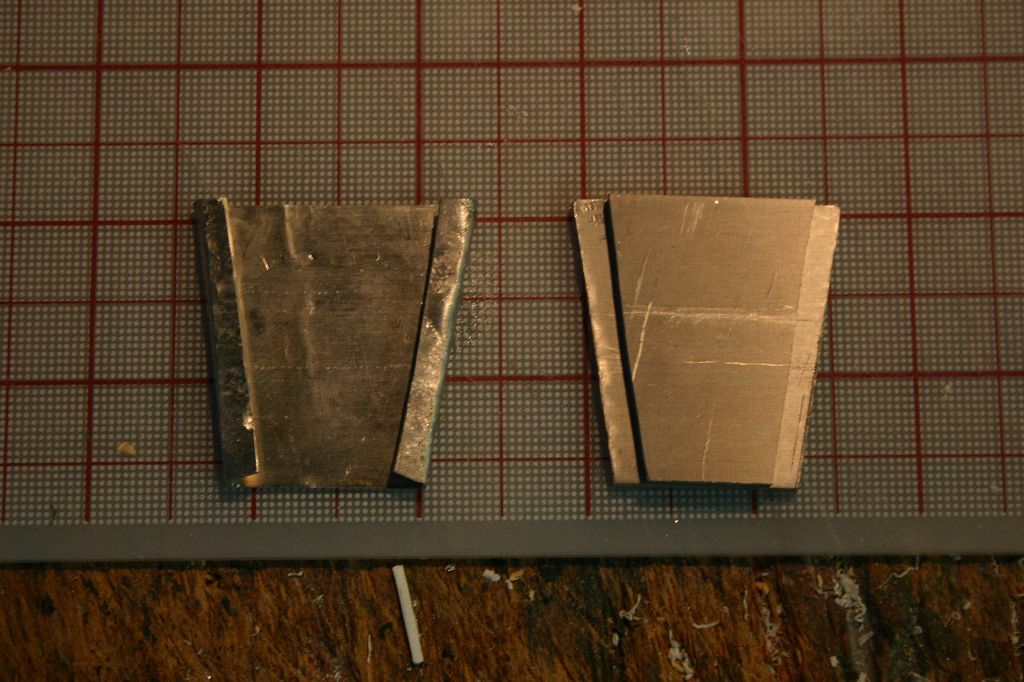
The large side panels were made from 1/32 aluminum. The smaller panels were made from 1/16th aluminum. Other details were made from styrene.
All the panels were attached with the correct hex or button head screws. Labels were printed out on sticker paper.


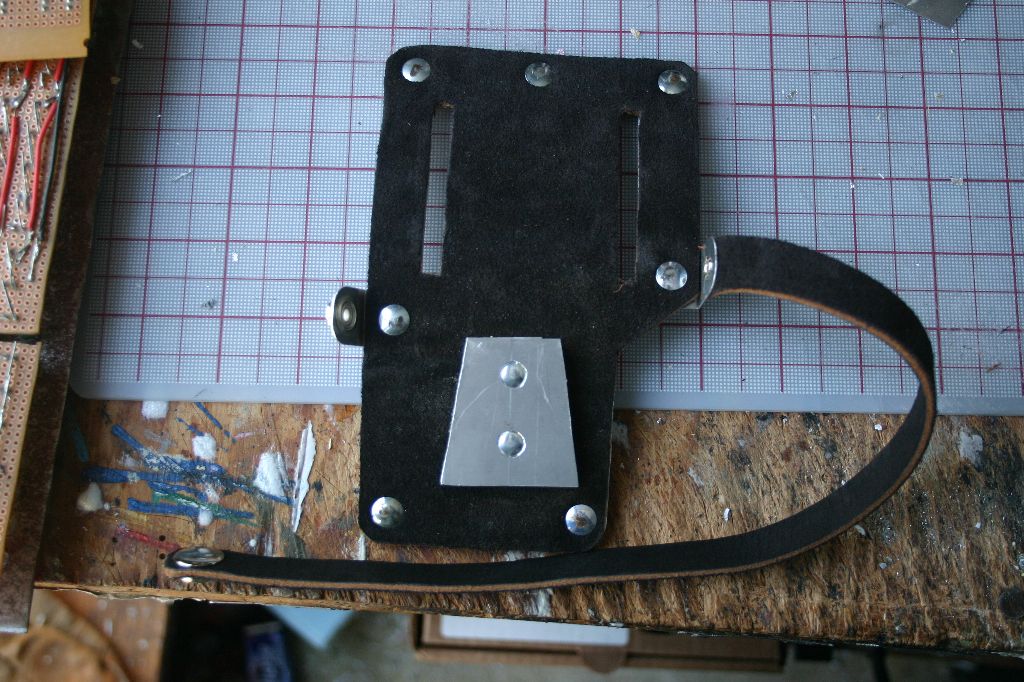
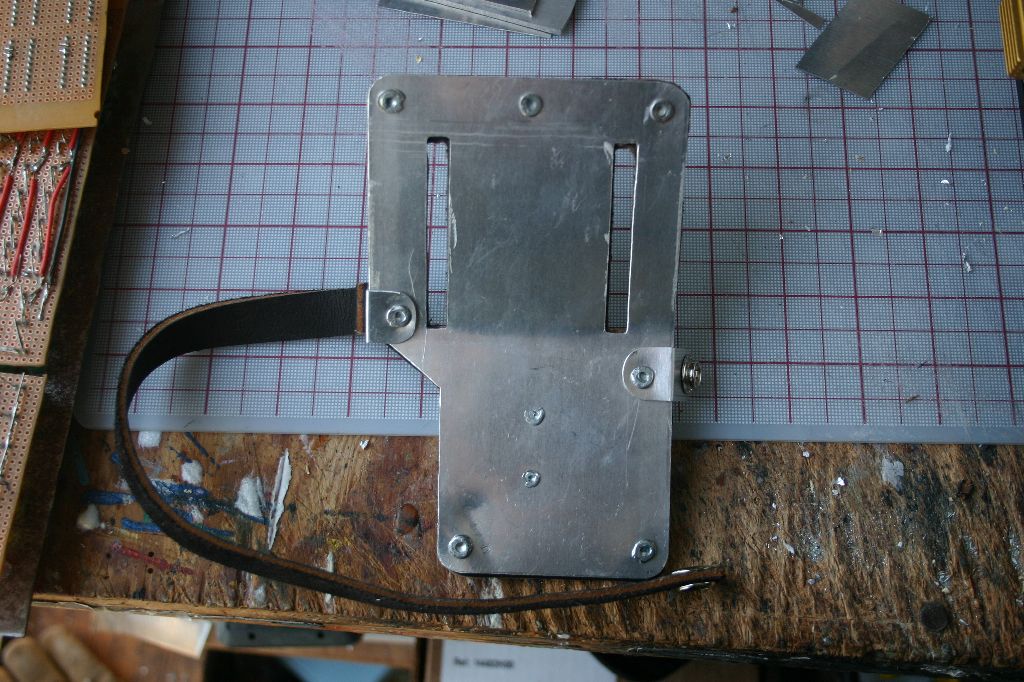
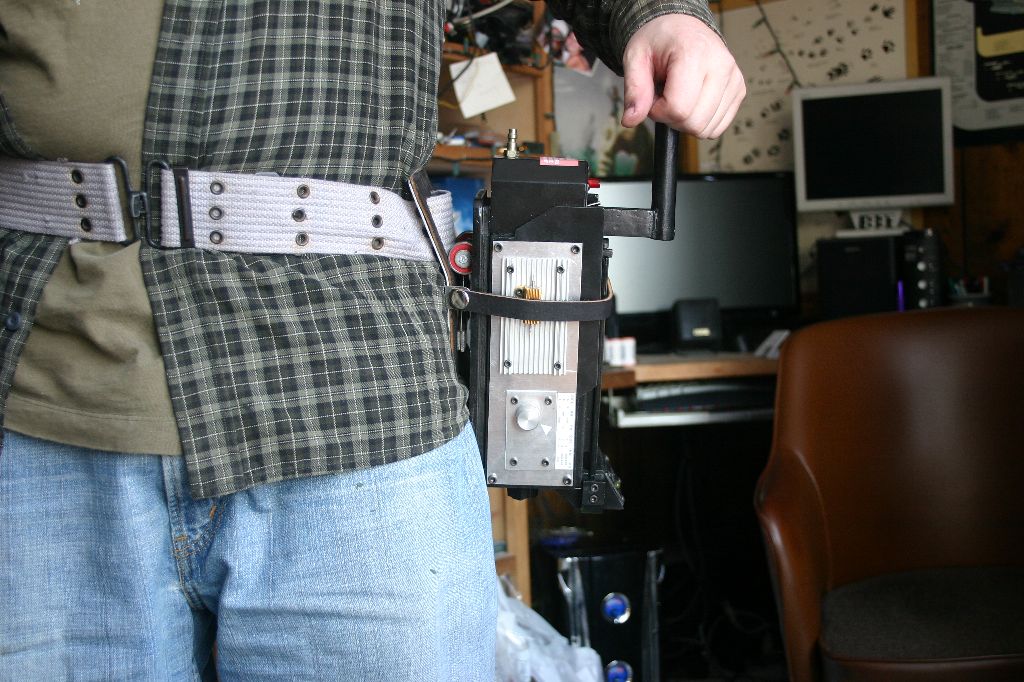
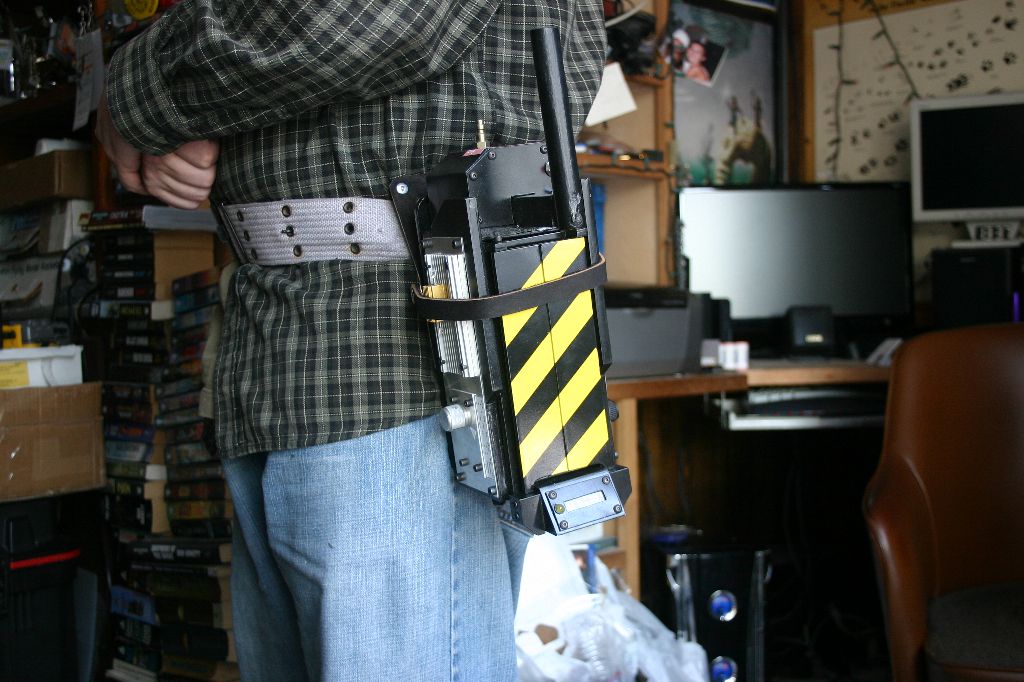
With the trap done I needed a belt holster. This was made from 1/16 aluminum and 1/8 black leather. The v-hook was made from 1/8 and 1/32 aluminum. I had to bend the holster a bit as the wheels of the trap are a little low.
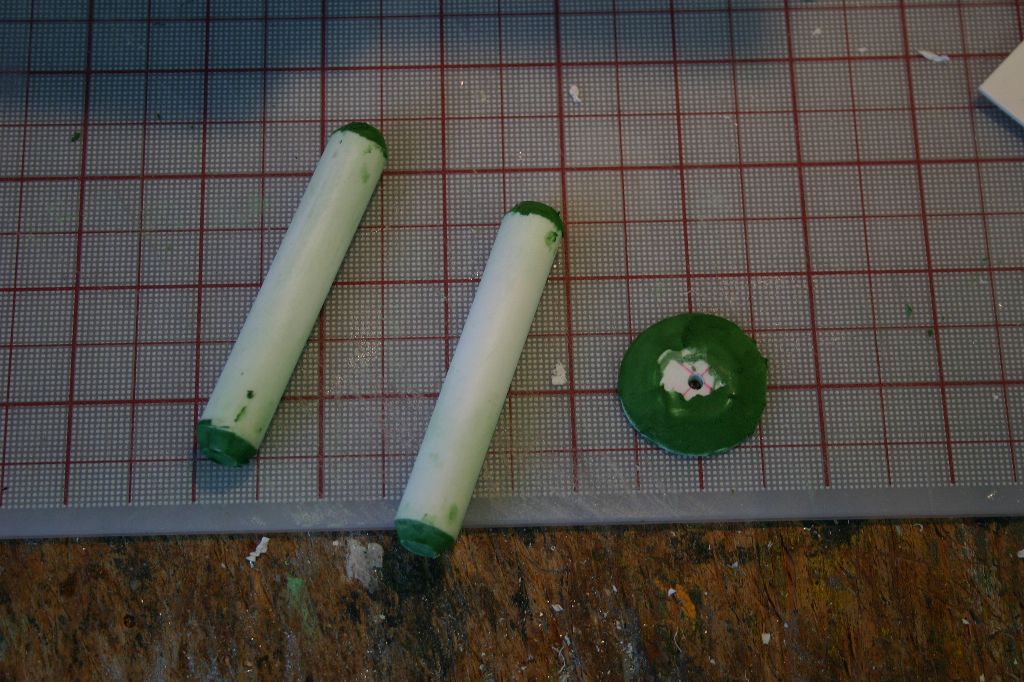
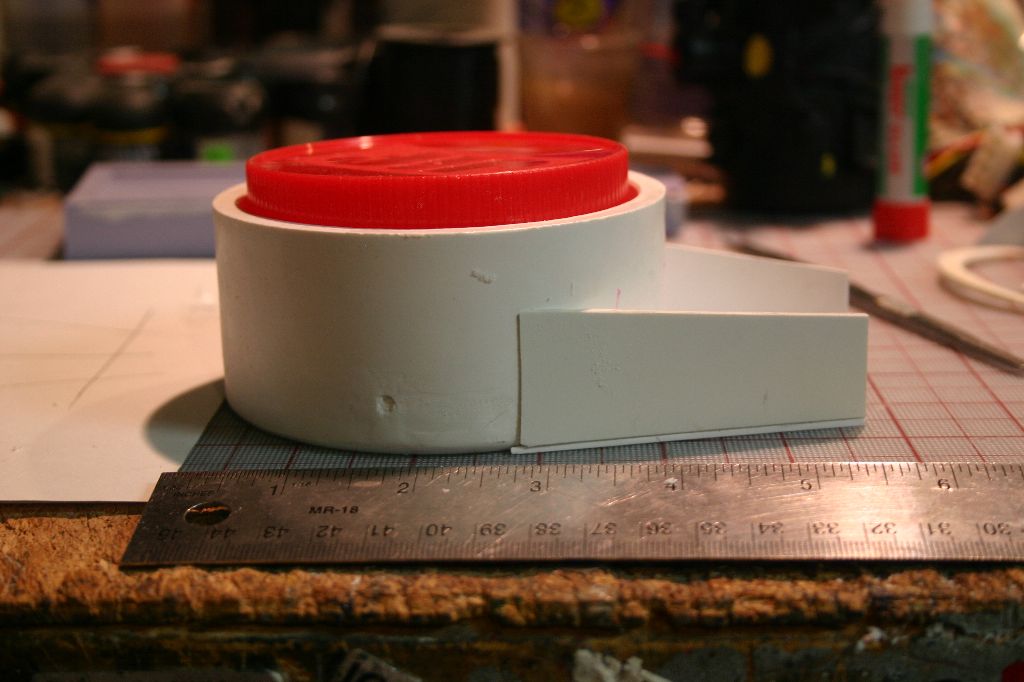
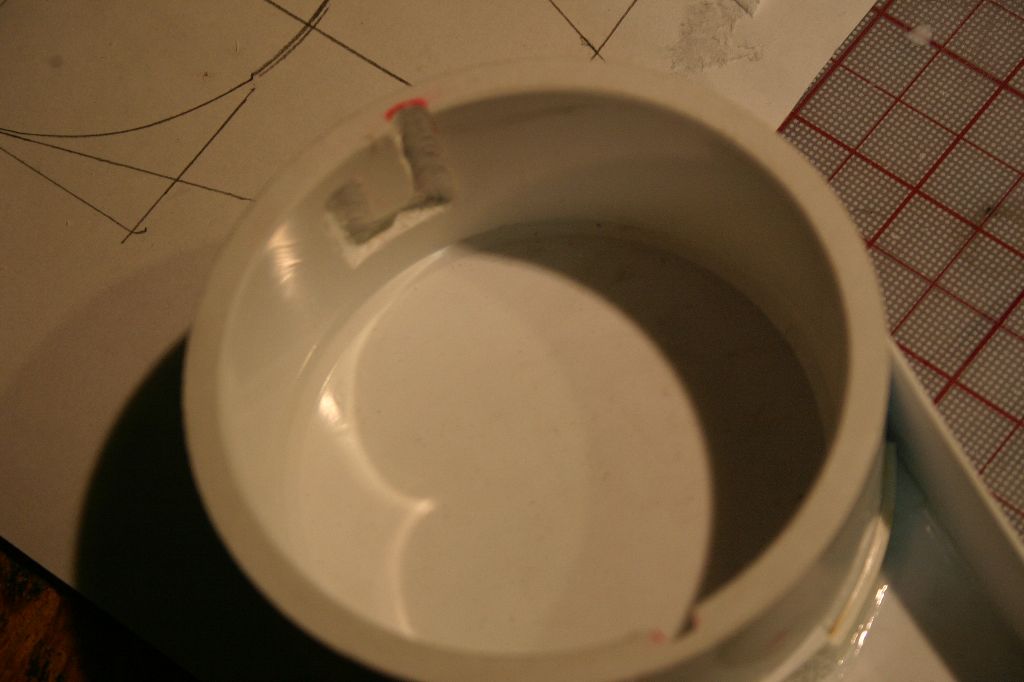
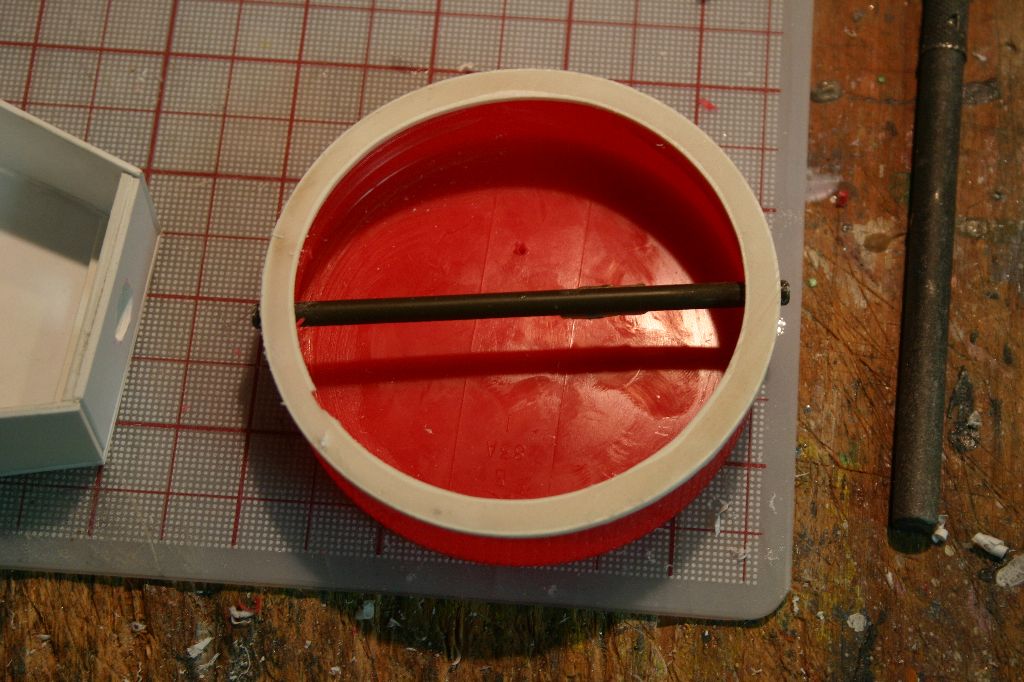
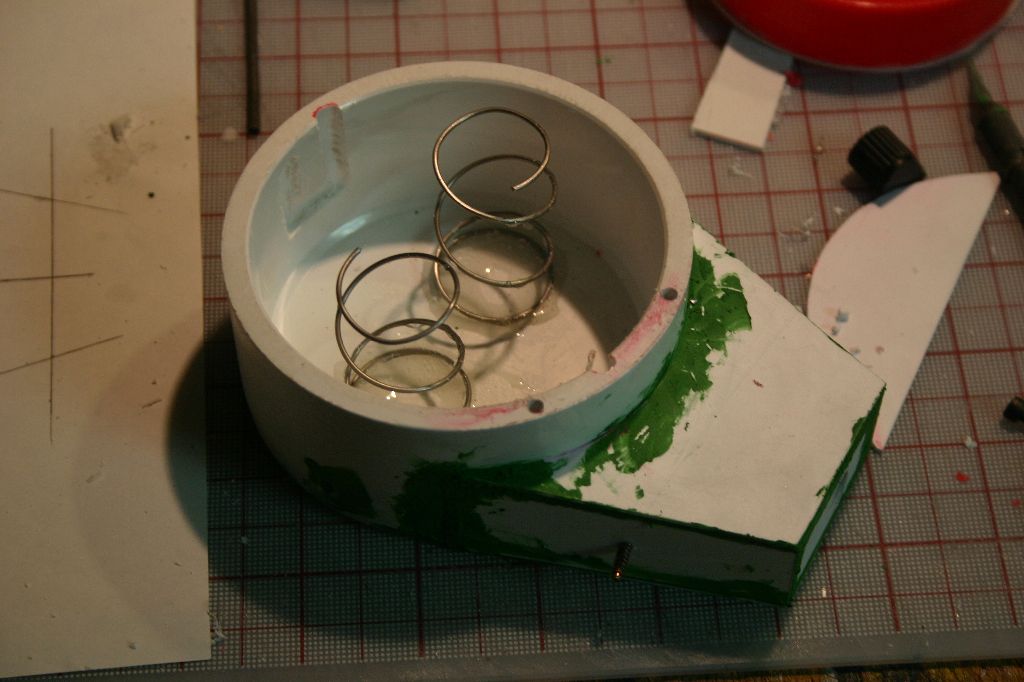
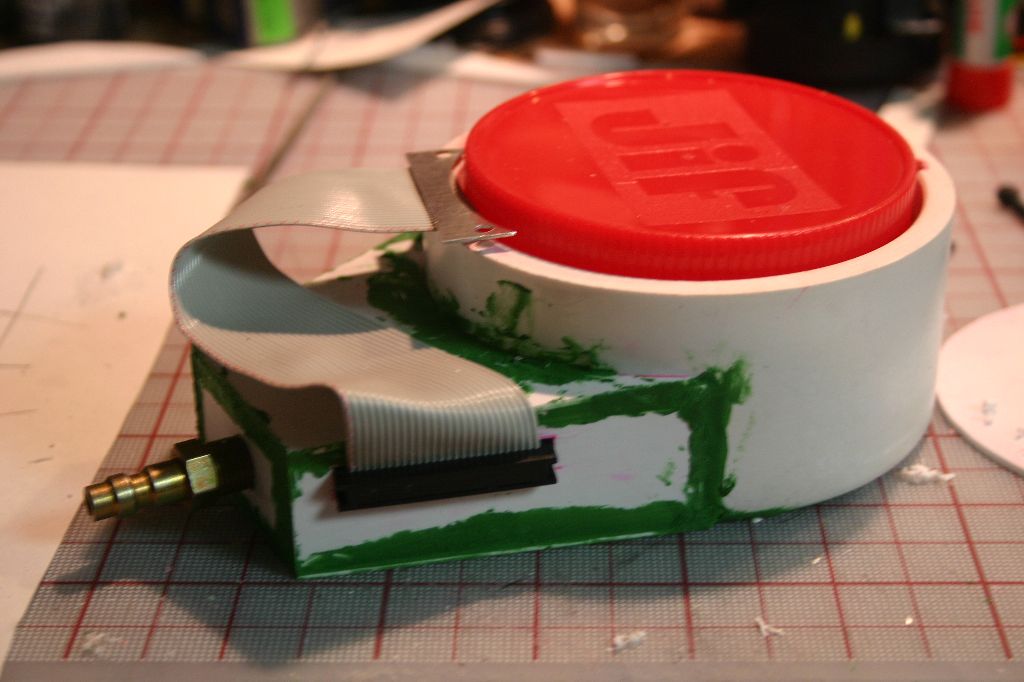
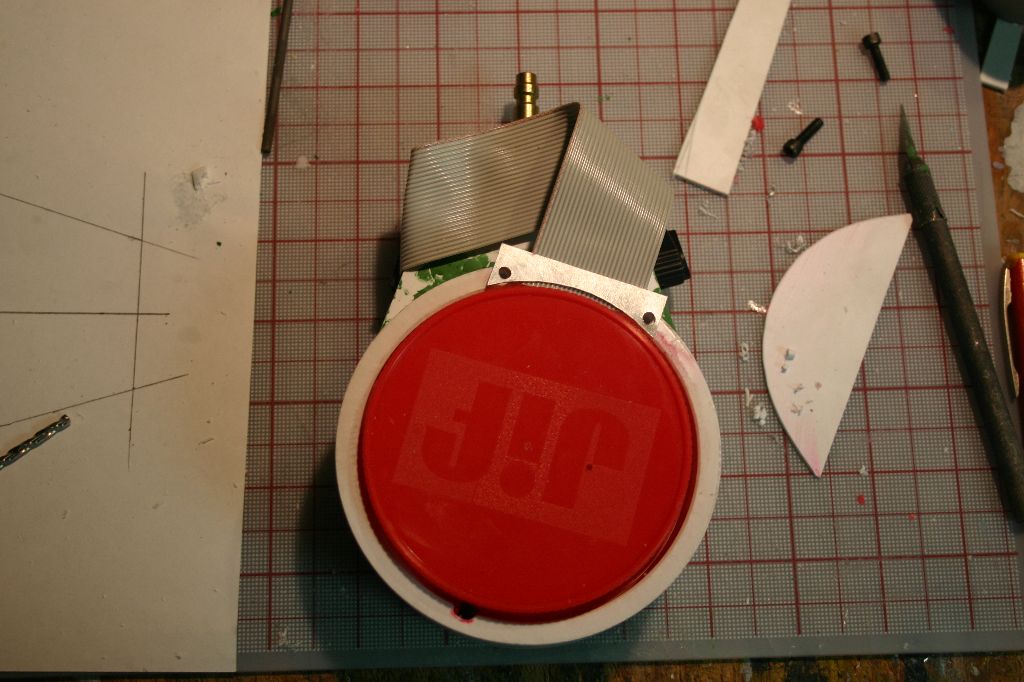
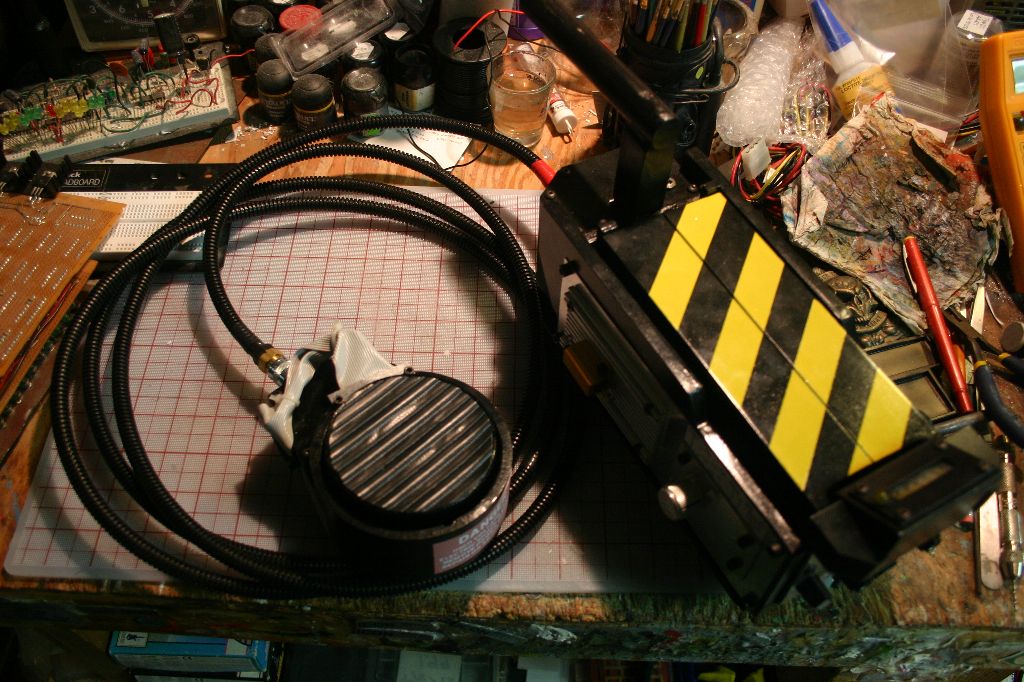
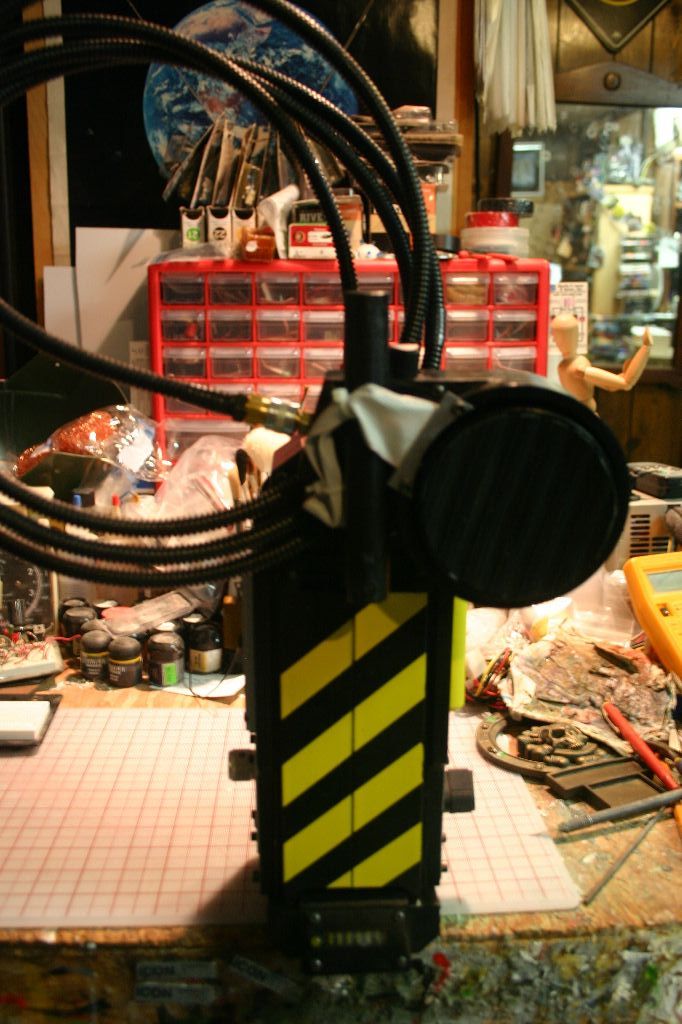
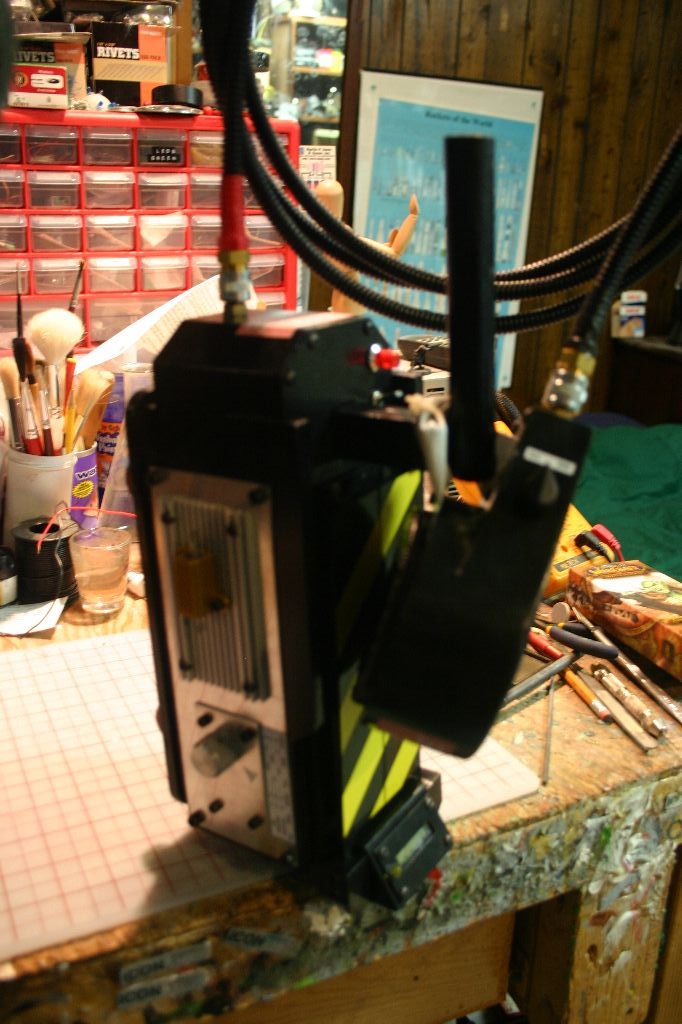
Next up was a custom pedal attachment. I started with a 3" PVC end cap and a peanut butter jar lid. Grooves were dremeled into the inside of the PVC and a rod inserted through the jar lid. I cut a nerf gun spring in half and epoxied it to the bottom of the PVC. The bump-out was made from .06 styrene.
I wanted to tie in some of the movie elements and needed a way for the pedal to hang from the trap so I added a ribbon cable and a small teardrop knob.

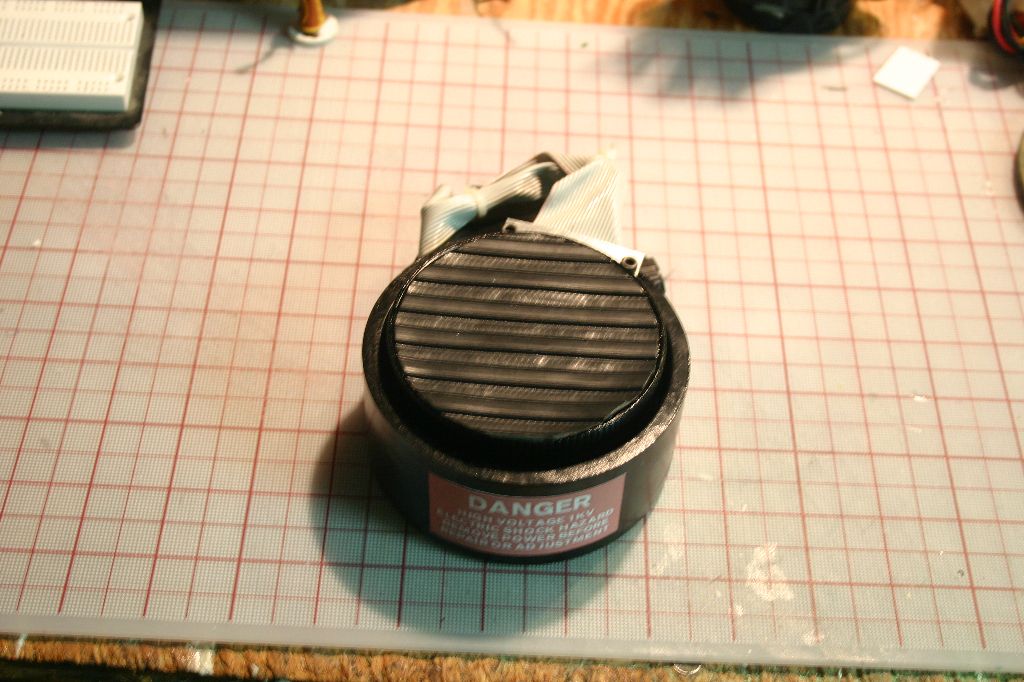
A coat of black paint, some printed labels and a piece of rubber floor mat finished it off.


And here's the completed trap setup:
Tweet
