Bloody Plastic's Bill and Ted Payphone
In 2014 friend of mine asked me to make him the light up payphone from the Bill and Ted movies. The build up for it is up here: http://www.bloody-plastic.com/props/btpayphone.html
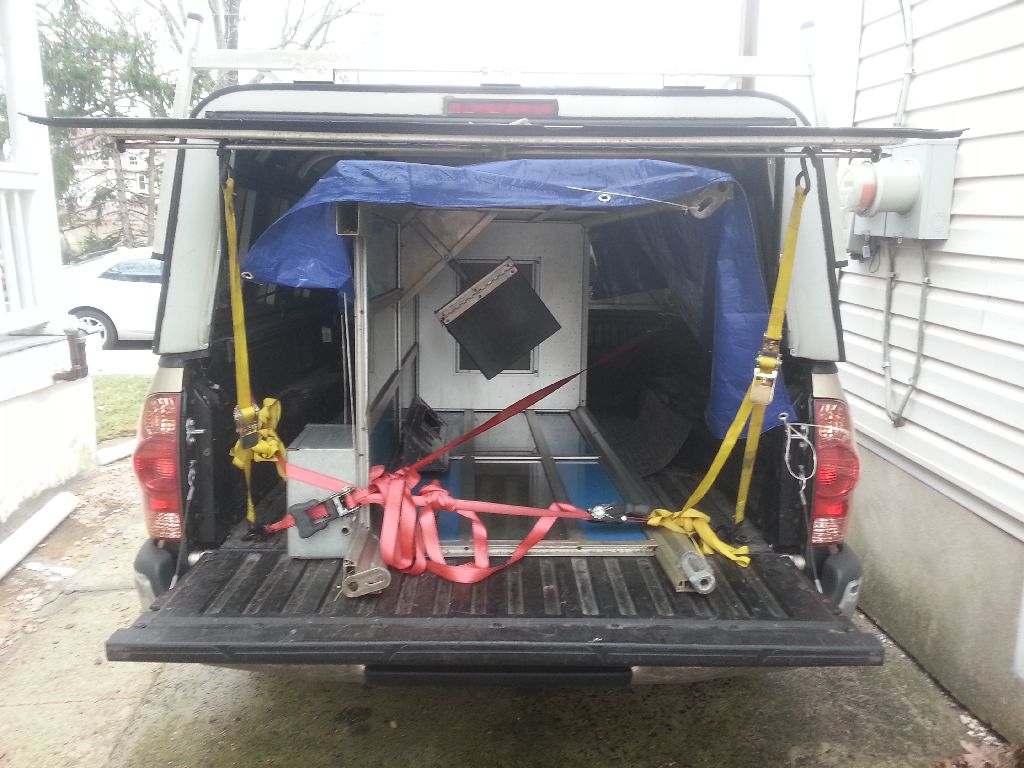
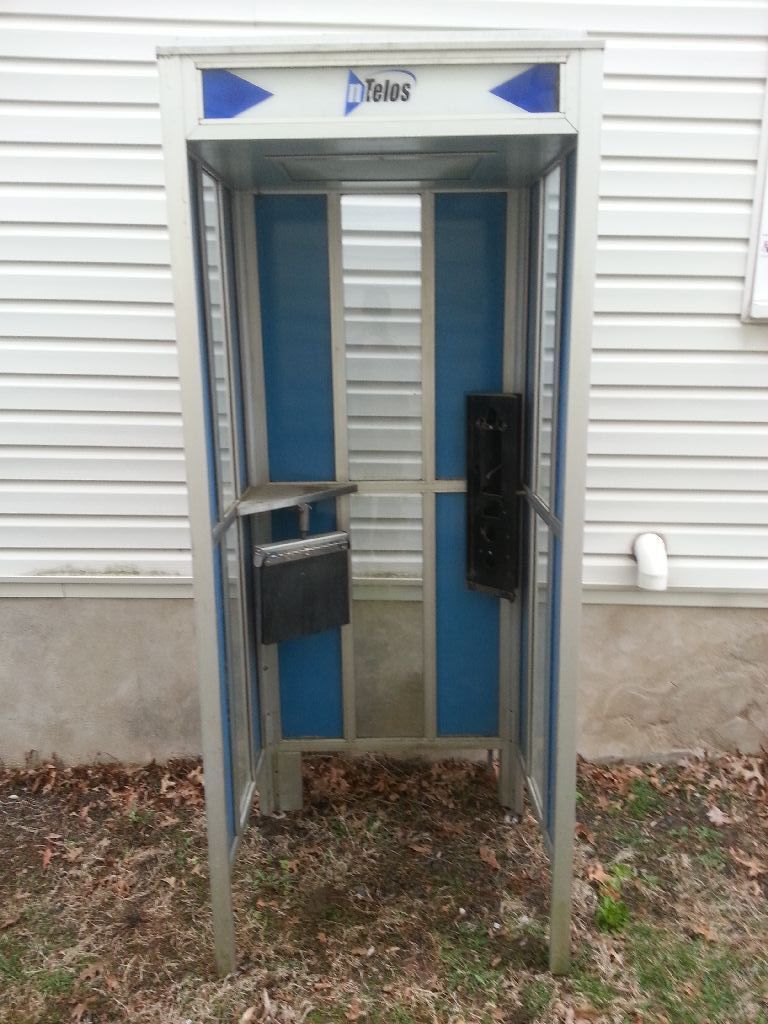
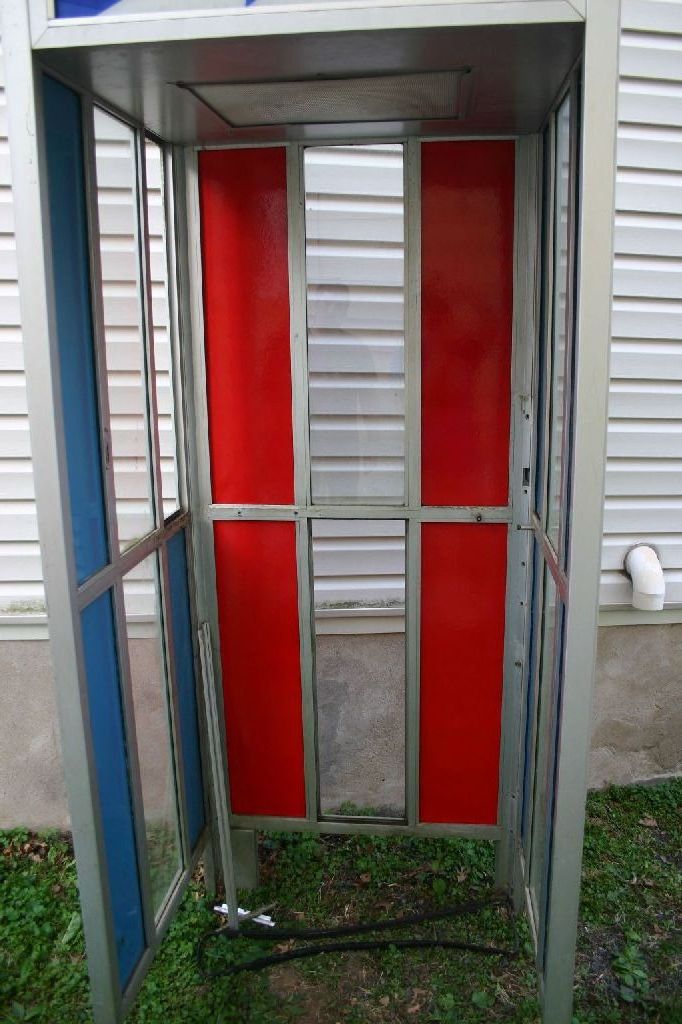
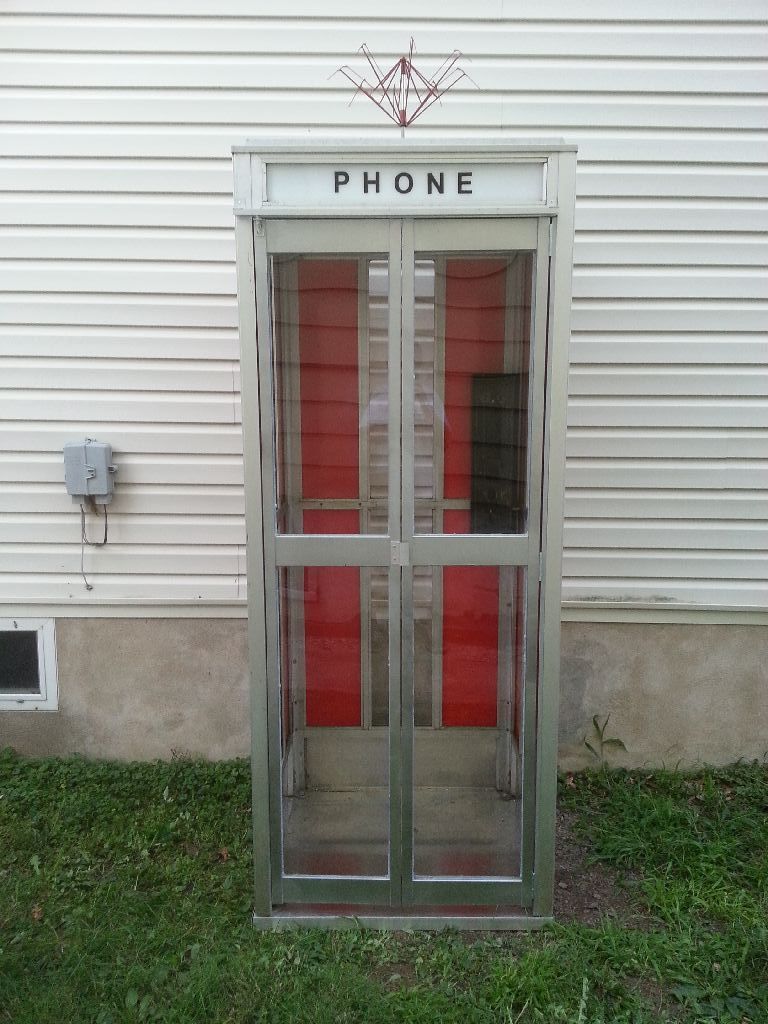
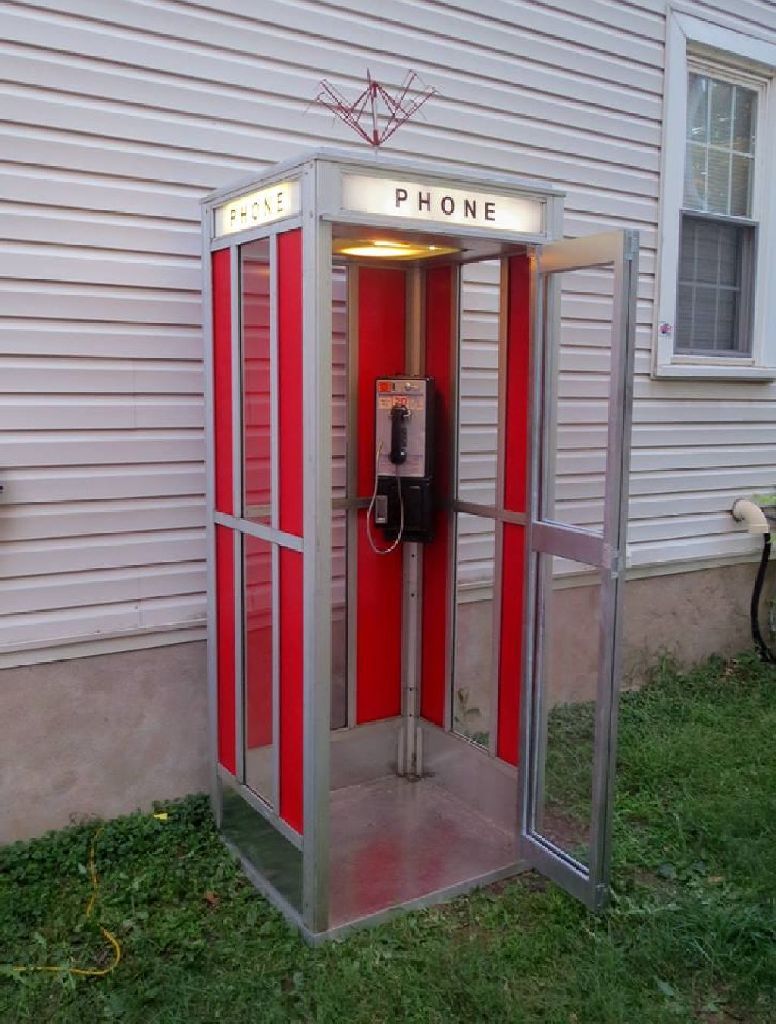
In 2015 he decided he wanted the rest of the booth. After researching phone booth design and construction I quickly realized our best option would be to find an actual booth as building one from scratch was a bit outside of my abilities. Fortunately there happened to be one on Ebay relatively nearby for a price my friend was willing to pay. A quick 10 hour round trip to Virginia and we had a decent starting point.

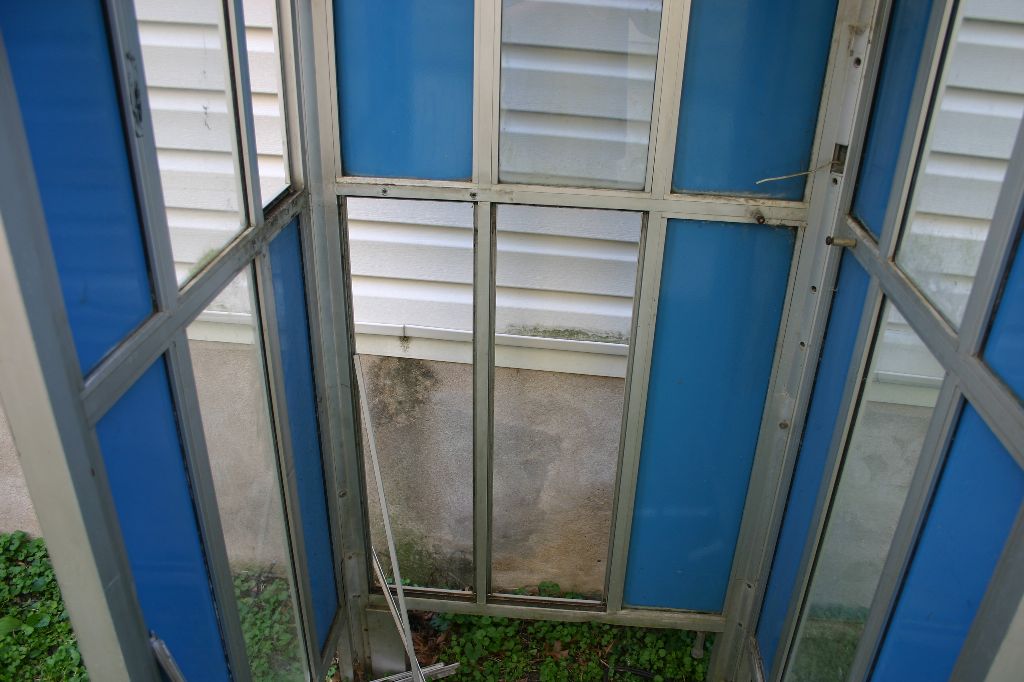
Step 1 was to lighten the weight of the booth by removing the glass and enameled steel panels and replacing them with acrylic and fiber reinforced plastic. We stripped out the shelf and phone mounting bracket then went to work removing the retaining brackets and rubber gaskets. All the rubber was still in good condition for the most part which was good because I'm not sure what we would have done to replace it.
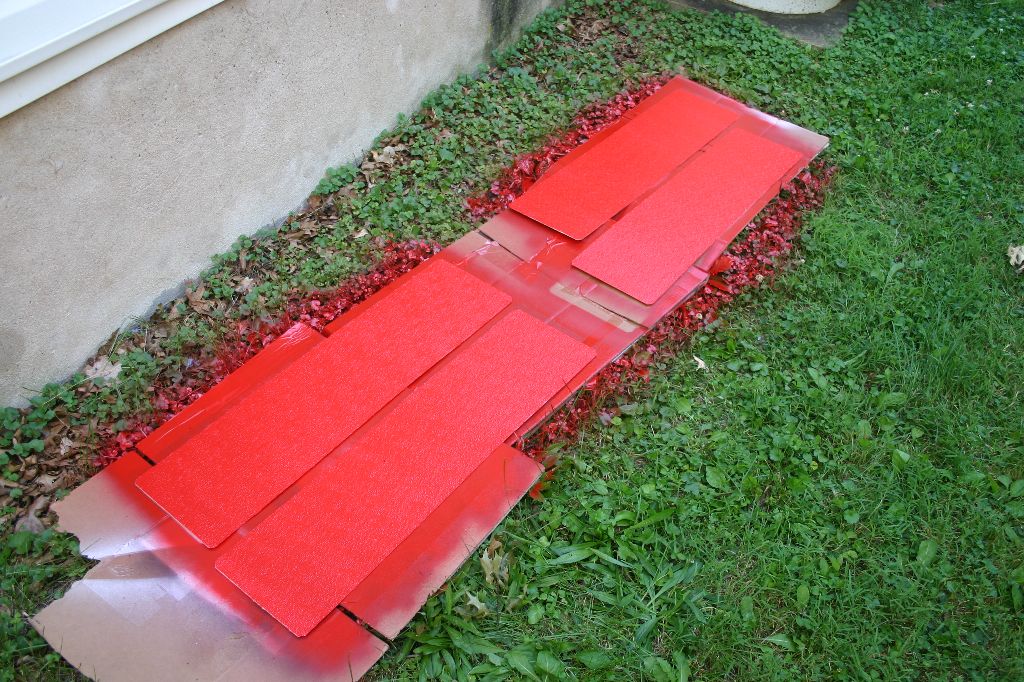
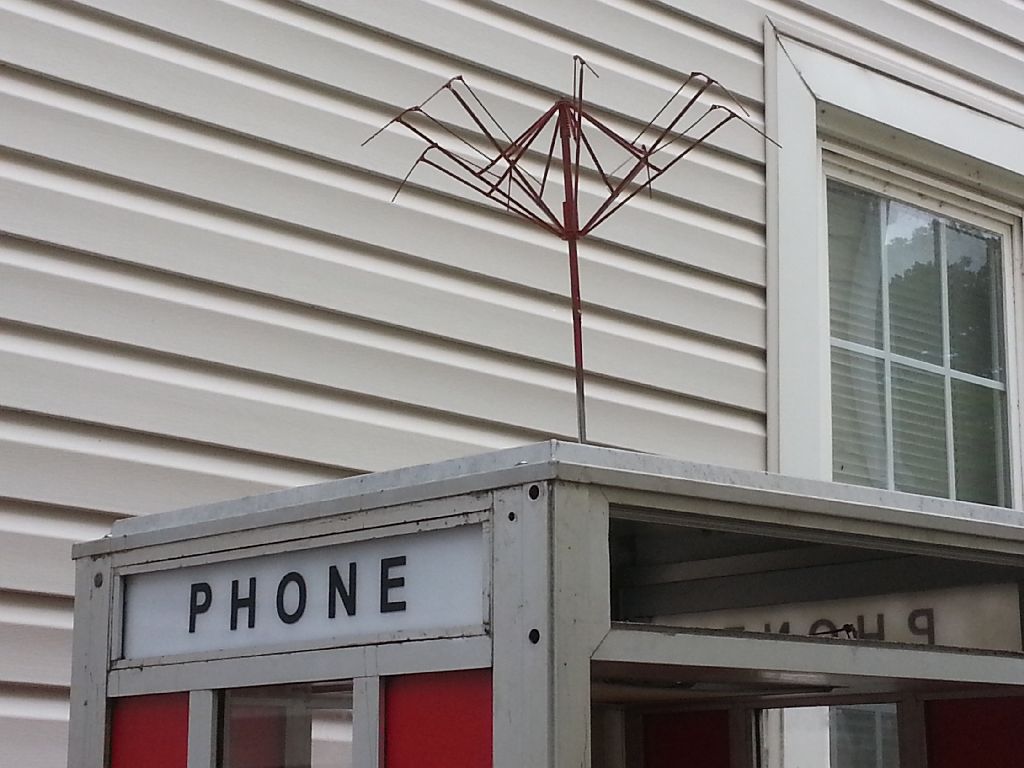
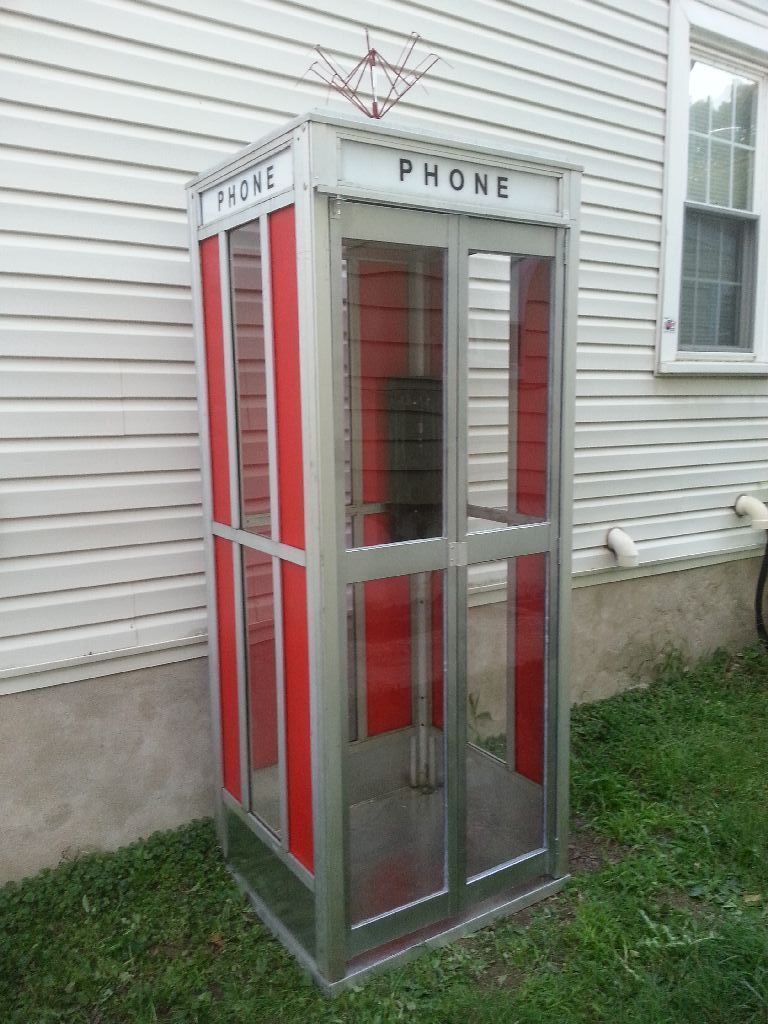
The marquees were replaced with acrylic spray painted white on the back with vinyl lettering added. We found a pretty close umbrella, sprayed it red and attached it to the roof with an electrical wire crimp fitting so it's removable.
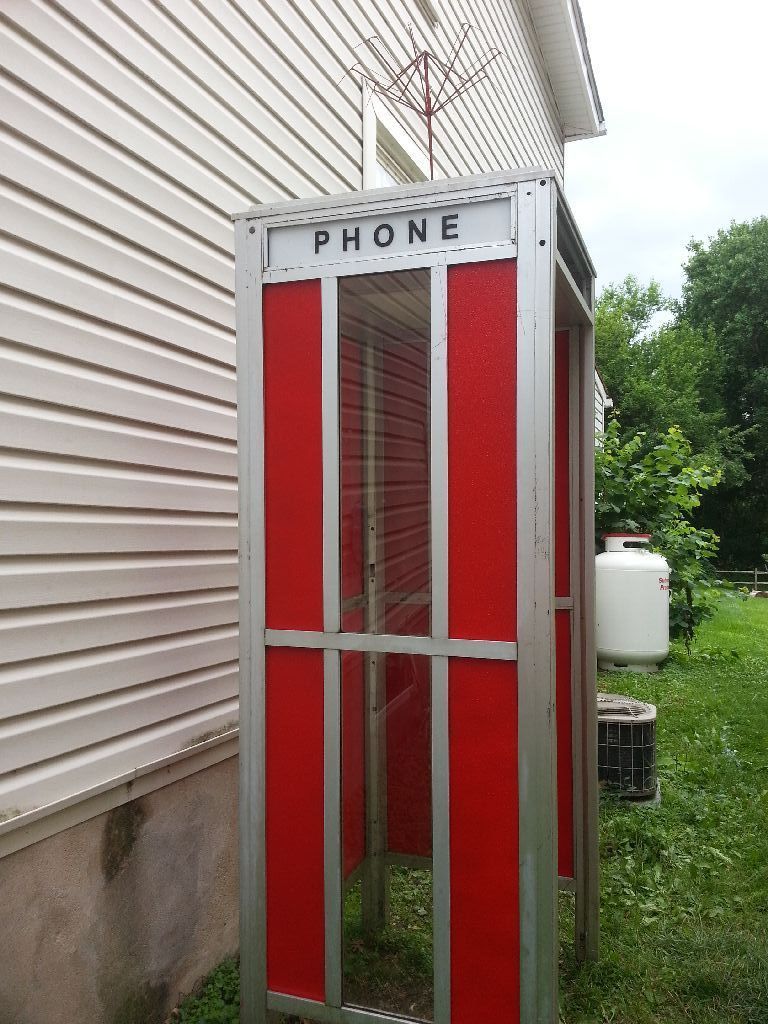
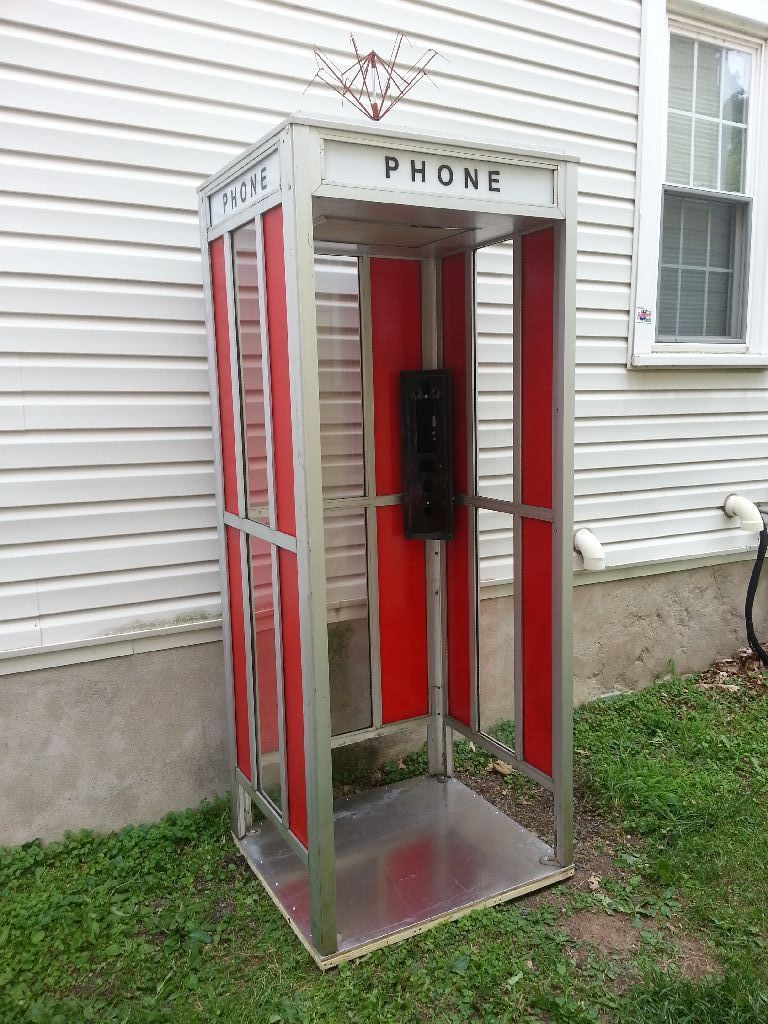
Next up was to make a floor. I built a wooden platform then screwed an aluminum sheet to it before bolting it to the booth legs. I used angle stock to cover the sides for a clean look.

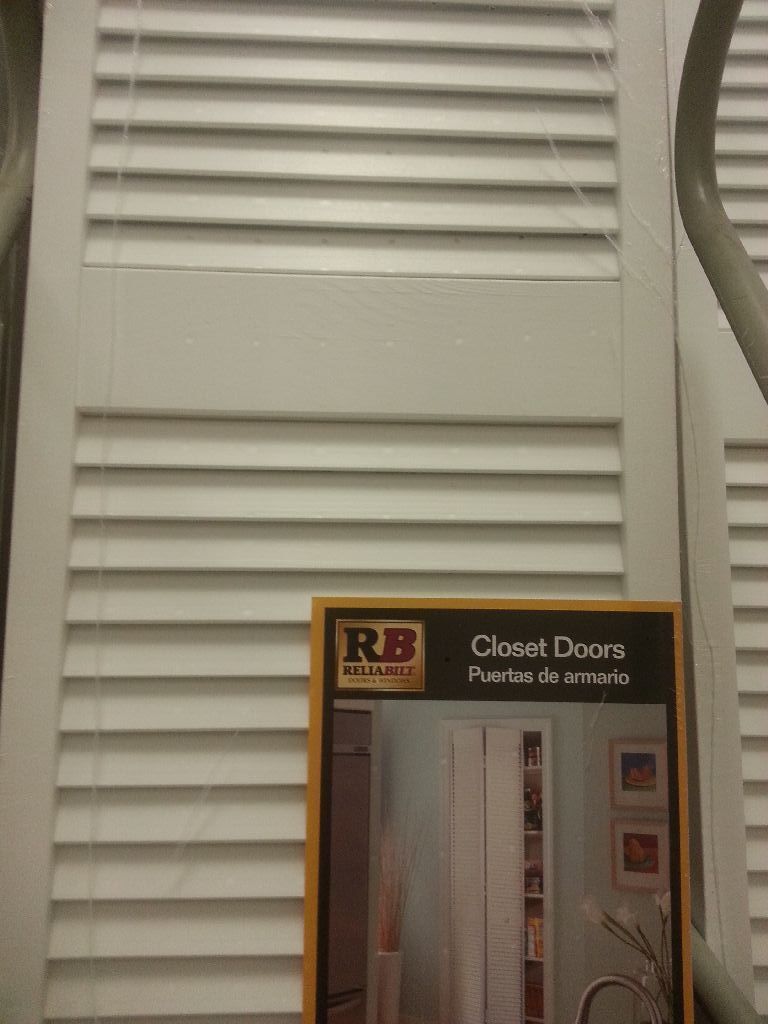
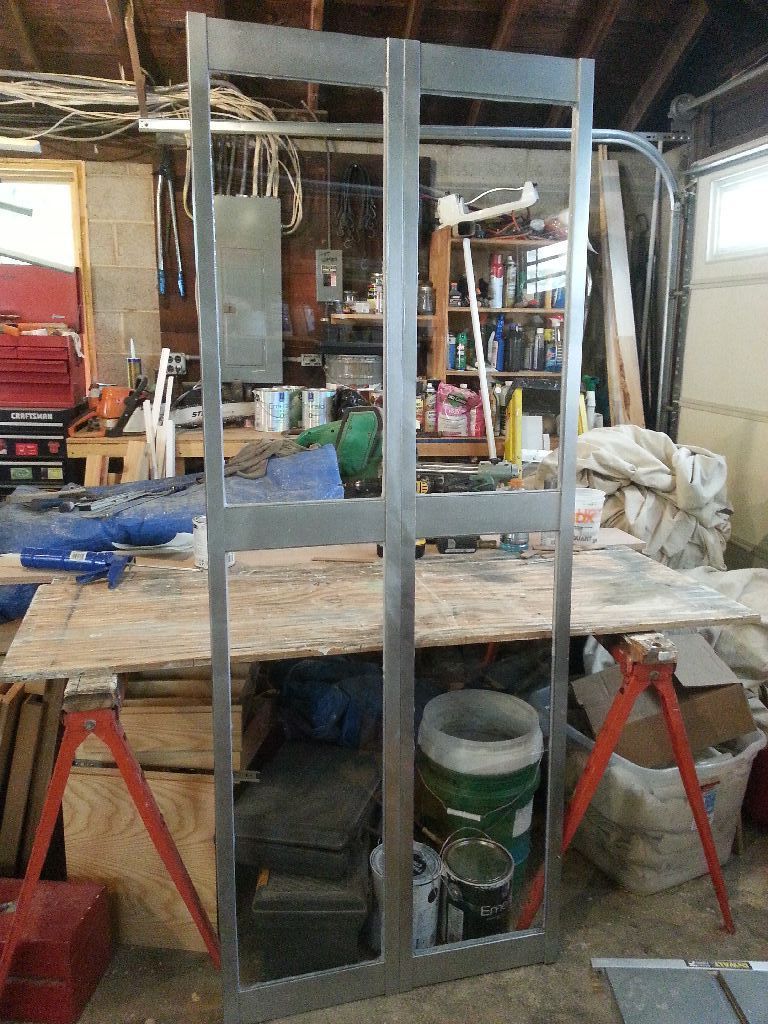
The tricky part was going to be making the door. We got lucky in that the opening is 32" wide. To make life a little easier I picked up a 30" bi-fold closet door at the hardware store, removed the slats, painted it silver and then installed acrylic.
Before hanging the doors I filled in the open spaces around the base of the booth with some bent aluminum panels. They're not the most sturdy option but they required the least amount of visible fasteners. I then added a spacer strip of wood to the frame of the booth and hung the doors. As a track guide I installed some U-channel over the door and an angle bracket to the door itself to hold a door guide just like they did for the smaller of the movie booths.
Final step was to replace the light. The existing fluorescent was burnt out but a standard electrical box was already wired into the top of the booth. All I had to do was install a plug on the wire coming out of the back of the booth and stick a couple plug in fluorescent bars and a work lamp into it.
We setup the finished booth as a free attraction at Retro Con 2015. Retrocon
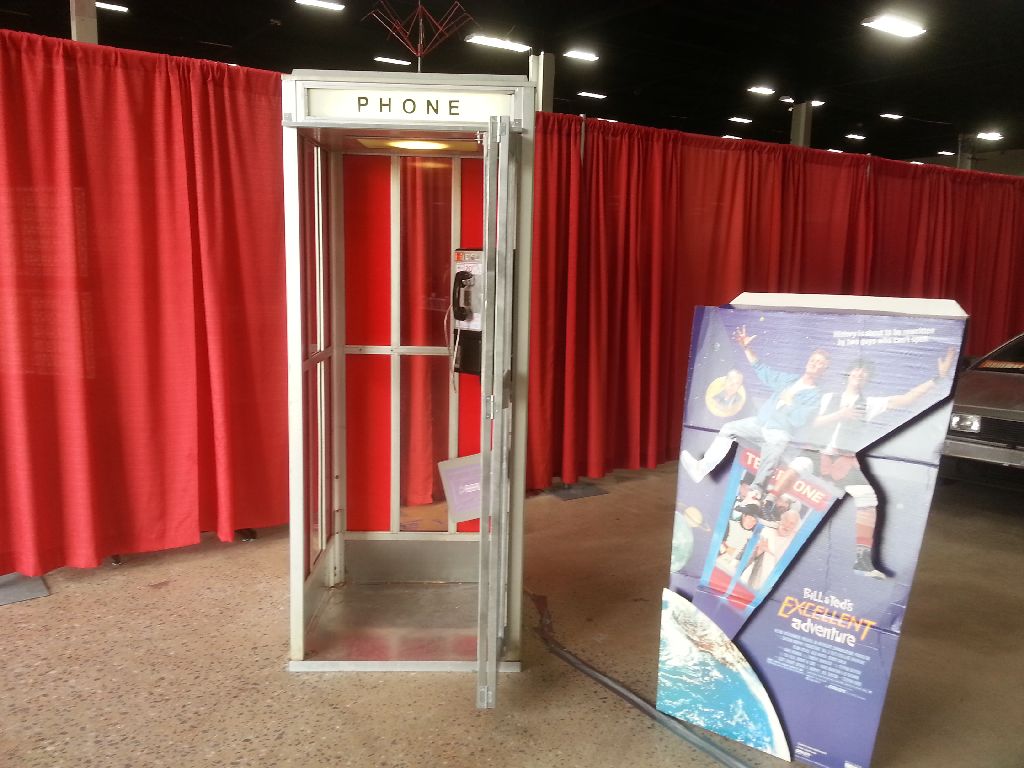
Tweet
