GB2 Statue of Liberty Controller
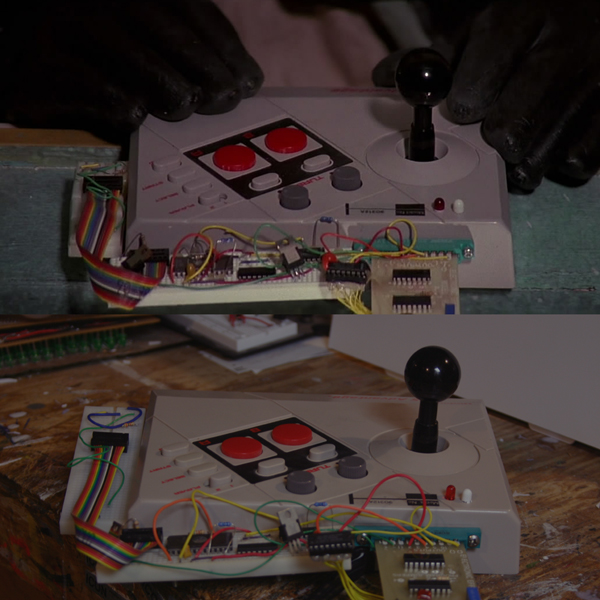
This project started when I came across an NES Advantage controller at a game convention for only $2. This is one of the lesser known props from the Ghostbusters movies, some people even consider it a joke. When the guys decided to animate the Statue of Liberty in GB2 they needed a way to control its movement and whipped this together out of whatever junk was laying around.
The only part I wasn't able to identify was the white box down the side. I wound up compromising and useing another breadboard. Here's a parts list:
- NES Advantage controller
- 2 Solderless Breadboards
- 1 Breadboard wiring kit
- 5mm T1 Red LED
- 5mm T1 White LED
- 3mm white/ivory LED cap
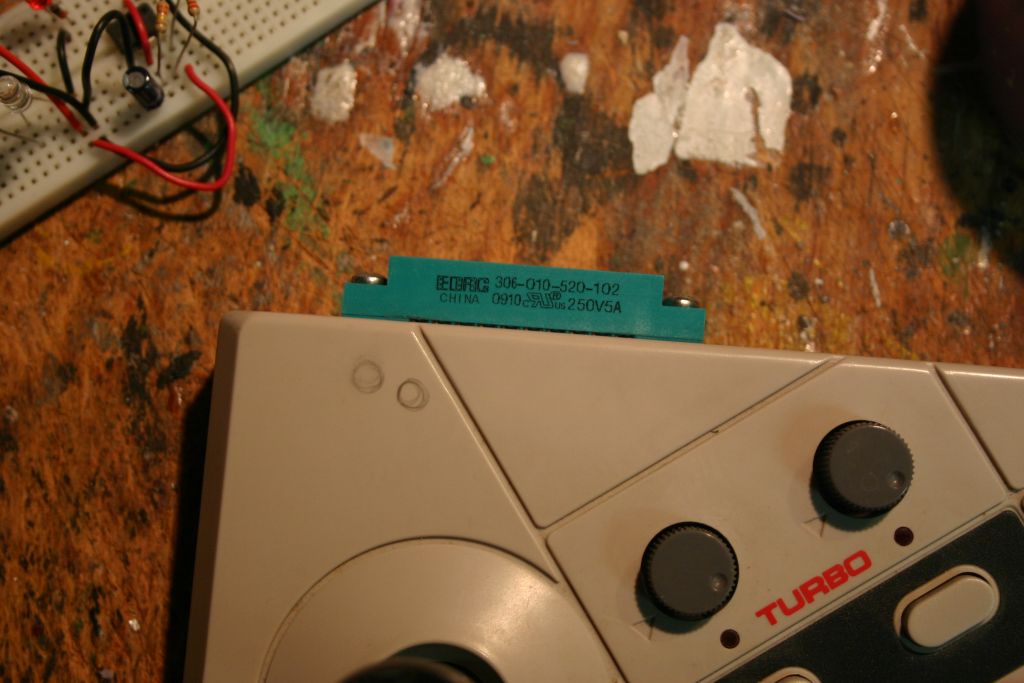
- 10 pin green edge connector
- 14 wire rainbow ribbon cable
- 2 14-pin ribbon cable connectors
- 2 mosfets/voltage regulators
- 3 16-pin ICs
- 1 16-pin chip holder
- 1 24-pin UV EPROM
- 2 1/4 watt Metal Film resistors
- 3 1/4 watt Carbon resistors
- 1 Tantalum Capacitor
- 1 Orange Metal Film Capacitor
- 1 FC2 Electronic Effects board
If you don't want to pick up an original FC2 board, the parts list minus the board is:
- 1 1/4 watt carbon resistor
- 1 Diode
- 1 Electrolytic Capacitor
- 1 Brown Metal Film Capacitor
- 1 Blue side adjust rectangular potentiometer
- 1 14-pin IC
- 2 16-pin ICs
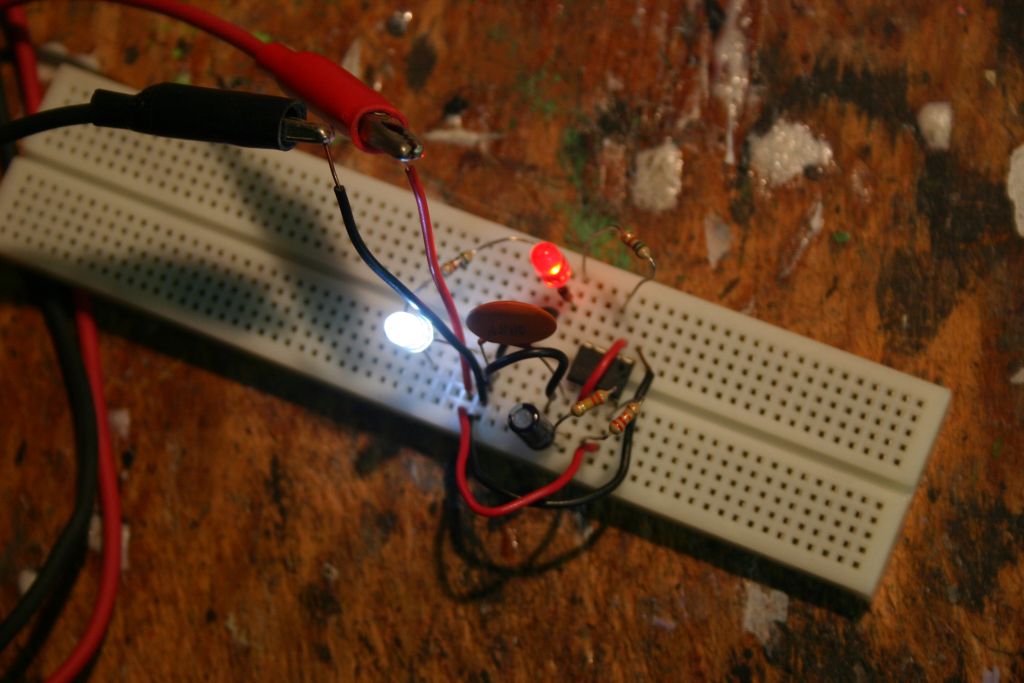
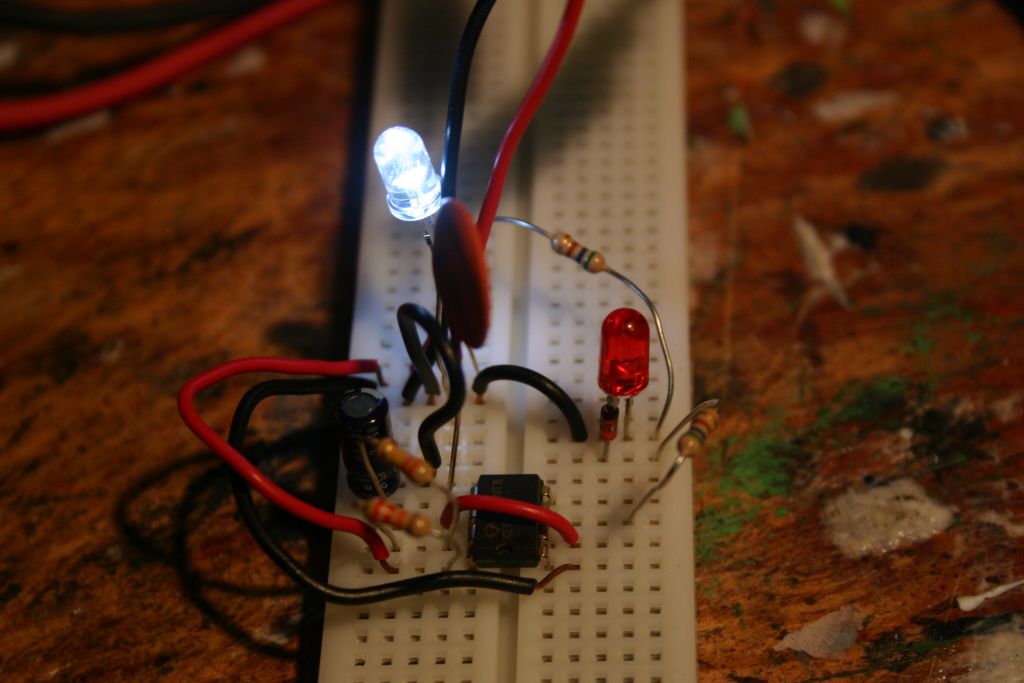
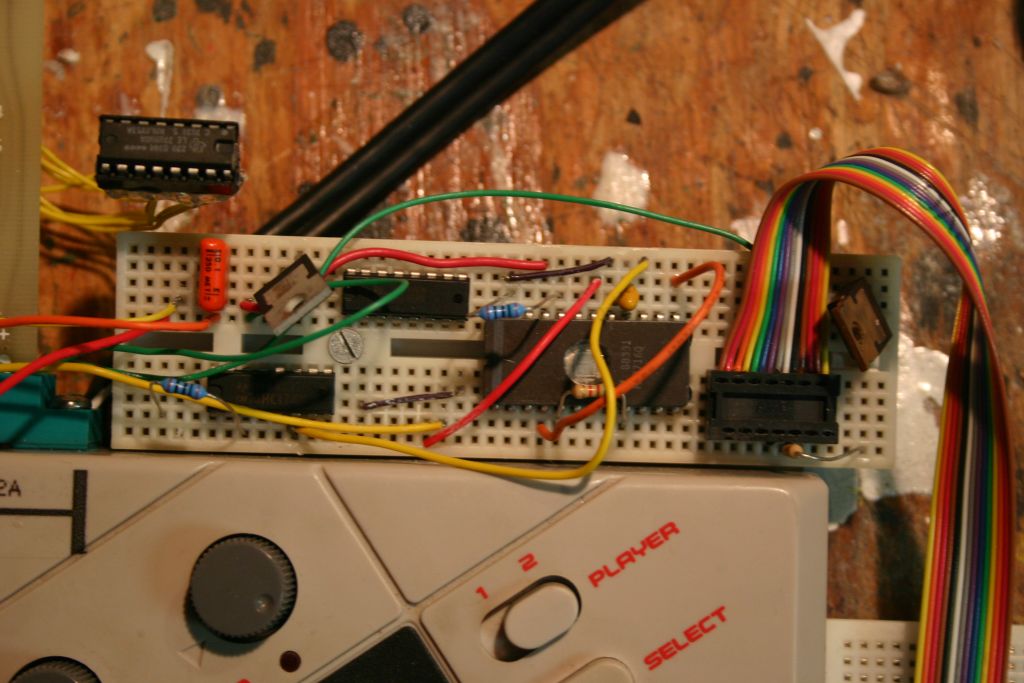
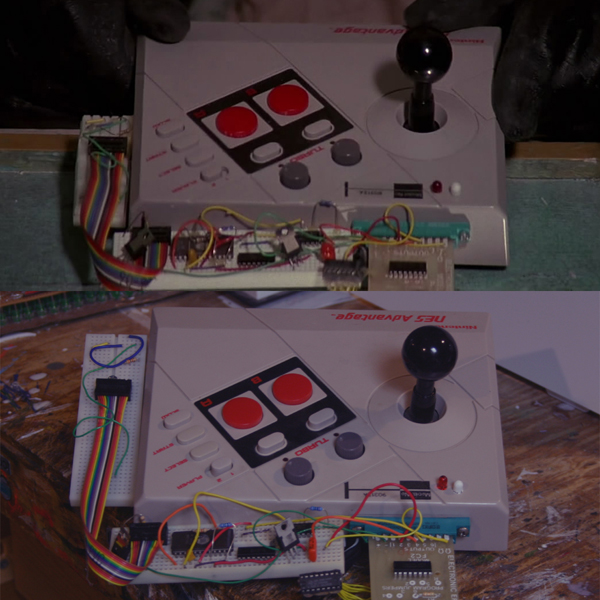
I started by making the circuit for the lights. The controller has a steady white light and a blinking red. I used an astable 555 timer circuit to blink a red LED about once a second. Due to limited space inside the controller body I had to built the circuit as small as possible and use a 9 volt battery.

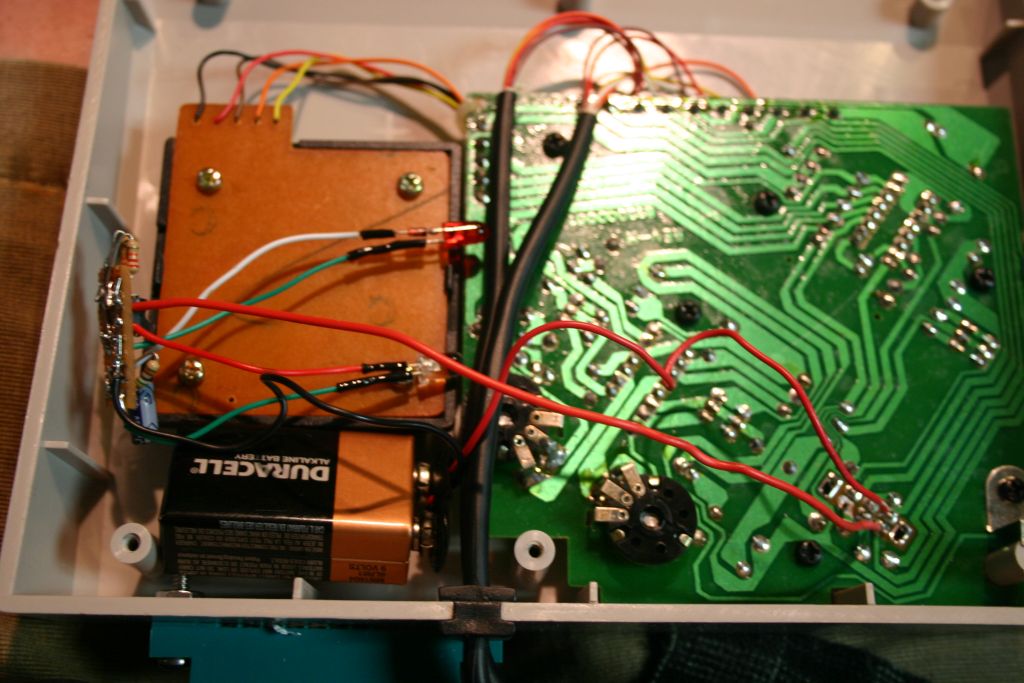
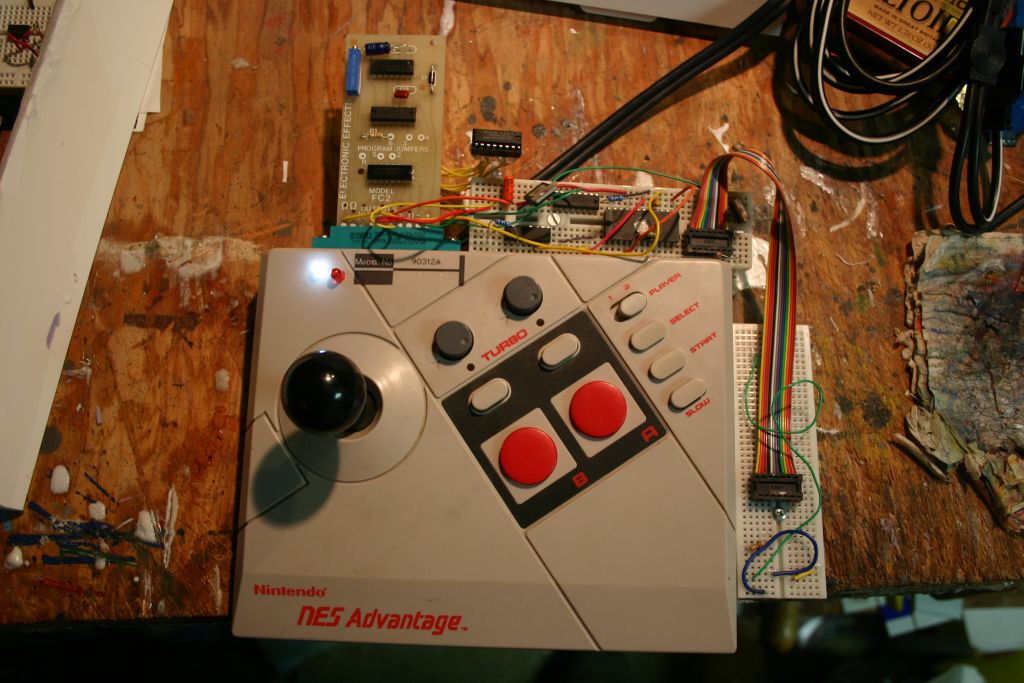
With the circuit together I could drill the holes in the controller to attach the parts. I decided to bolt on the breadboards for strength as I intend to carry the controller at conventions and don't want parts snapping off.
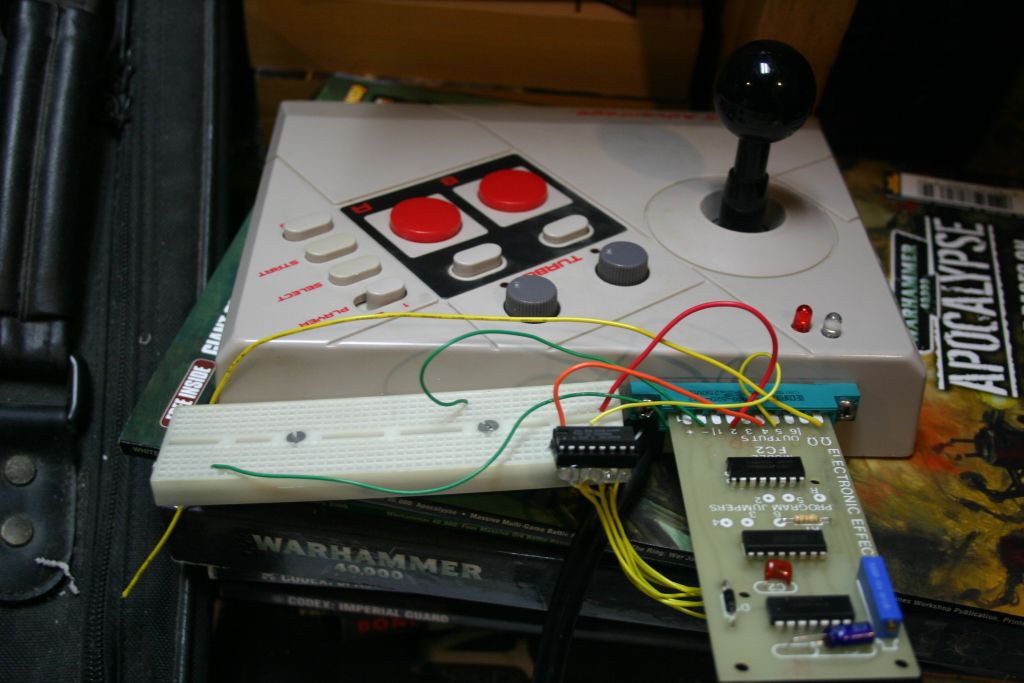
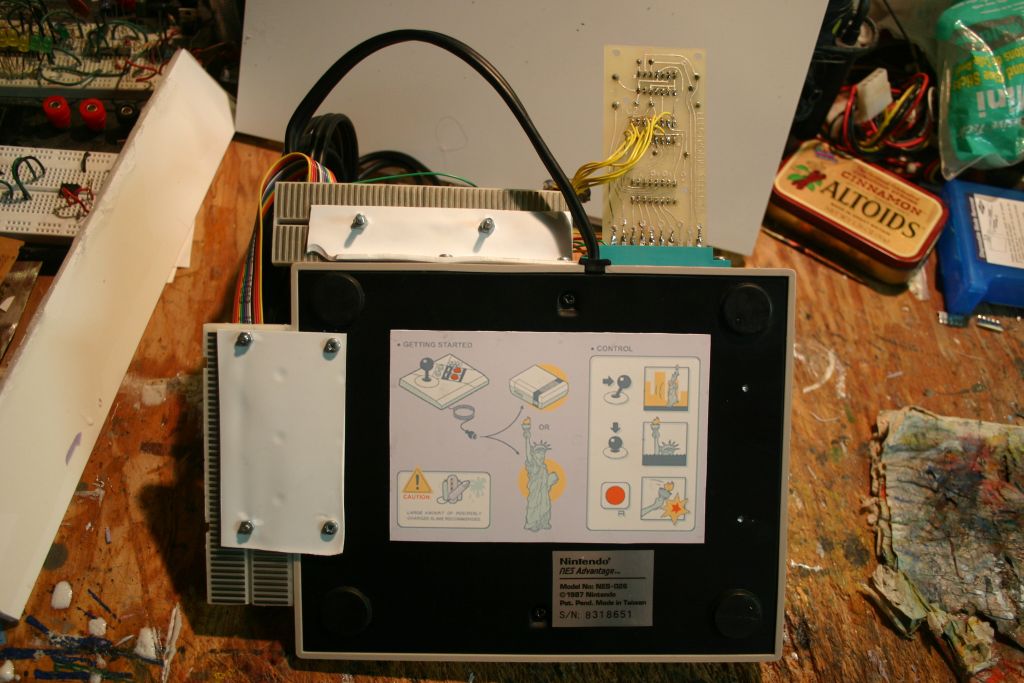
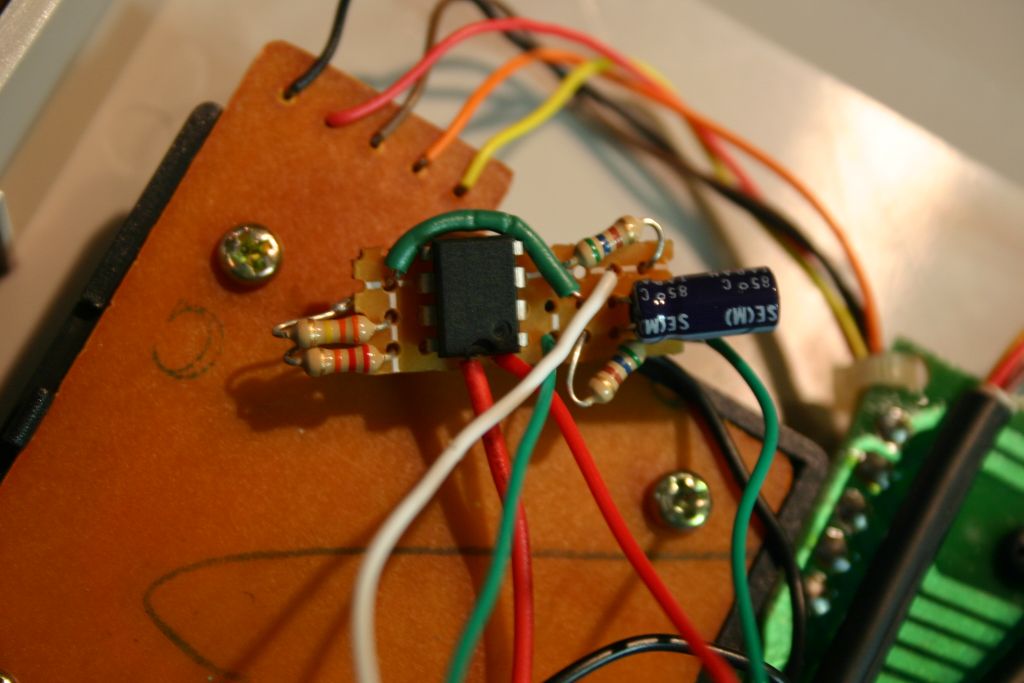
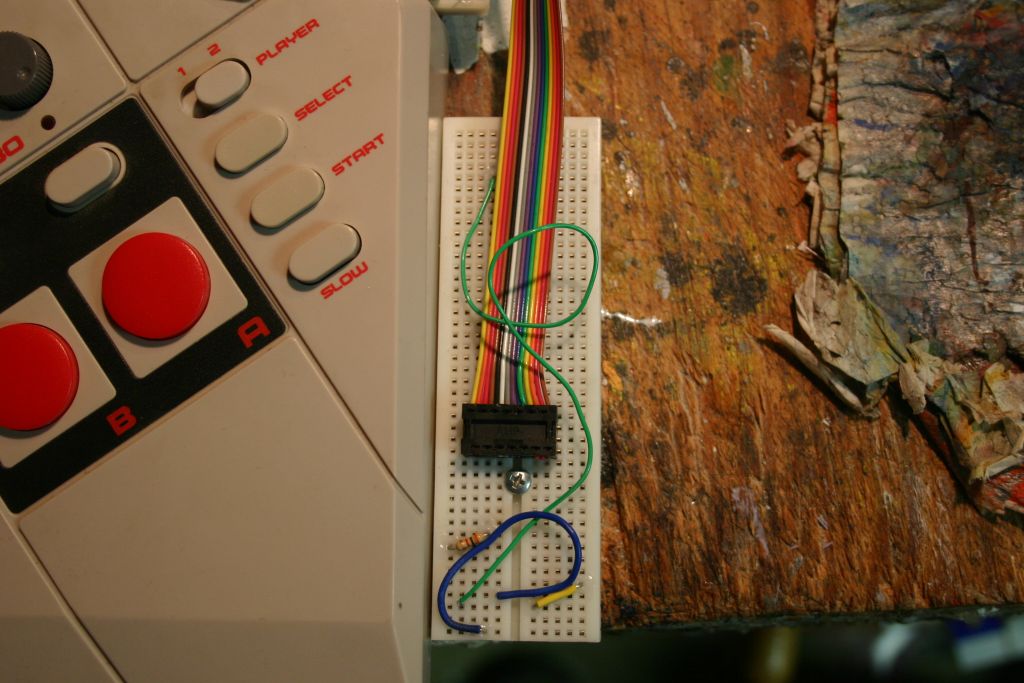
Once the holes were drilled I could attach all the major parts and button up the controller. Next came soldering the extra wires to the FC2 board and then plugging the rest of the parts into the breadboards.
Overall it came out pretty well. The ribbon cable bugs me a bit as it's not the right gauge but finding the right stuff for a reasonable price doesn't seem to be possible so I'll live with it.
Tweet
