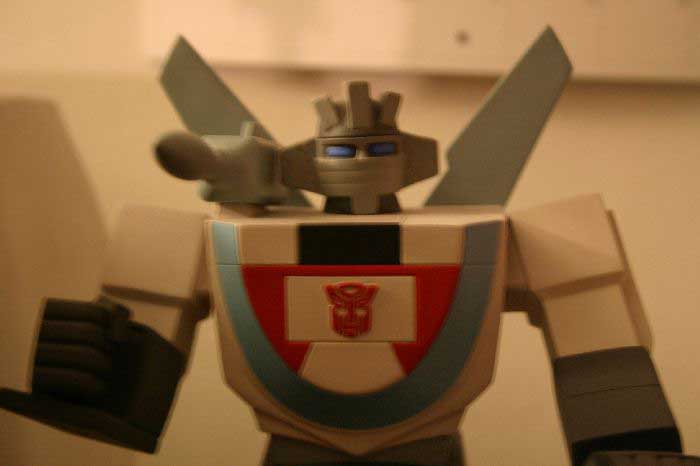
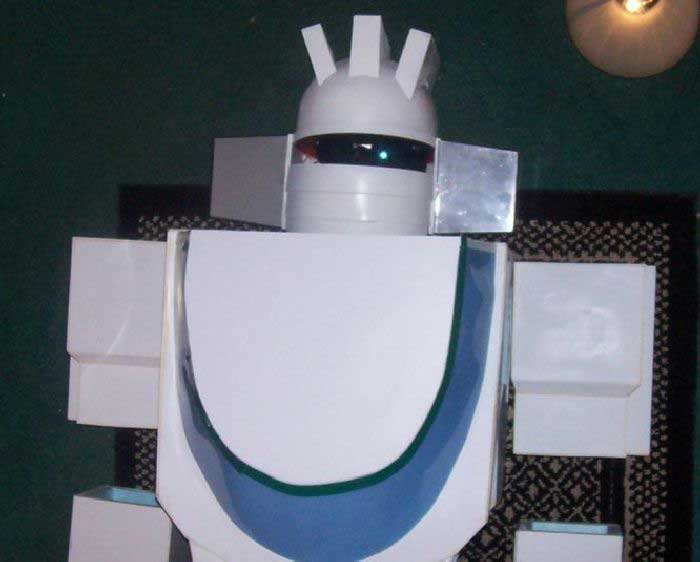
G1 Wheeljack Costume Construction
After a successful summer of taking Soundwave to various conventions, my friend Rose wanted to try and make another Transformer costume. Somehow she managed to sucker me into helping her out again, just when I was getting used to having Sundays free. This time she wanted to make a Wheeljack costume, one of the Autobot cars.
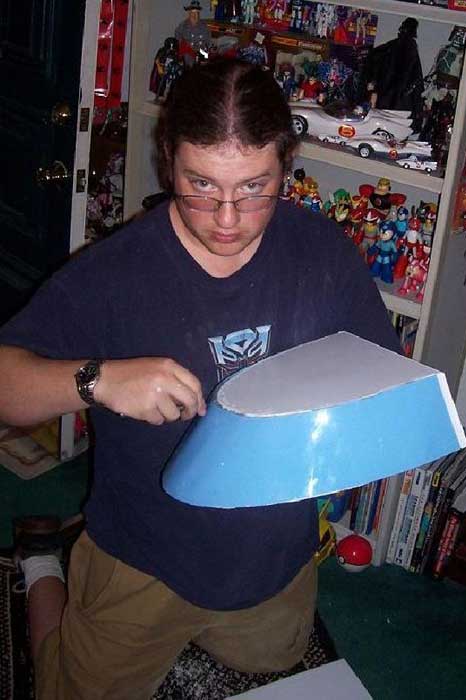
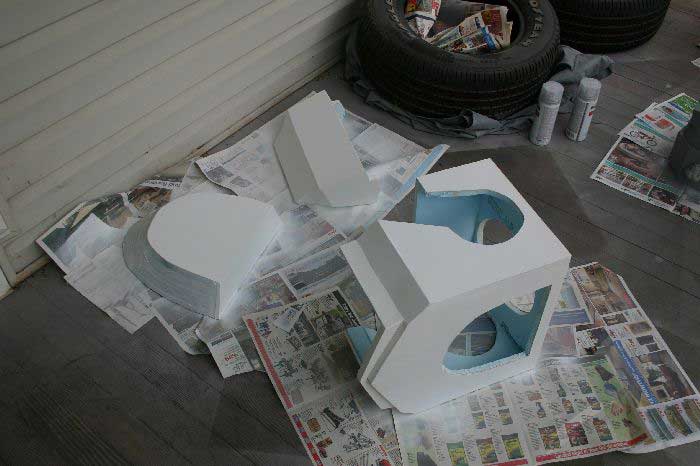
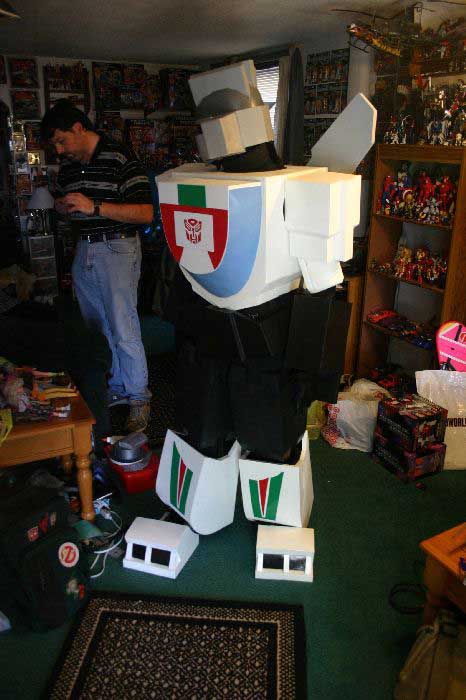
As with Soundwave our first step was to sit down with some reference material and figure out just what she wanted in the costume. Fortunately she decided against having any wheels on it (they would have been a headache) and opted for the more "cartoony" style than an actual transformed car. One big change from Soundwave was the decision to not use fiberglass and bondo to coat the foam. The reason for this decision was two-fold. First, resin is messy to work with, takes a lot of time to dry, has to be mixed correctly and takes a lot of sanding. Secondly, we started planning the costume in November with hopes of having it done in time for Botcon 2007 in June. As resin needs warmth to cure working with it outside wouldn't be possible until April/May and they didn't have anywhere big enough to do it inside. Instead we decided to coat the foam body shell with sheet styrene. This would give the costume the strength needed to not fall apart and be easy to work with.
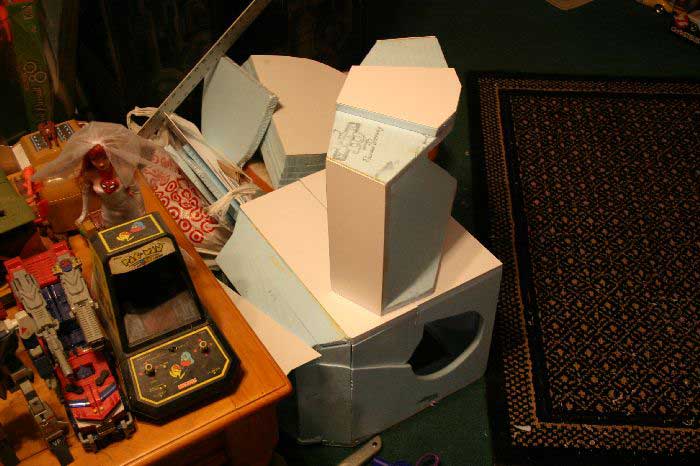
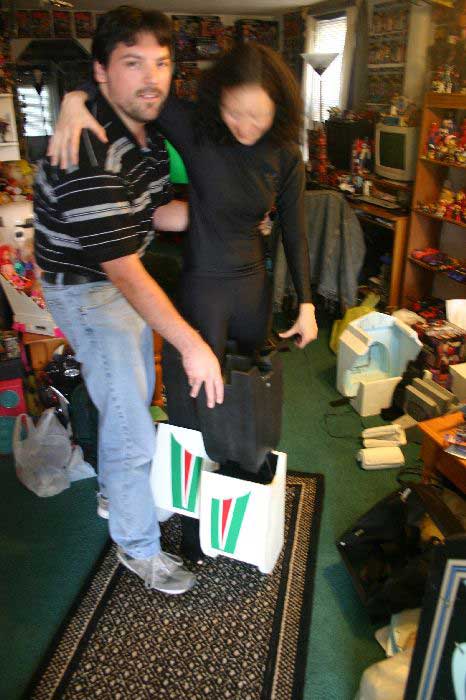
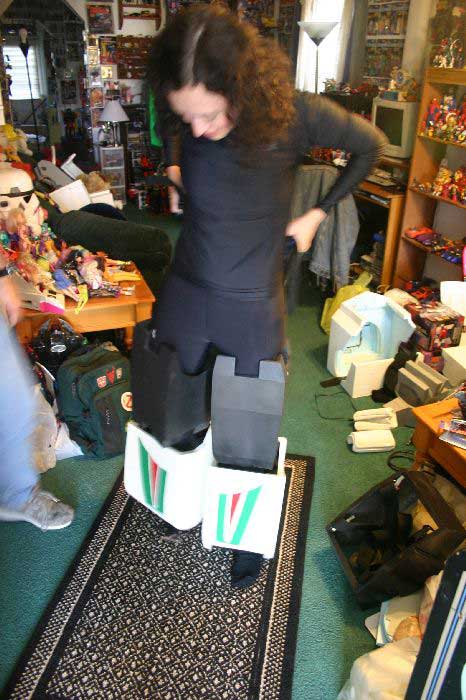
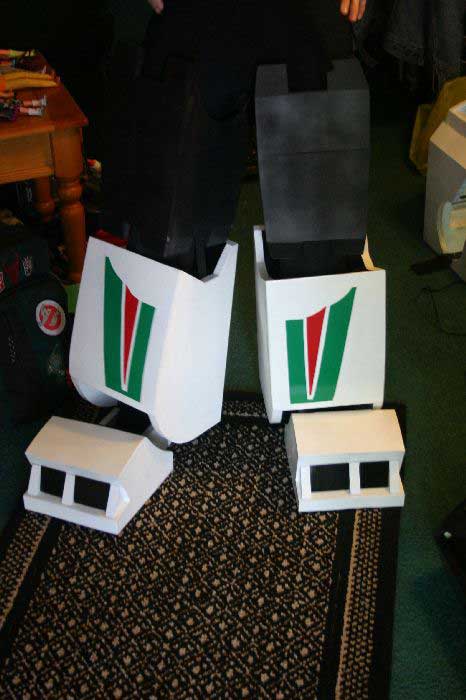
As with Soundwave we started by designing the legs as they would dictate the rest of the proportions. We actually went through a few versions of the thigh before we found one that worked. With the thigh done, the lower leg and foot came together quickly.
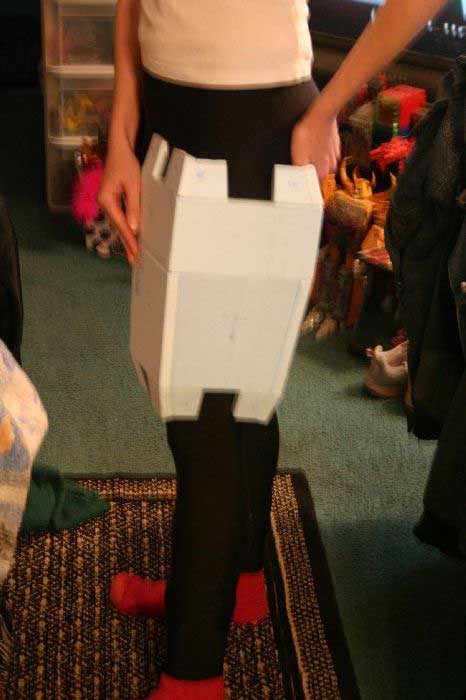
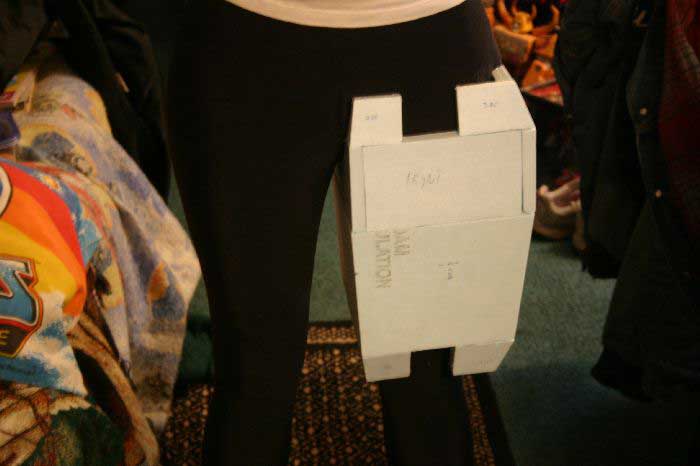
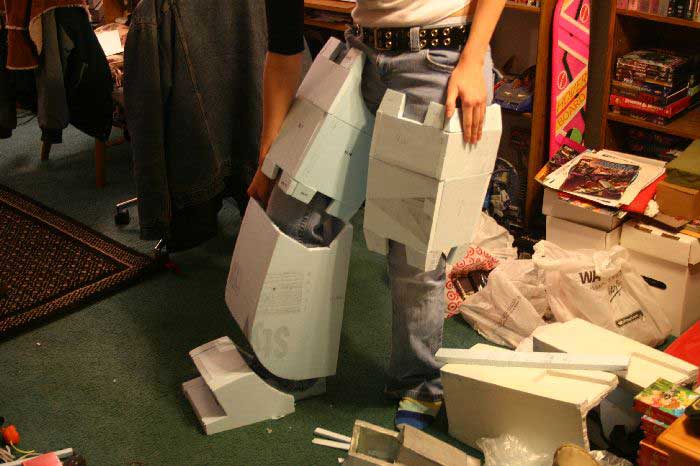
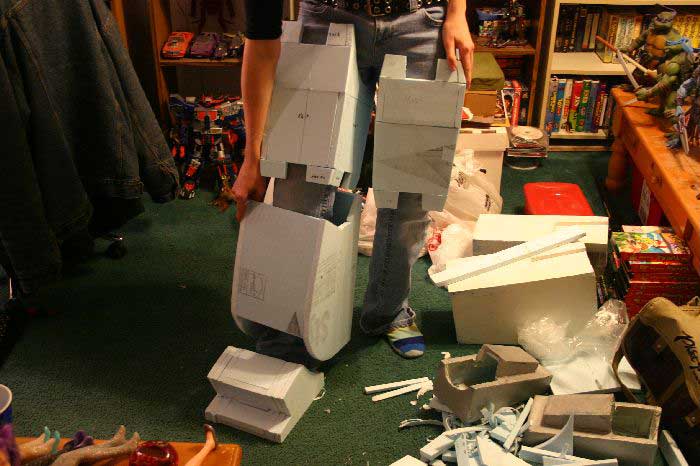
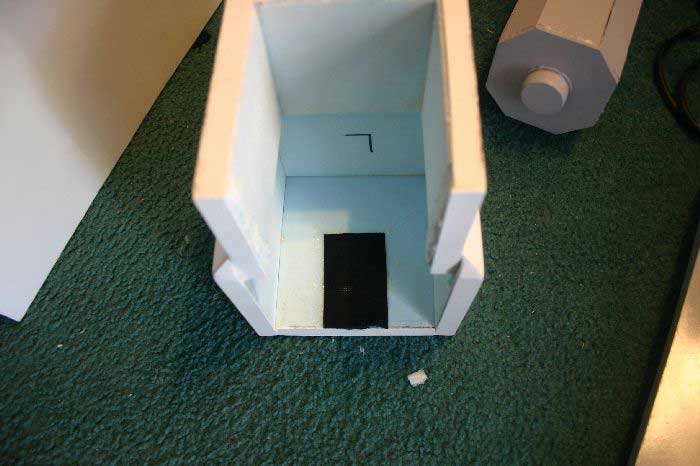
Within a month (of Sundays) we had enough parts together to see what the overall shape looked like. As with Soundwave we had to cut corners and take liberties to make the costume actually fit to a human.
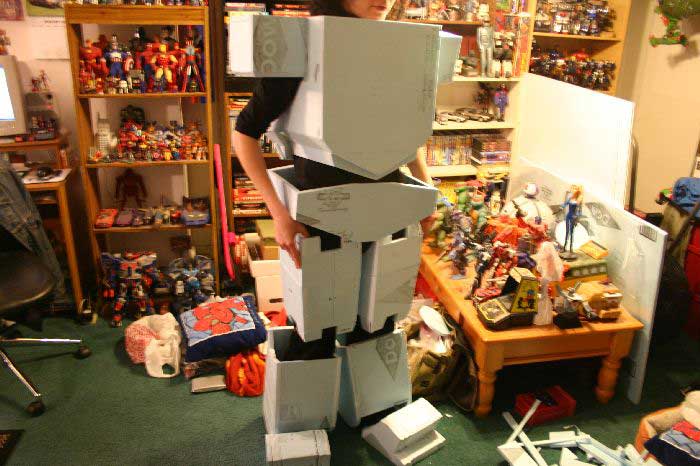
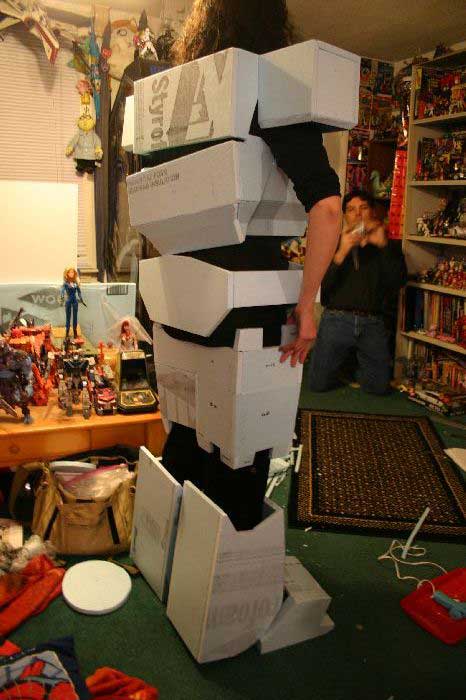
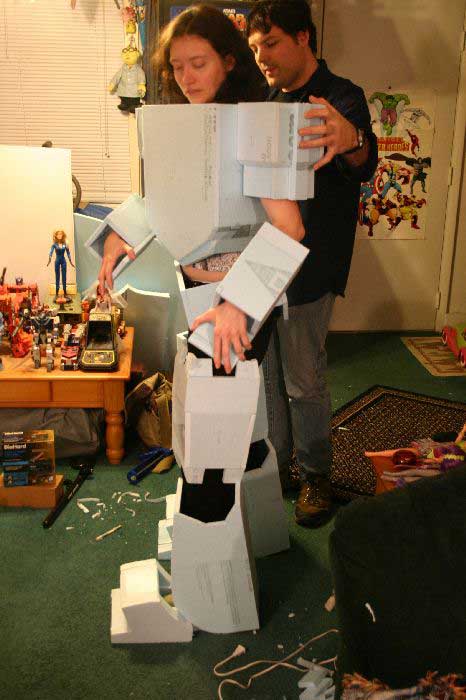
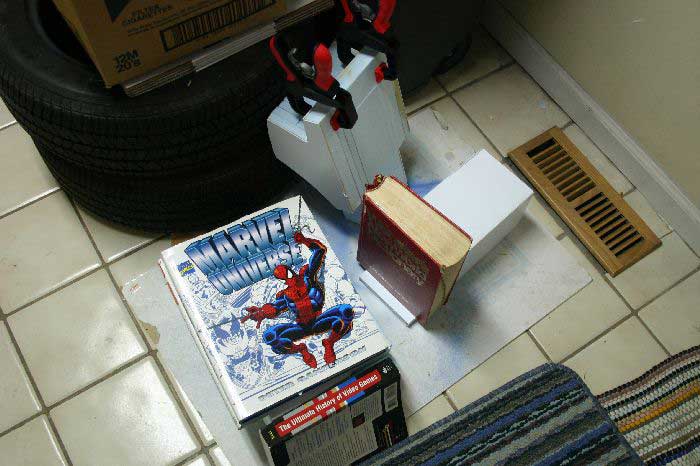
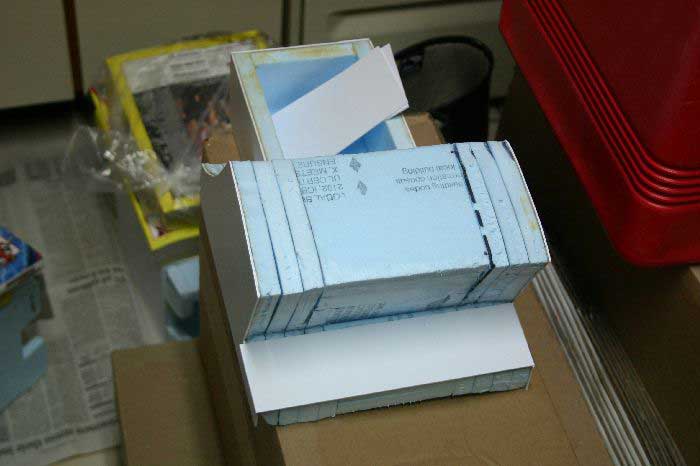
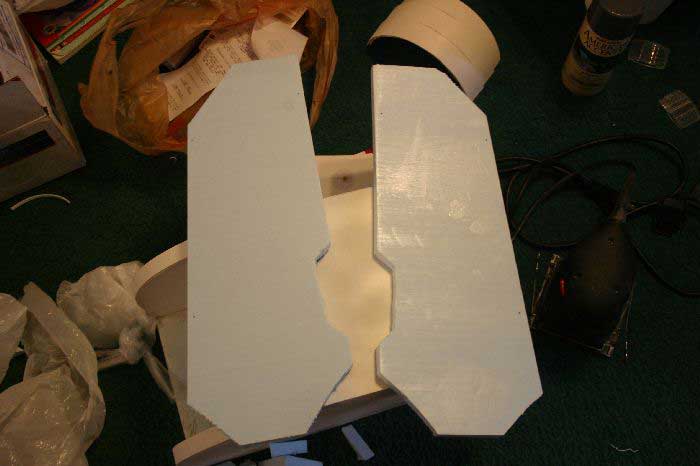
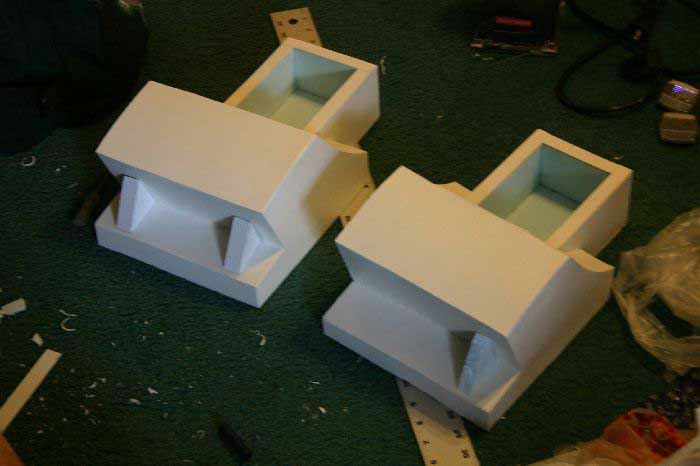
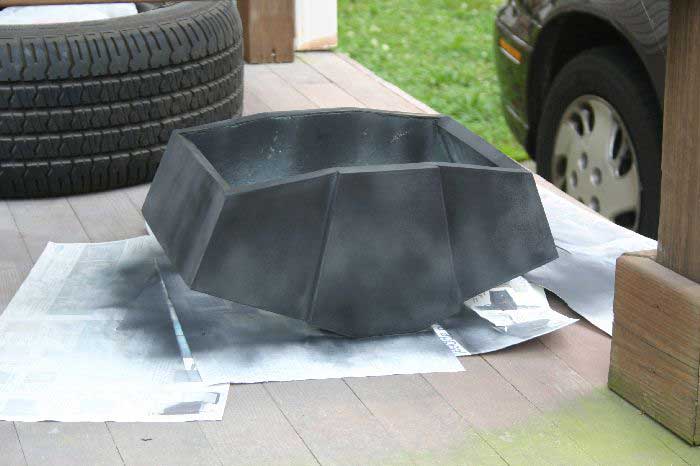
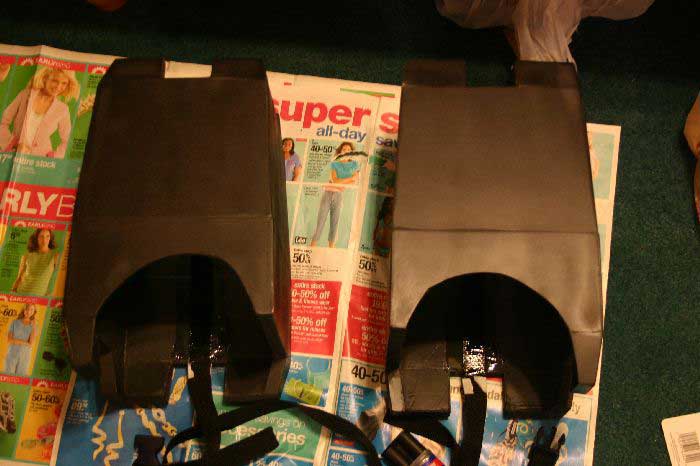
Once we had parts complete we could start cladding it in styrene. We found an artist supply store in downtown Philadelphia that had 4'x8' sheets of styrene. Unfortunately we had to buy .06 gauge as the .04 gauge we wanted was out of stock. This meant the costume would wind up a bit heavier overall (and a fair amount heavier than Soundwave). It took a while to figure out what glue to use as styrene and foam don't usually go together. Glues that bond styrene usually eat foam and glues that work on foam don't bond well to styrene. We wound up using Heavy Duty Liquid Nails. After sanding the styrene piece we'd squirt some glue on to the foam with a caulk gun then smooth out a thin layer with a plastic spatula. The styrene would stay repositionable for a while which let us do opposite sides of a part and cut down on drying times. Once both sides were attached the part would be weighed down with heavy book and/or clamps. Once parts were fully clad the seams were puttied with wood filler and then sanded smooth.

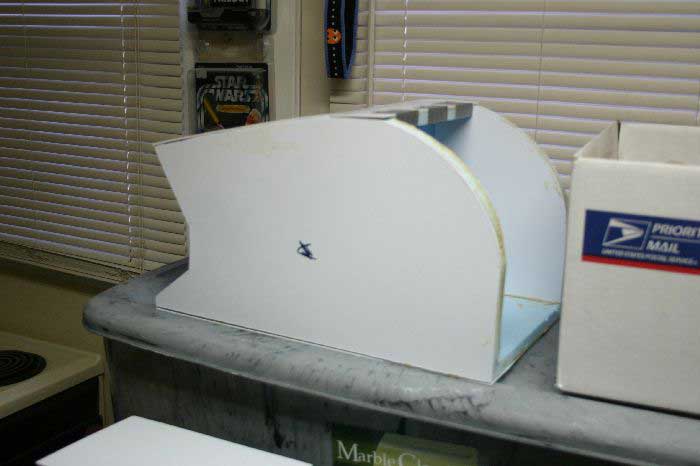
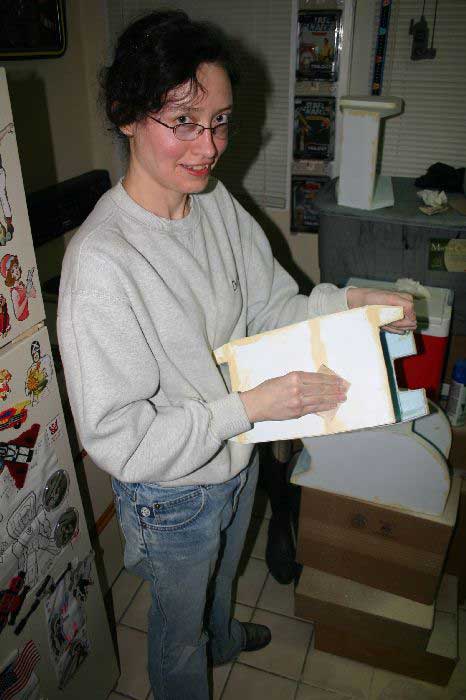
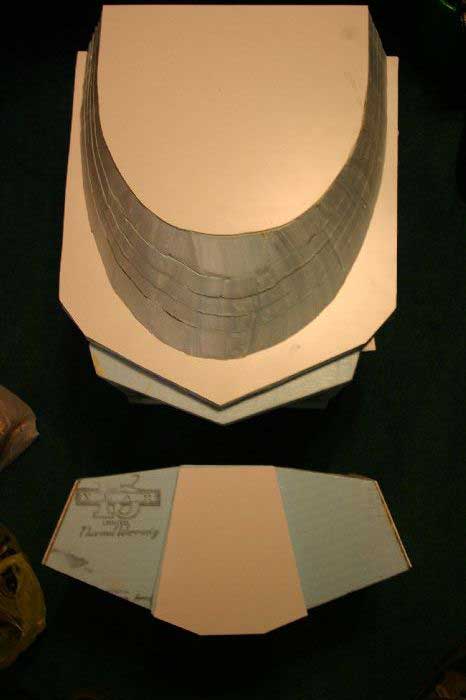
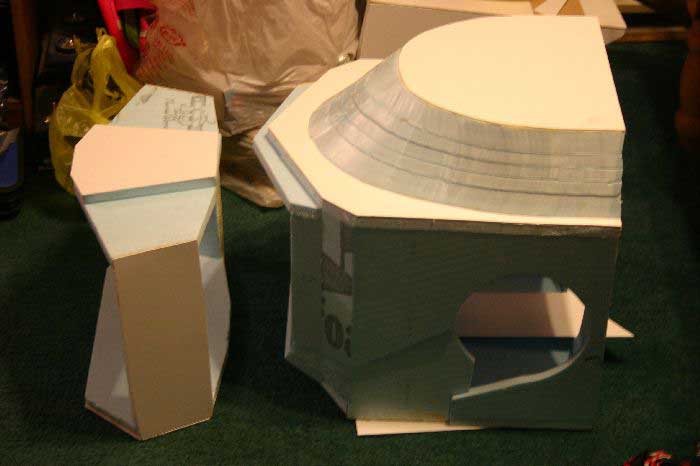
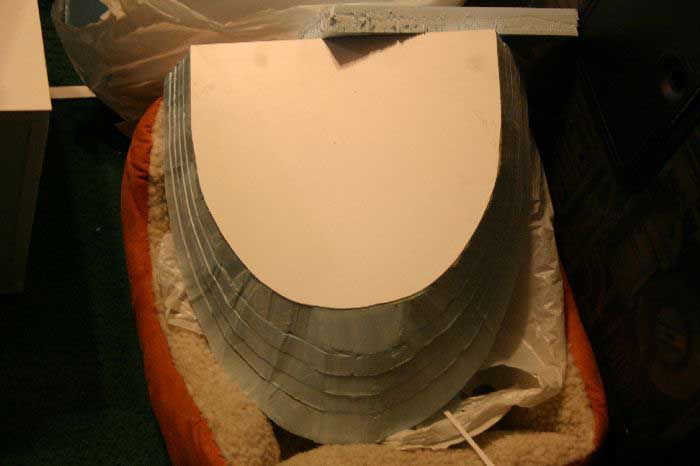
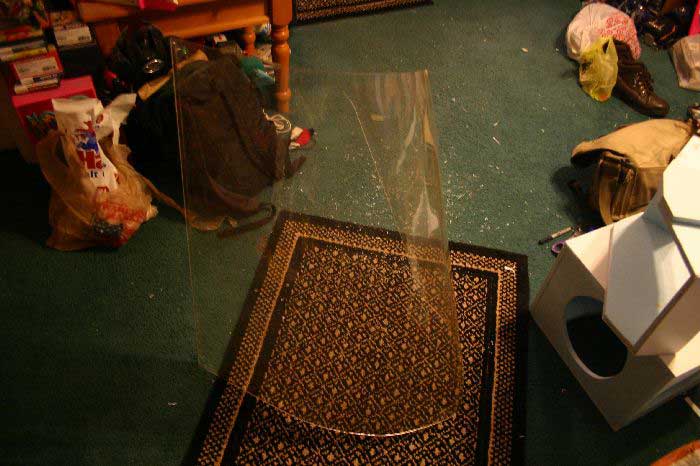
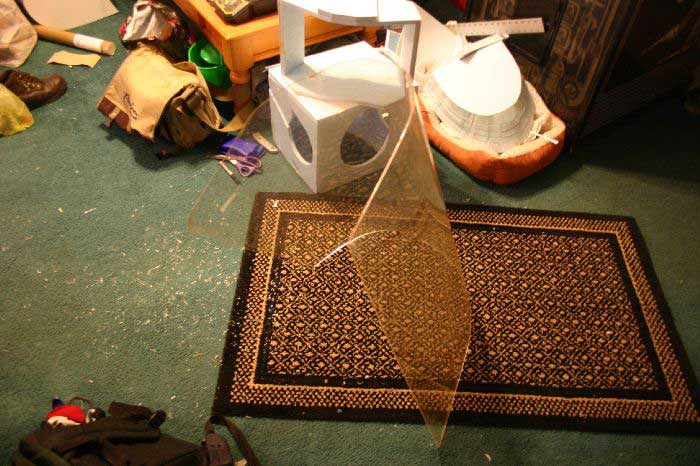
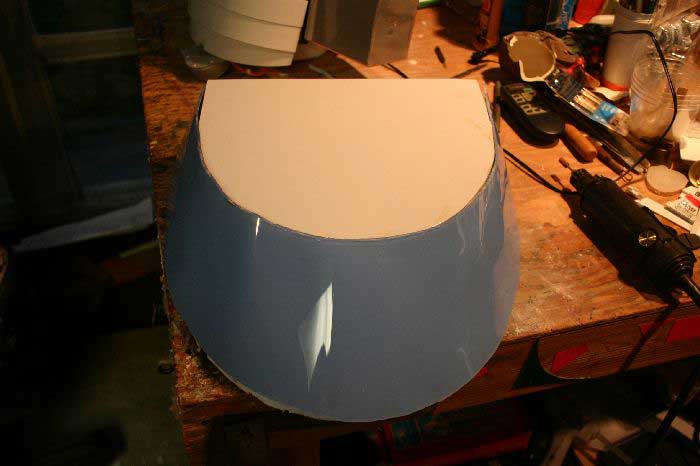
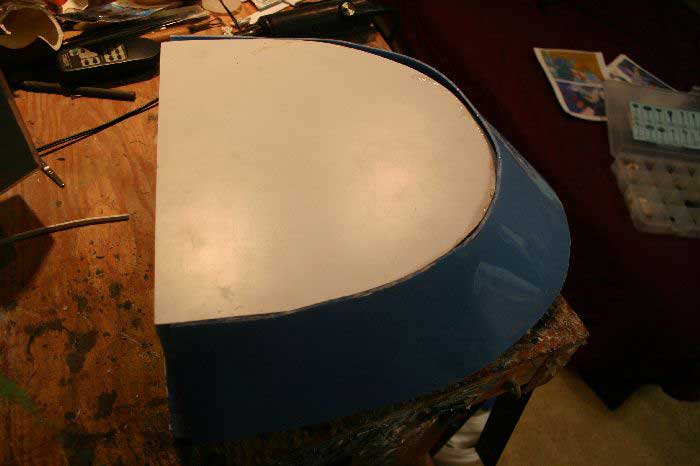
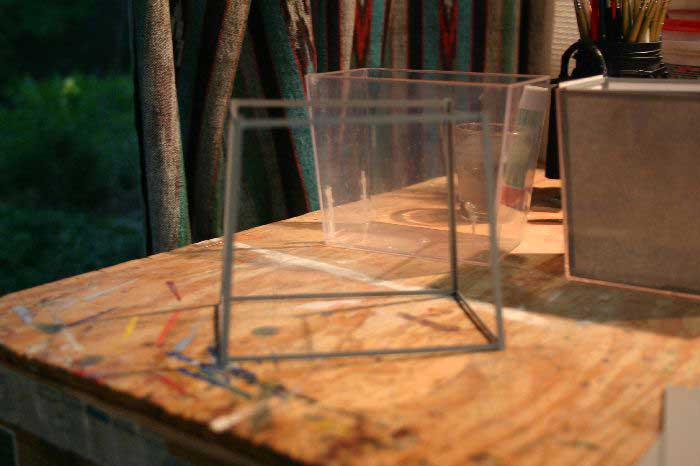
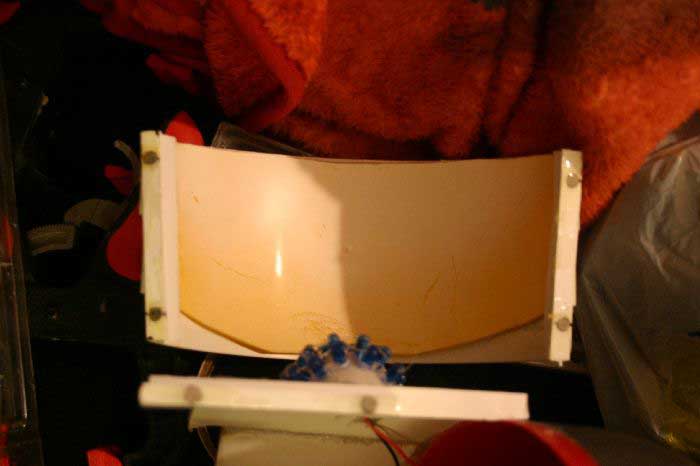
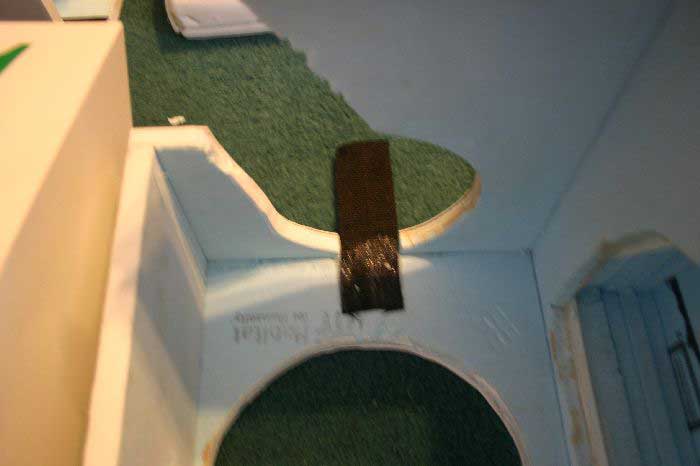
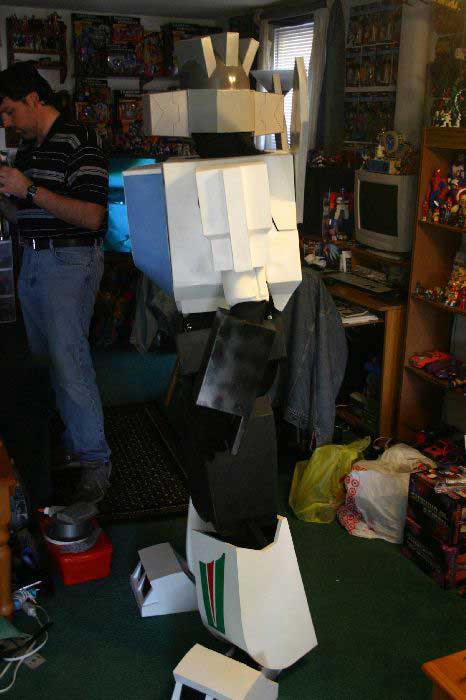
For the "windshield" I layered 5 sheets of foam and then took a hotwire cutter to it to get the overall shape. To get a smooth glossy look I took a scrap piece of Plexiglas I happened to have and slowly shaped it with a heatgun and a dremel. That was one of the most time consuming parts of the whole costume. Before gluing the finished Plexiglas on we painted the inside surface with a gloss blue spray paint.

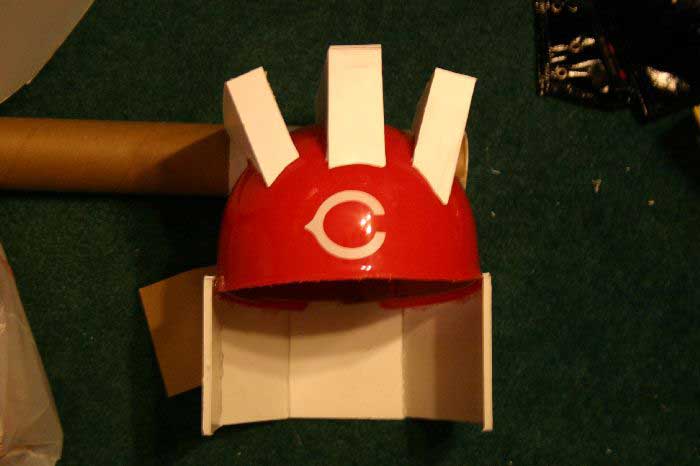
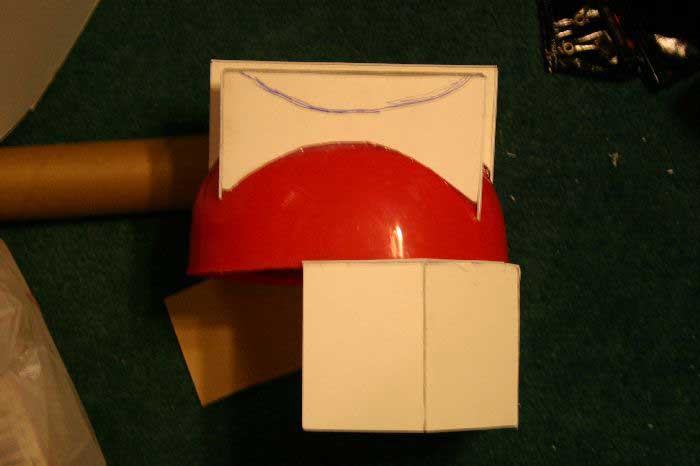
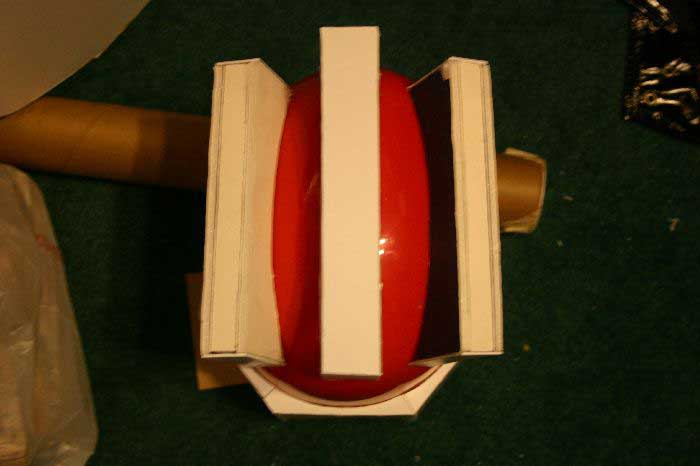
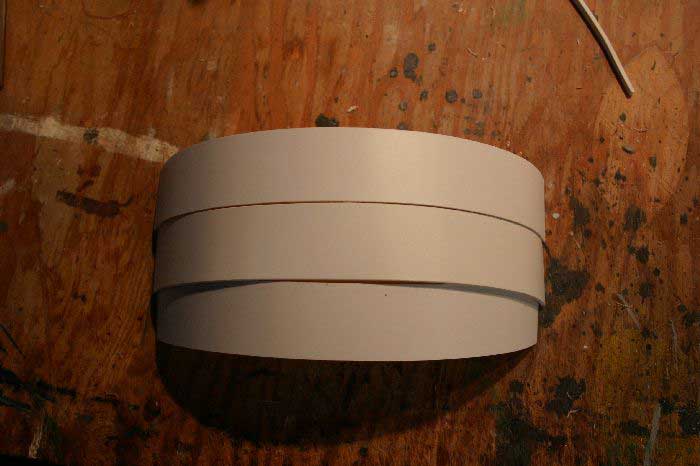
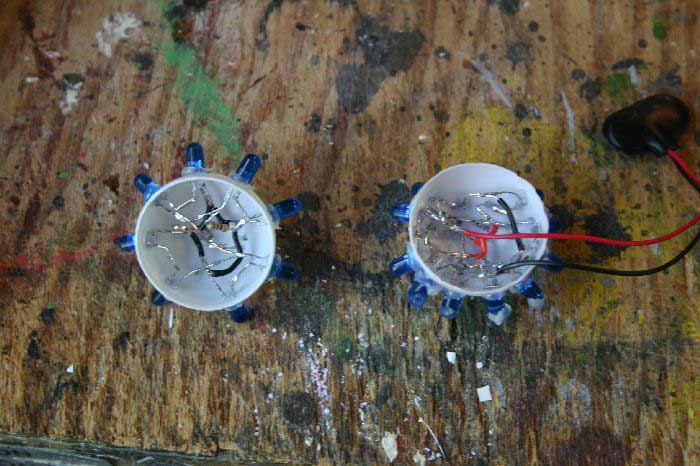
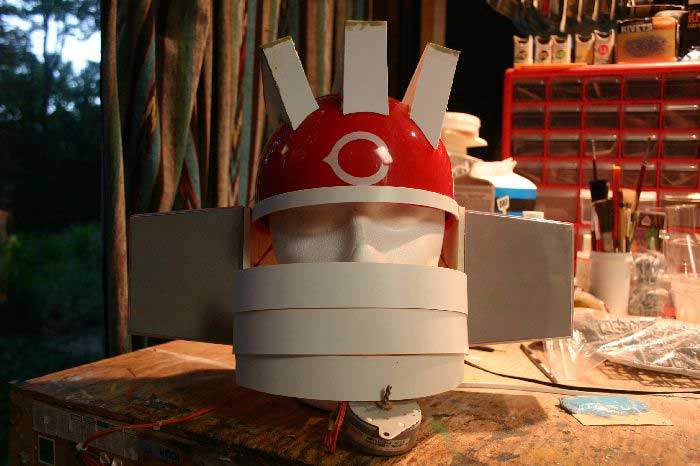
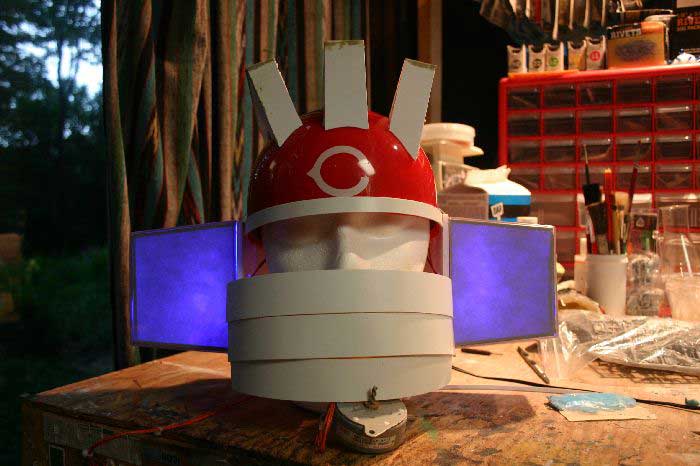
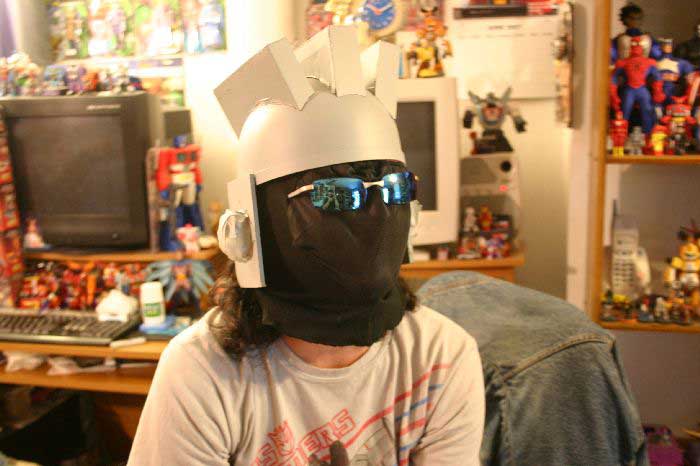
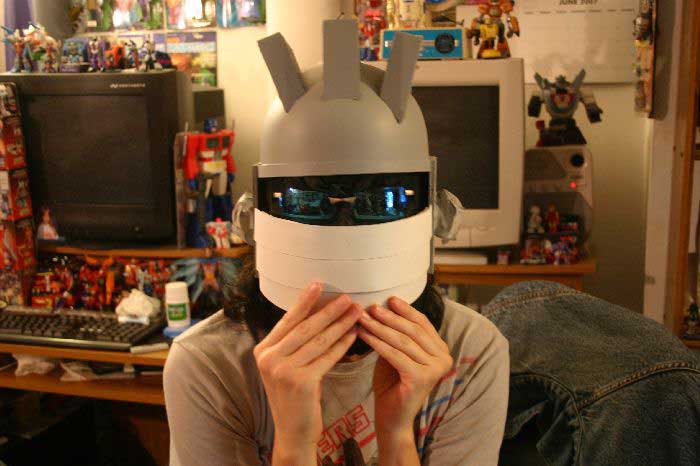
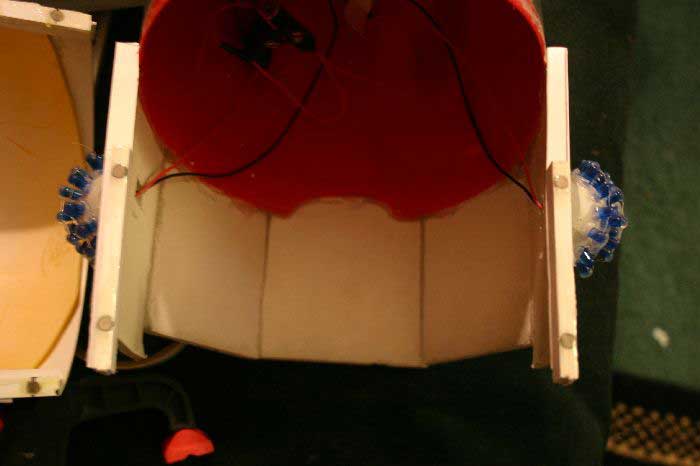
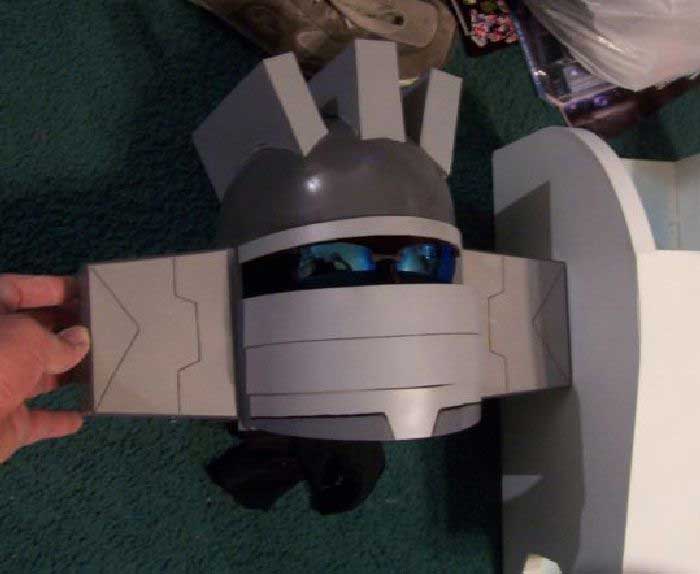
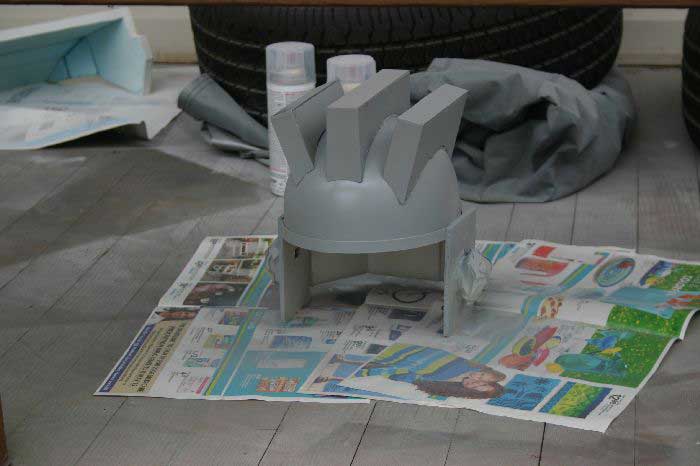
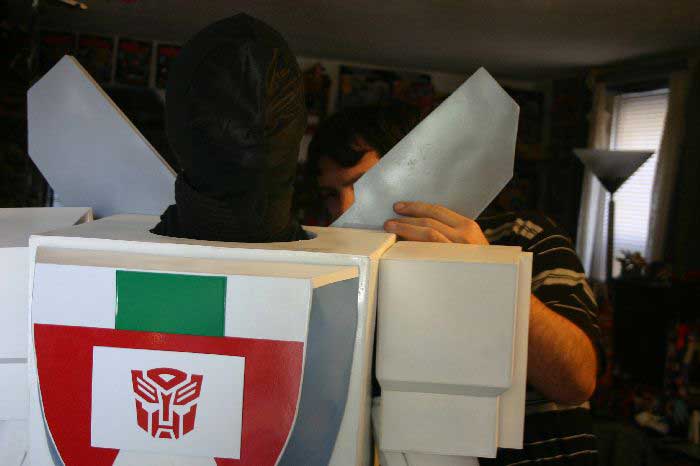
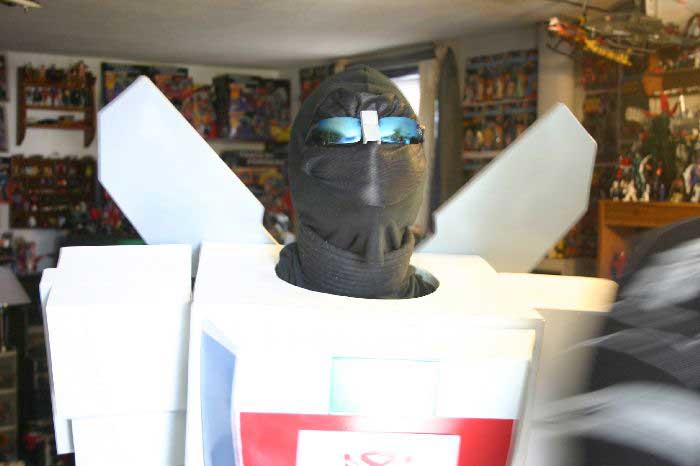
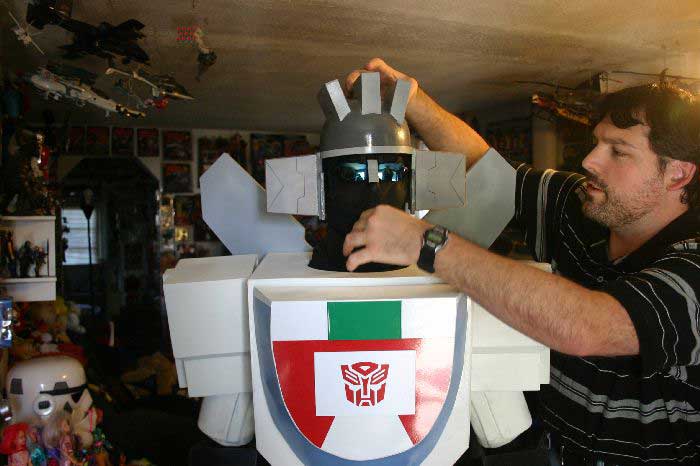
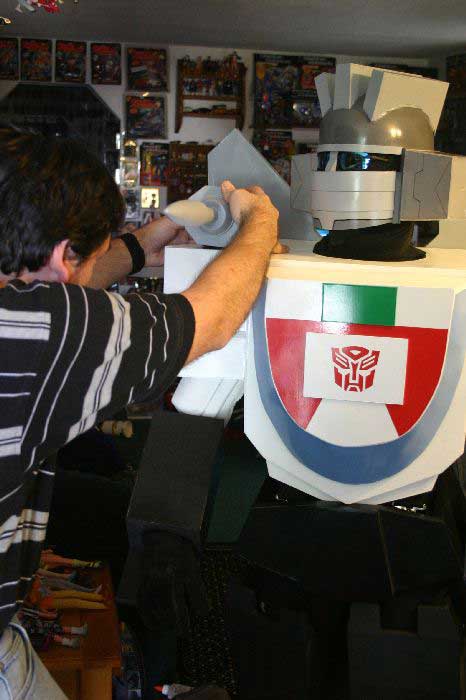
The head was a challenge. We dug around toy and sporting goods stores for a helmet to use as a base and wound up using a kids faux baseball helmet I found at a thrift store for $1. The sides and "mohawks" were built up using foamcore and styrene. For the mouth we used a swinging lid from a small desktop trashcan as a base and then layered it with strips of styrene. The "ears" are actually containers from some toy car found at Toys-R-Us.

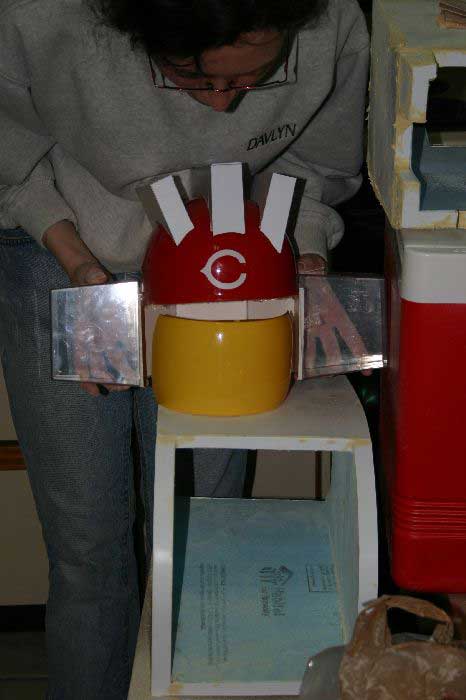
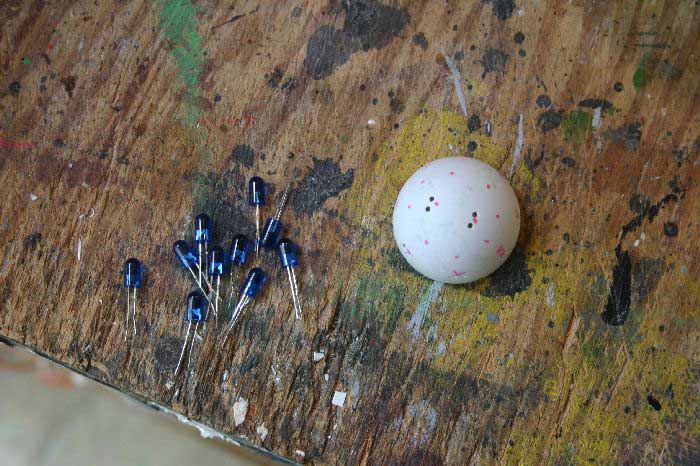
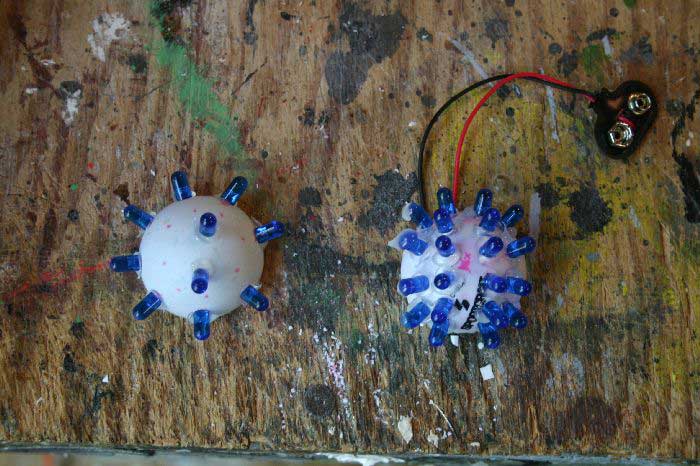
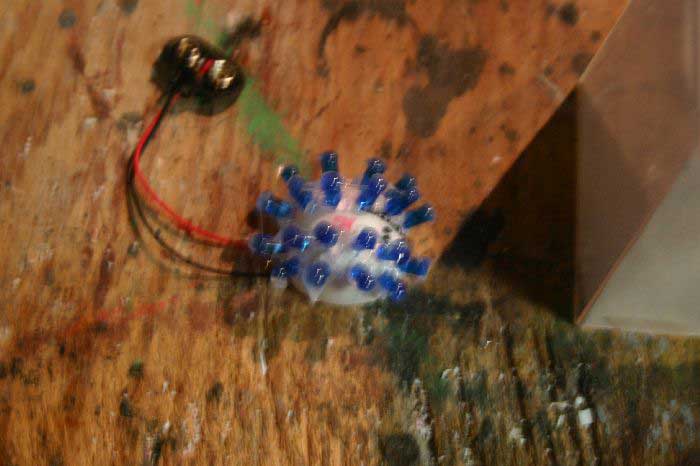
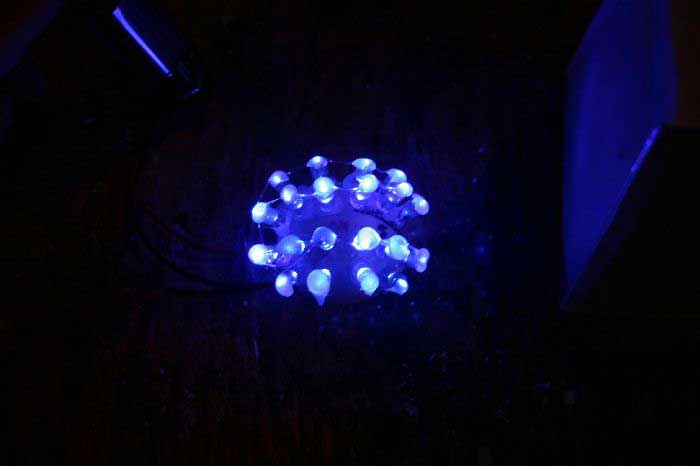
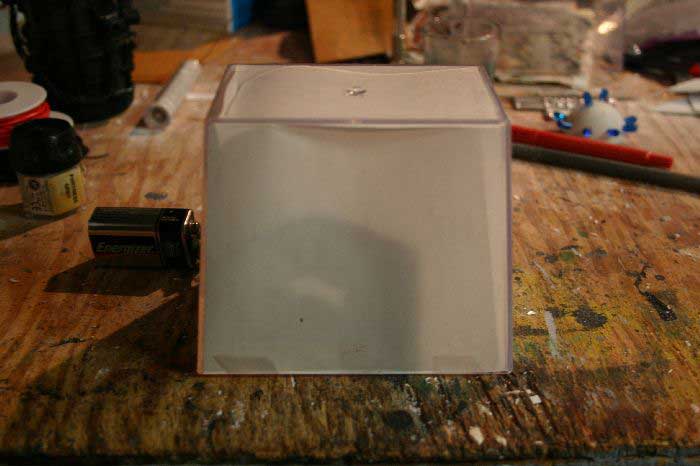
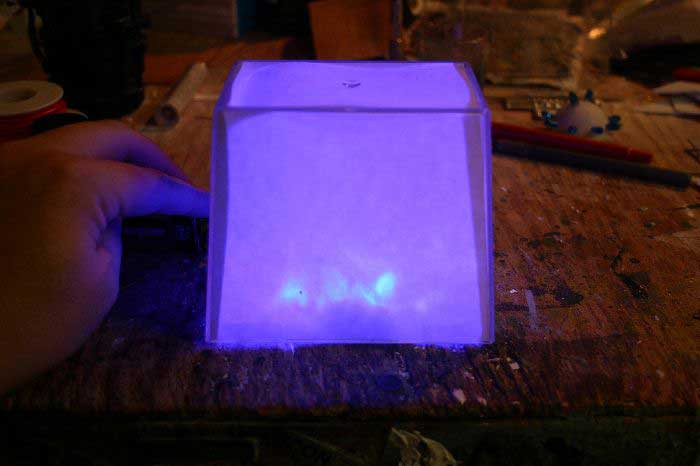
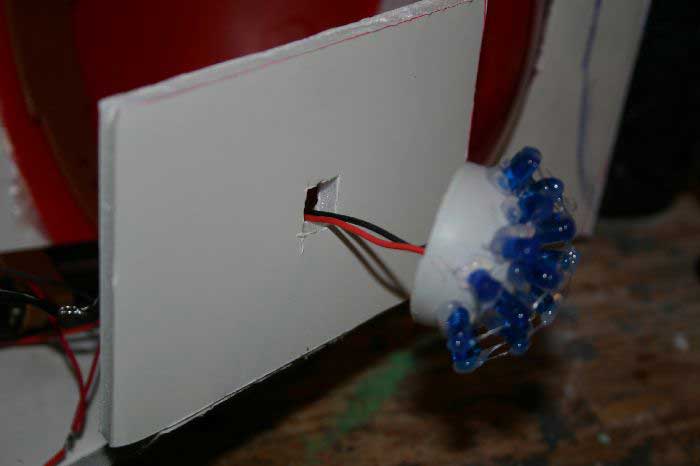
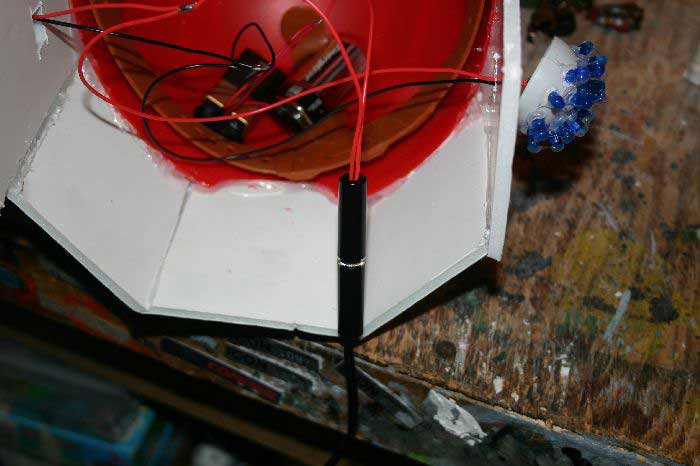
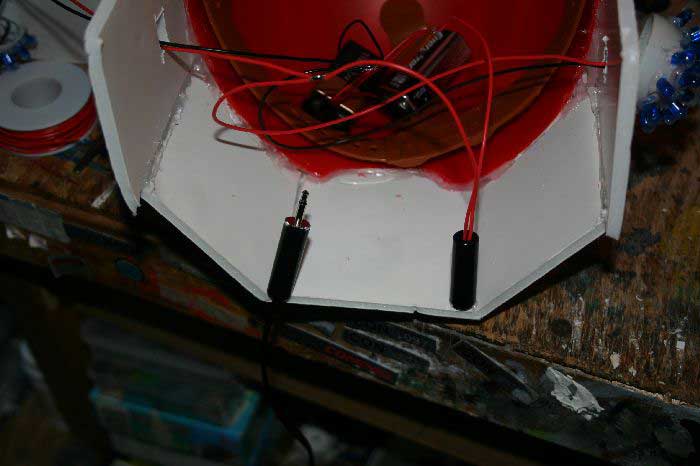
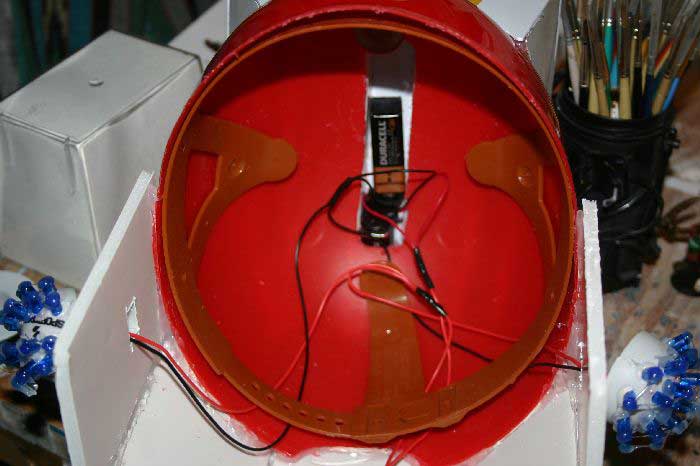
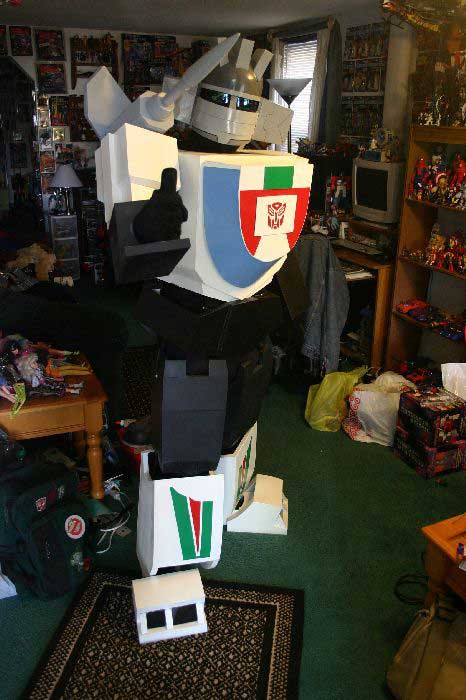
Rose wanted the ears to light up like in the cartoon. After some failed attempts to make a voice activated switch we decided to just run a button down to her hand so she could activate it manually. A few weeks after Christmas all of the new style LED Christmas lights went on sale for $3 for a strand of 50. I picked up a few boxes and started playing with layouts and combinations to achieve maximum brightness with a minimum of spotlighting. As a mount for the LED's I cut a ping pong ball in half and drilled holes into it with a pin vise. My final version managed to cram 20 blue LEDs onto a gradual 170 degree arc. In order to diffuse the light and prevent spotting I put a blob of hot glue on the end of each of the LEDs. Both ears can be run off of a single 9v but to improve battery life I stuck 2 batteries in parallel. I'm not sure how long the setup will run with fresh batteries but even with all the playing we did we never noticed a decrease in the brightness. For overall convenience I installed a plug so the switch wire can be attached and released easily. To further diffuse the light I put paper in the ears and built a cage from styrene to keep the panels in place. A light coat of grey spray paint made the paper the same color as the rest of the helmet but still allowed the light to come through.

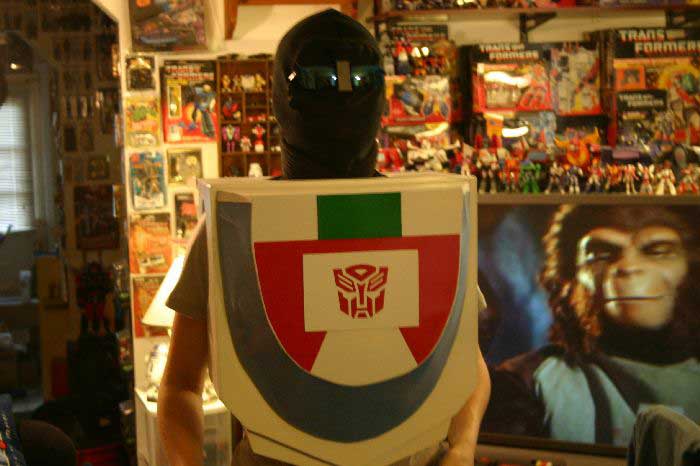
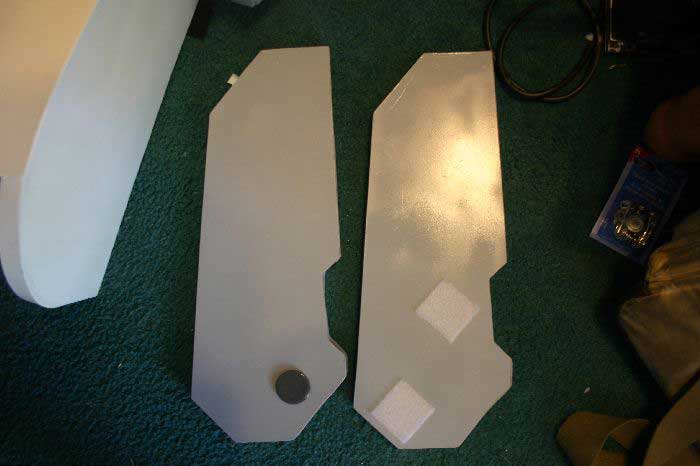
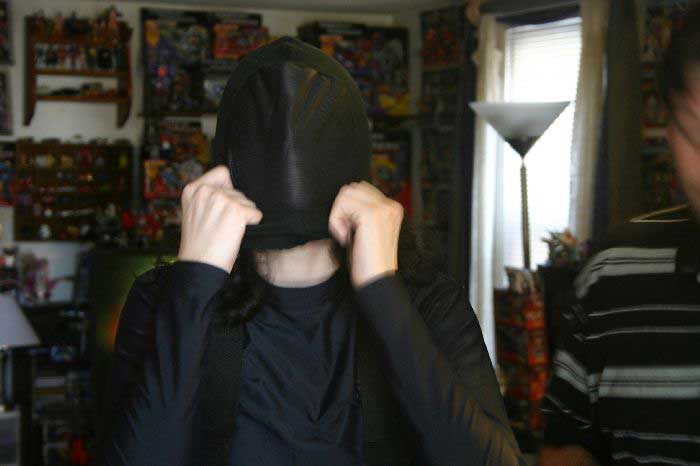
To hide Rose's face we had a friend of ours who can sew modify one of those see-through hoods they sell at Halloween. For eyes a pair of blue sunglasses was bought off of Ebay. After having trouble with the hook setup we used for attaching Soundwave's mouthplate we decided to try magnets for Wheeljack. Four pairs of rare-earth magnets from Radio Shack seem to do the trick.
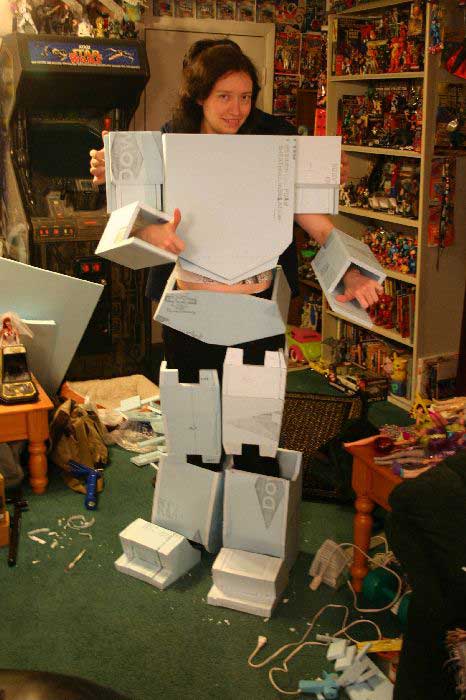
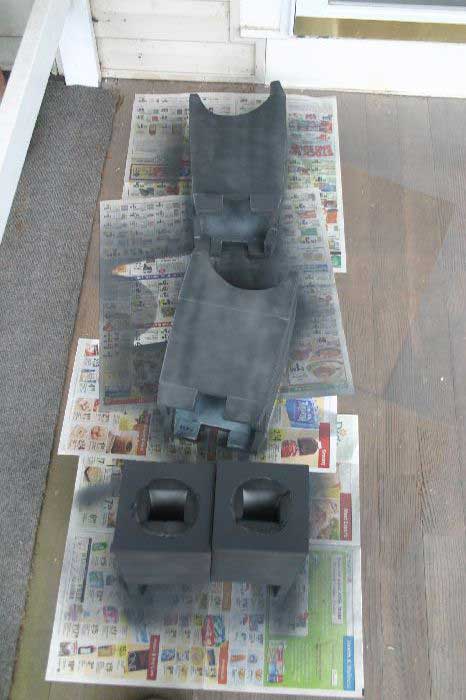
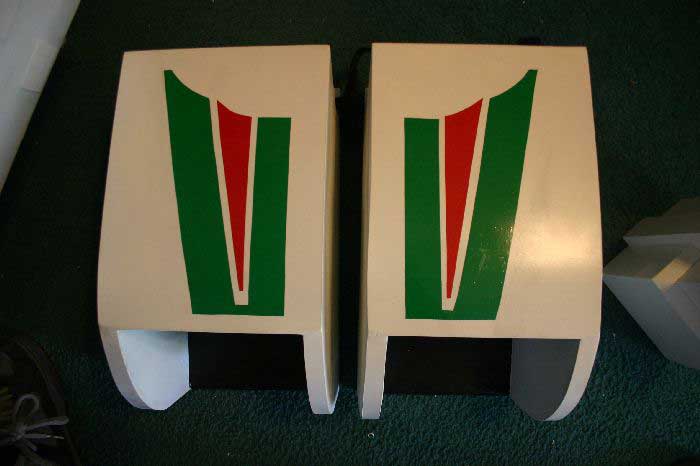
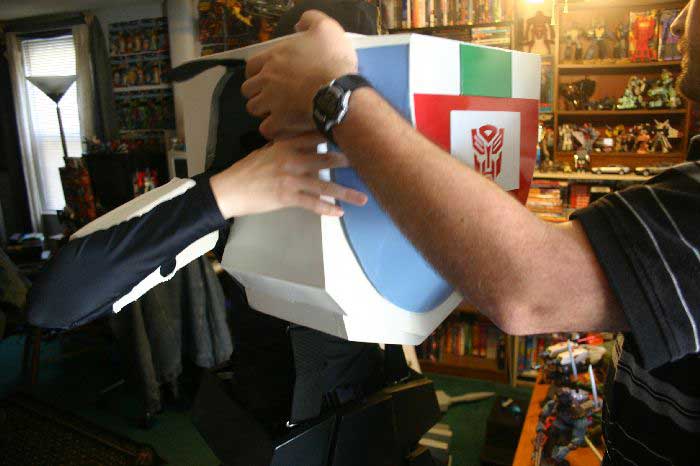
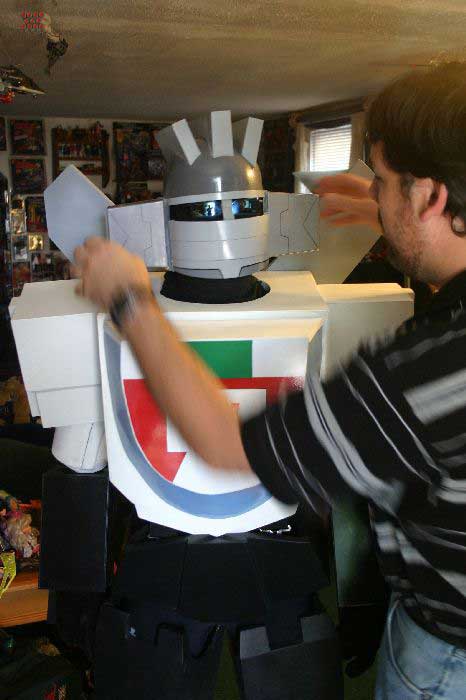
With all the parts puttied and sanded we painted them with spray paint and then sealed them with a gloss clear coat. The green and red chest and leg details were made from sheets of vinyl auto decal bought off Ebay.
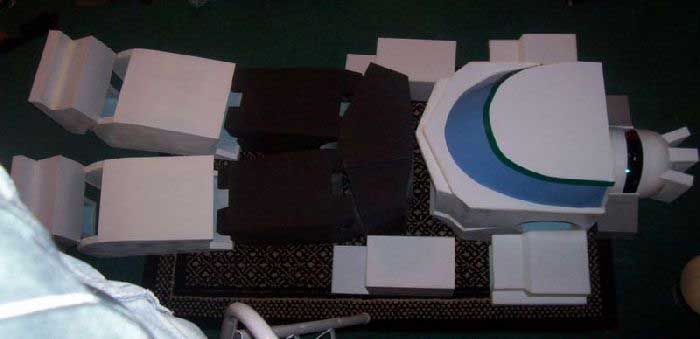
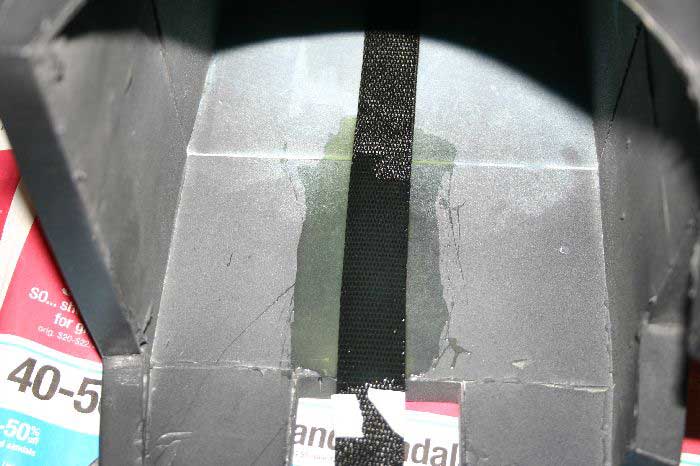
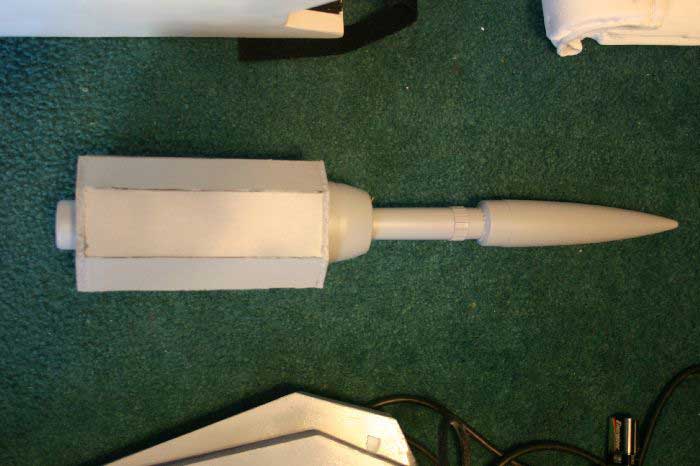
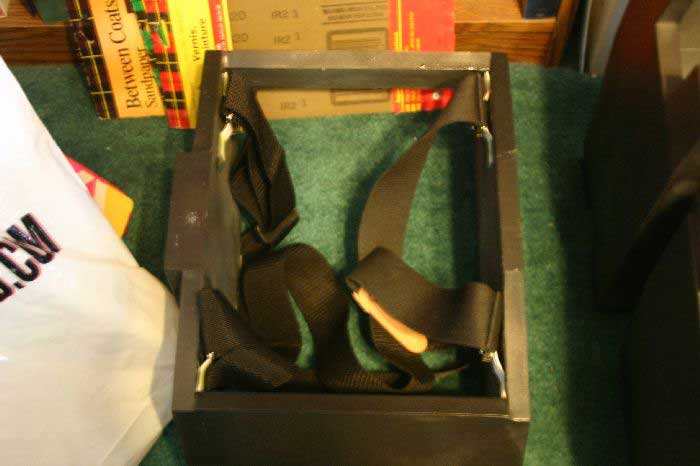
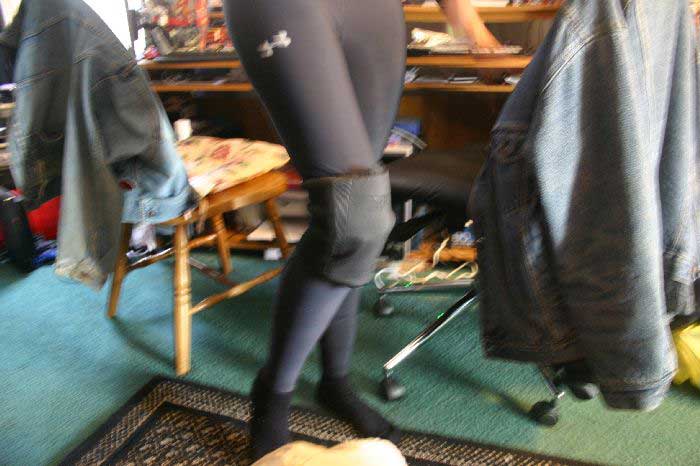
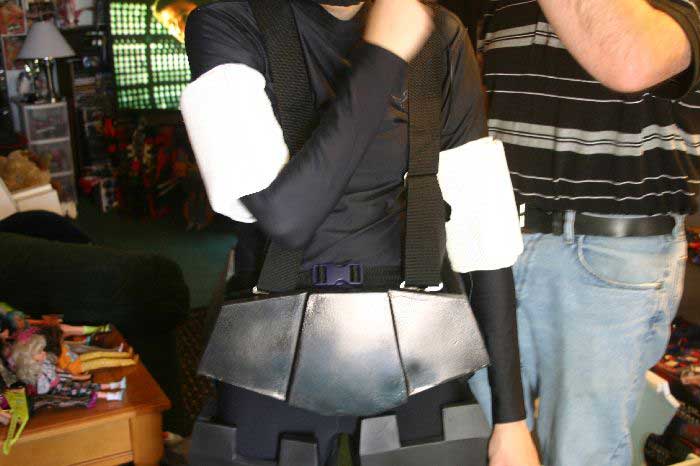
Strapping is much the same as Soundwave with a suspender system holding up the codplate and a belt and garter system holding the legs up. Foam padding in the lower legs, feet and arms help keep everything in place. Athletic pads help bulk out the knees and elbows. The missile launcher was made from foamcore and junk I've had laying around forever "just in case I needed it".
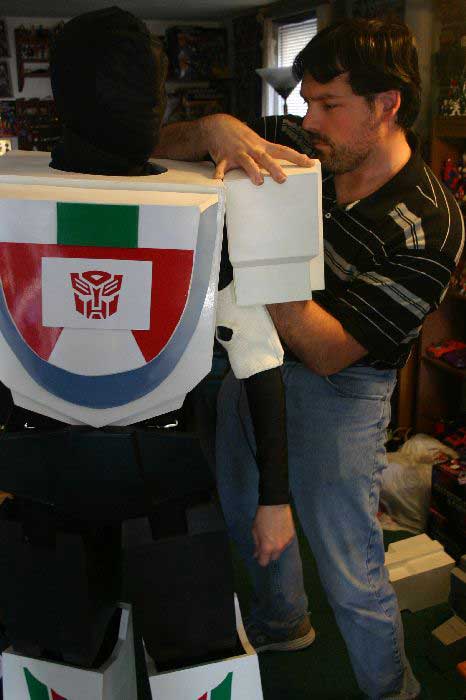
The weekend before Botcon 2007 we finally got everything completed and tried everything on.

Tweet
