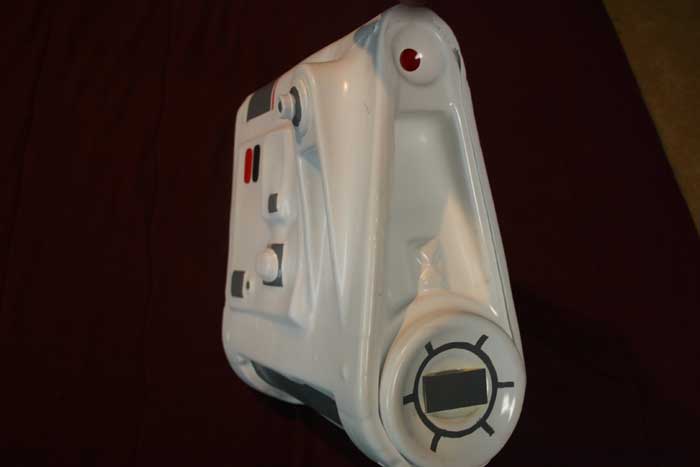
Snowtrooper Backpack
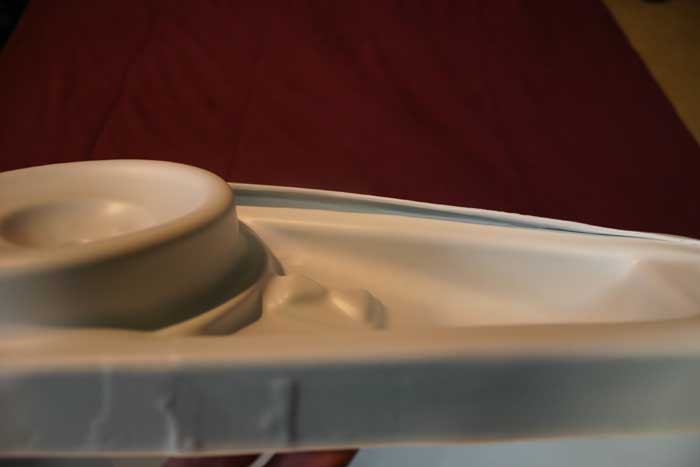
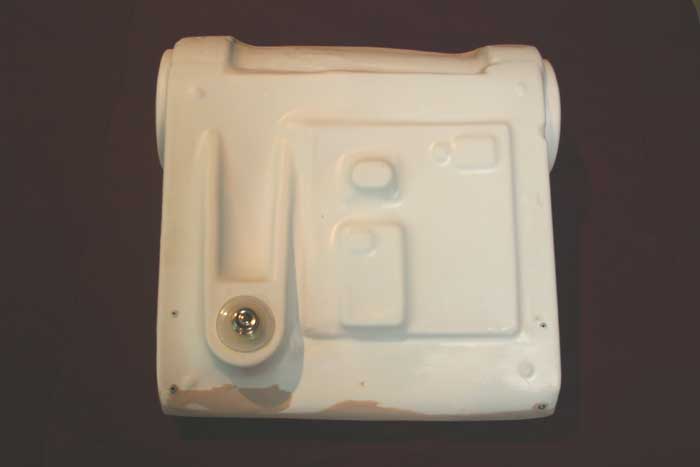
The pulls for this backpack are horrid. They're malformed, poorly detailed, and inaccurate but, for the time being, they're all I've got so here's what I did to make them better. After trimming everything down I attached the back plate to the sides with rivets, two at the bottom and two just before the start of the curve at the top.
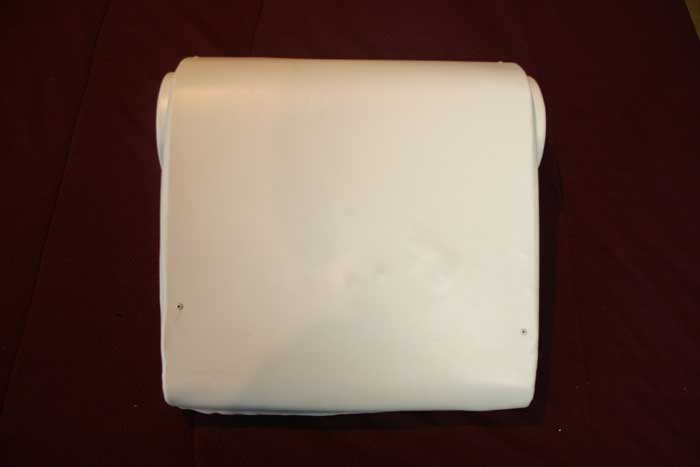
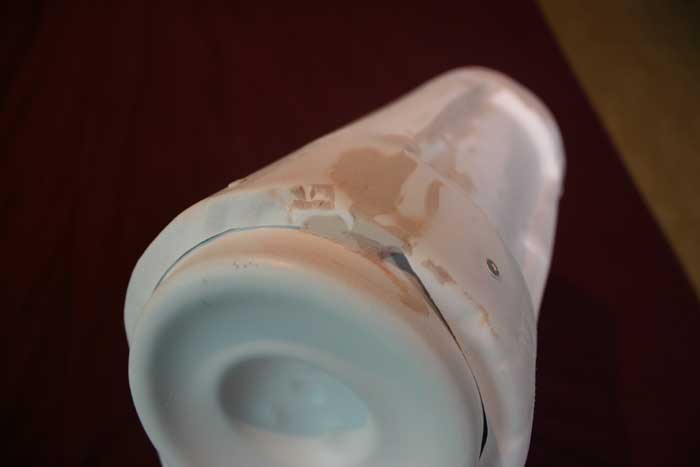
The edges of the back plate are horribly bowed out. I thought about trying to bend them back in a bit with a heat gun but that would have heated the whole edge and been very difficult to control. I wound up trimming them down later after I had the whole backpack together and had a chance to look at it. The curves on both ends presented challenges for fitting, both in trimming the edges of the back plate and fitting the plate to the curve. The bottom fit pretty well once trimmed but the top took some forcing.
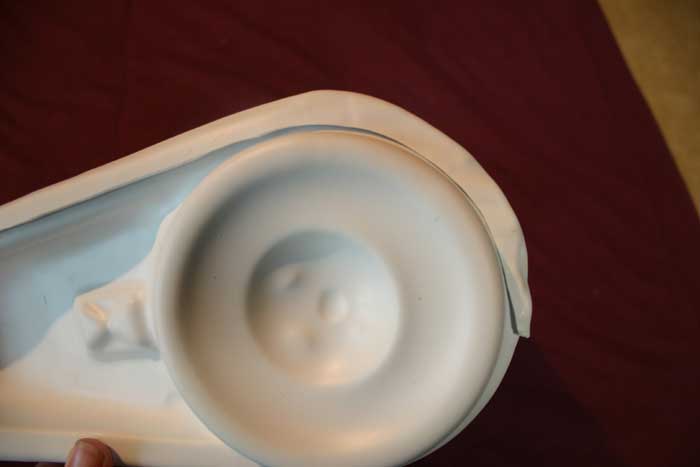
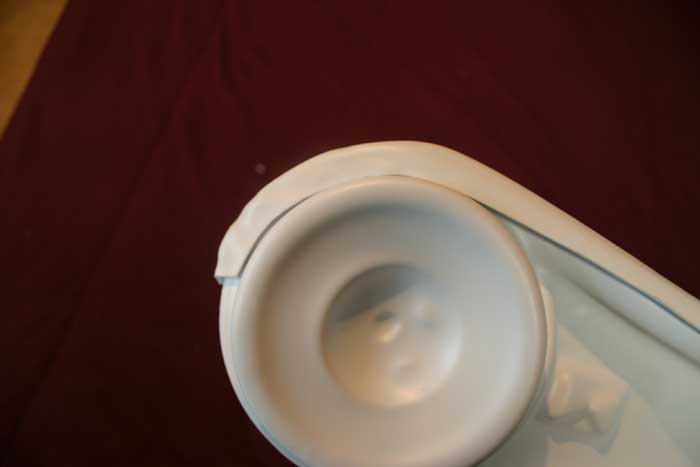

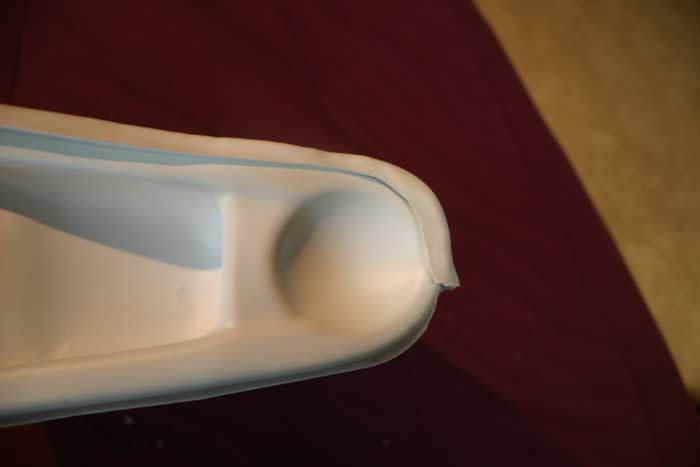
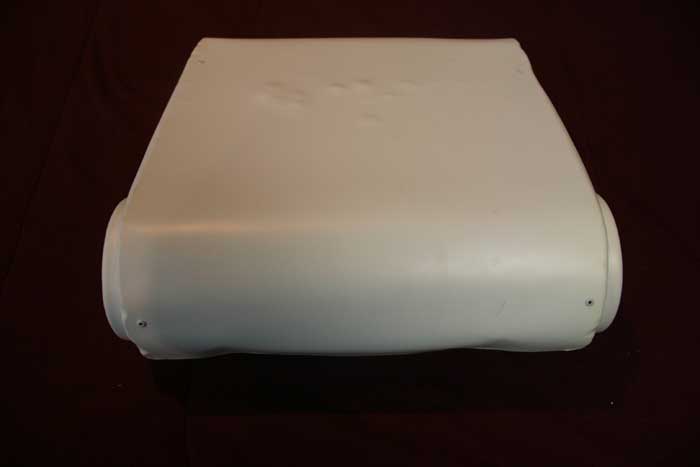
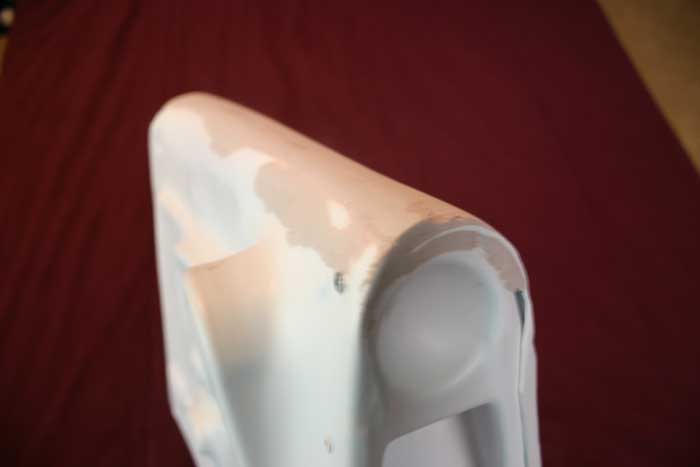
I left the top curve of the back loose while I attached the front plate to the backpack with rivets. Once that plate was on I could trim the edges for a closer fit. When I got it looking good I riveted the whole thing down then bondo'd the heck out of both ends. The bondo doesn't stick very well to the styrene but with multiple coats and judicious sanding with a hand sander I achieved a fairly smooth curve.


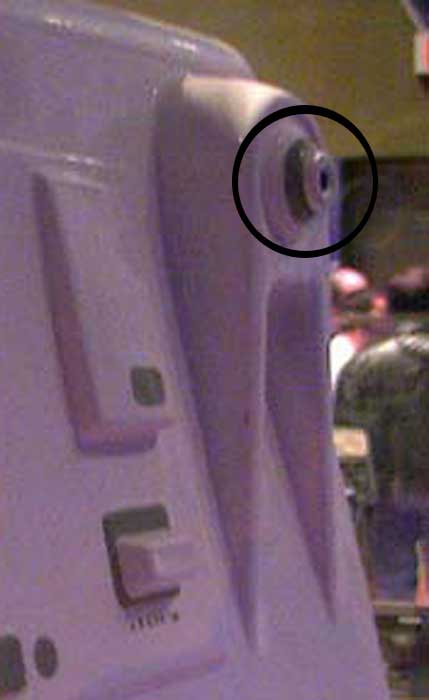
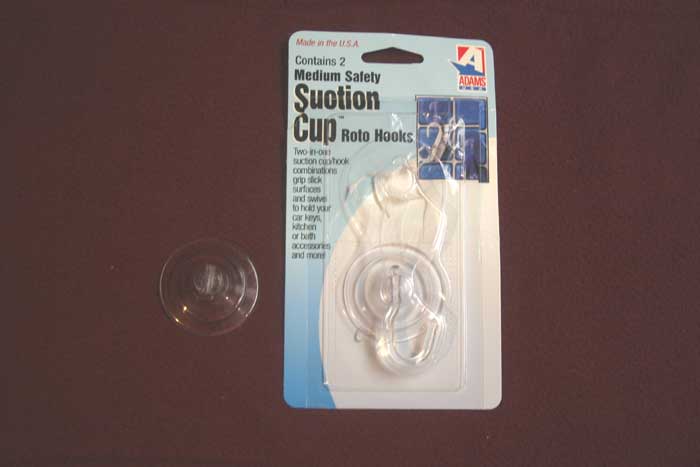
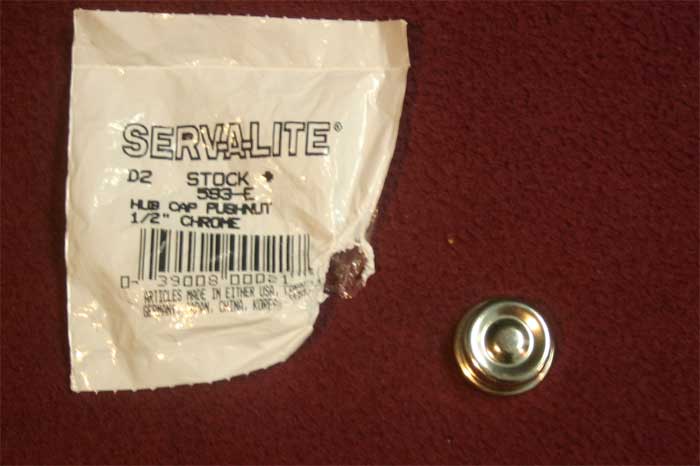
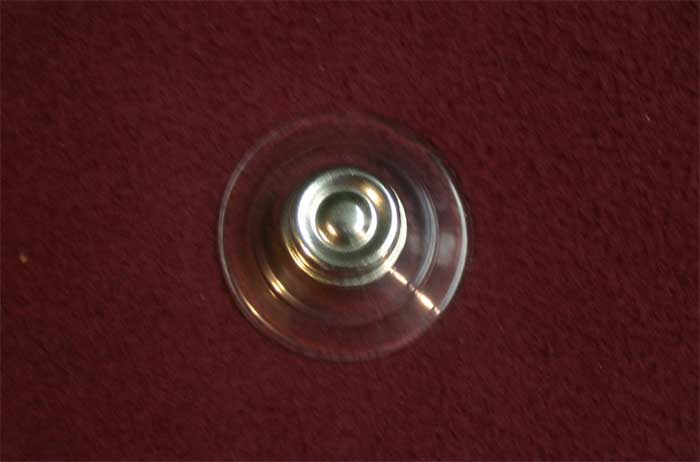
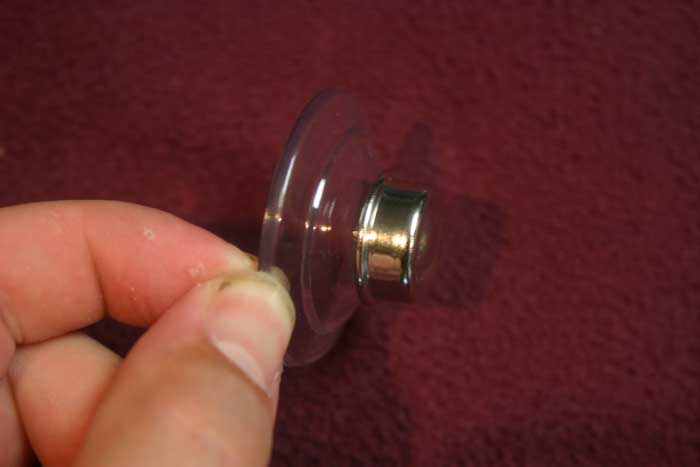
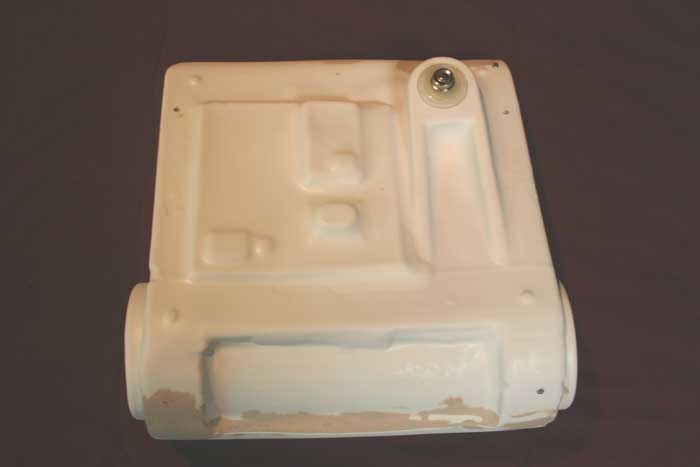
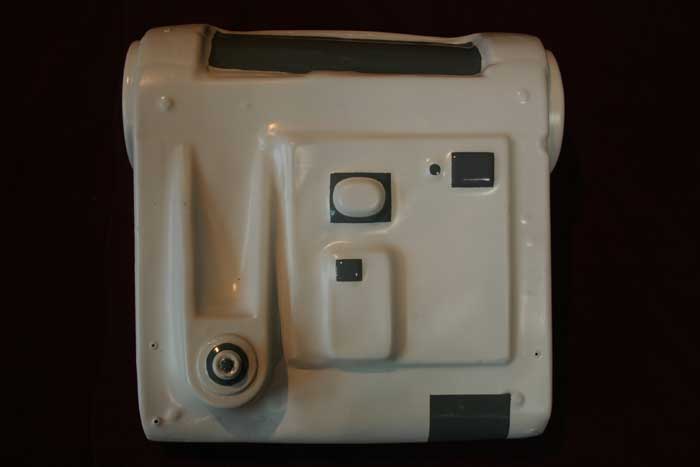
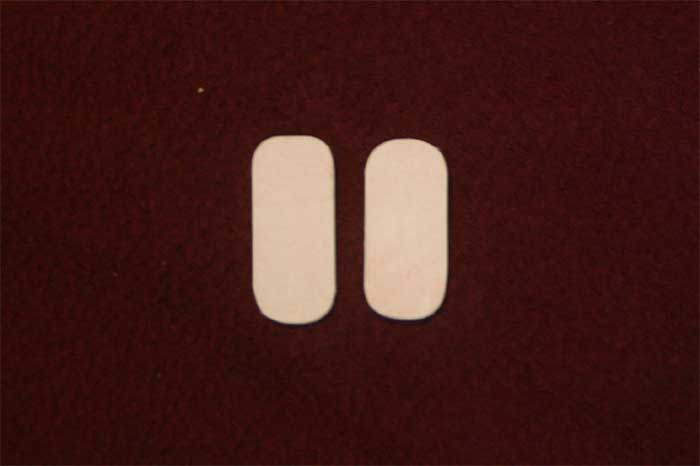
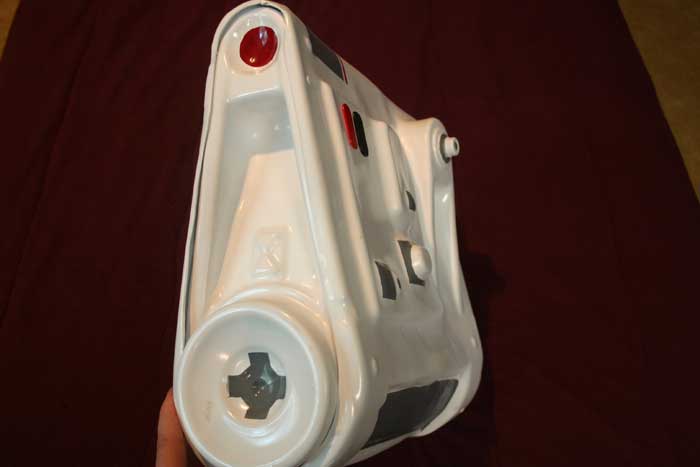
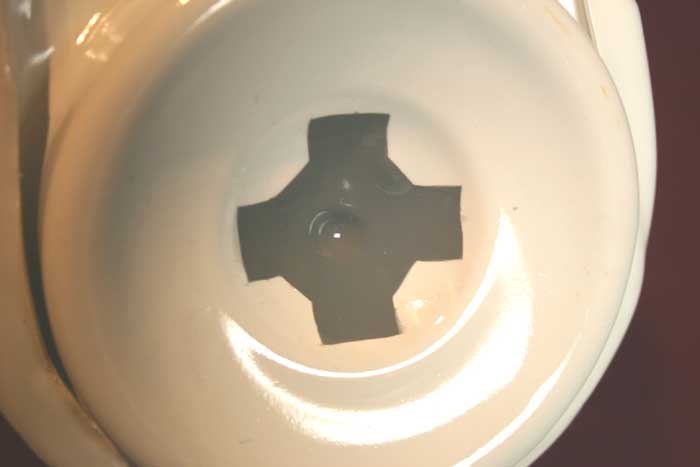
The only piece of detail I could really add to the backpack without any major restructuring was the Stacked Ring Thingy(tm) in the upper right of the pack. I searched around Sears for something similar in shape and wound up using a suction cup and a hub cap push nut. It's not exact but similar enough to improve this pack.
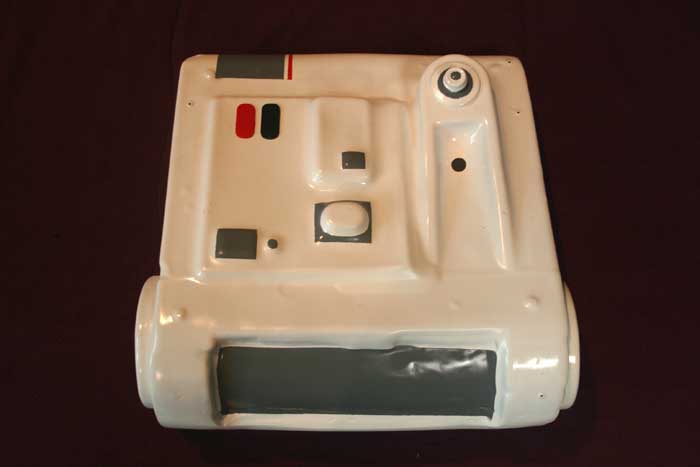
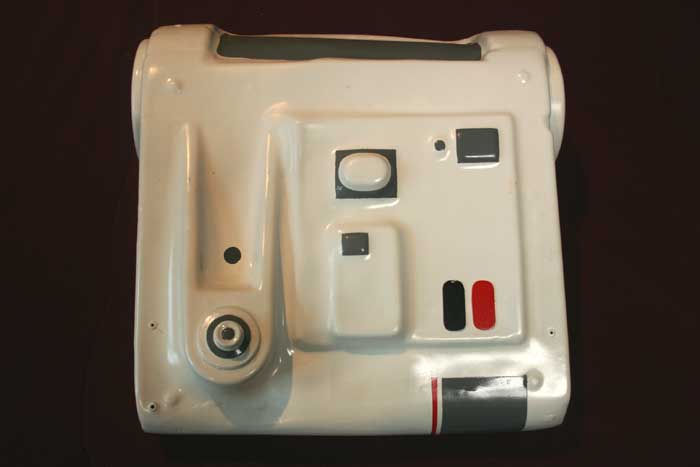
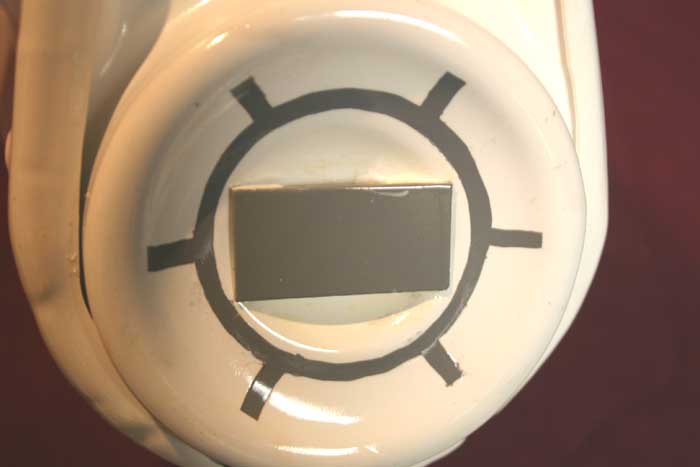
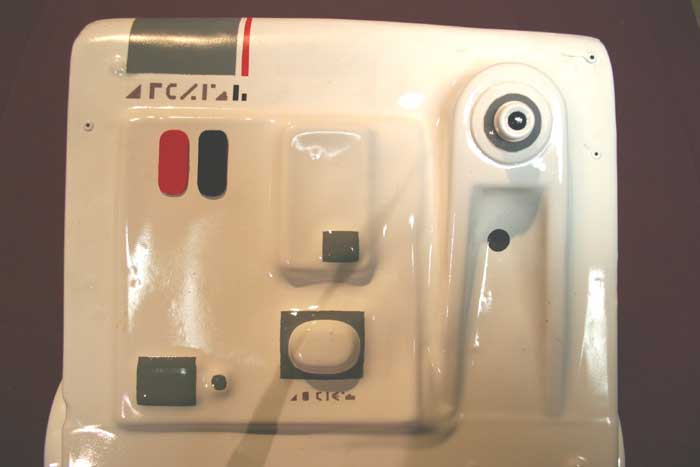
Next step is painting. I started off with my usual white primer/white gloss coat. Next I masked off all the areas that needed to be grey. I used Rust-oleum Smoke Gray Gloss Enamel. For the grey bar on the right side of the pack inside the cog I used a piece of plastic cut to size and glued in after painting. For the red and black bars I cut two pieces of plastic to size and painted them with gloss red and gloss black spray paint. The bars were glued on with plastic welder and the red stripe on the top was masked off an painted on. The red circles on the sides were painted on with acrylic paint. All that's left to do is the writing. For these parts I made a jpeg in Photoshop with the correct symbols and will be printing them out on decal paper. Once attached the whole pack will get a coat of gloss clear coat to seal it.
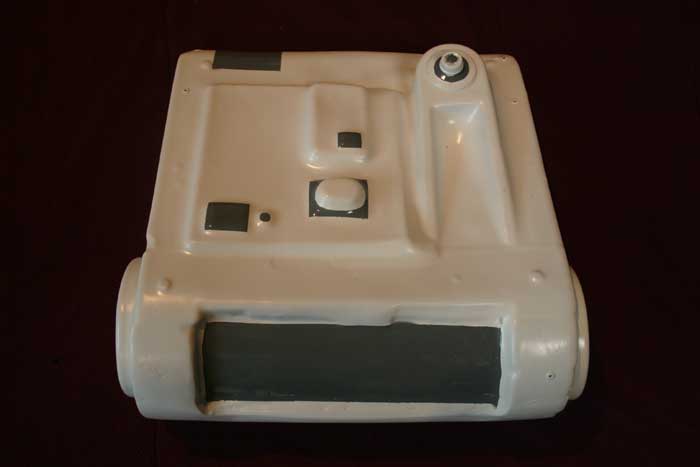
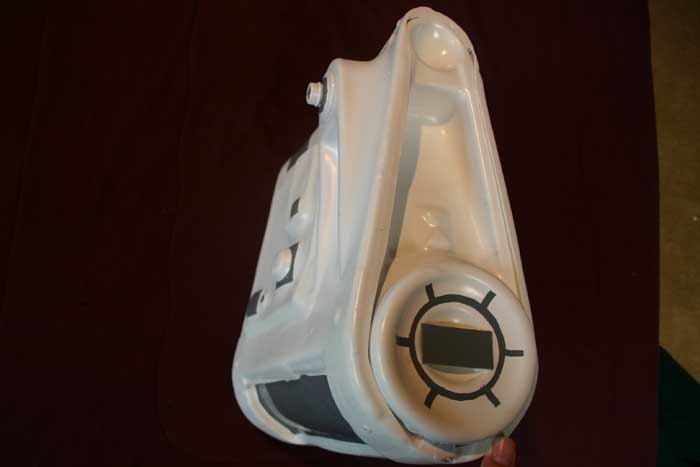


Here's the finished backpack with decals:

Tweet
