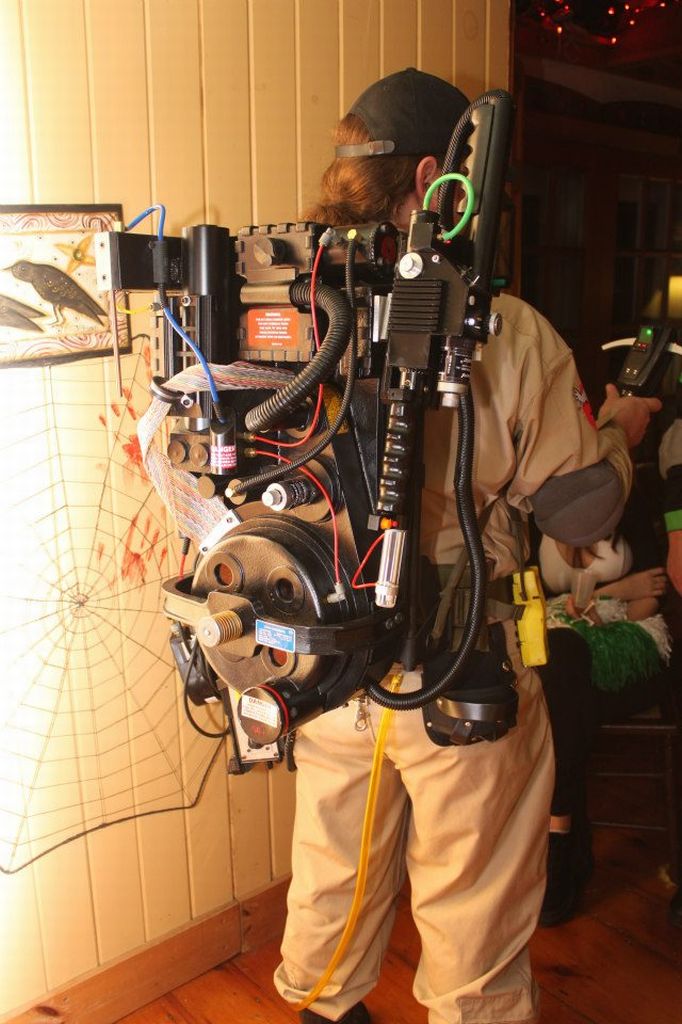
Ghostbusters Proton Pack
I started collecting parts for this project in 2009. I got it to a wearable state in time for Dragoncon 2012 but it still needs some work and won't be my "final" pack. Part of the reason it took so long was due to the changing info in the fandom at the time. I actually started scratchbuilding a pack with the best available plans in 2010 but new pictures and info came out that put it on hold while plans were reworked. Finally in early 2012 A friend of mine got a reasonably accurate pack shell and permission to recast it. I had most of the detail bits by then and figured it was time to finish a pack
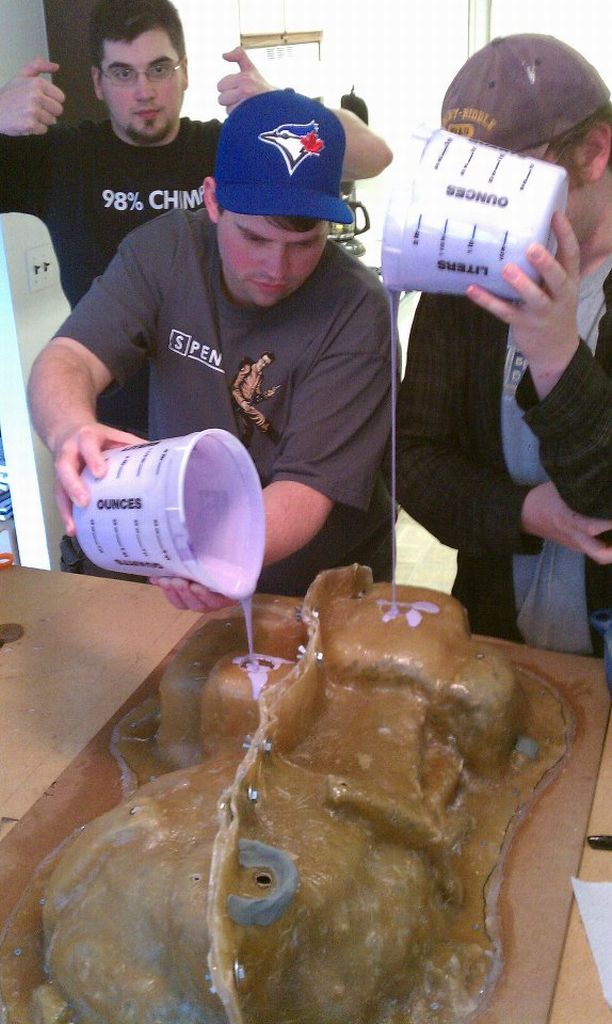
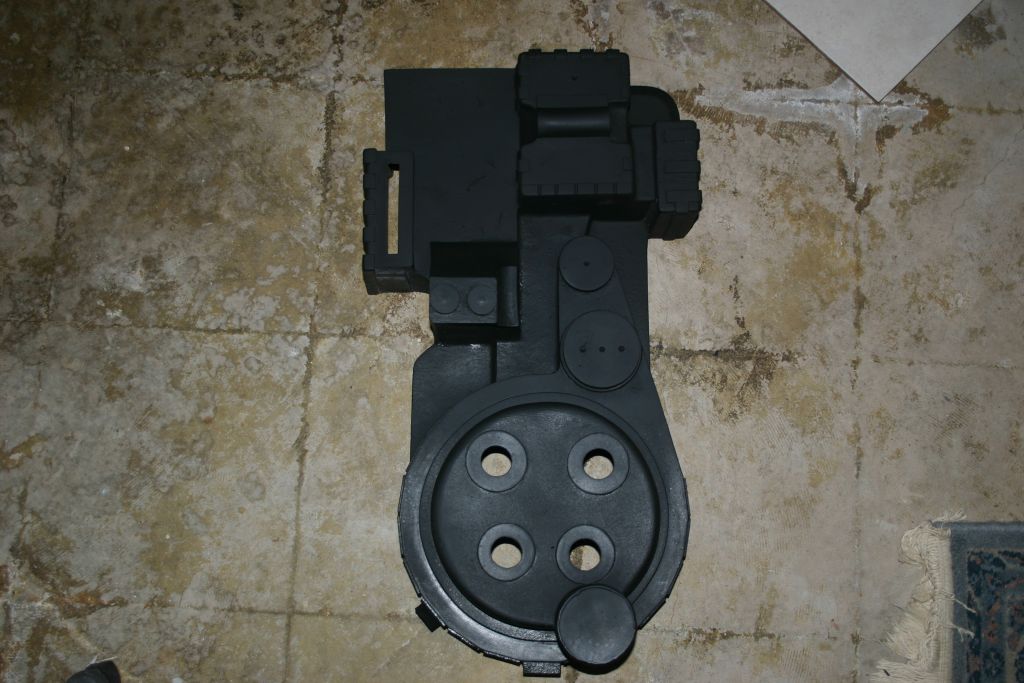
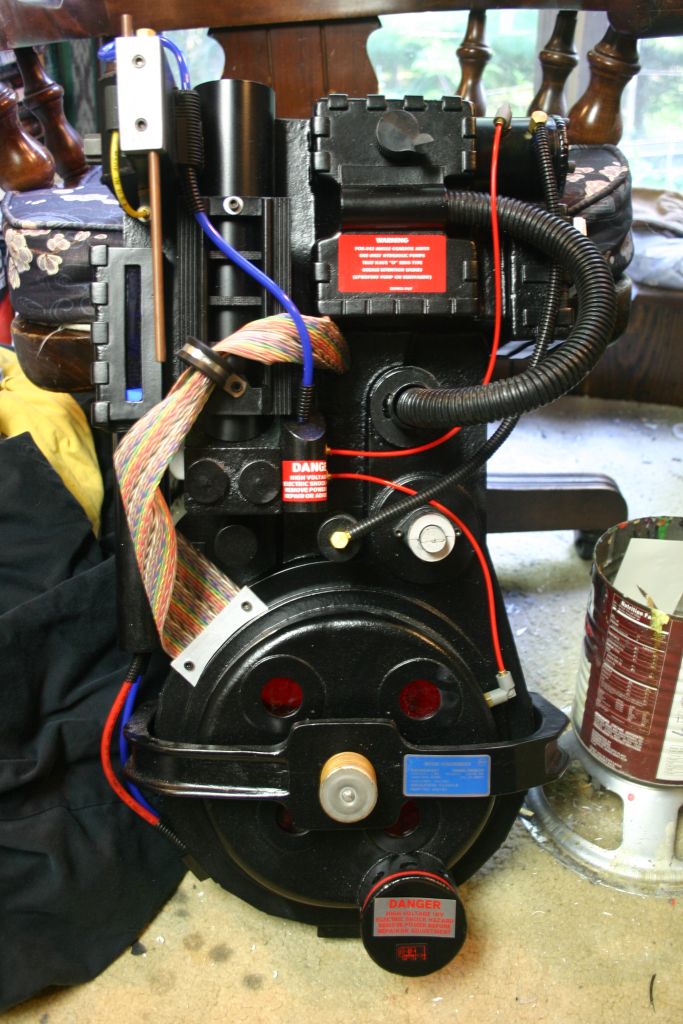
We made a silicone and fiberglass mold of the donor shell. Once the silicone was cured we laid up layers of fiberglass and resin to make copies.
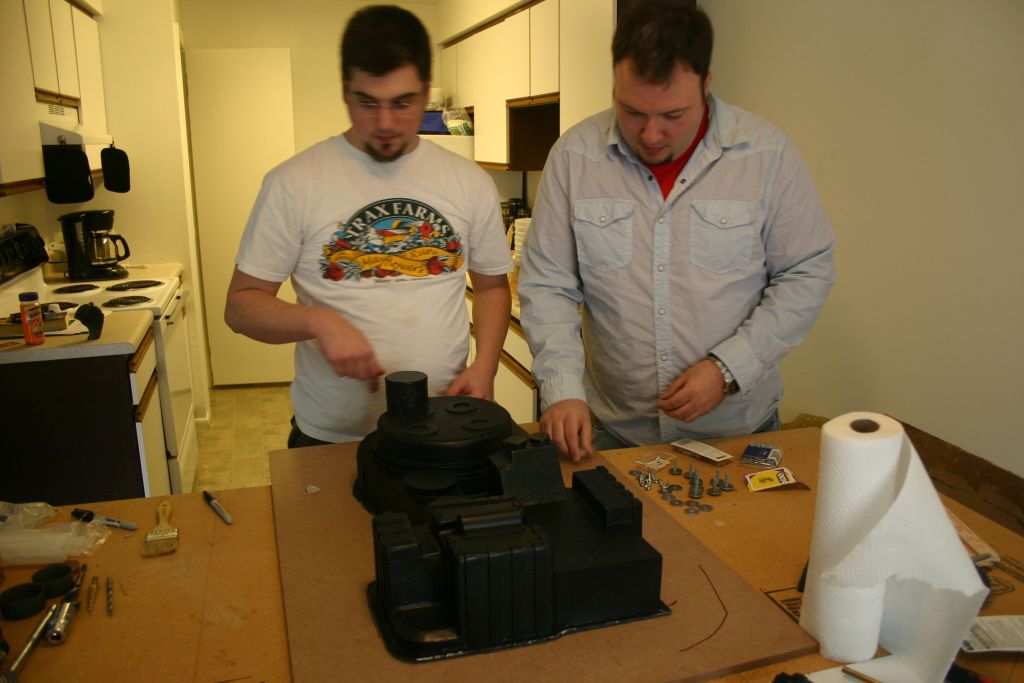

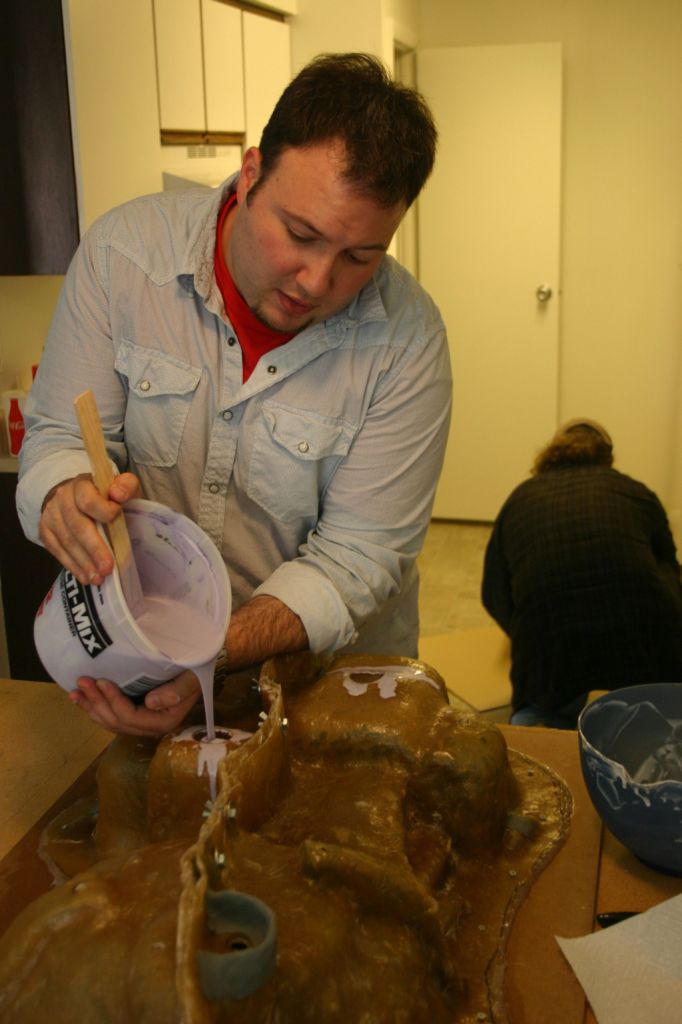
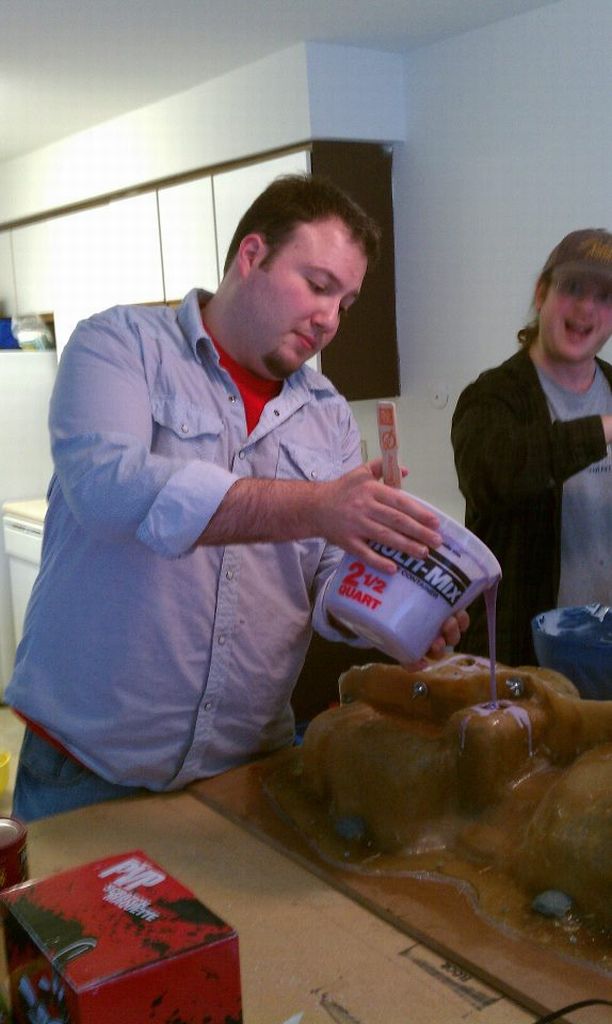
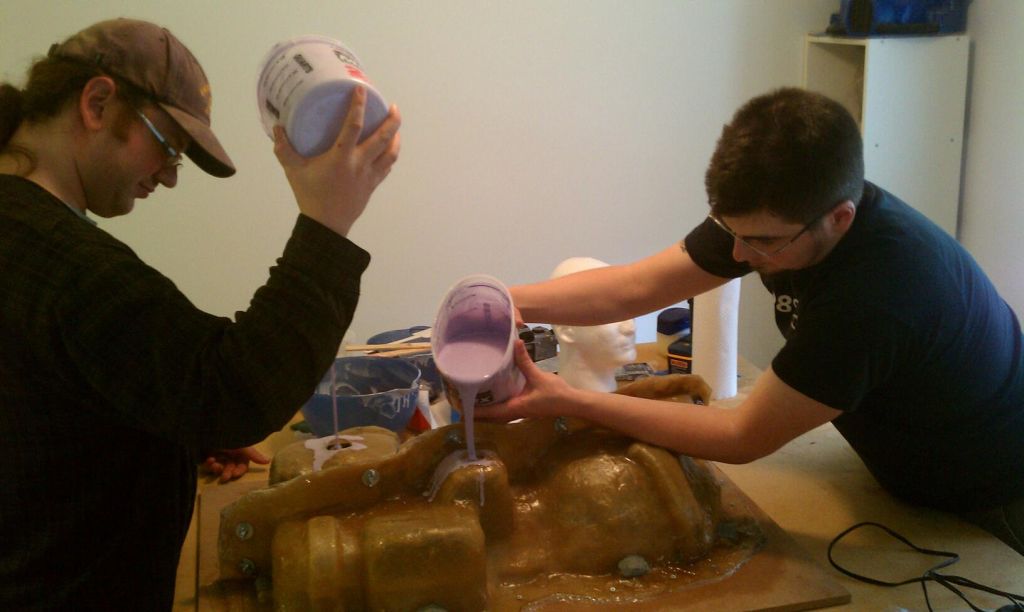
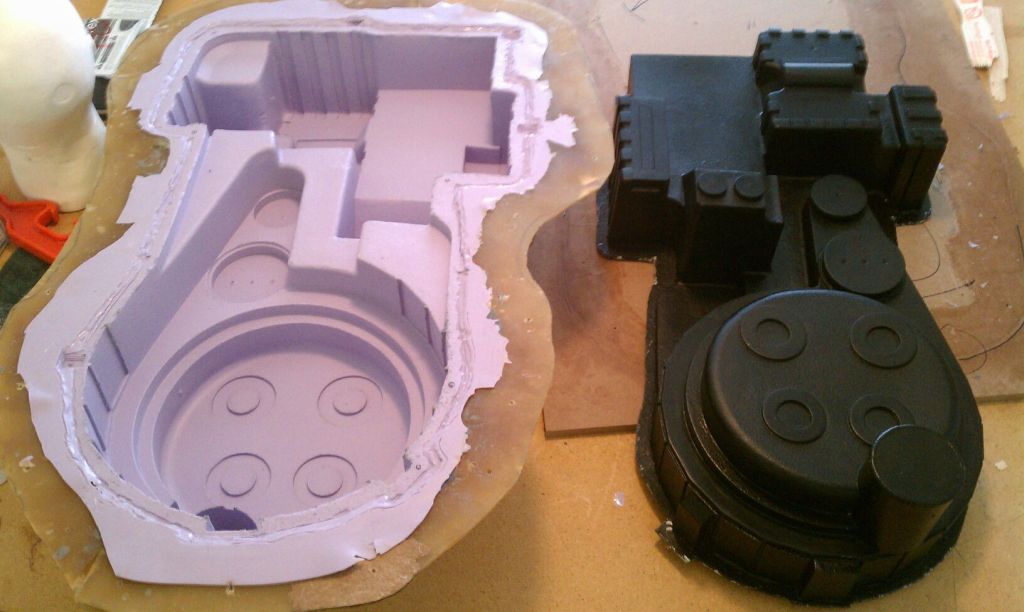
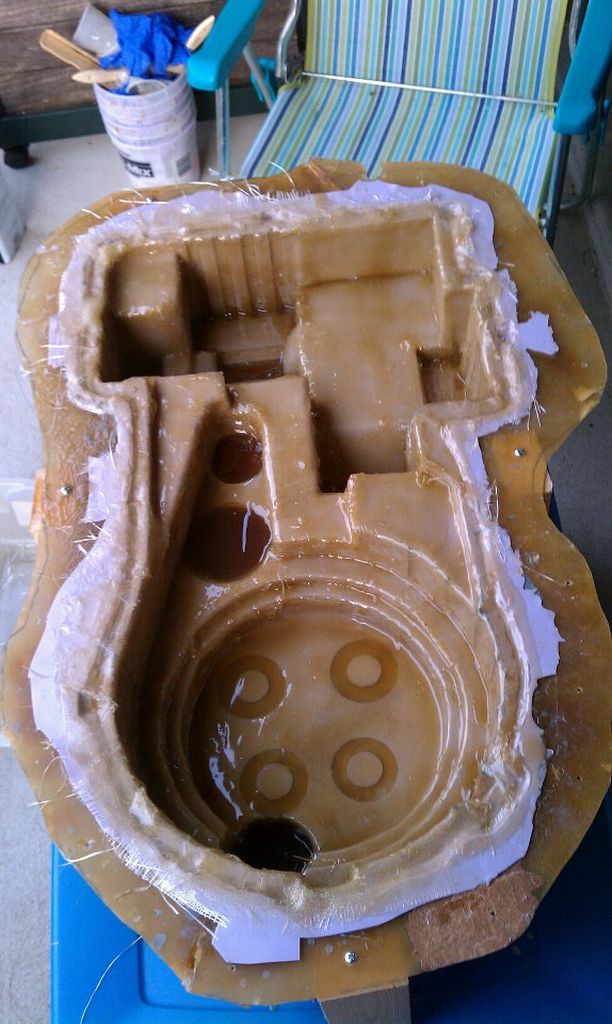
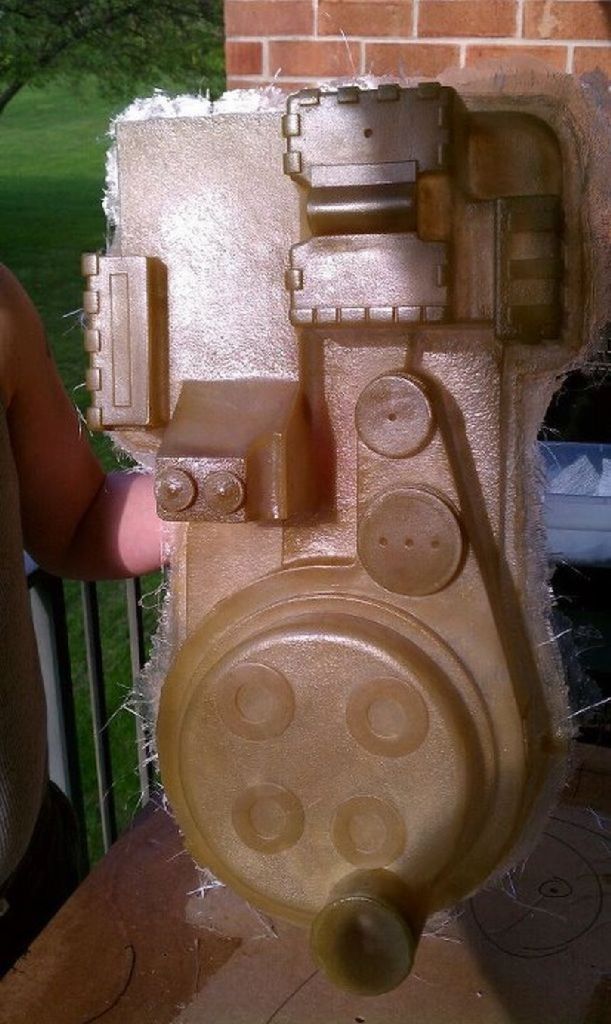
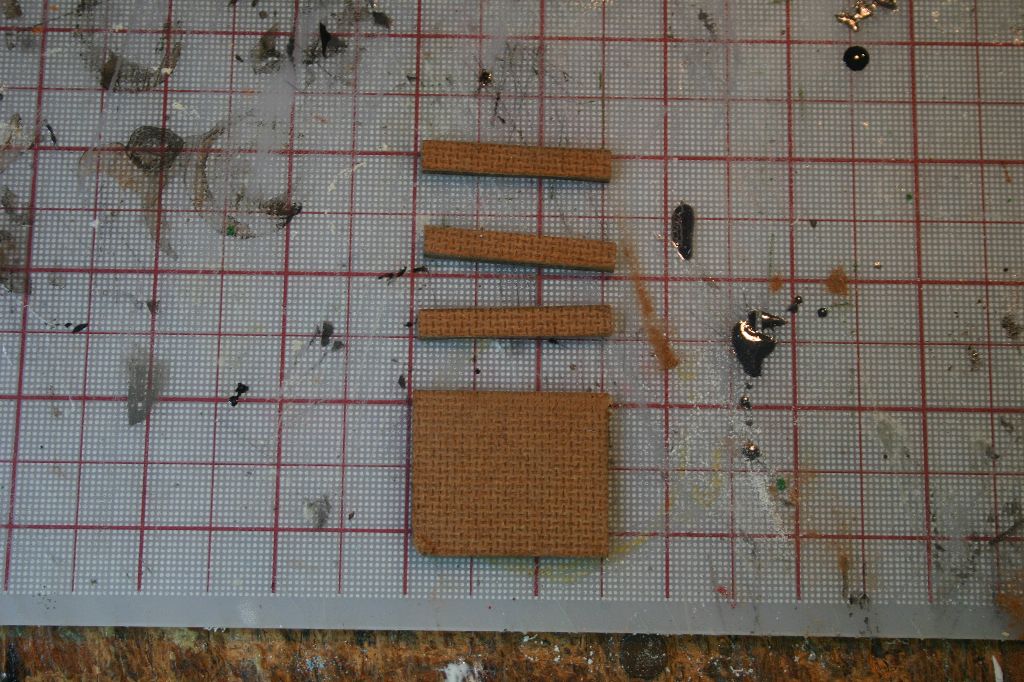
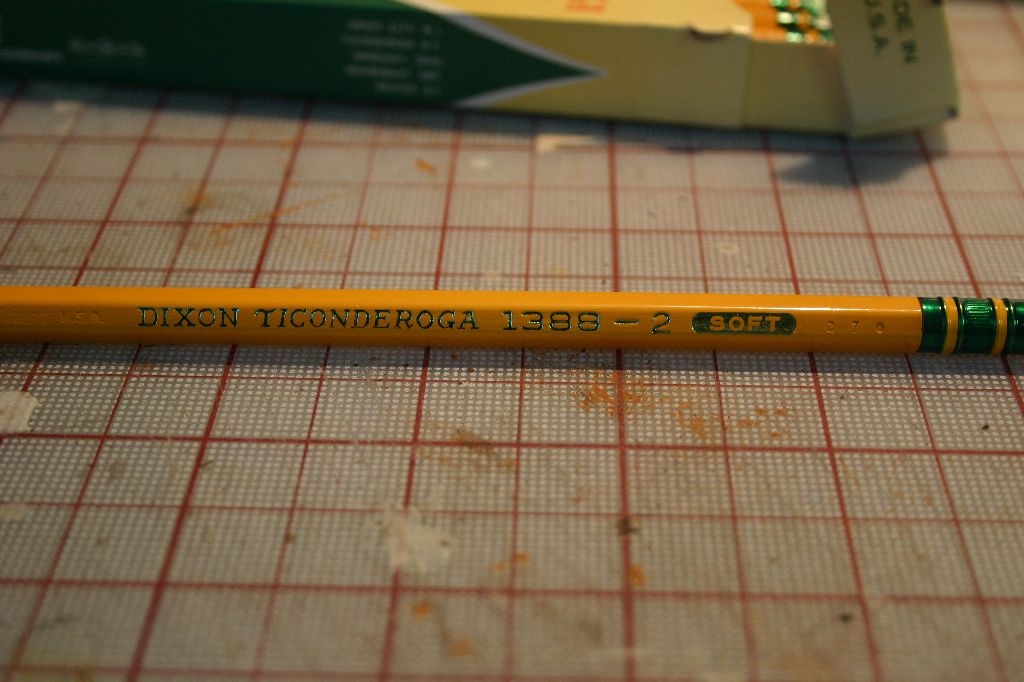
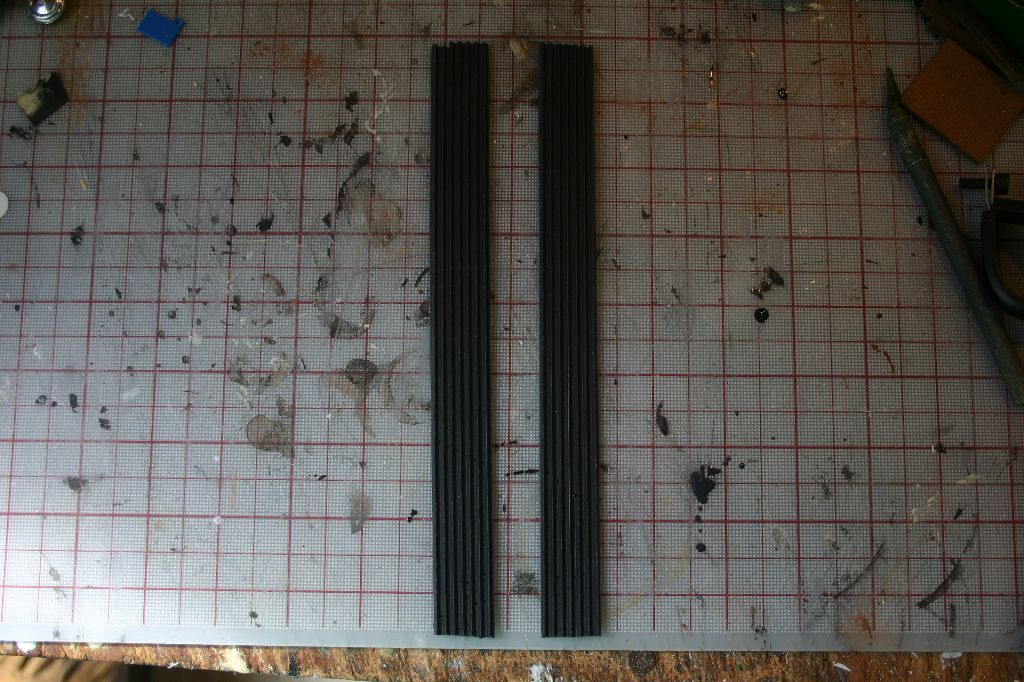
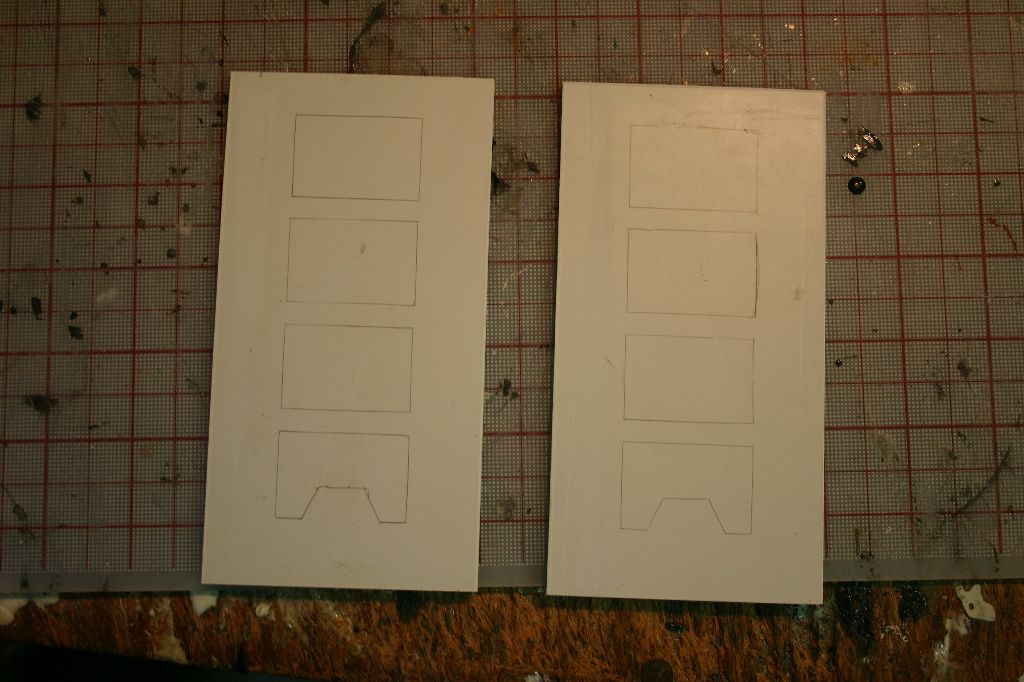
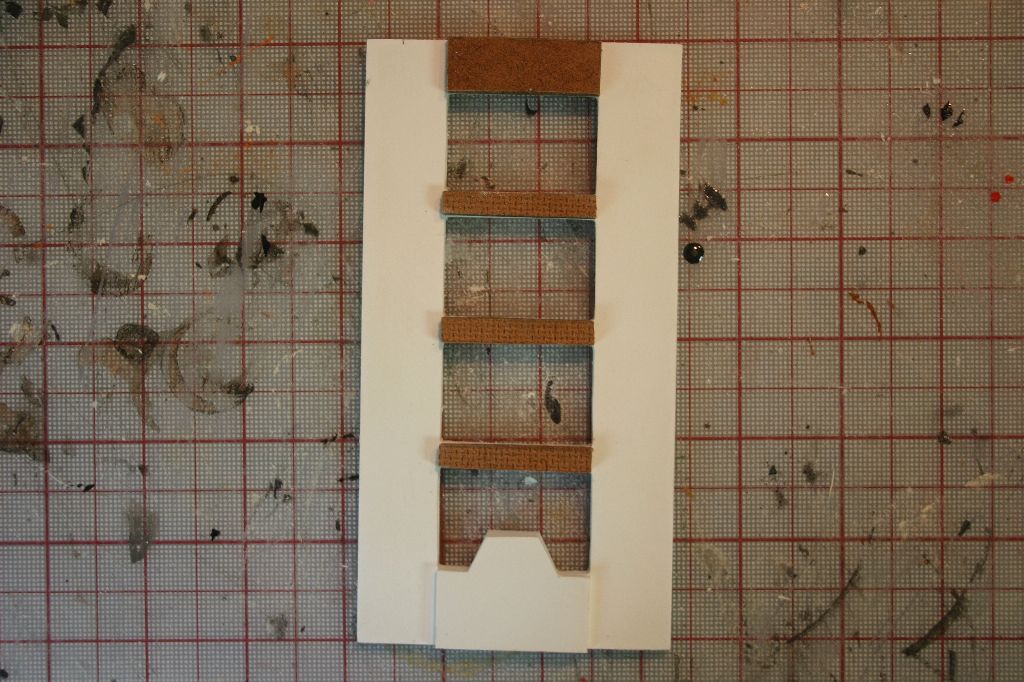
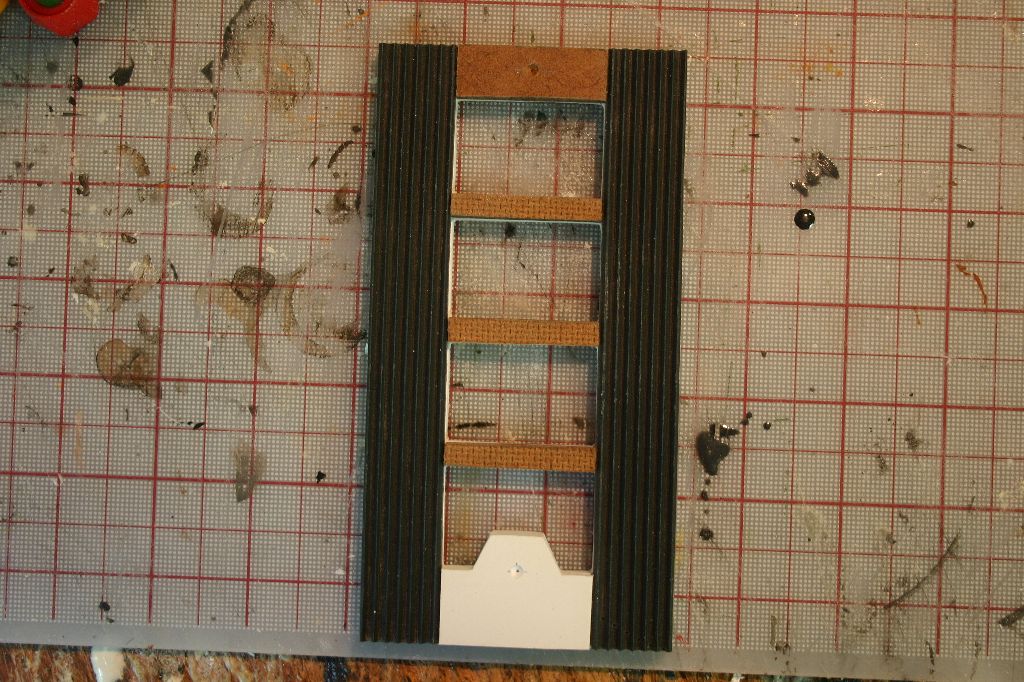
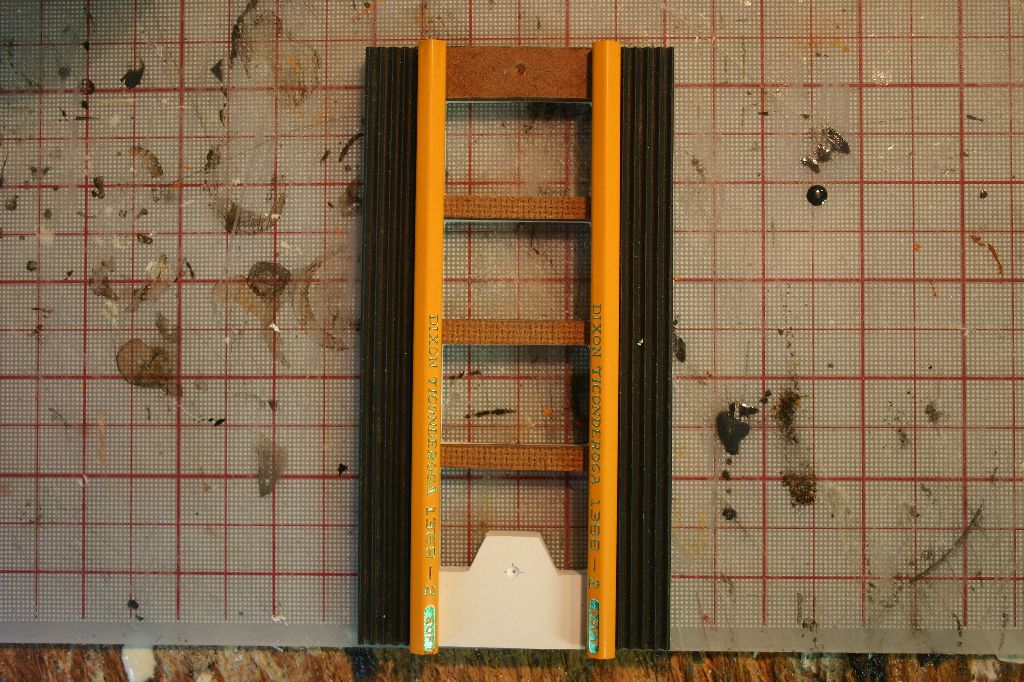
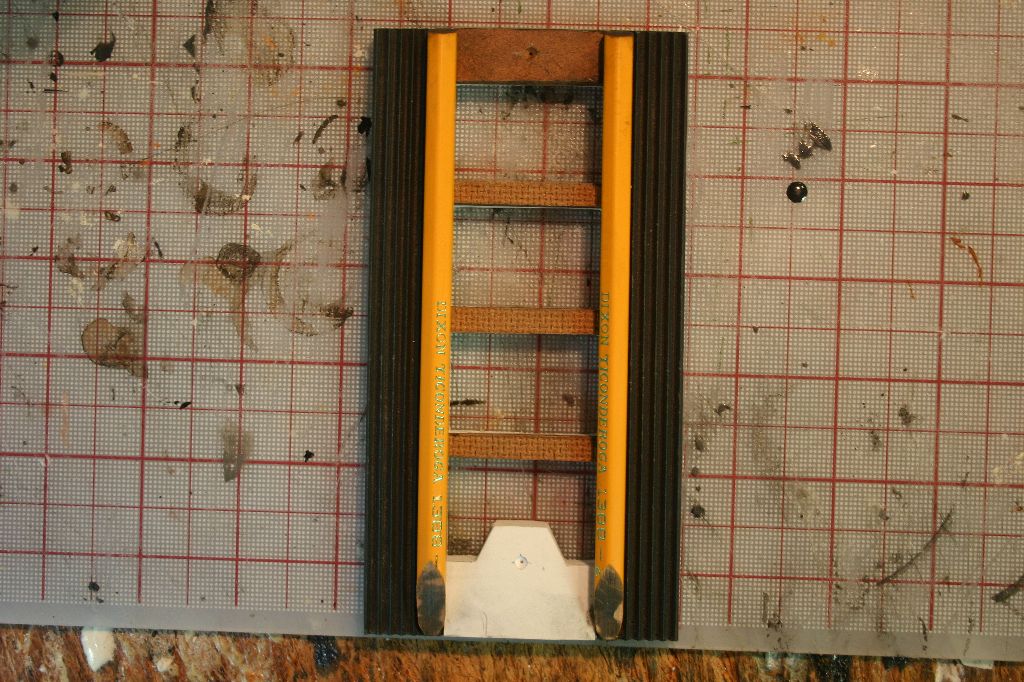
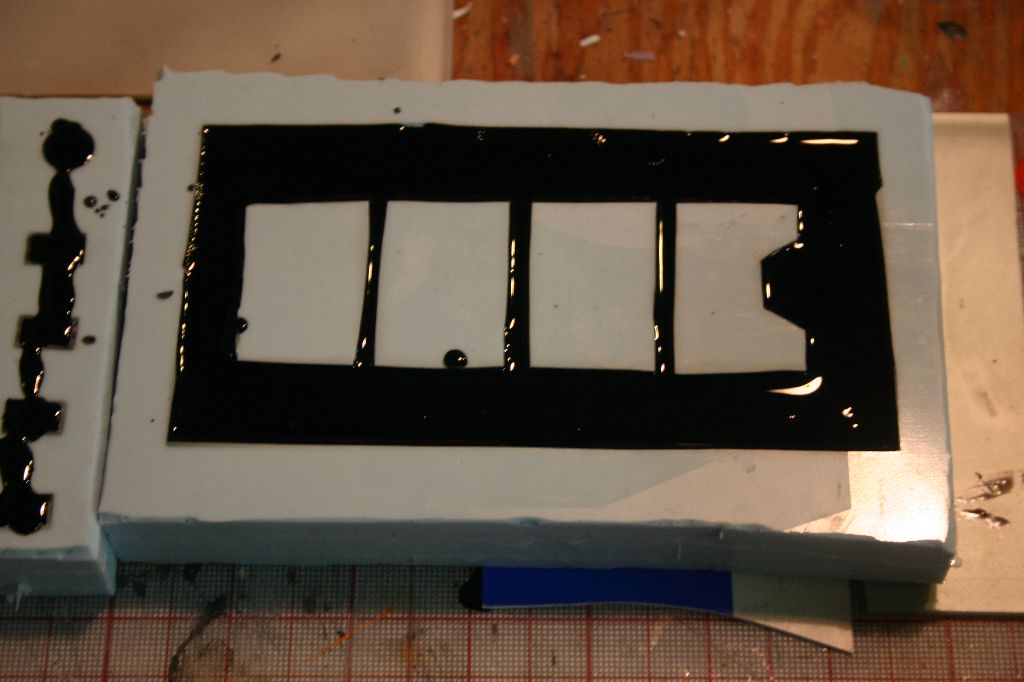
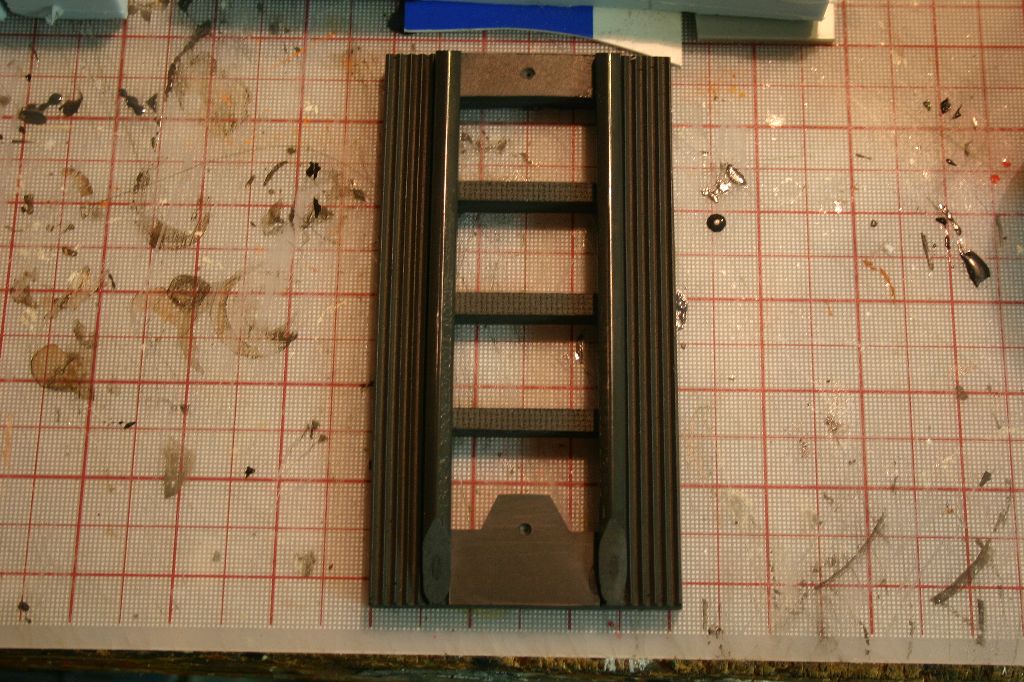
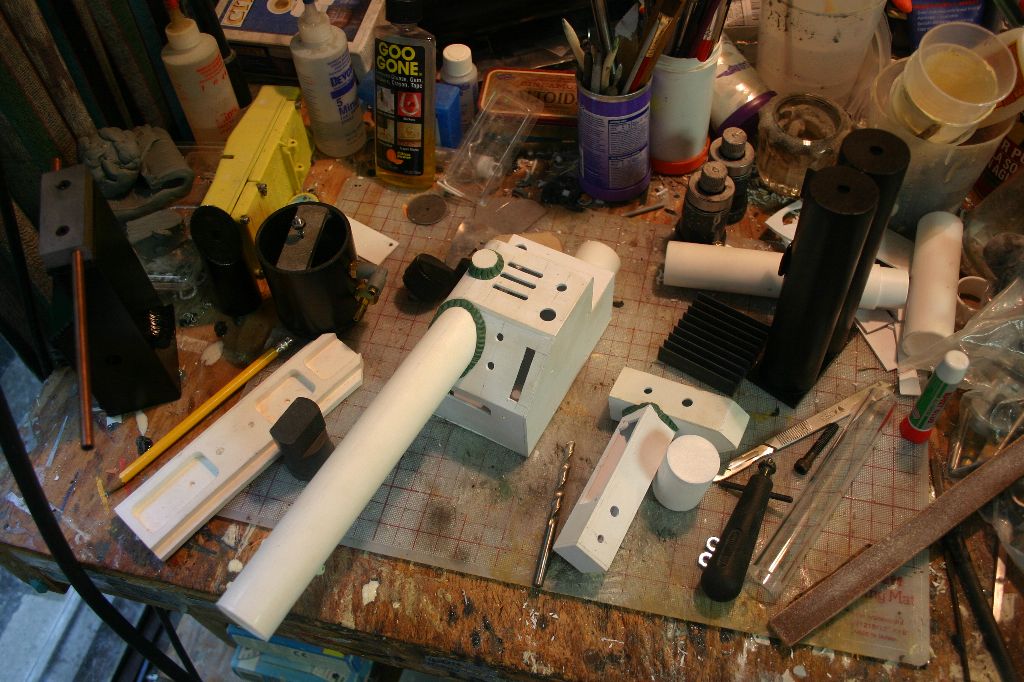
With the shell ready I needed to scratchbuild the rest of the non-"found" parts. I built the ion arm out of styrene with Kneadatite "greenstuff" weld lines. The HGA was made from styrene, acrylic tube and more greenstuff. I scratchbuilt the booster frame using the same found parts as the original: MDF, rubber mat and vintage Dixon Ticonderoga pencils, then molded and cast it. The booster tube was cut from a length of PVC and the booster plug, beam line and filler tube were made from sink drain tubes and styrene.
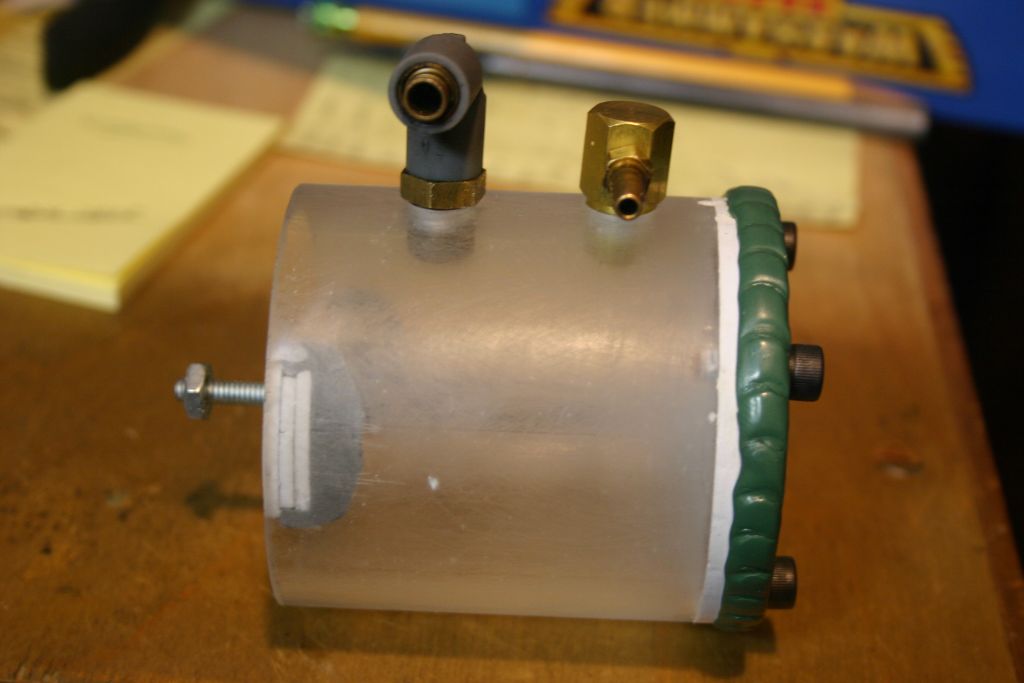
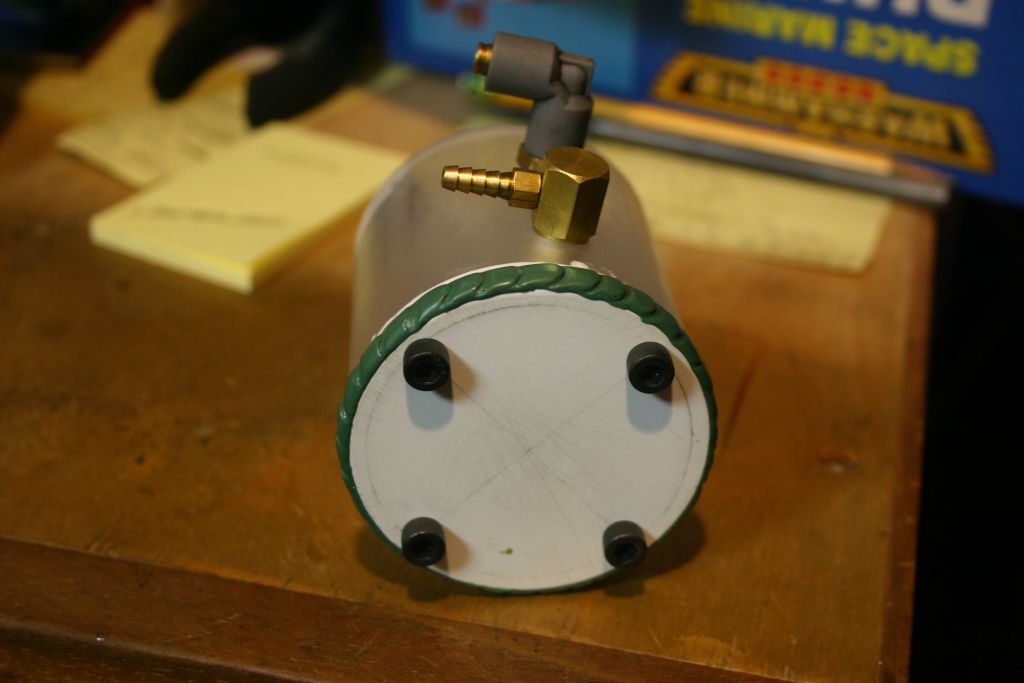
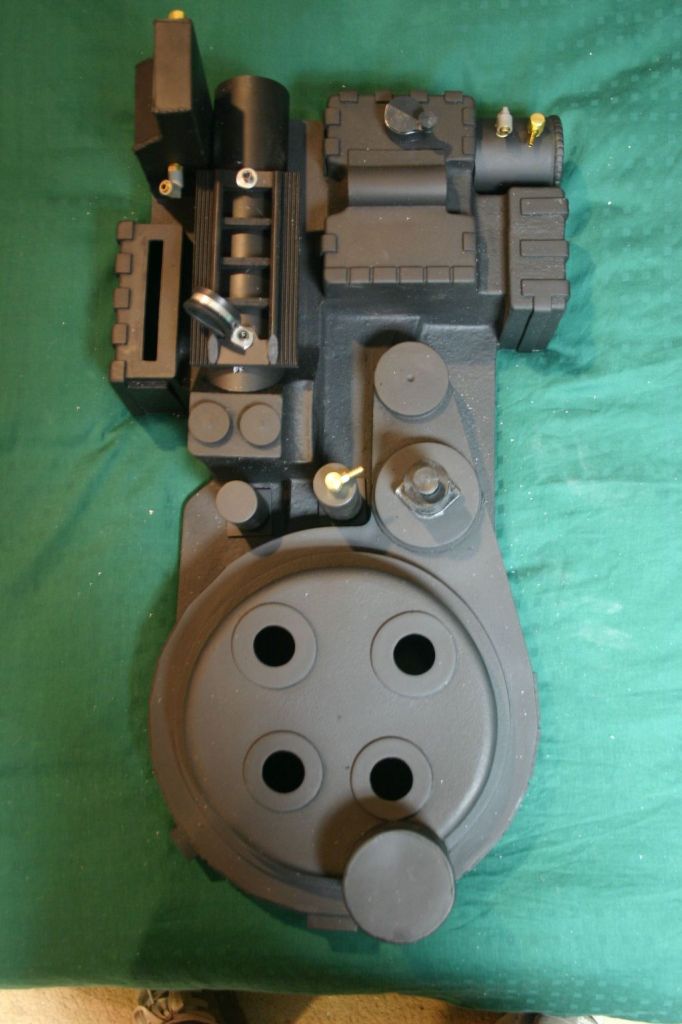
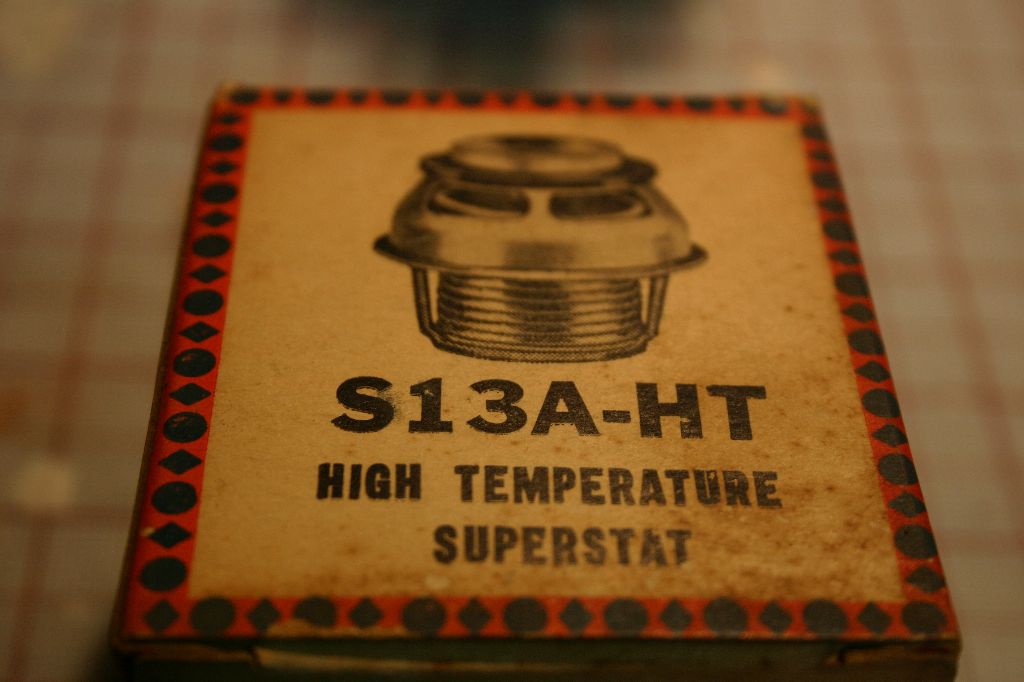
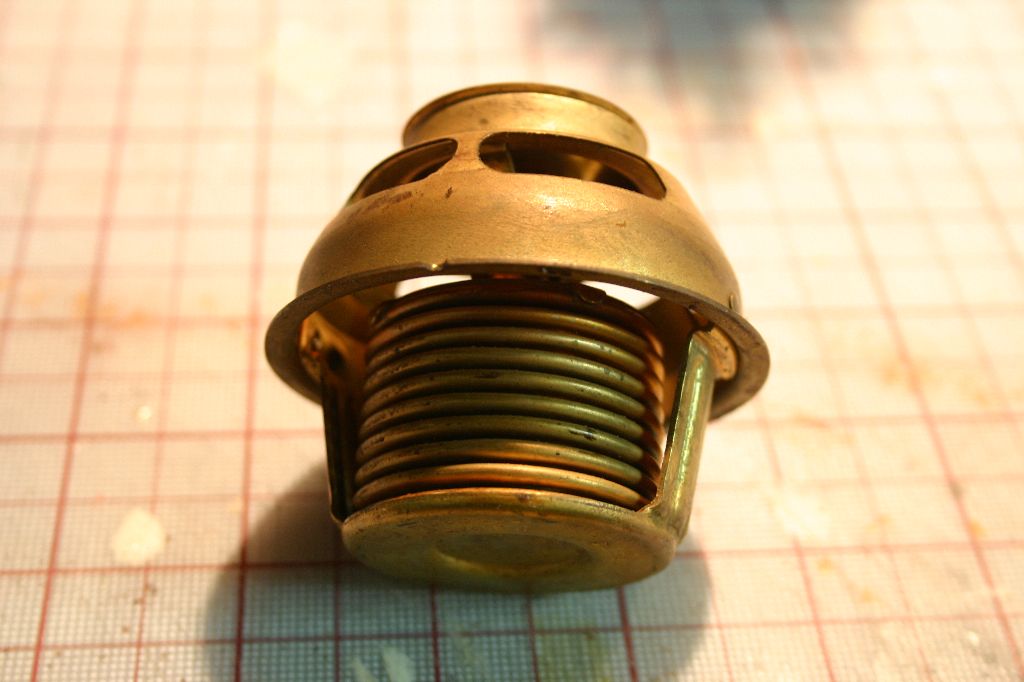
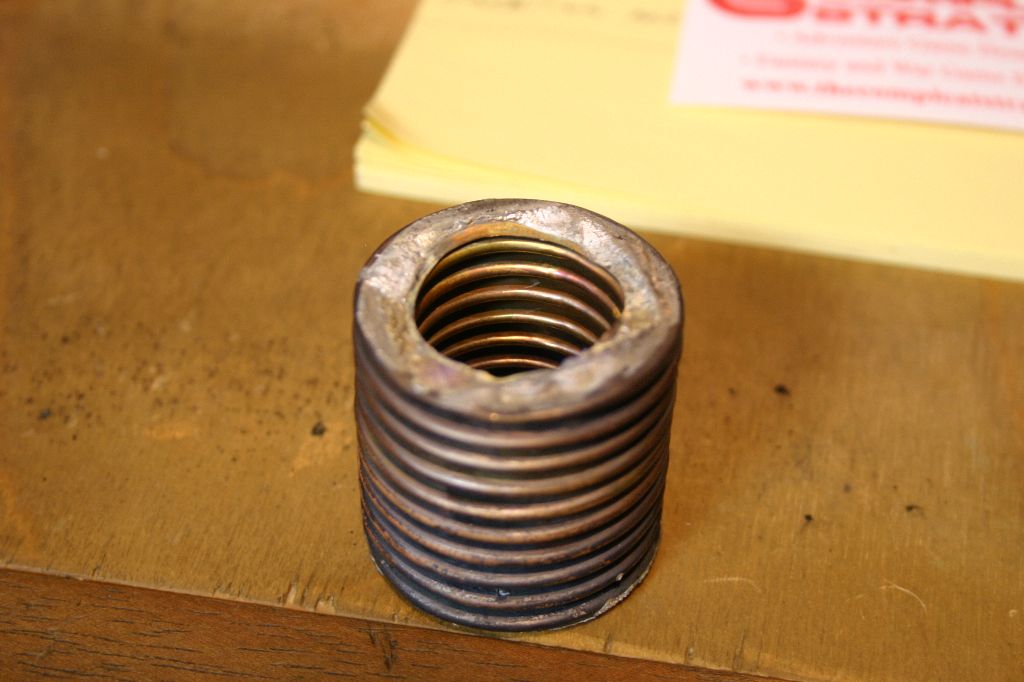
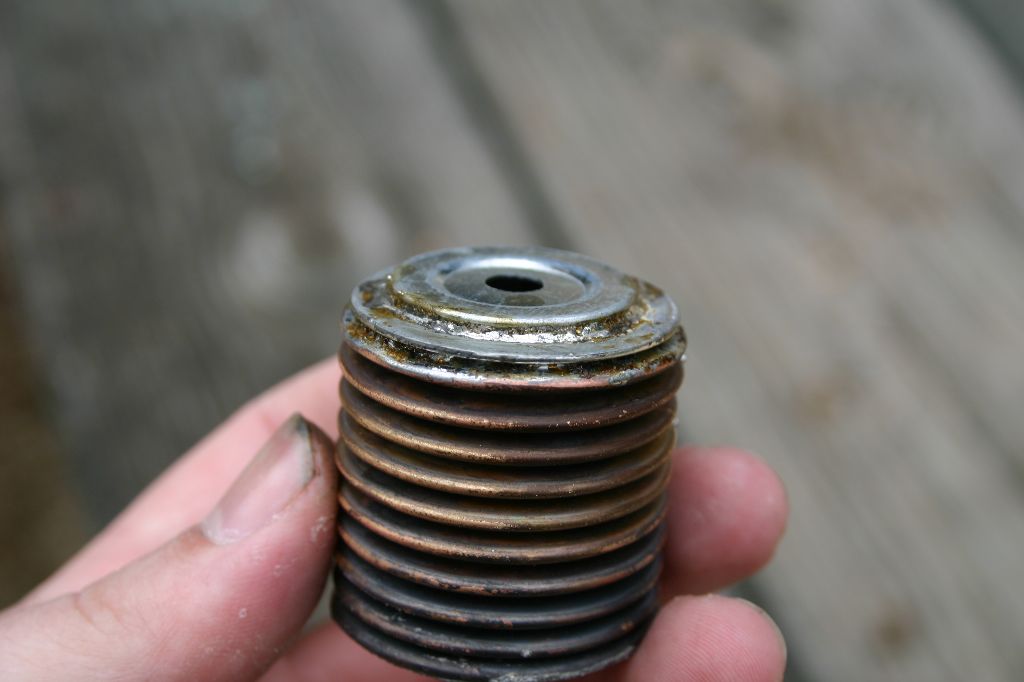
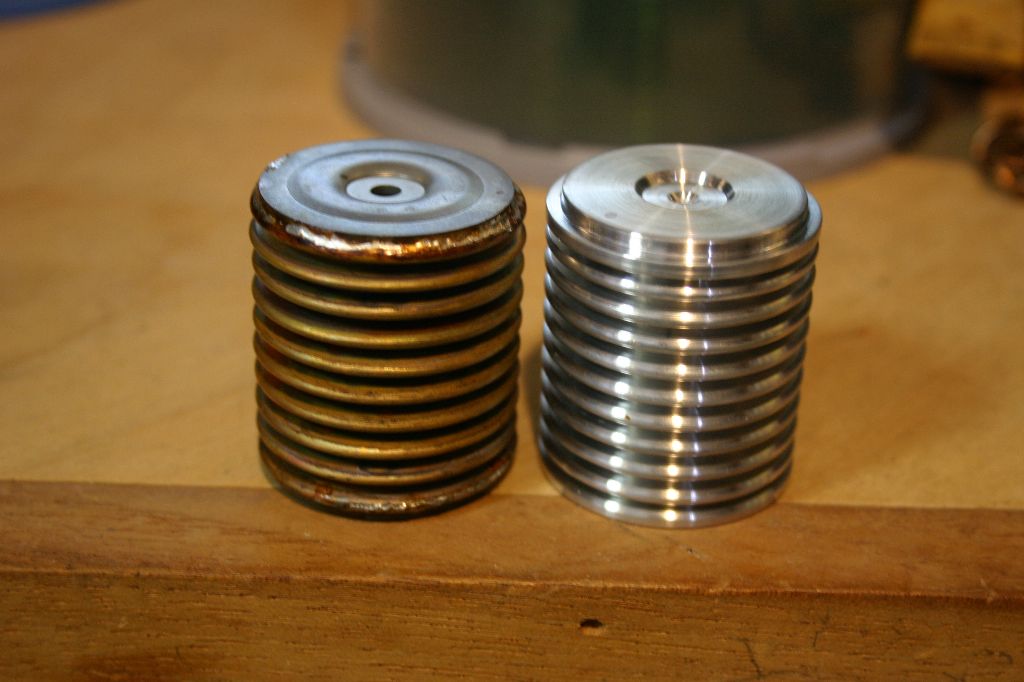
The injector tubes and syncgen tube were also made from sink drain tubes and styrene. For my shock knob I bought a vintage car thermostat, removed the metal bellows and then soldered a knock-out seal on each end. Not 100% accurate but a bit more interesting than the commonly available turned aluminum options. For my motherboard I custom cut a sheet of aluminum, riveted on angle brackets and taped them to mount the shell.

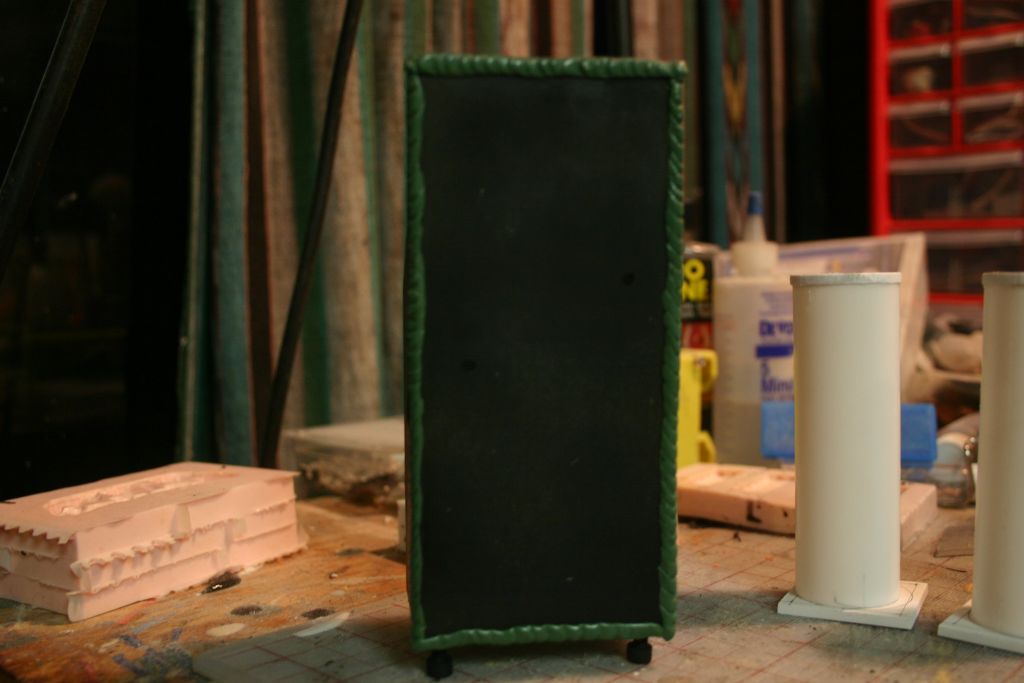
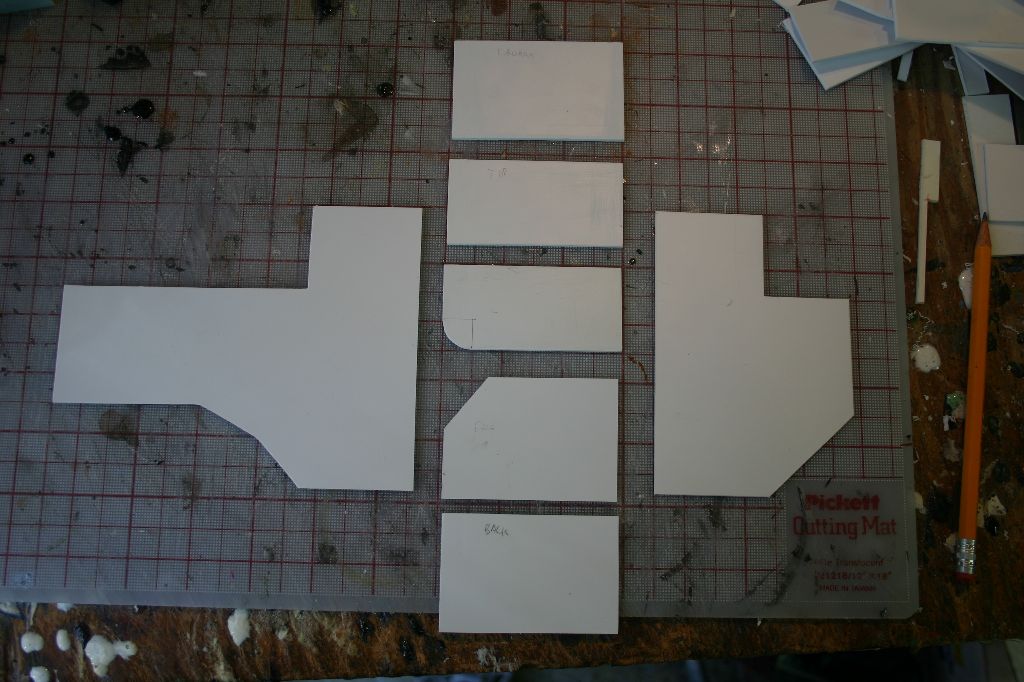
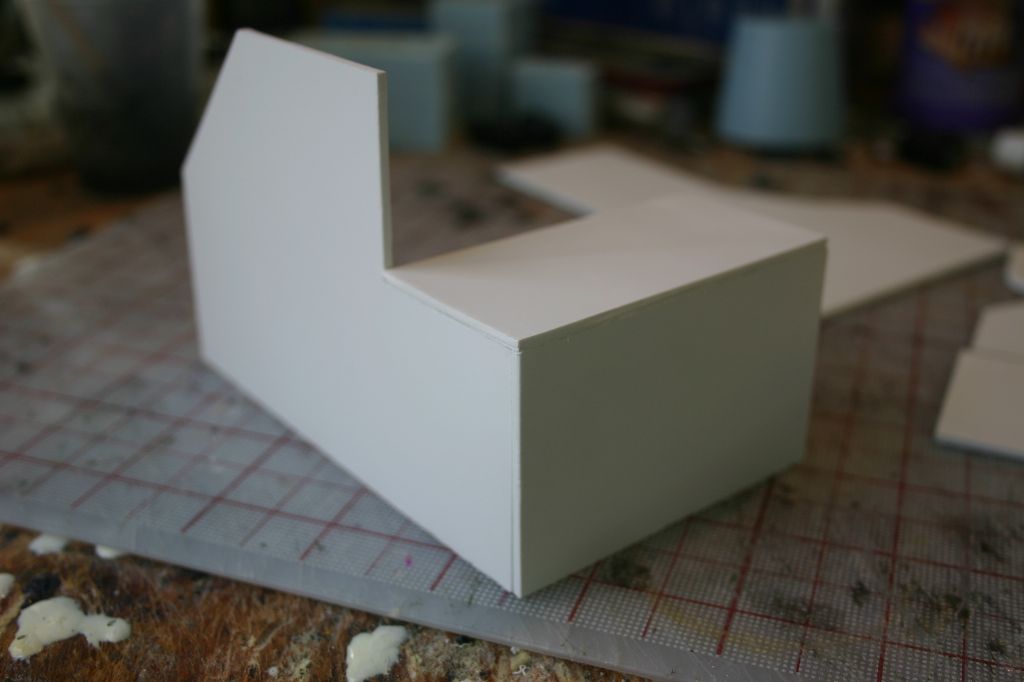
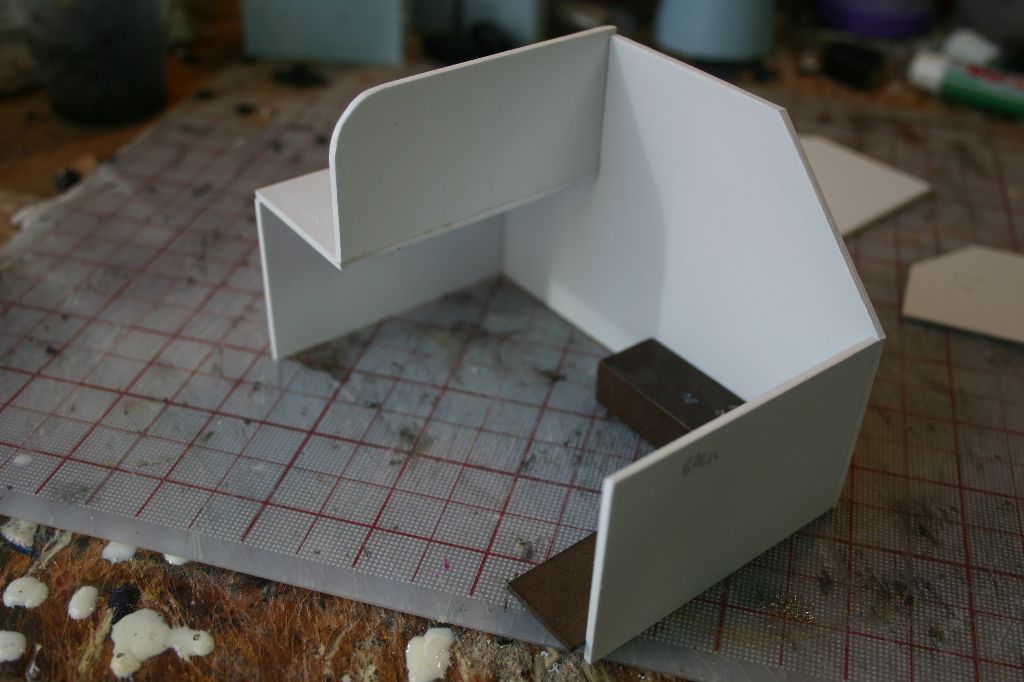
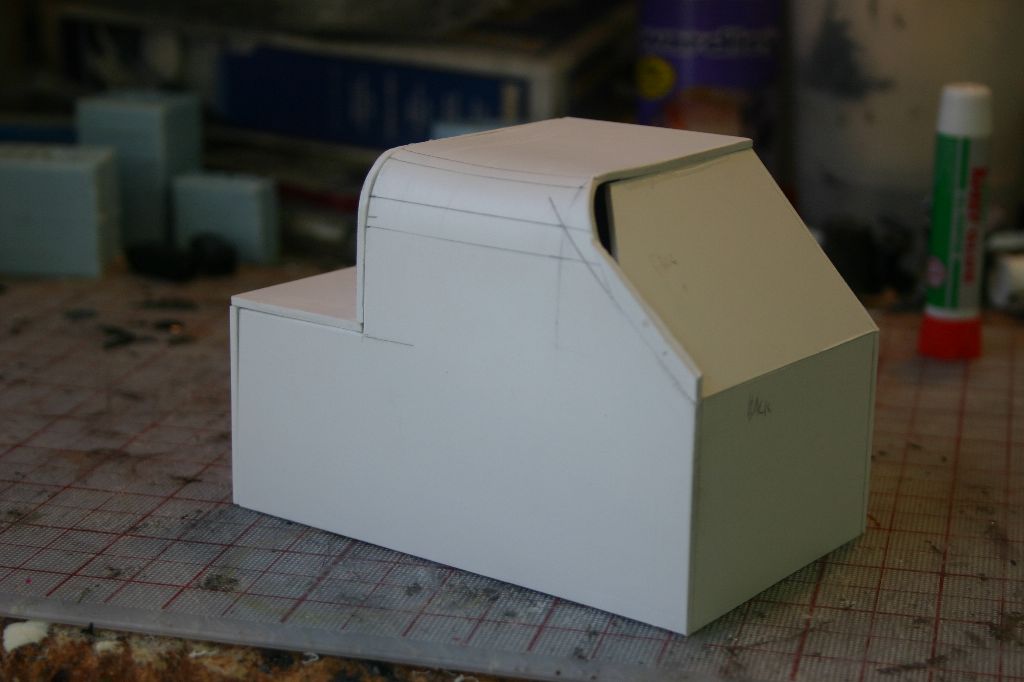
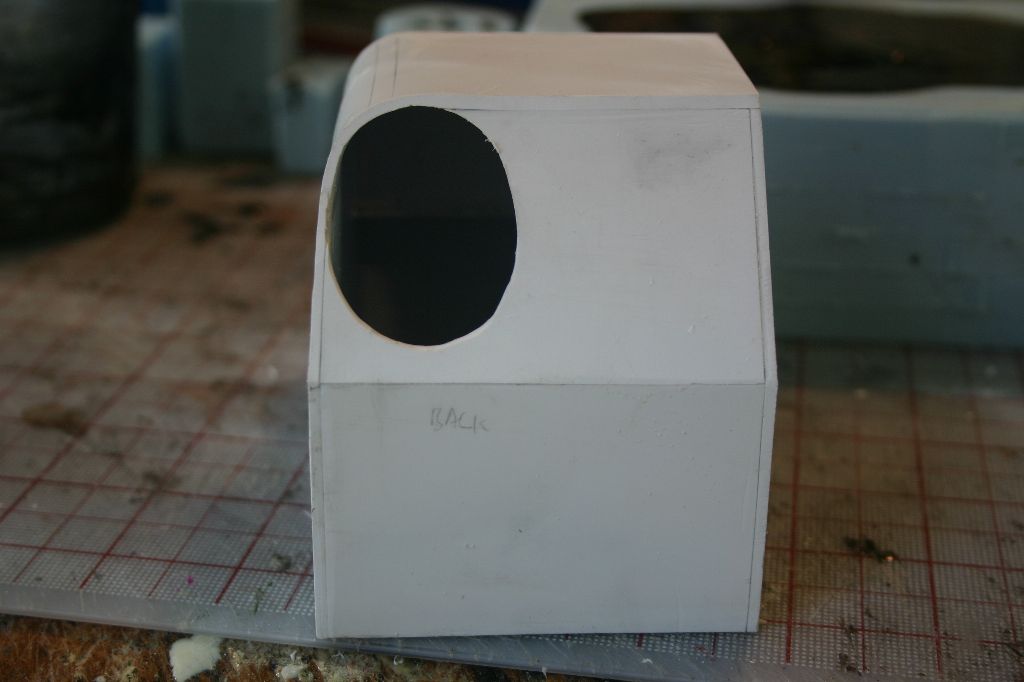
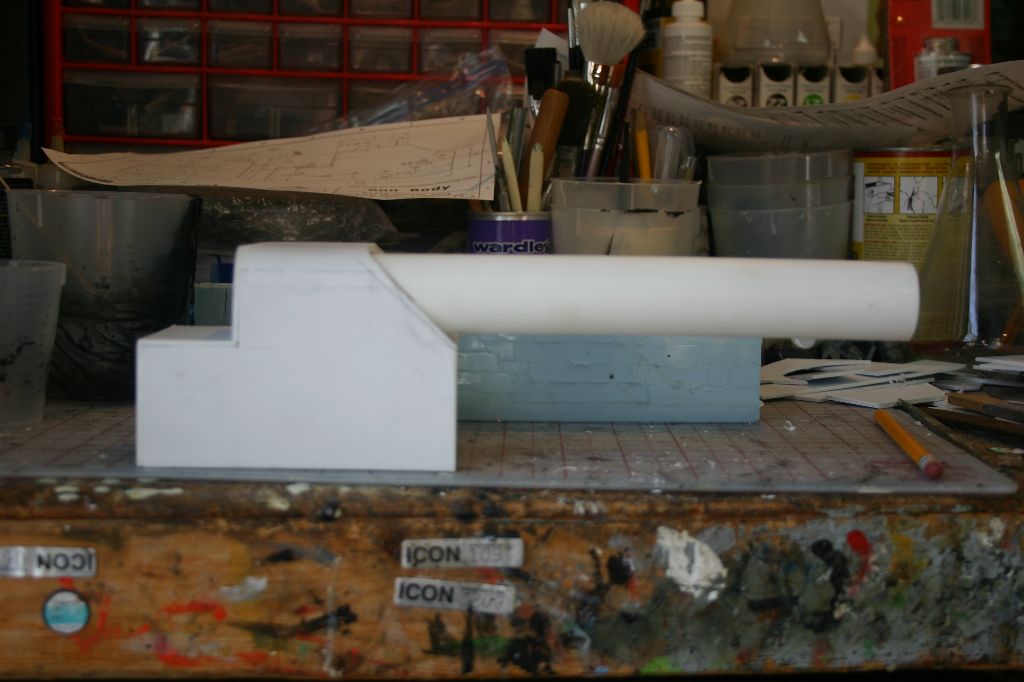
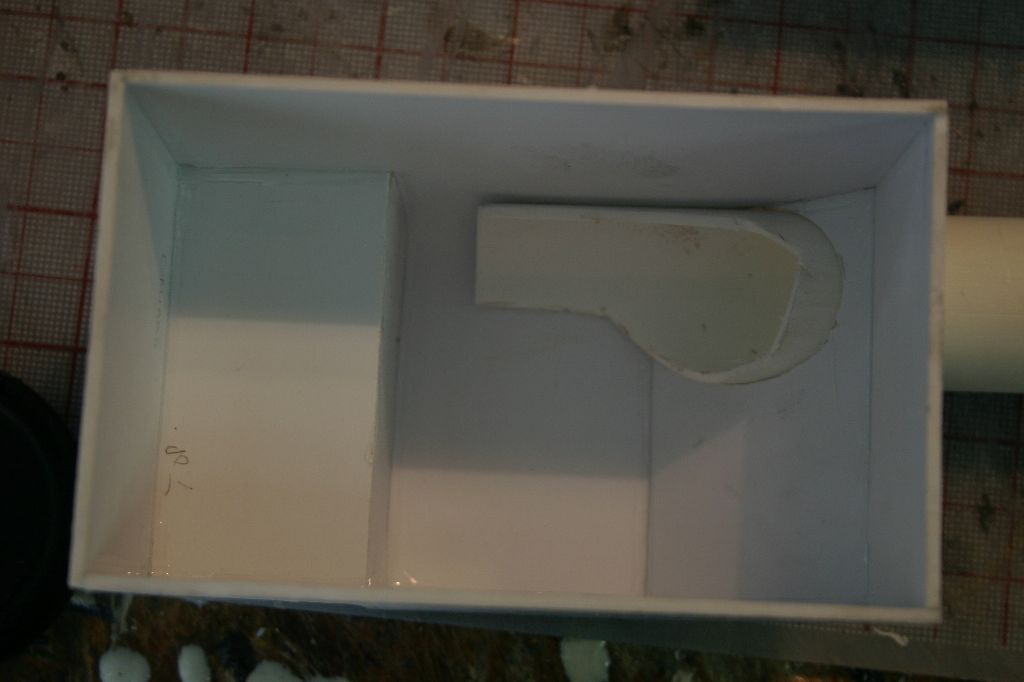
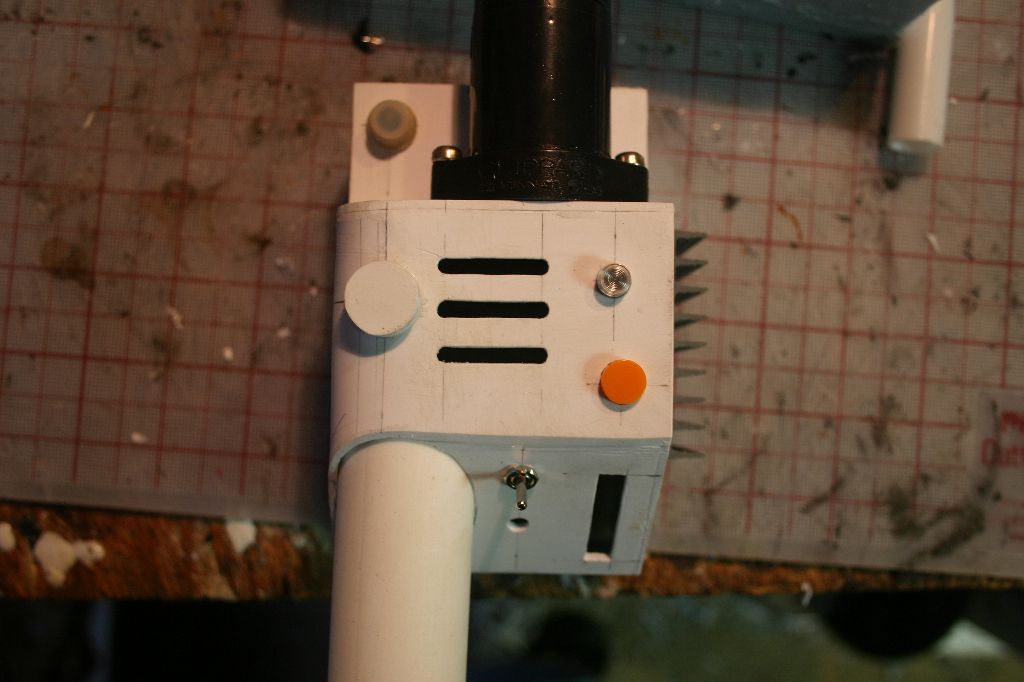
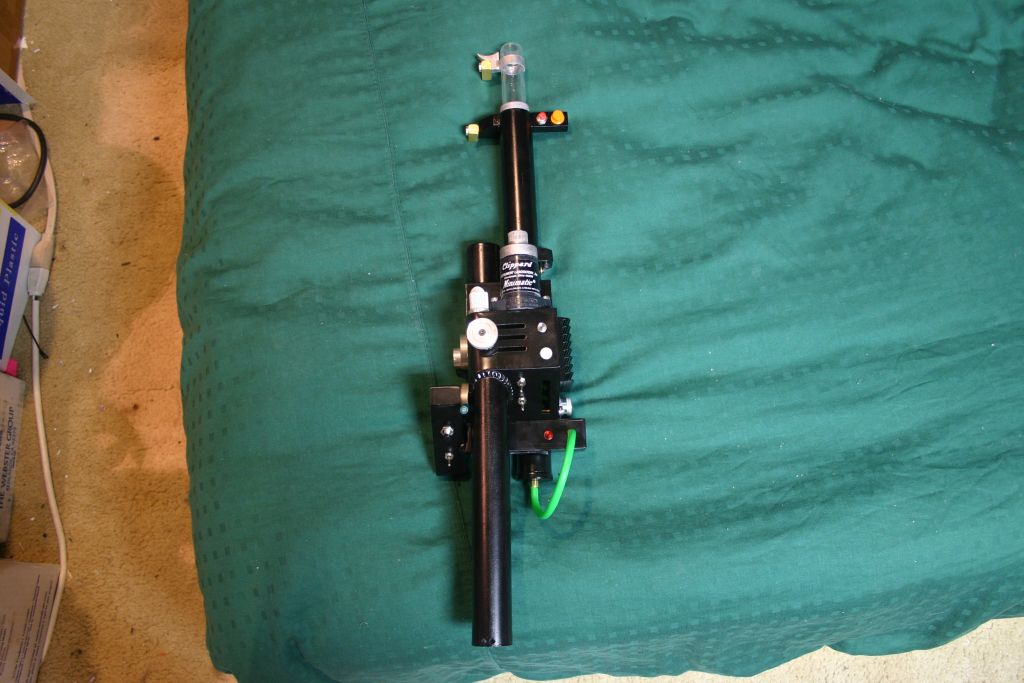
With the pack coming together it was time to start work on the thrower. I decided to scratchbuild my own out of styrene. I started with the main body then added the handle, barrel, instrument bar and trigger box. Weld lines were added with greenstuff.
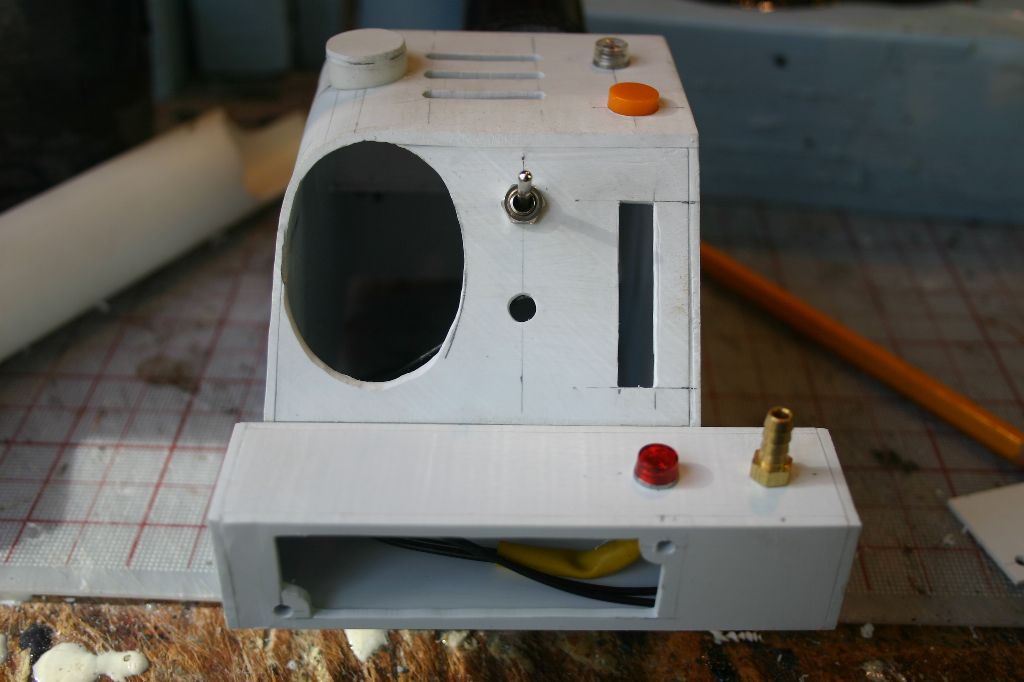
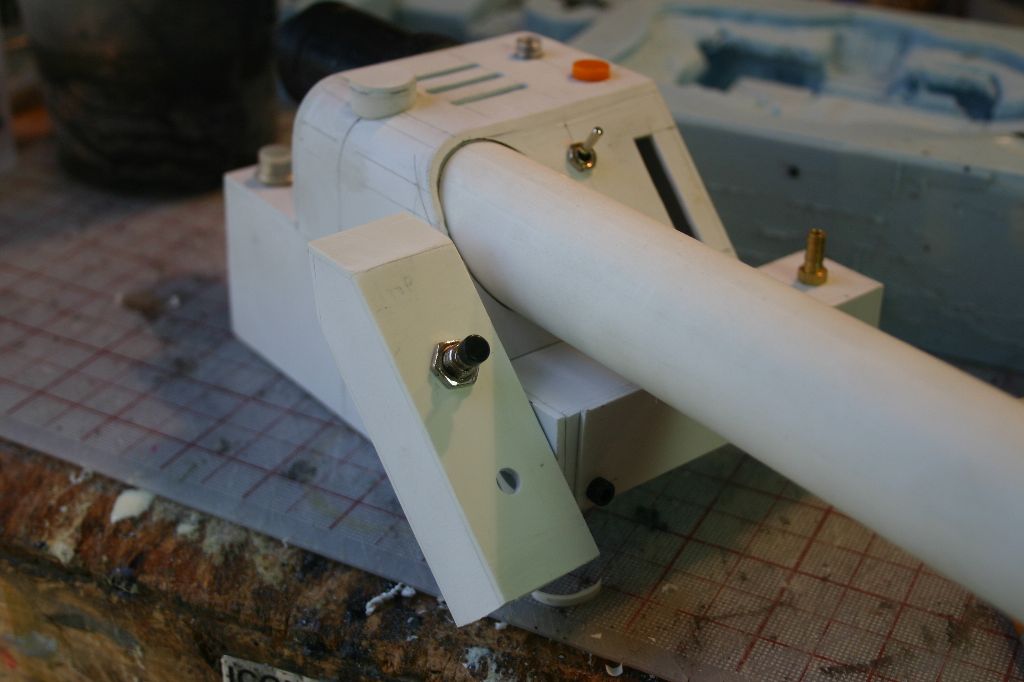
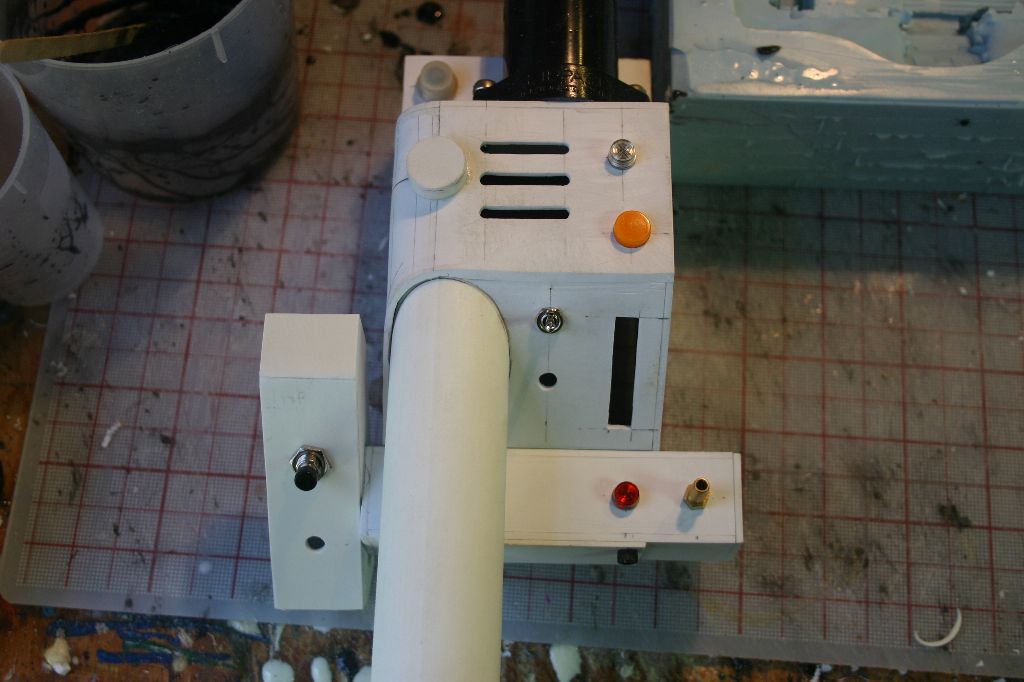
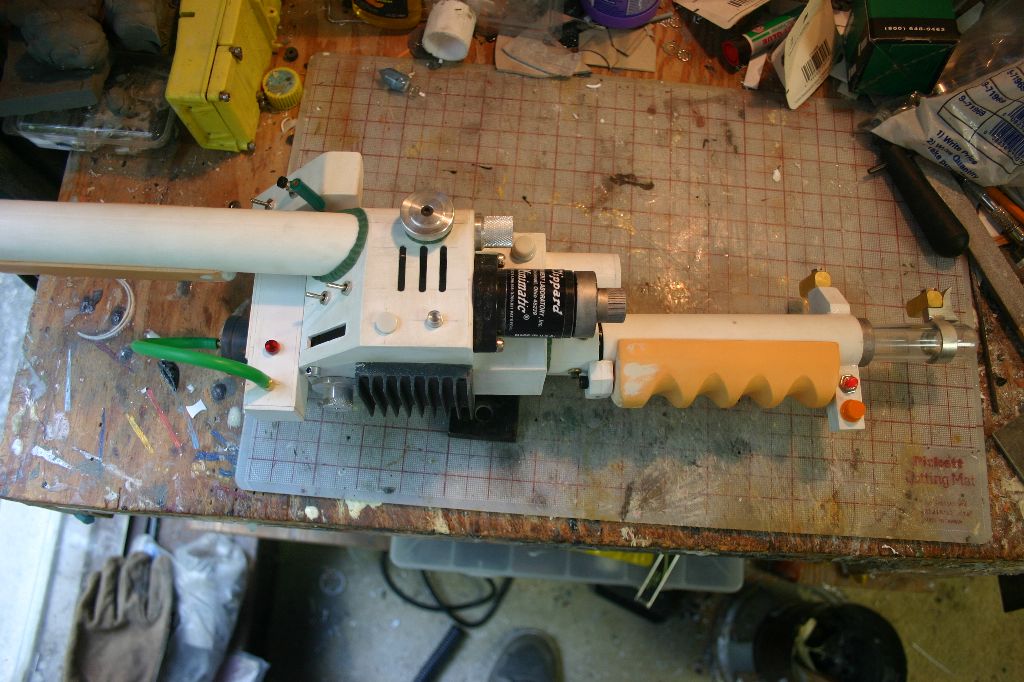
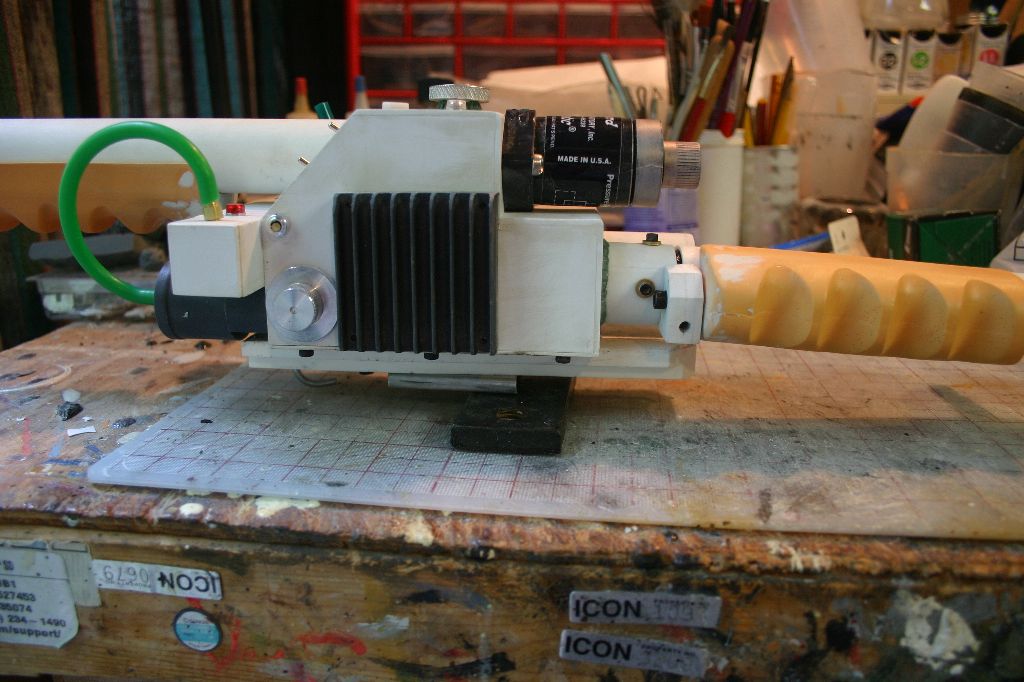
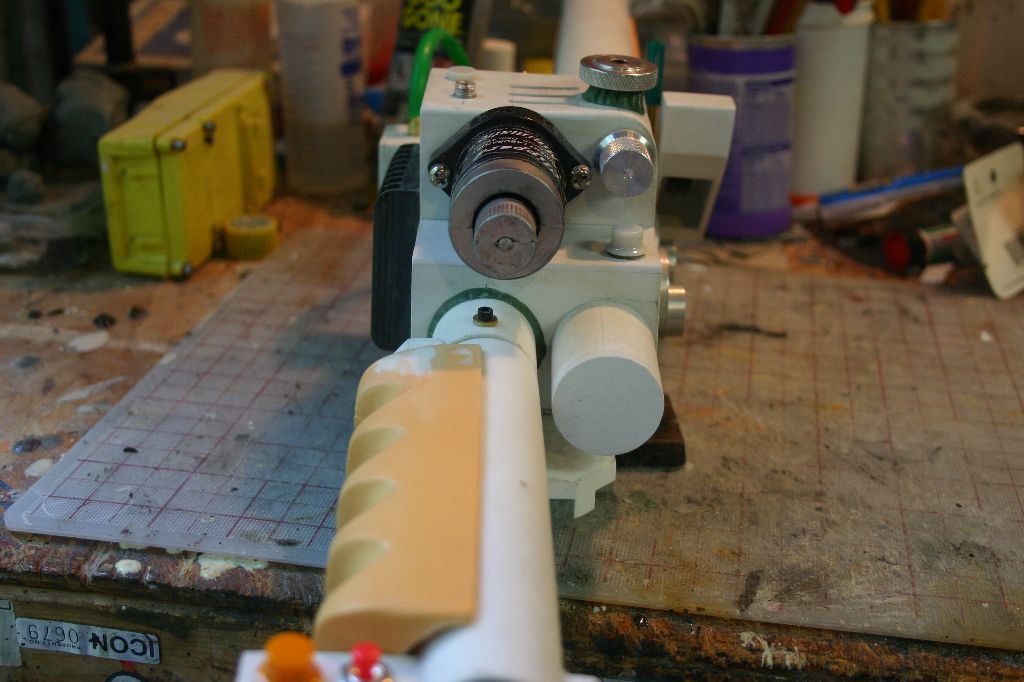
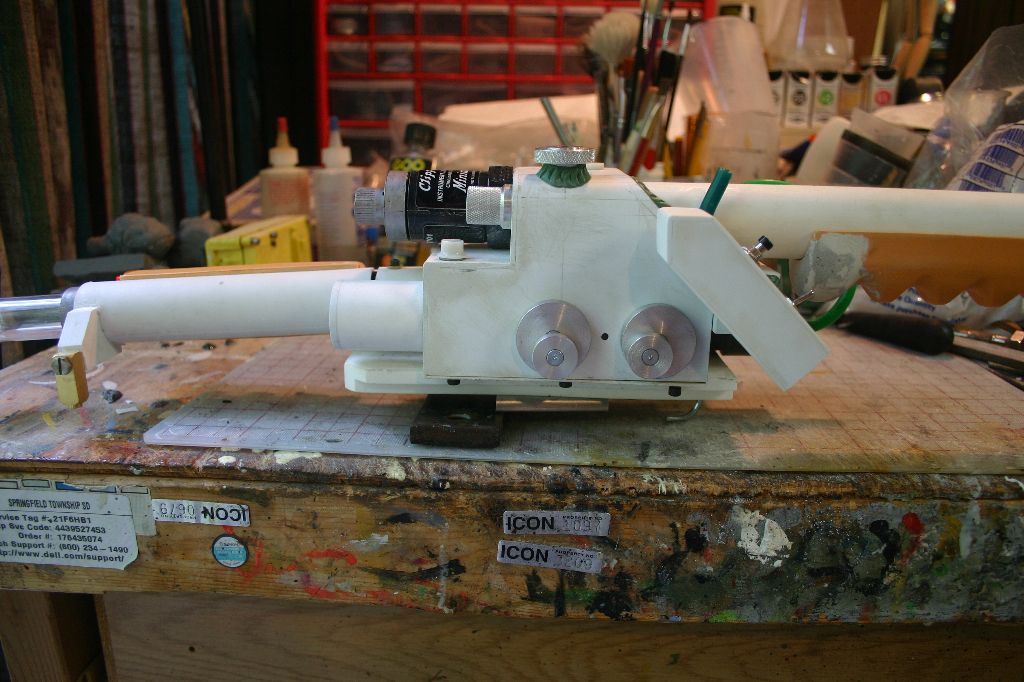
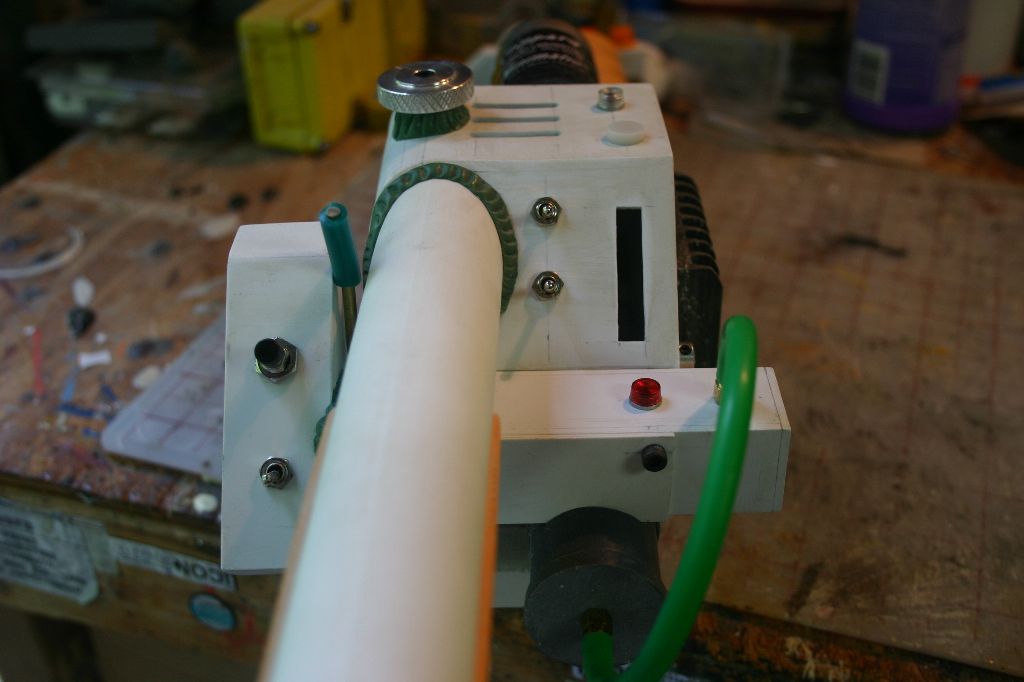
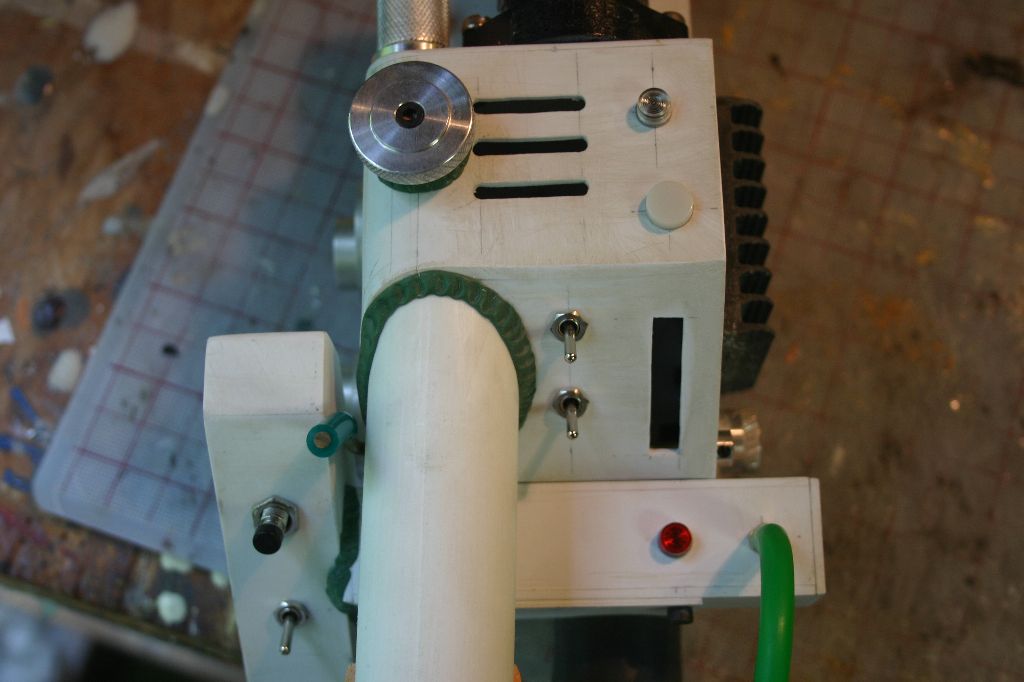
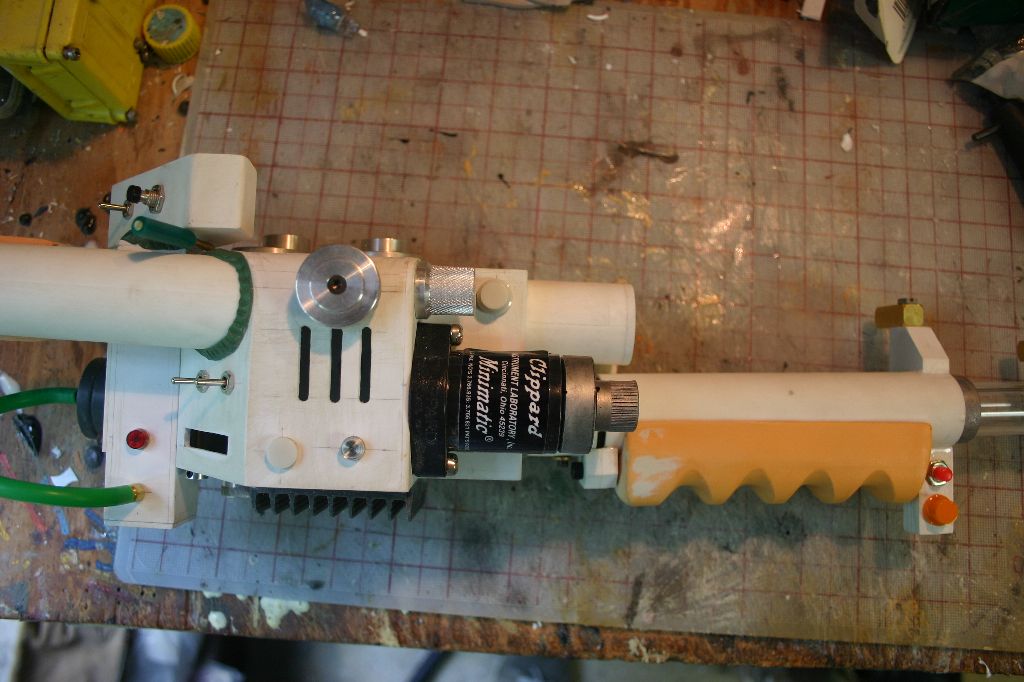
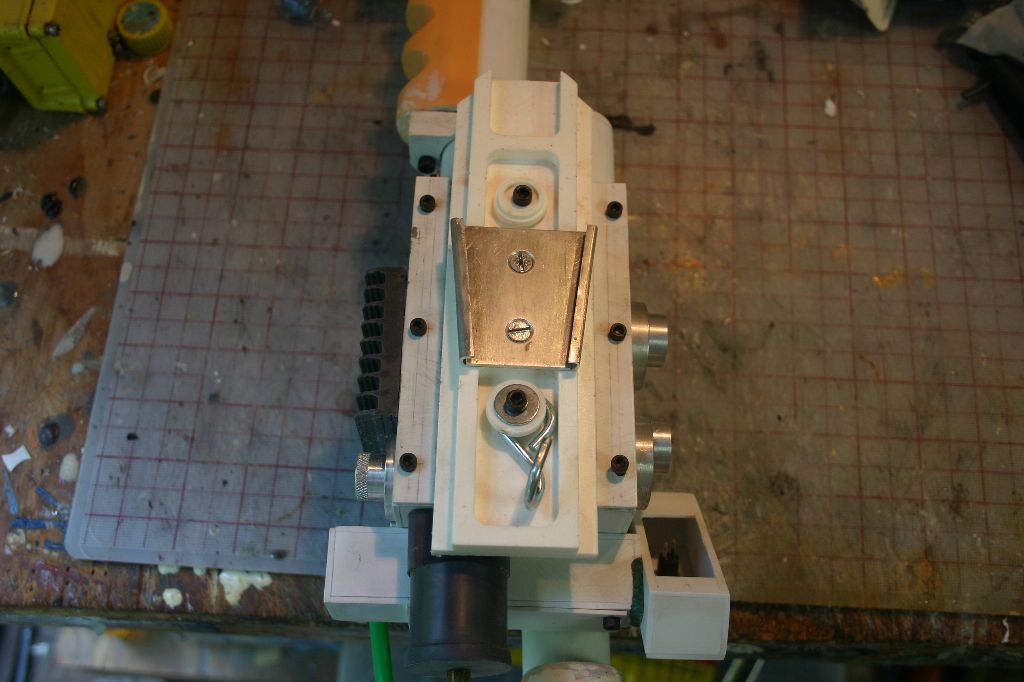
Once I had all the parts built I gave everything a coat of black primer followed by a satin black finish coat. Acrylic lenses were installed in the power cell and cyclotron. Vinyl and foil decals were added and all the various hoses and fittings were installed. I put a basic set of lights in it in time for Dragoncon 2012 but they're not overly accurate.
I've still got some work to do. I need to install better lights and a sound board. I also want to make the GB2 battery holders on the top of the motherboard. I'll get around to it eventually...
Tweet
