Spaceballs The Costume Belt Buckle
The buckle was relatively straight forward to make, though it marks my first foray into casting. I first settled on a 3.5" diameter for the buckles. Fortunately I had a spare PVC ring from my Imperial Binders that was just the right diameter. I started by filling in the ring with oil based clay. I later found out that the clay I used (Roma Plastilina) contains sulfur which can retard the curing of silicon, more on that later. After filling in the ring I blocked out the general pattern of the buckle.
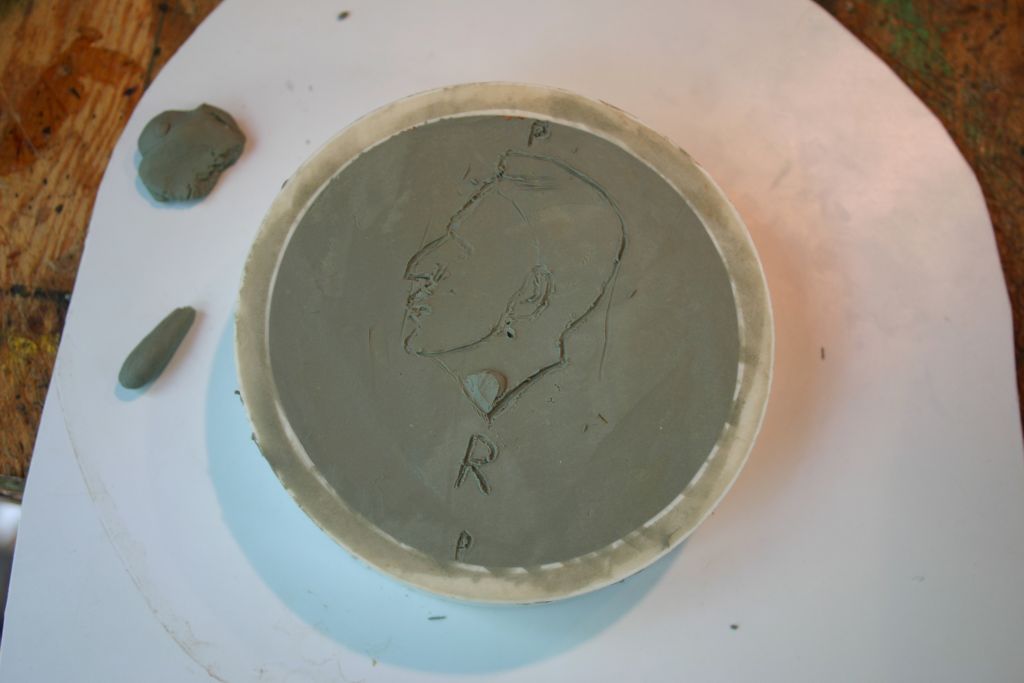
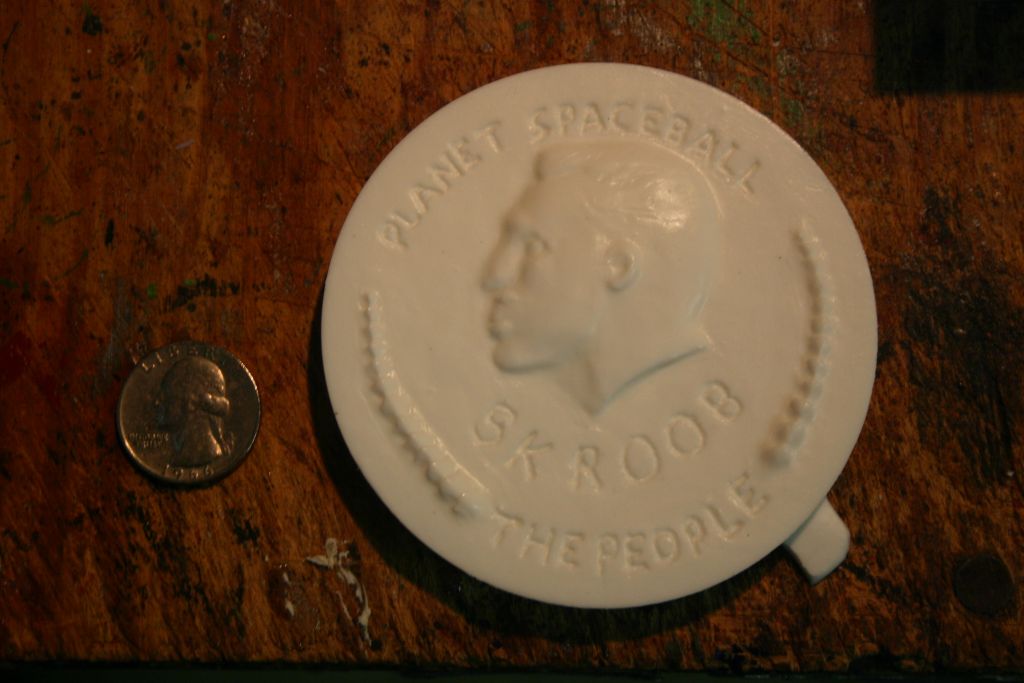
I started with the head for a few reasons. It's in the center of the buckle so I could work from the middle out, it's the hardest part and if I couldn't get it to look right I'd have to scrap the whole thing and figure out something else.

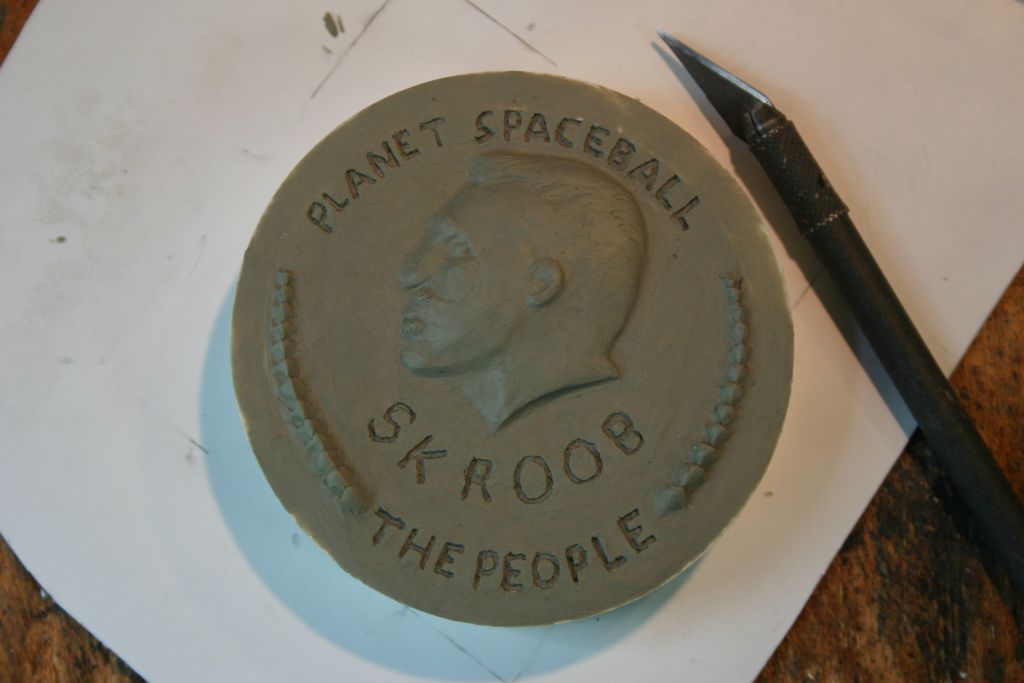
Once I got the head looking good I move on to the wheatstalk/laurels as this would delineate what space I had to work with for the lettering. The words wound up being the biggest pain in the ass. I used a combination of 3-4 tools to hand carve them into the clay. They didn't come out perfect but I think they're good enough.
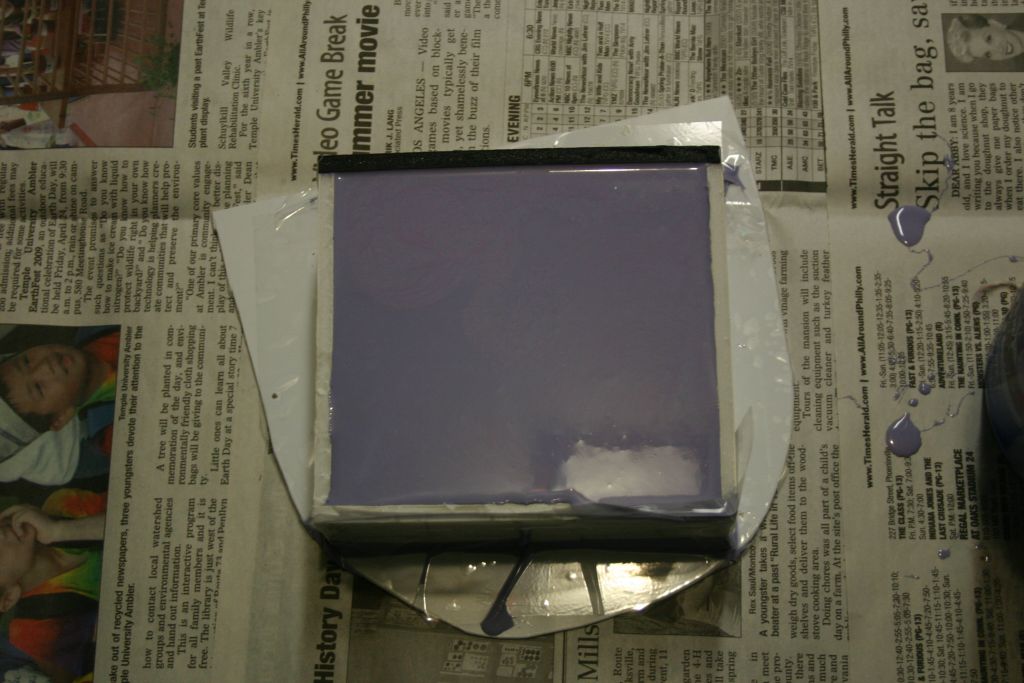
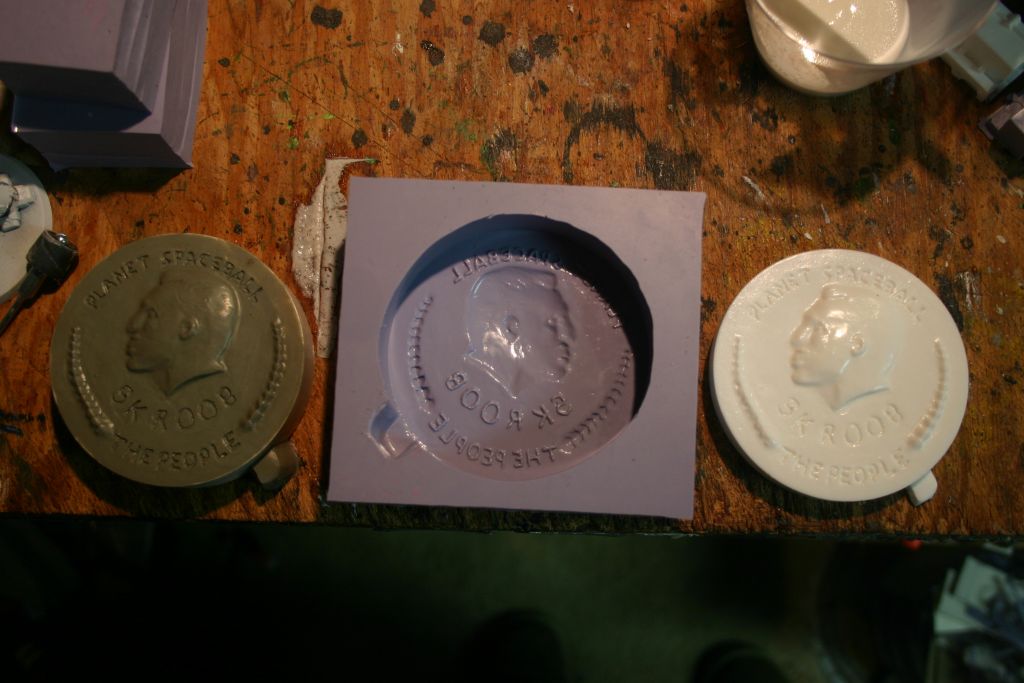
With the sculpt complete it was time to try casting it. As I mentioned the clay I used contained sulfur which will prevent silicon from curing. This was easily fixed by sealing the sculpt with a coat of spray lacquer. For the mold I bought Oomoo 30 casting silicon from Smooth-on. I would have preferred Oomoo 25 as it has a faster dry time but my local supplier was out of stock and I didn't want to wait for the next shipment. I built a mold box out of foamcore and packing tape and taped it down to a piece of scrap styrene.
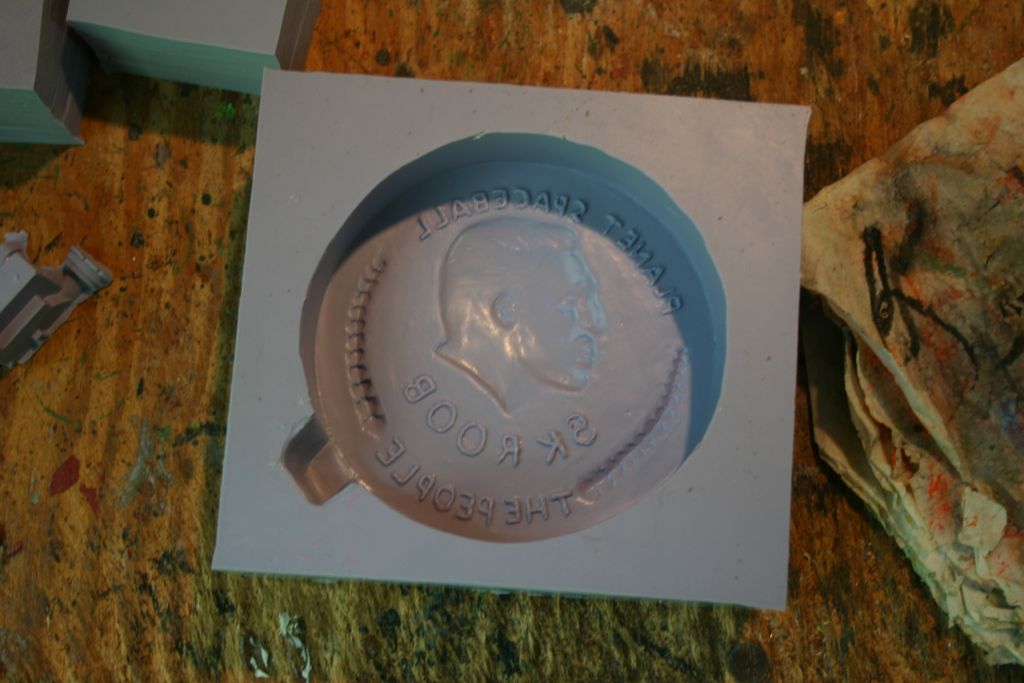
Six hours later it was time to see if I'd have to sculpt it all again. Fortunately the cast came out perfectly. The PVC ring I used was much higher than the buckle needed to be so I added a tab to the side to give myself a reference when filling the mold.
To cast the buckle I used Smooth-on's Smoothcast 305 liquid plastic. With a 30 minute cure time I can crank out a couple buckles in an evening and it doesn't require mold release.
A quick run on a belt sander to smooth down the back and trim off the tab and it's ready for paint. I started with a coat of black then bright aluminum which was then dulled down with a satin clear coat. There are a couple imperfections that could be filled in before painting but I figure if anyone is looking that closely at my crotch I have other problems.

Tweet
