Stormtrooper kit and helmet
I've always wanted a Stormtrooper costume. In the Summer of 2002 I finally broke down and bought a kit. Please don't email me about where to get one, there are a number of suppliers online and a quick search of Google or a look around the FISD will give you most of them.
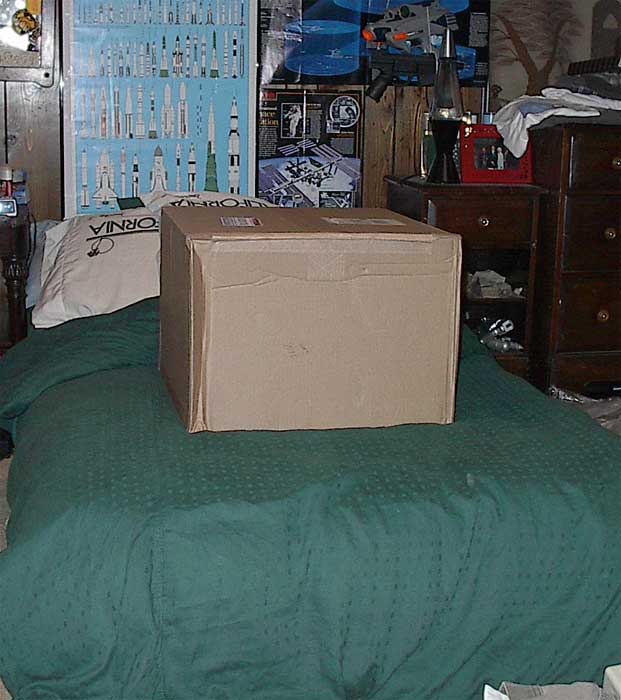
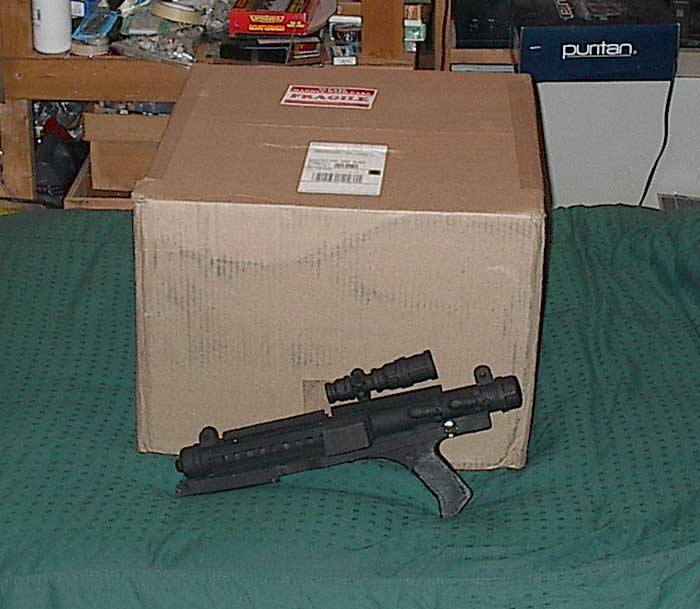
Here's the box it came in (oh boy!). I included my homemade blaster for scale.

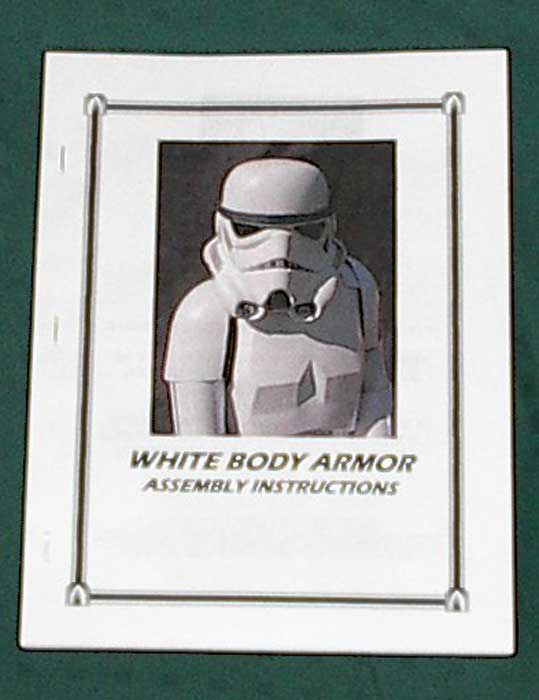
These are the instructions I received. Invaluable and aside from the occasional typo rather well written.
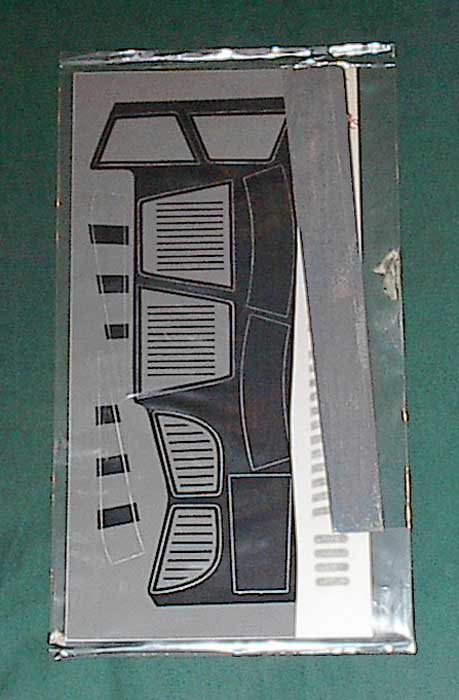
Here are the vinyl stickers needed for the helmet and thermal detonator, and the leather holster.

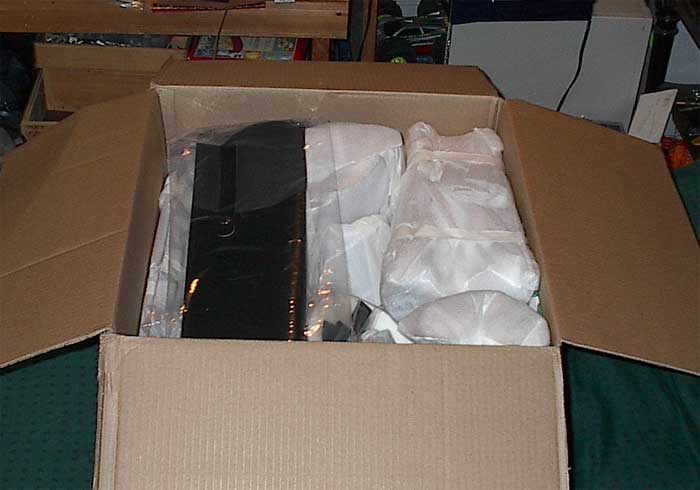
All the parts laid out and waiting to be unwrapped.

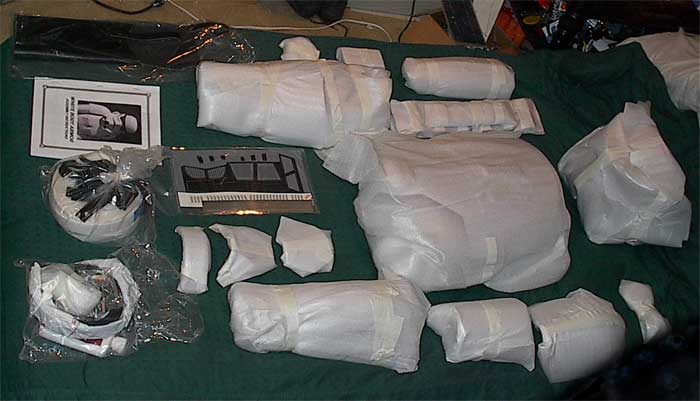
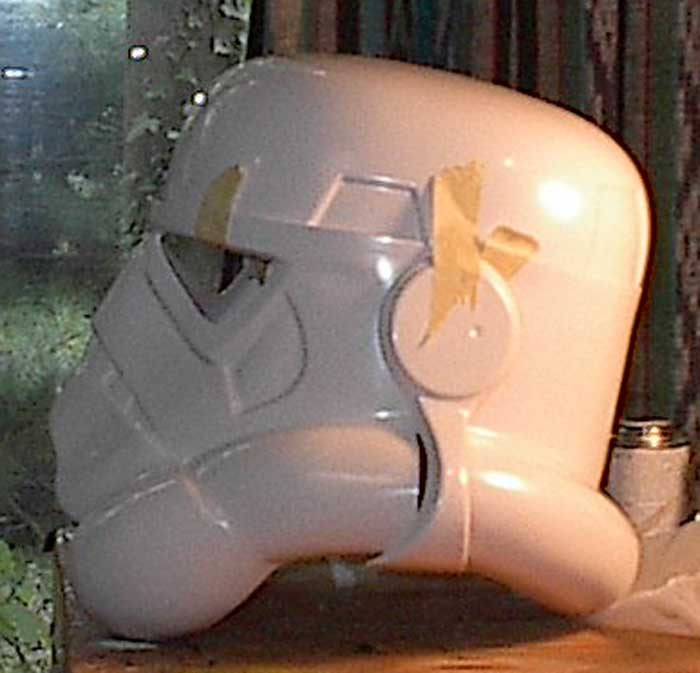
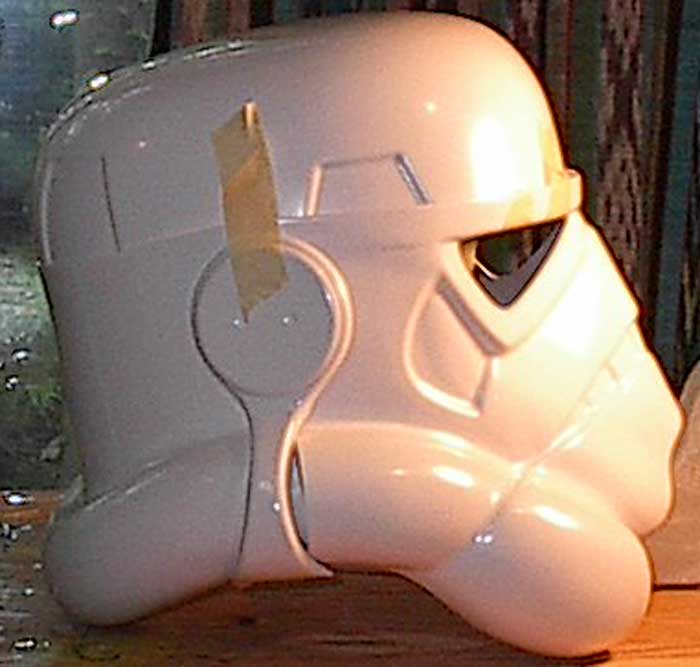
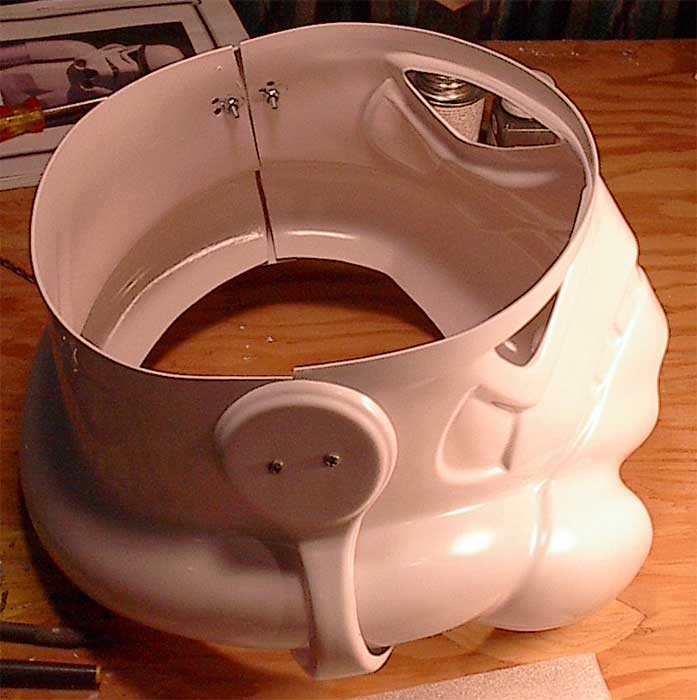
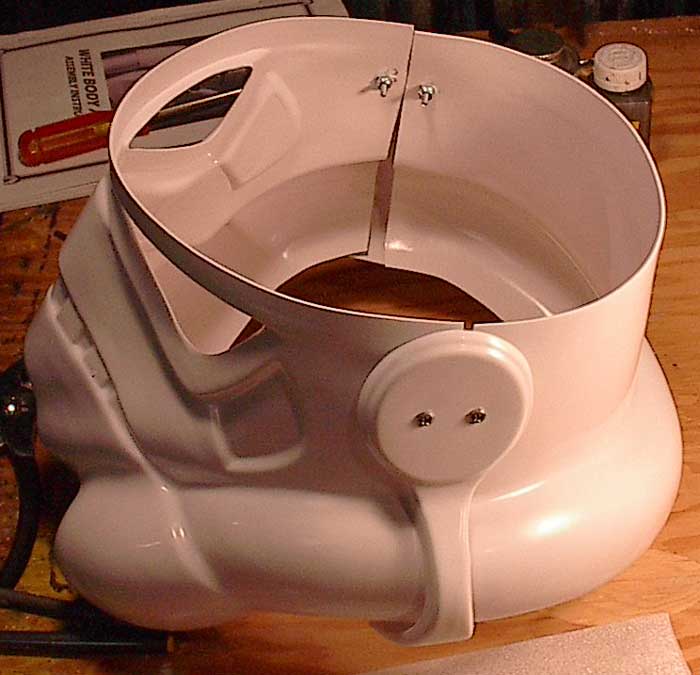
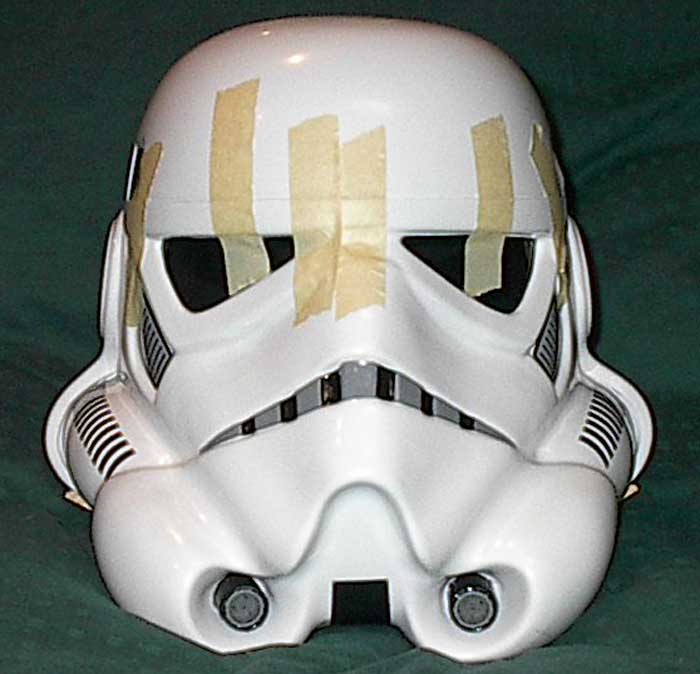
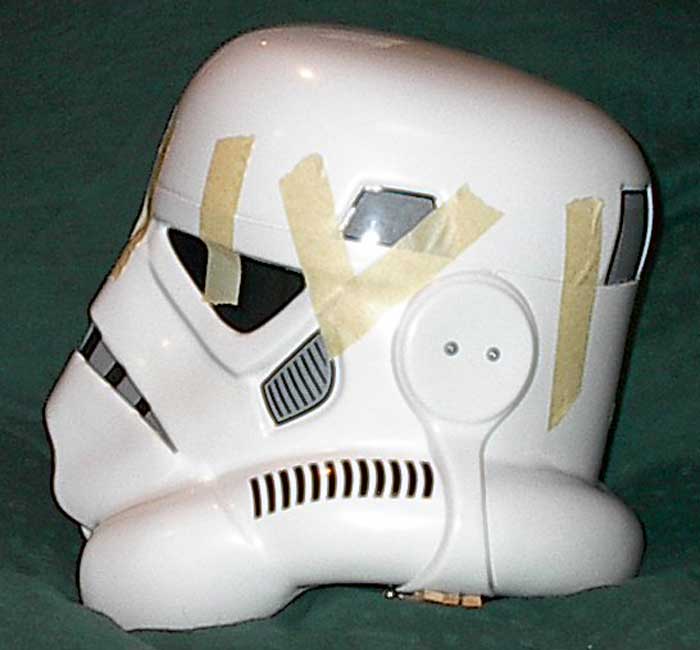
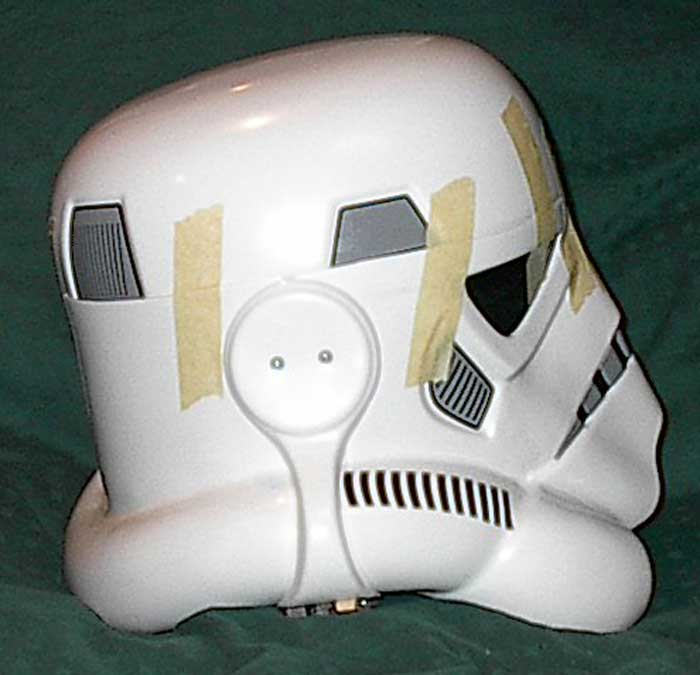
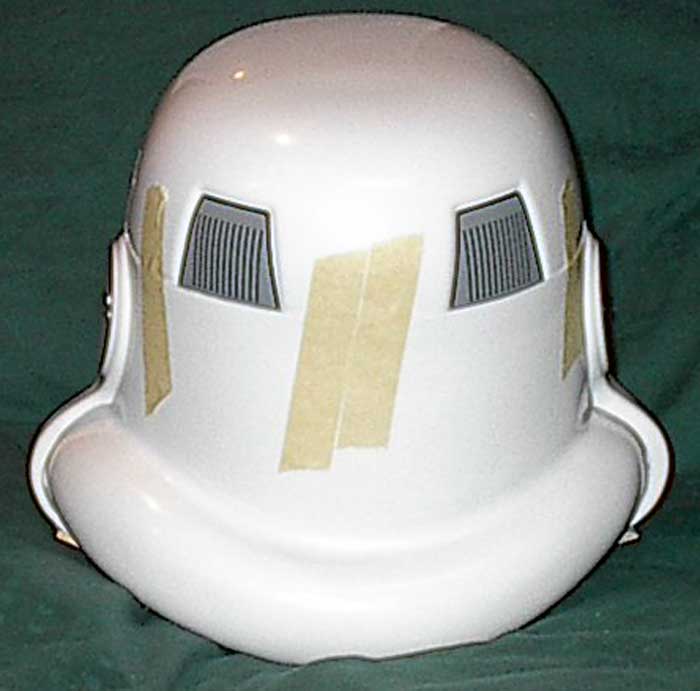
I have never been able to re-wrap them this way. The guys that packed it are amazing. I started with the helmet. It was absolutely the most difficult thing I have ever tried to make. The design is simple but there is a large psychological aspect to it. YOU DO NOT WANT TO SCREW IT UP! I measured, test fitted, re-measured, re-tested, measured again, cut a bit, and then restarted the process. An entire roll of masking tape went into test-fitting but it was well worth it. In the pictures you can see where I ended up re-drilling the holes for the side bolts multiple times. Just as I thought I had it I'd find that something else was out of alignment and I had to change things. When attaching the front and back pieces together the important thing is making the dome fit. You don't want gaps around the rim but don't want to cut too much so that there's a gap in the side of the helmet. Suffice it to say it is a slow processes to get it right but it is do-able if you take your time.
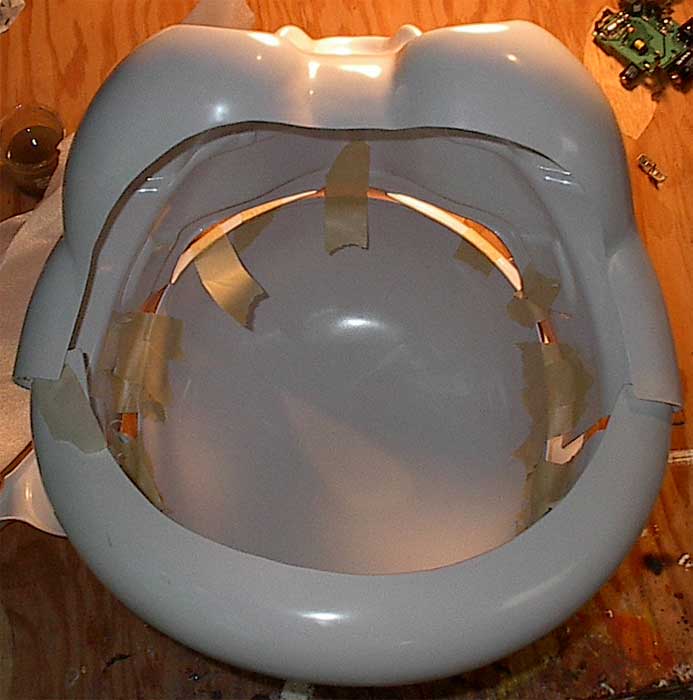
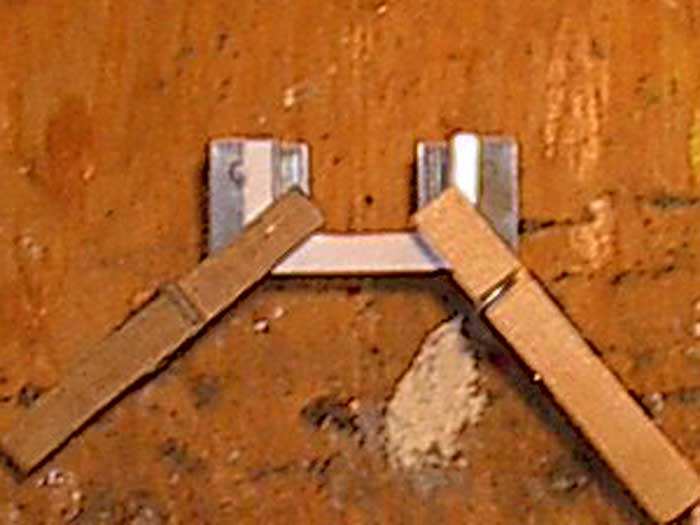
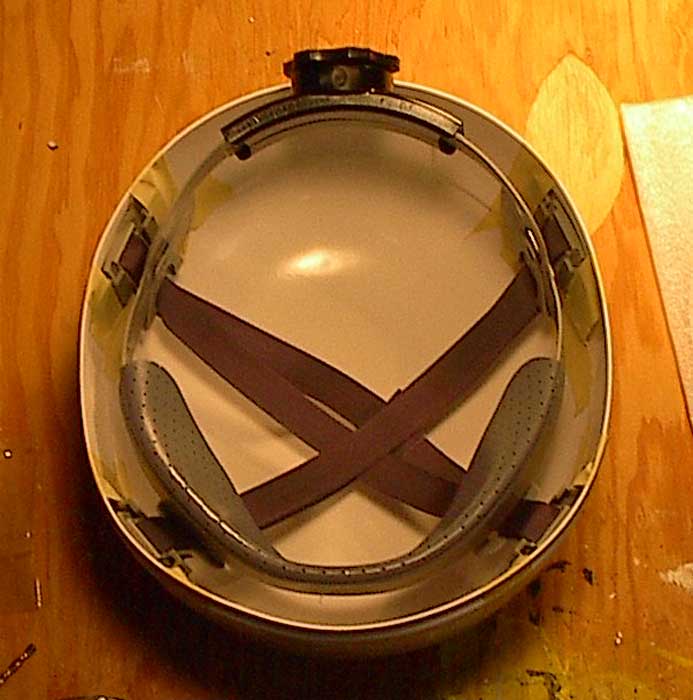
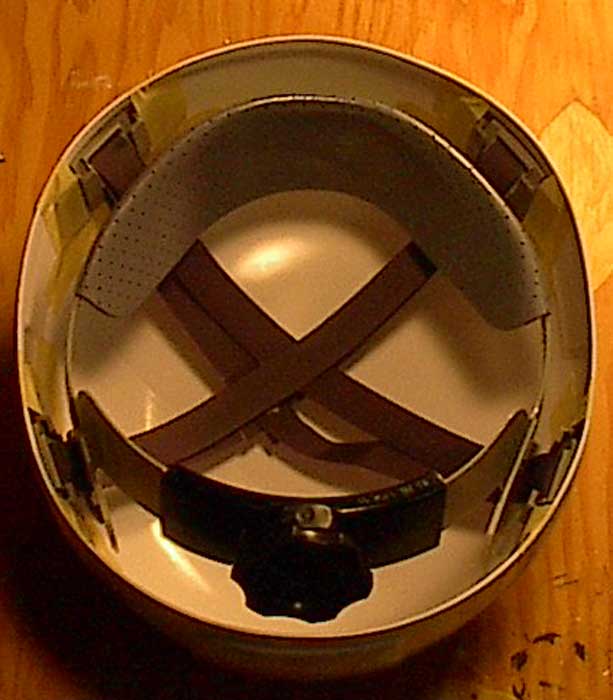
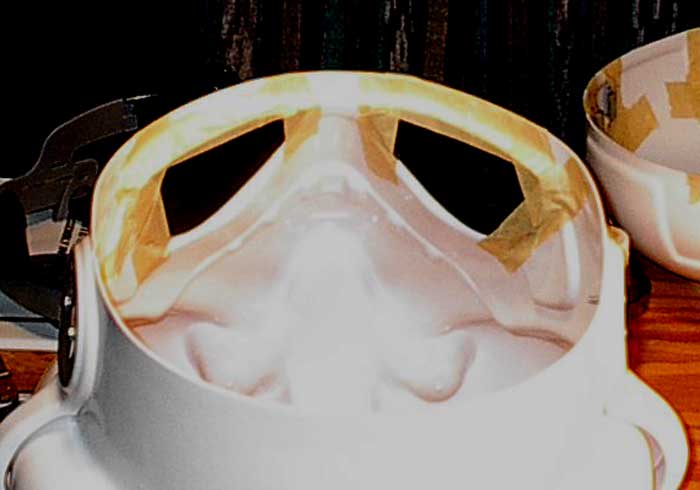
Once I got the parts to the right shape I installed the Helmet liner. Fortunately the kit I bought came with this and I would highly recommend them to anyone. Here again I did a lot of test fitting. I had to make sure the liner was back far enough so my glasses would fit inside the helmet when it was done. I wound up installing spacers on the liner clips so I could get the liner snaps around the lip in the dome. Clothes pins make great clamps to hold things while they dry
While the clips were drying I screwed together the rest of the helmet. The ear pieces didn't fit exactly to the head but I got it pretty close with a little twisting and bending.
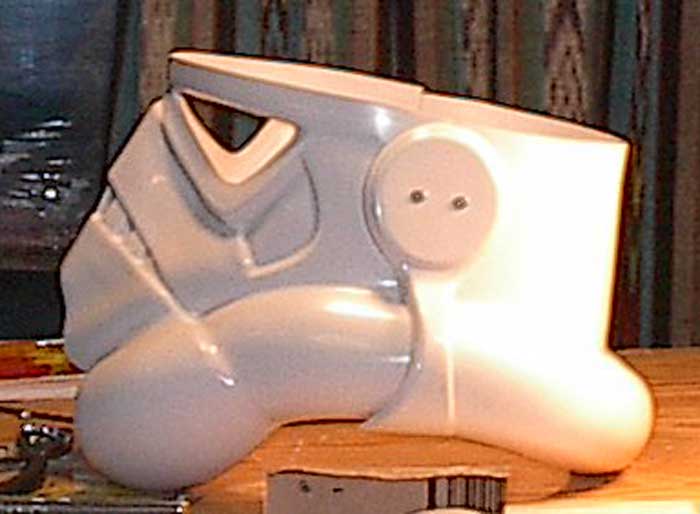
I modified my helmet with flat lenses. No one really notices the difference and you can actually see where you're going. I highly recommend installing these before you attach the dome. It's much easier to get a hot glue gun in then.

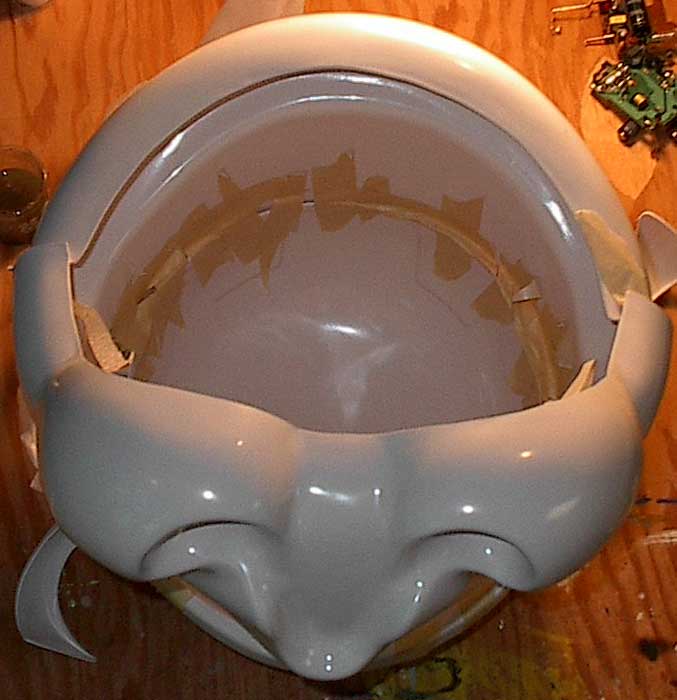
When the clips were dry I installed the helmet liner and checked the fit. You can see that I managed to get the liner pretty far back in the dome.


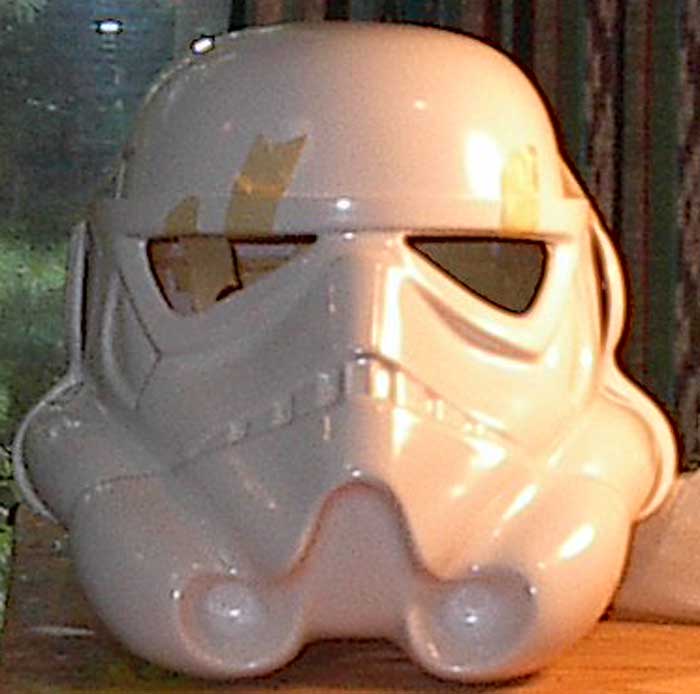
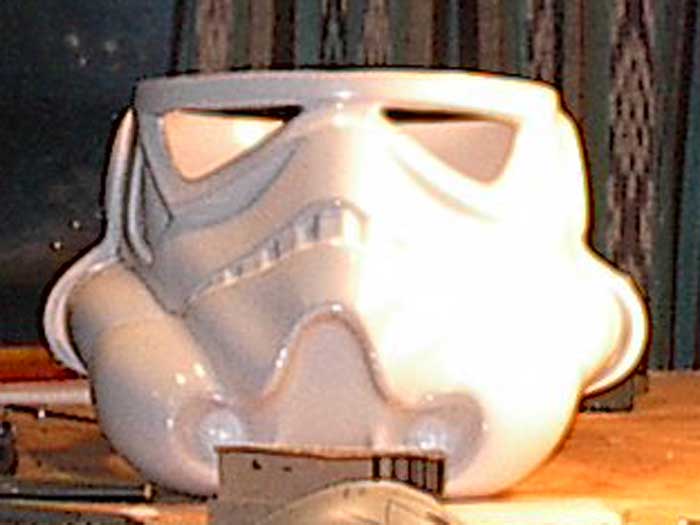
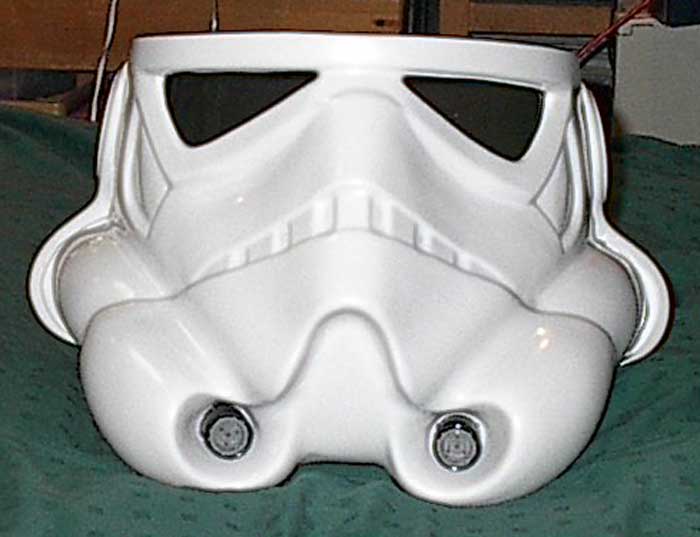
With the lenses and other helmet greeblies Installed I glued the dome on with ABS cement and held it in place with masking tape. Here's the helmet as it was drying. I have yet to add the ear covers or mouth piece.
With the helmet basically complete I moved on to the rest of the kit. Here's all the parts that needed painting for the kit. The thermal detonator and com covers were painted with Rustoleum Smoke Grey. The mouth piece was painted gloss black.

Tweet
