Ghostbusters Leg Hose Connector
Here's how I made a fairly accurate leg hose connector.
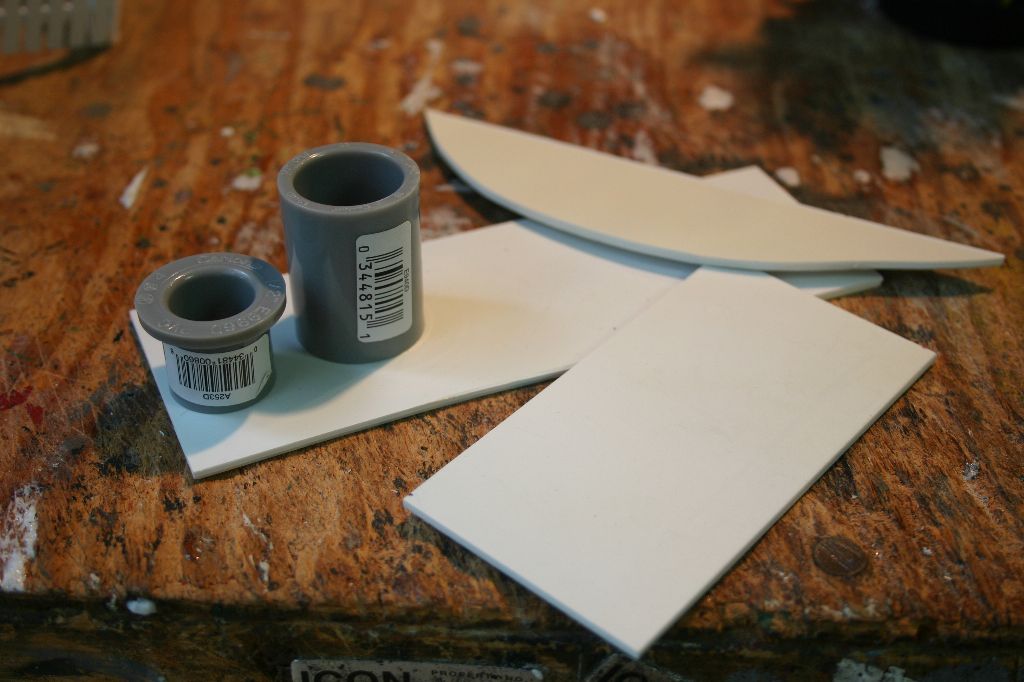
Parts:
- 1/2" Electrical PVC Coupler
- 1/2" Electrical PVC Terminating Adaptor
- .08 sheet styrene
- .01 sheet styrene
- Kneadatite Green Stuff Putty
- Krazy Glue
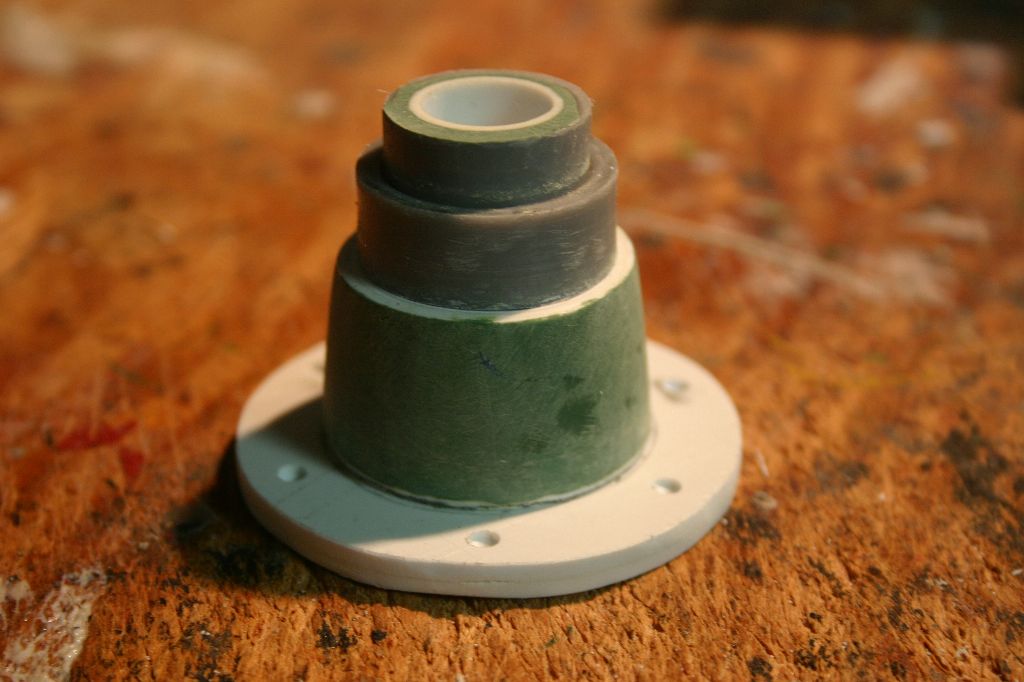
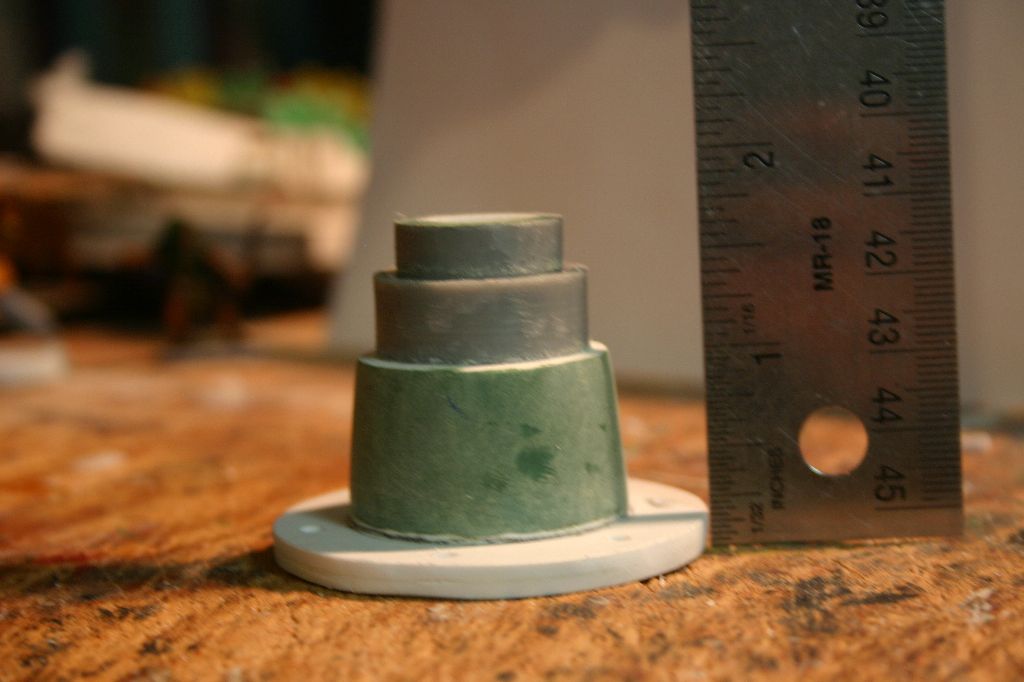
A note on dimensions, I just eyeballed the whole thing. I started out wanting to have the flared end like some builds but after looking at what reference photos there are I decided half way through the build to get rid of it. I also originally intended the whole thing to be vertical lines but again after looking at reference I noticed there was a slight angle to the bottom section and added it halfway through the build.
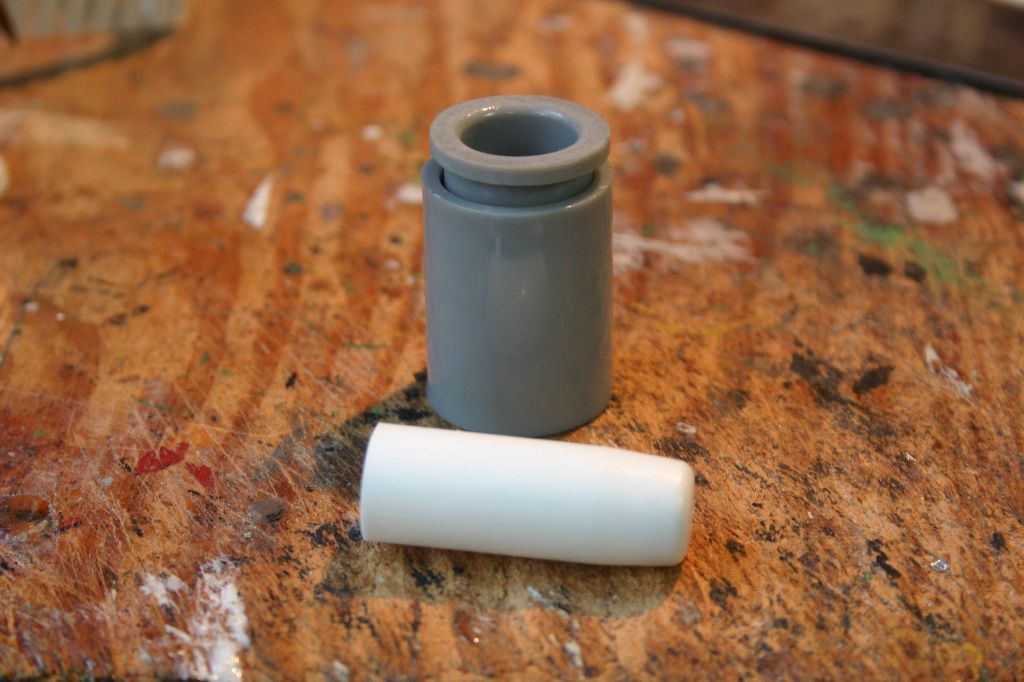
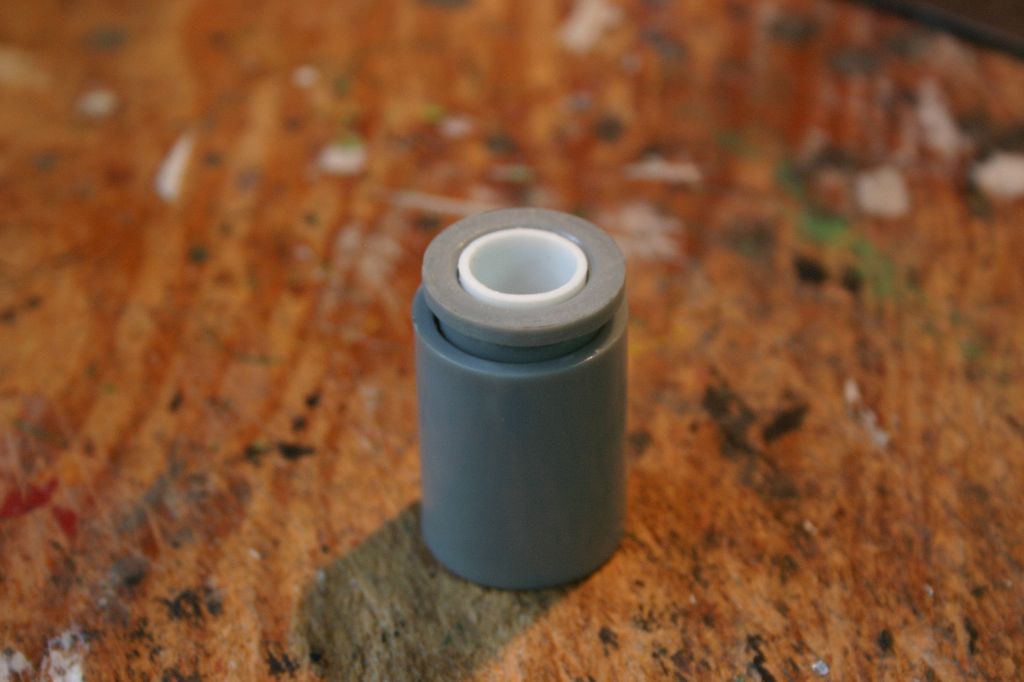
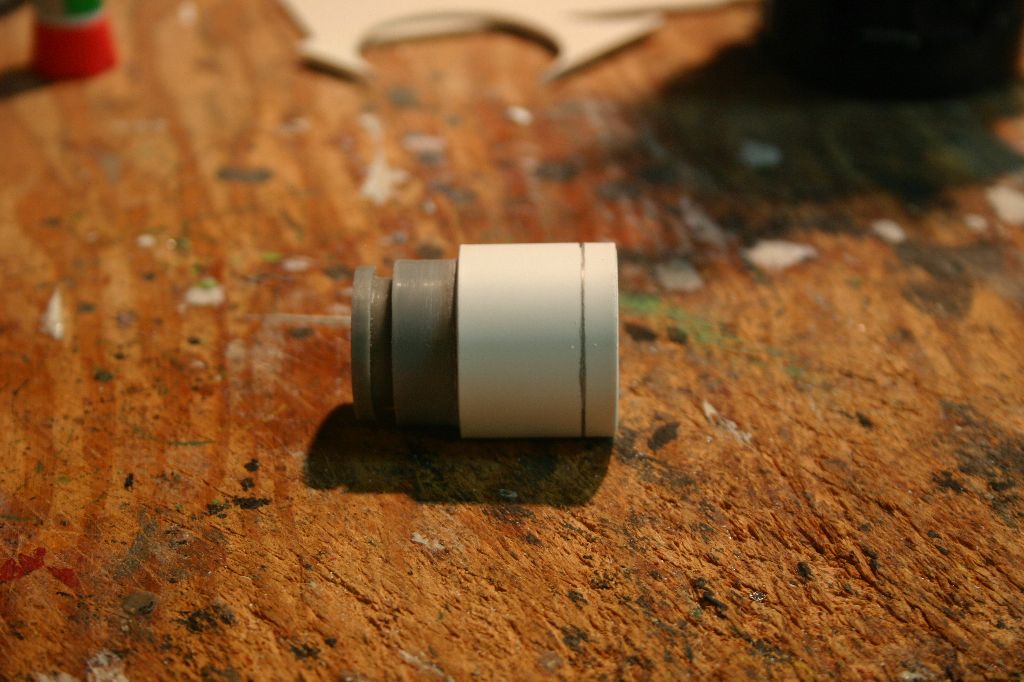
Ok, so starting off you put the adapter inside the coupler, leaving the adapter sticking out about a quarter inch and secure it with Krazy glue.
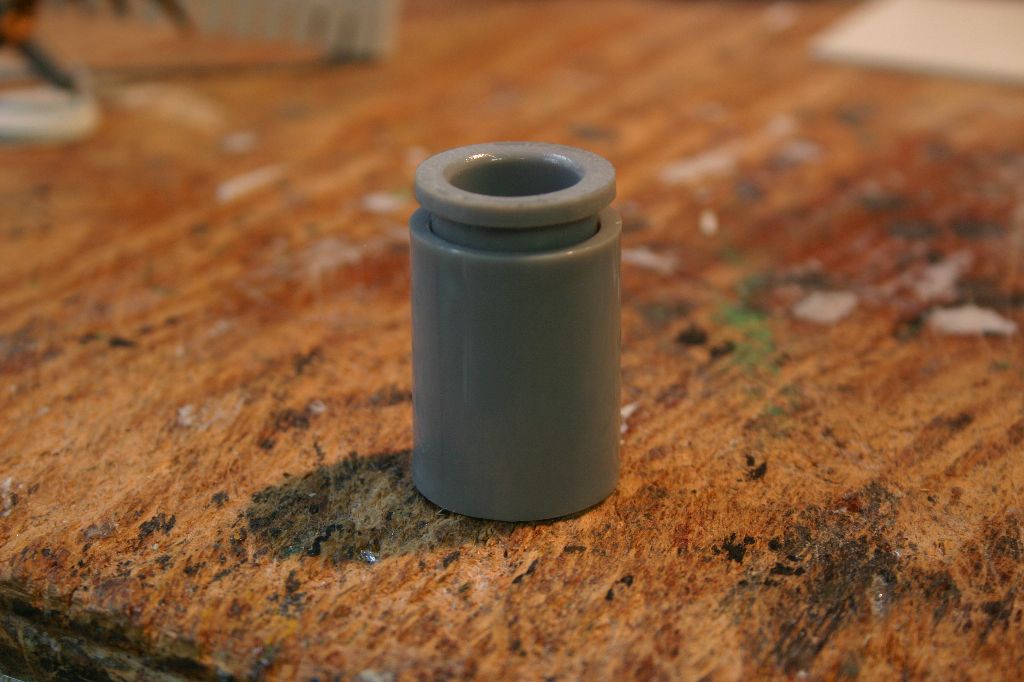
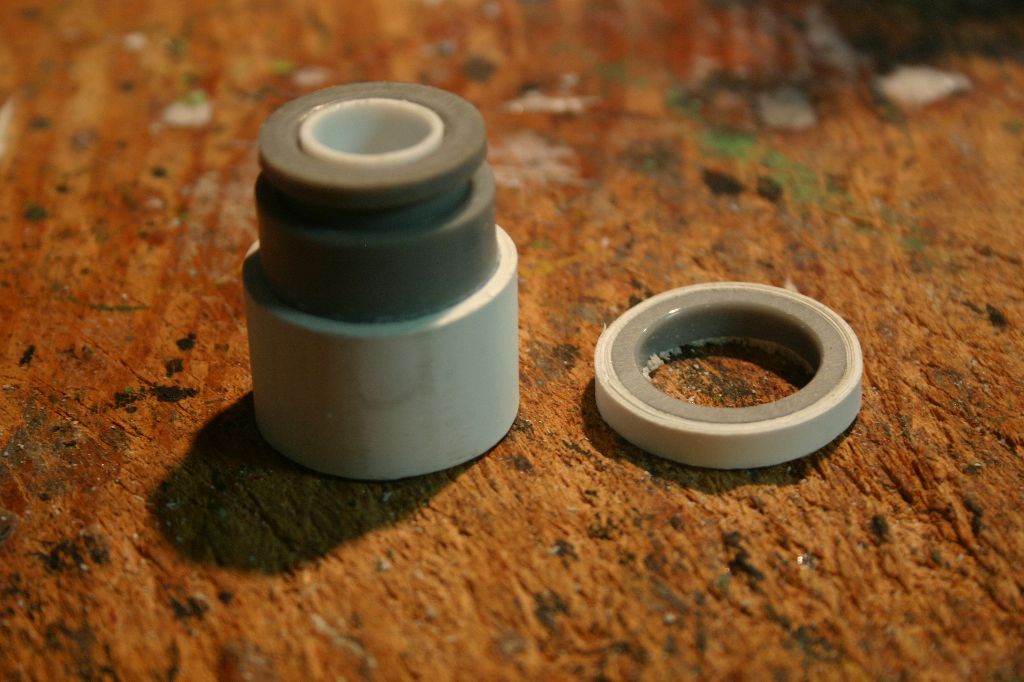
The inside diameter of the adapter is a bit too large to hold a 1/2 inch hose so it needs to be reduced again. Fortunately the container that Krazy Glue comes in is the perfect size.
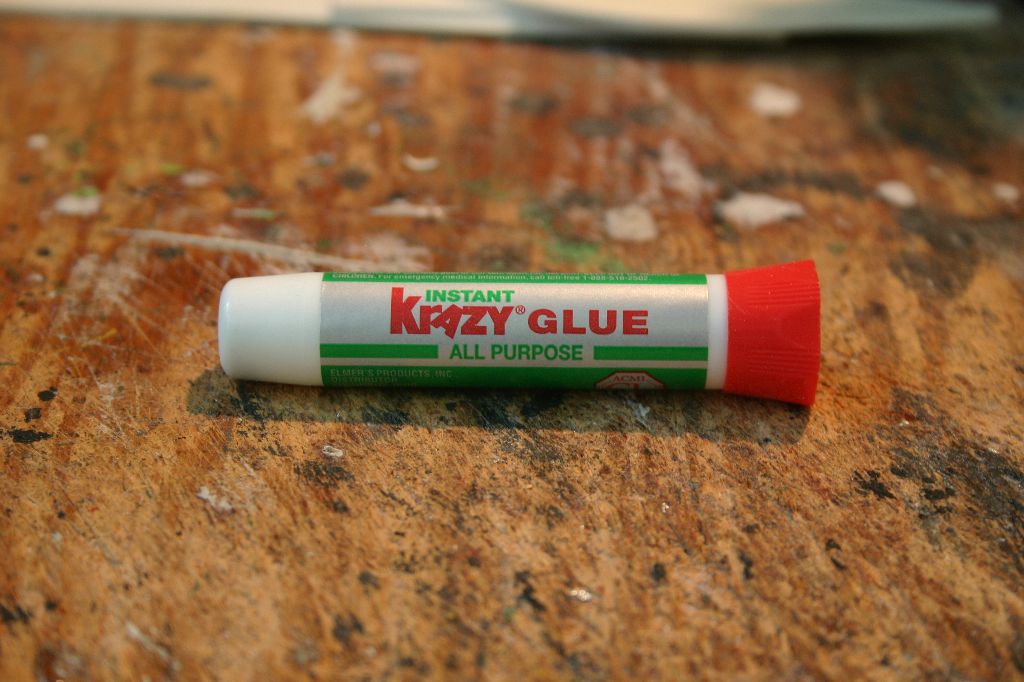
So strip off the label...
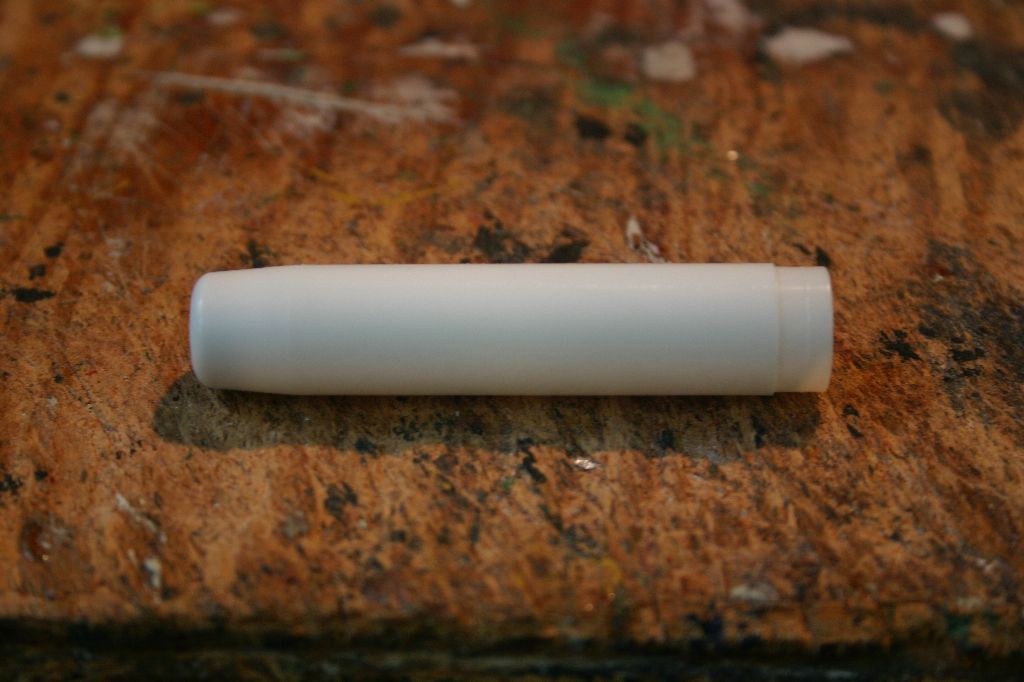
...and cut it to length so it fits flush in the tubes.
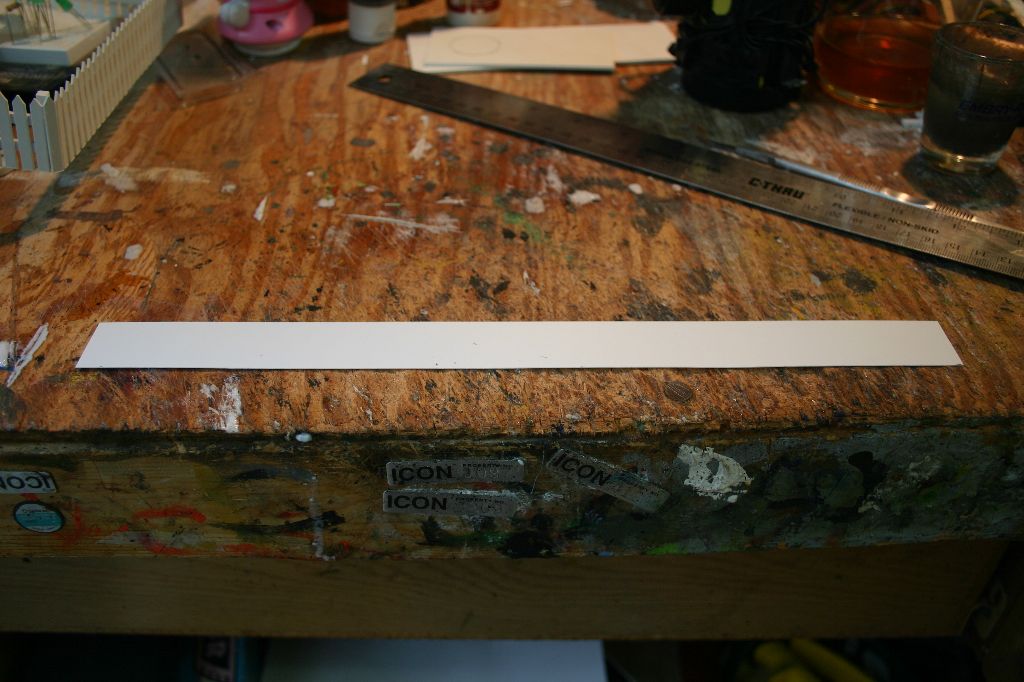
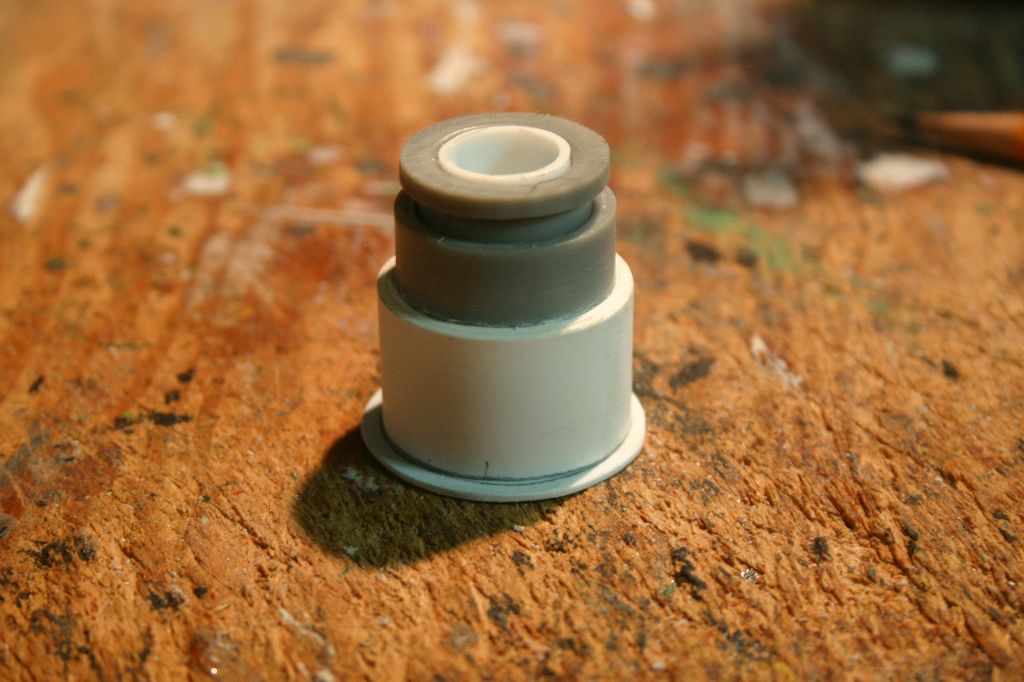
Next up I took a strip of .01 styrene one inch wide:
...and wrapped it around the base of the coupler adding Krazy glue as I went. Again, just eyeballing the thickness it took me 2 strips about 13 inches long.
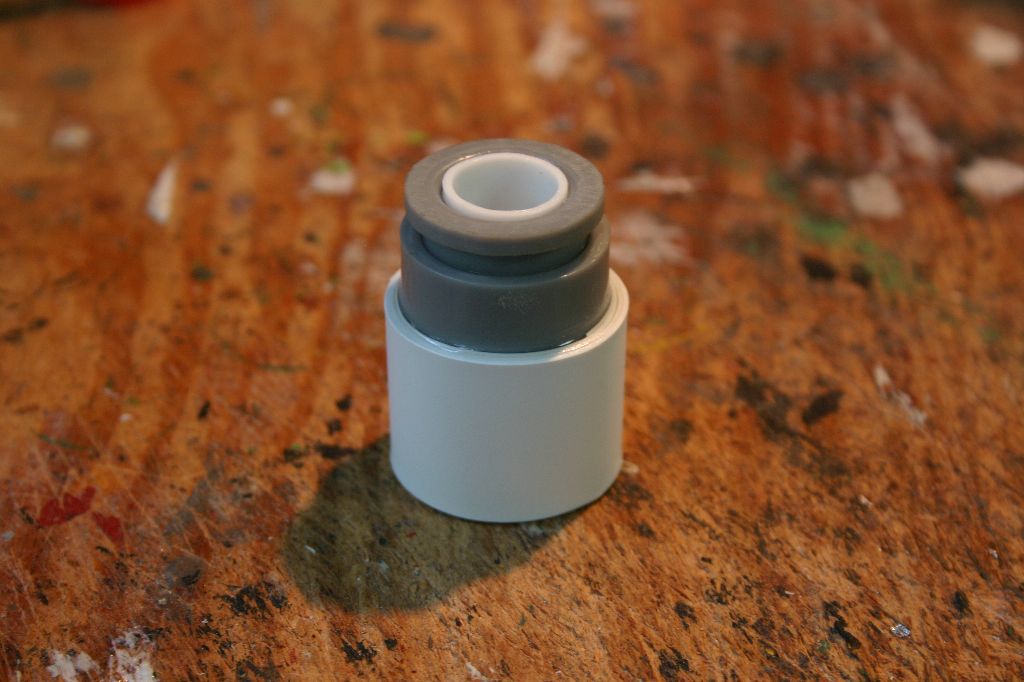
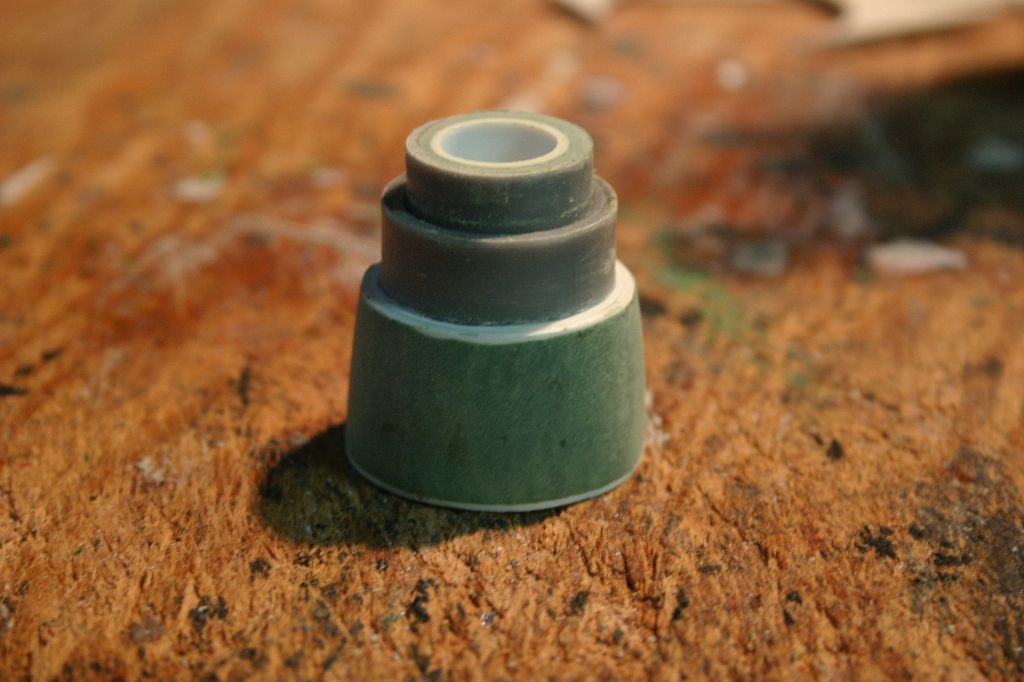
After giving the glue time to dry I realized it was a little too long overall so I cut about 3/16 off the bottom.
This is the point I decided to taper the bottom section a little bit. I cut a circle of .01 styrene with a slightly larger diameter than the coupler and glued it to the bottom.
I then filled in the space with Kneadatite, a two-part epoxy putty. I also smoothed over the end at the same time. Once dry I sanded it all down. It was at this point I decided to not do the end flare and sanded down the adapter.

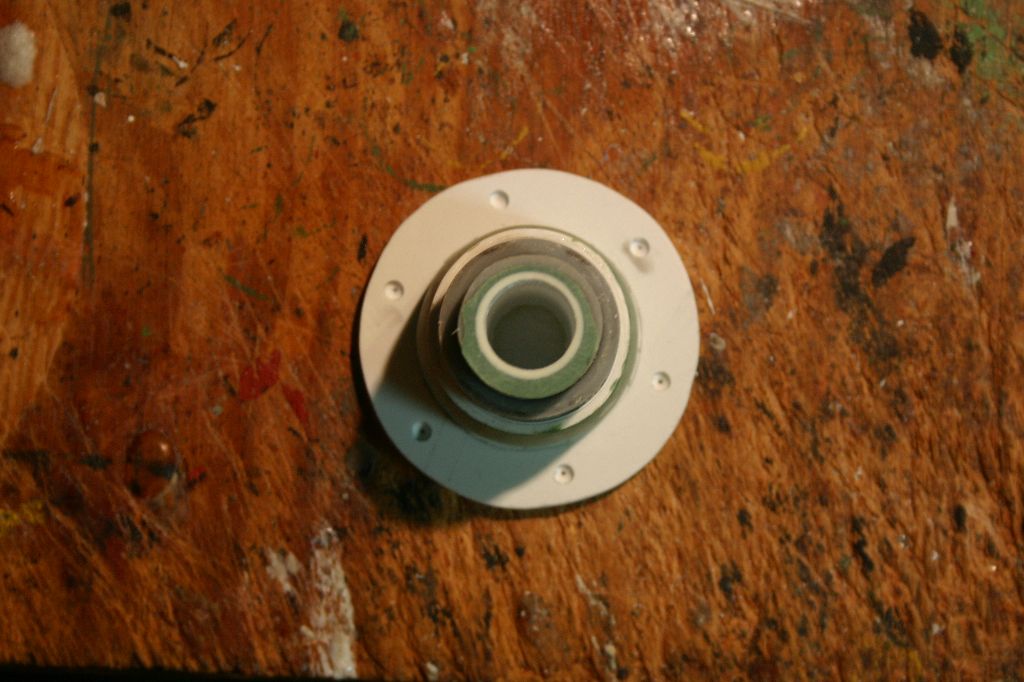
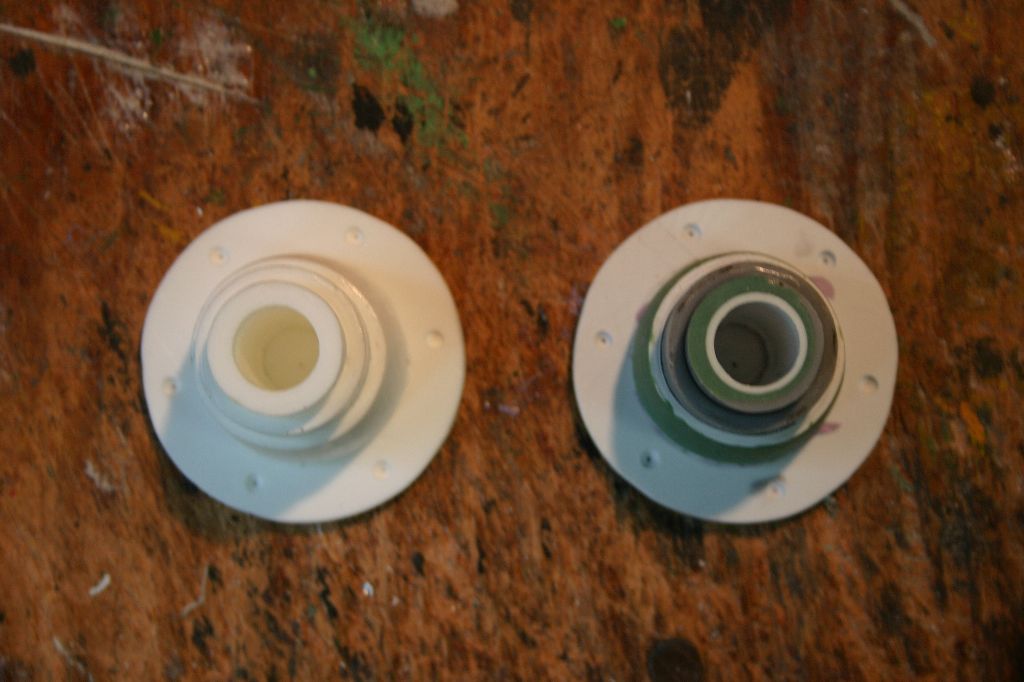
Last up was the base which is two circles of .08 styrene glued together. Before attaching the base I drilled some pilot holes for the attachment points. I plan on casting mine so I didn't drill all the way through. If you're just making one I'd suggest finishing the holes.
And that's that. If you're just making one I'd suggest gluing the plastic pieces together with model glue instead of Krazy glue as it will weld the plastic and keep it from snapping apart later.

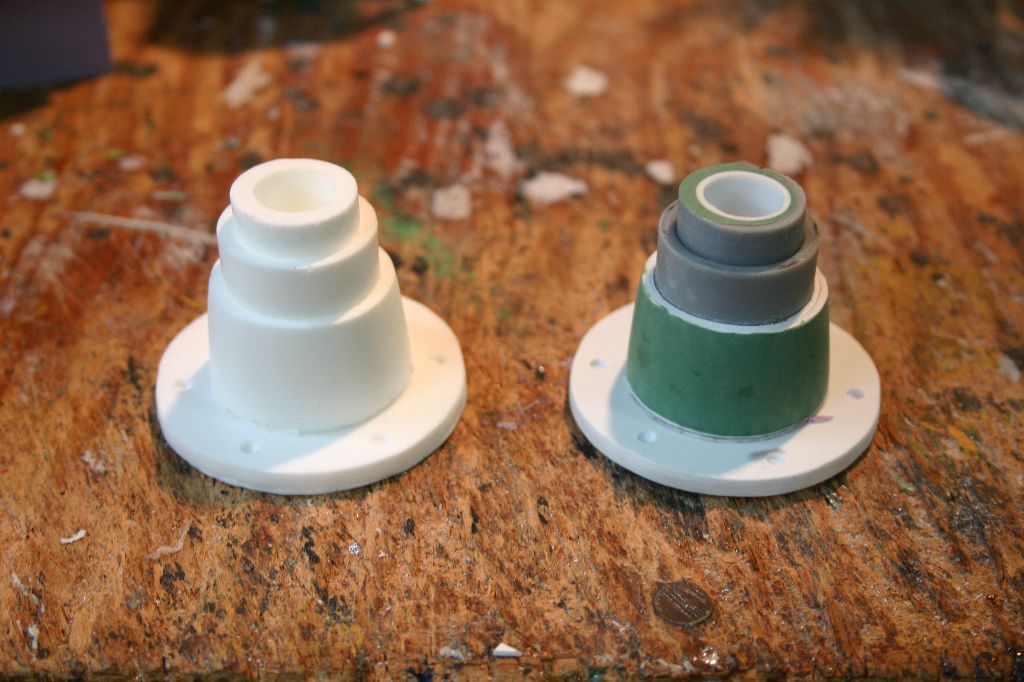
And here are shots of my cast version next to the original:
Tweet
