Warhammer 40k Laspistol
This was a fun project I did for the hell of it in 2003. This is a full size "working" replica of a laspistol from Games Workshop's Warhammer 40k miniature wargame. I say "working" because I installed a laser pointer in the barrel and it does about as much damage to your target as the weapon usually does in the game.
I started with a cheap dart gun toy.
I cut off the barrel and made a skeleton for the grip out of plasticard.

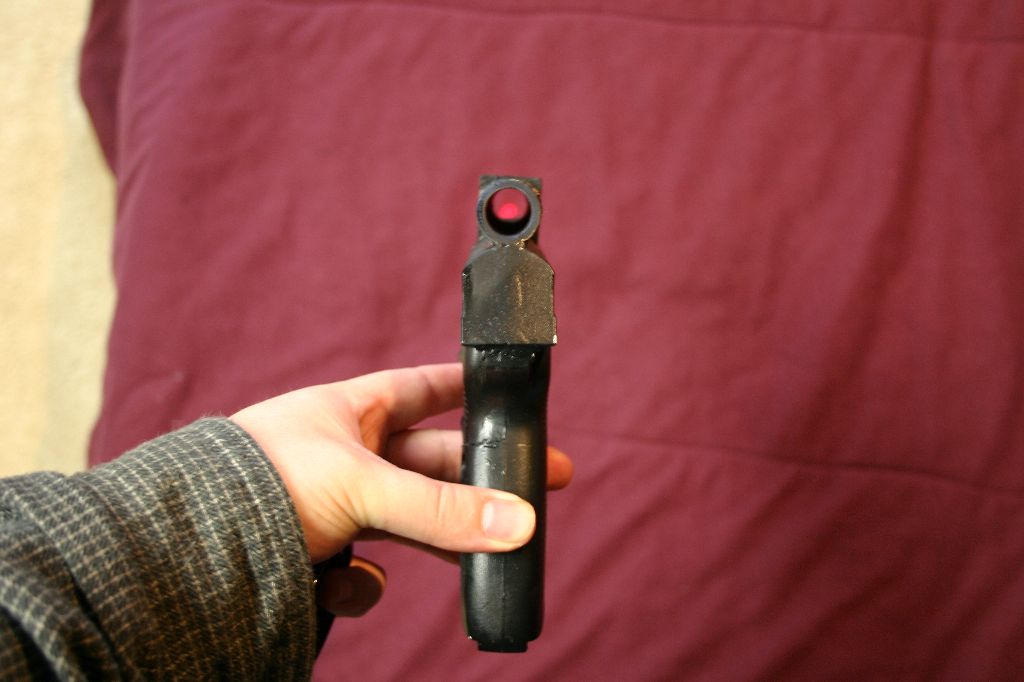
For the electronics I used a main on/off switch, a laser pointer, a blinking red LED as a power indicator, a momentary contact switch for the trigger, and a 9V battery.
The battery fit into the handle which can unscrew so it can be changed later. The on/off switch and LED were set in the side near the trigger and the momentary switch was placed under the existing trigger.
A quick base coat to see that it looks like and I started sculpting the grip.
Once the grip was done I added the scope out of PVC
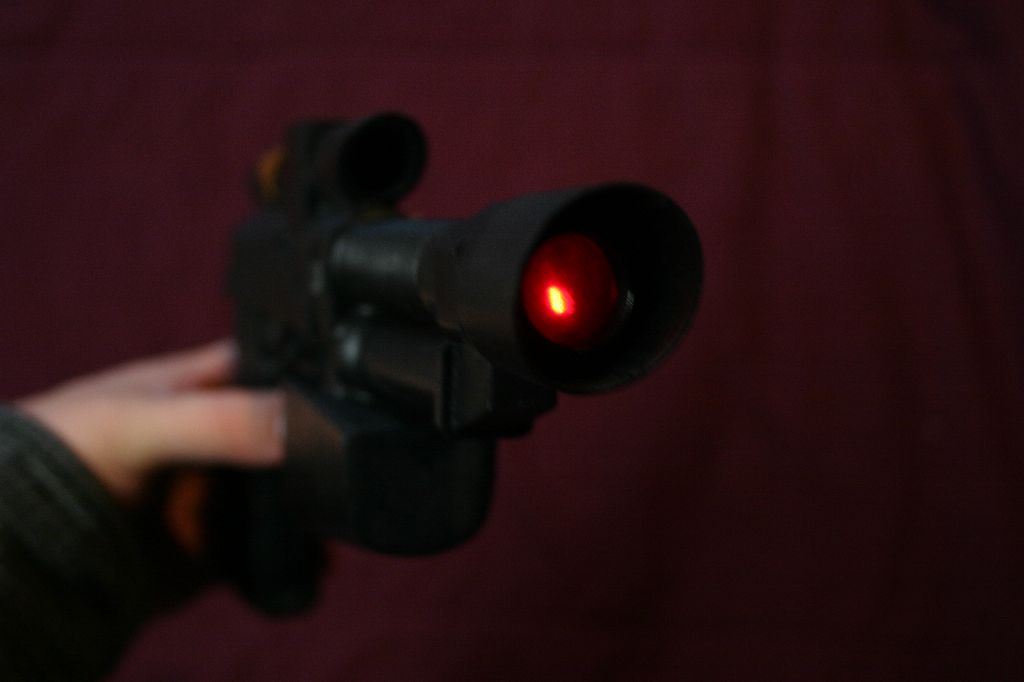
To finish off I made a barrel out of a sprinkler part and a busted camera lens and then added some odds and ends for detail.
Tweet
