Mini Vacctable
I had wanted to build a vacctable for a long time but never had a good enough reason to devote the time and money. When I started working on my Snowtrooper costume I found that I'd need to fabricate some of my own parts and this became the impetus to bulid a table. Since the parts I needed weren't very large and I didn't have the room to store and operate a large table anyway I decided on a small table and researched my options. Fortunately I found an excellent resource for vacctable information.
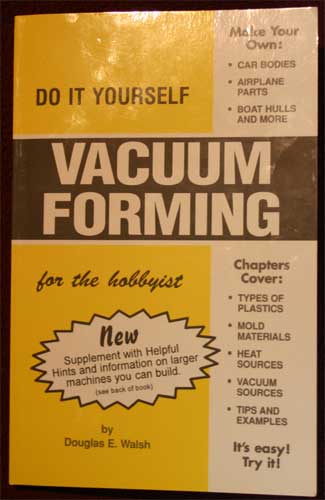
"DO IT YOURSELF VACUUM FORMING FOR THE HOBBYIST by Douglas E. Walsh"
If you want to do anything with vaccforming get this book. It has information on everything from simple setups using an electric frying pan and a bike pump to custom heating coils and vaccume chambers. Walsh discusses vaccum theory, plastic selection, table construction, heat and vaccum sources all in simple language with effective pictures and diagrams. Unfortunatly this book can be hard to find, Amazon.com says it's out of print, but Micromark.com has a bunch in stock. The $16 you spend on this book is well worth it compared to the amount of time and money you'd spend on just trial and error alone.
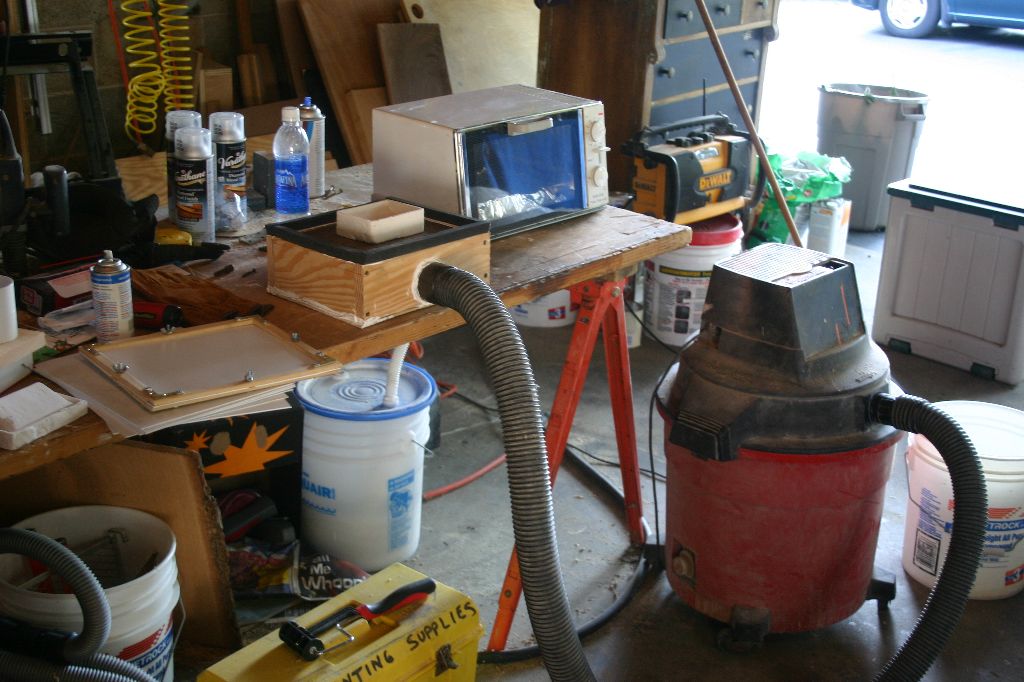
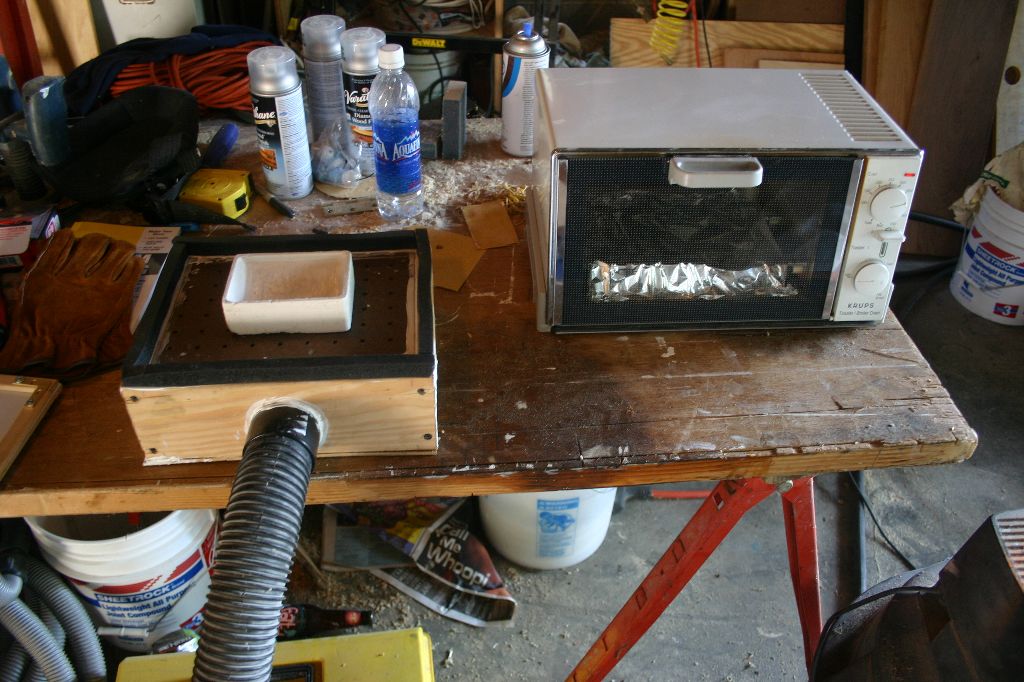
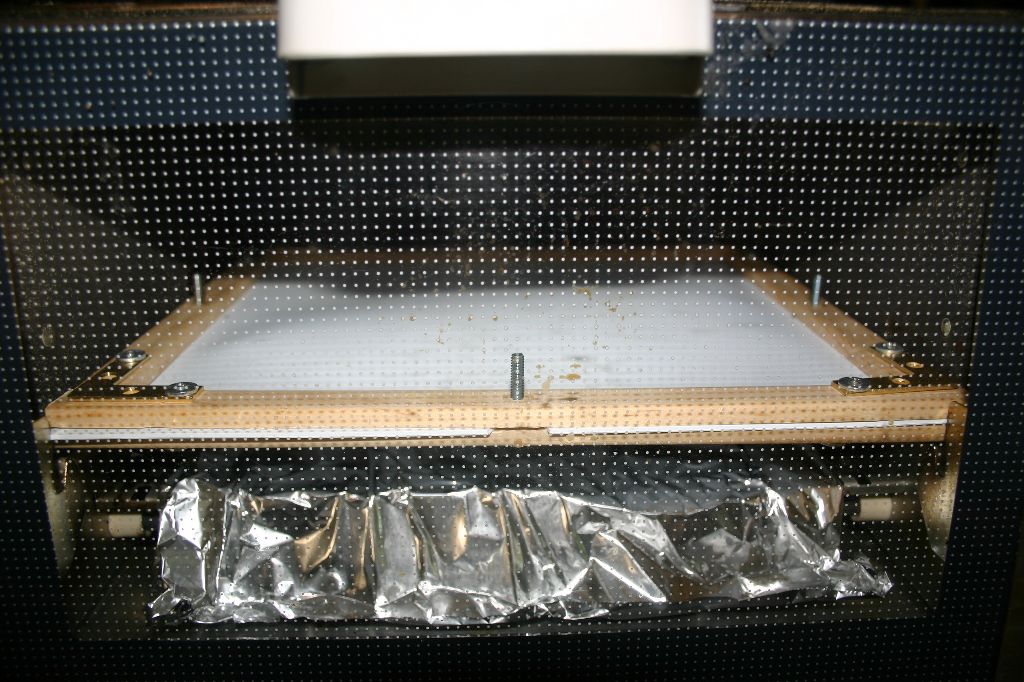
As I said, I decided that I only needed a small table for the parts I had to make so with this in mind I started looking for a heat source. Fortunatly I had an old toaster-oven that had internal dimensions big enough to fit a frame and still give me a large enough vaccing area. This gave me the length and width of my vacctable. At the hardware store I picked up a 2X6, a sheet of MDF, a sheet of pegboard, some 1 inch molding, screws, L brackets, rivits, weatherstripping, caulk and a 2 inch shopvacc hose connector. The table is just a 9.5X10 inch box with an MDF bottom, pegboard top, and a shopvacc hose connector in the side. The seams were sealed on the inside with caulk before attaching the pegboard. Foam weatherstripping was attached around the top to provide a seal for when the plastic frame is pressed on. The plastic frame was made by attaching the corners of 1 inch molding together with L brackets and rivits. The frames are connected together by 1/2 inch bolts and wing-nuts. For my vacc source I use my dad's standard 6HP shopvacc.
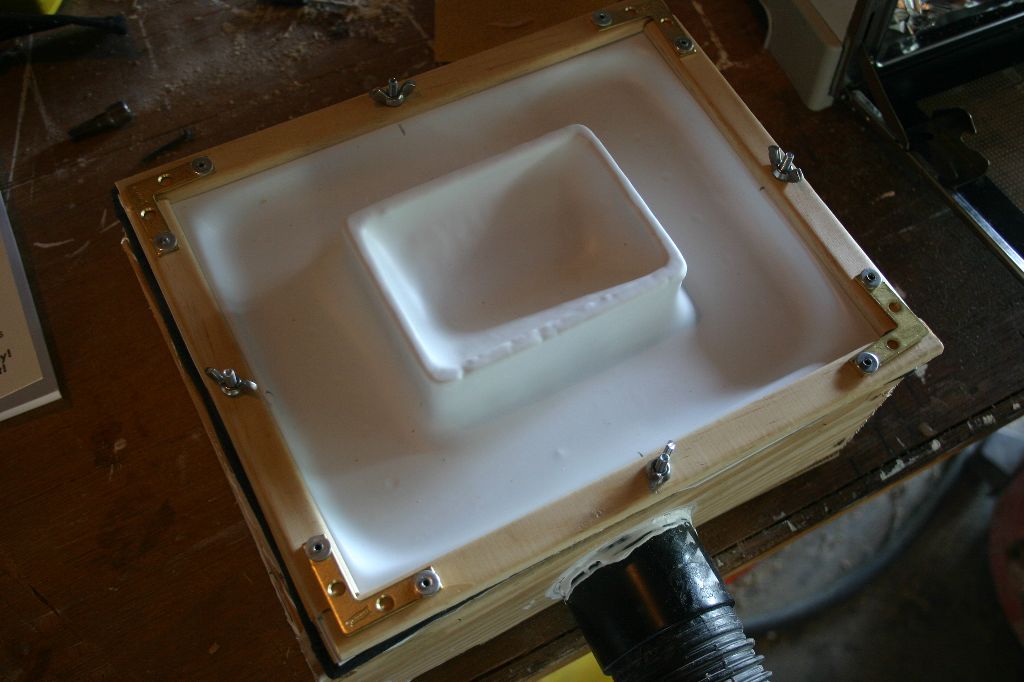
That's pretty much it. Vaccforming is not hard. Anyone can learn to heat plastic and suck it over a mold. If you've ever put a Gi-Joe in the microwave you're halfway there. The hard part with Vaccforming is creating the mold in the first place. For information on casting molds for vaccing get this book:
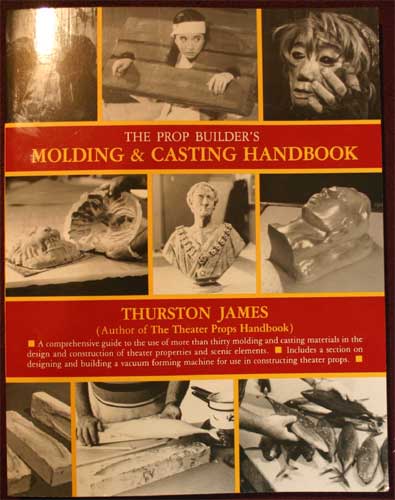
The Prop Builder's Molding & Casting Handbook by Thurston James
Amazon.com is the best place to get this book. It's got information on 30 different casting materials and a small section on building a vacctable. Though it is designed more for stage productions than amature hobbiests.
The only other thing people find difficult with vaccing is finding the raw materials. Casting plaster can be found at gypsum supply companies. You can use Plaster of Paris but it won't hold up for very long. Hydrocal or Ultracal is better, check your phonebook for local supply houses or do like I did and order a 12lb bucket from Plaster.com. Plastic sheeting can also be ordered online but, due to it's abnormal size, can be expensive to ship. I got mine from Northeast Plastic in north Philadelphia. If you use a local supplier be sure and call ahead for a quote and to make sure they have what you want in stock. I got a 4X8 sheet of .08 gauge styrene for $25 at the time though the price has gone up with the price of oil. I was able to get 45 sheets that fit my table out of it costing me about $.94 per sheet.

Tweet
