Big Mek Stompa Orkerprise Construction
With the release of the Apocalypse supplement for Warhammer 40k my regular gaming group planned a massive 7 player, 25,000 points per side battle to kick it off. I wanted to make a couple of stompas for it and the idea for this project popped into my head. The basic premise was Big Mek Stompa meets TOS Enterprise bridge. I started working on it two months before the battle was supposed to take place though as I got deeper into it I realized I'd never get it done in time so instead I slapped together a couple quick ones out of foamcore. Pictures of the battle can be seen here. After sitting on a shelf for a few months I finally picked this project back up and finally, almost a year after beginning construction, I finished it.
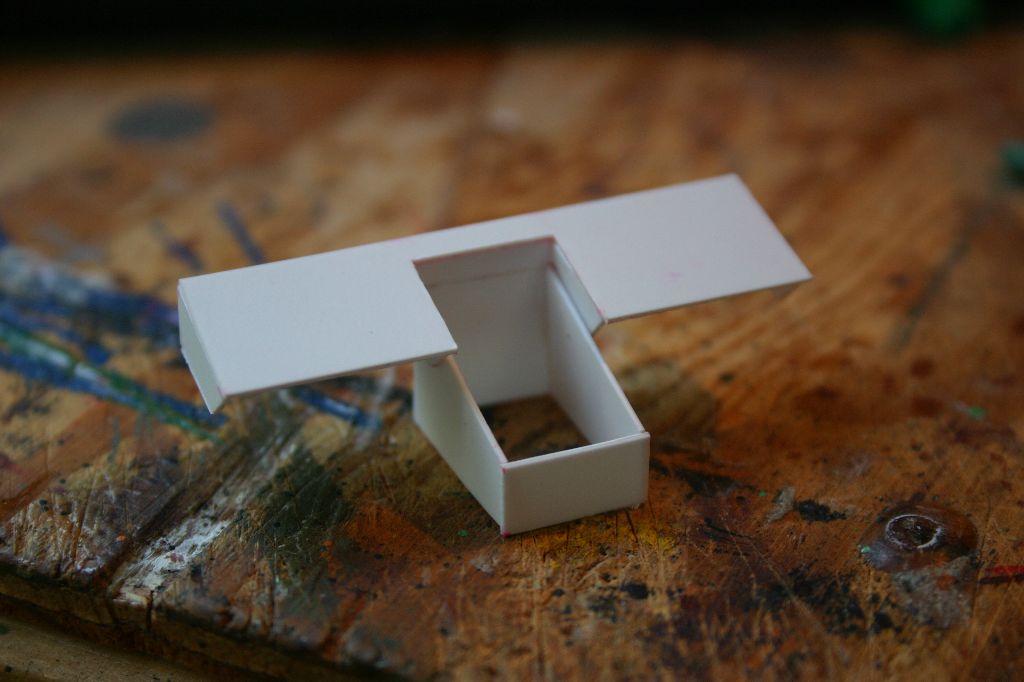
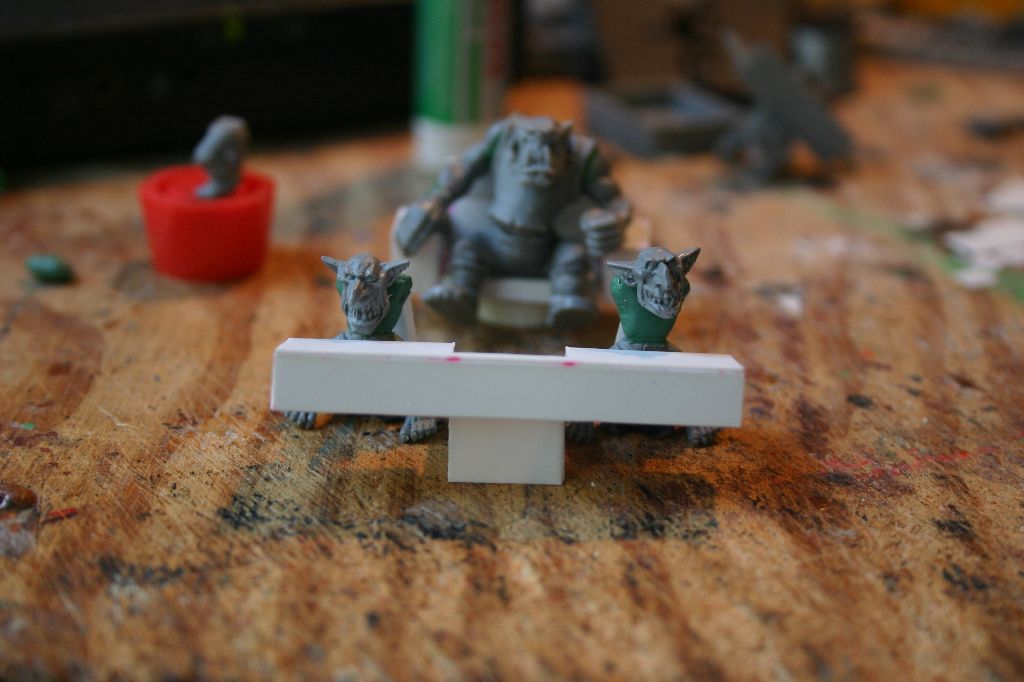
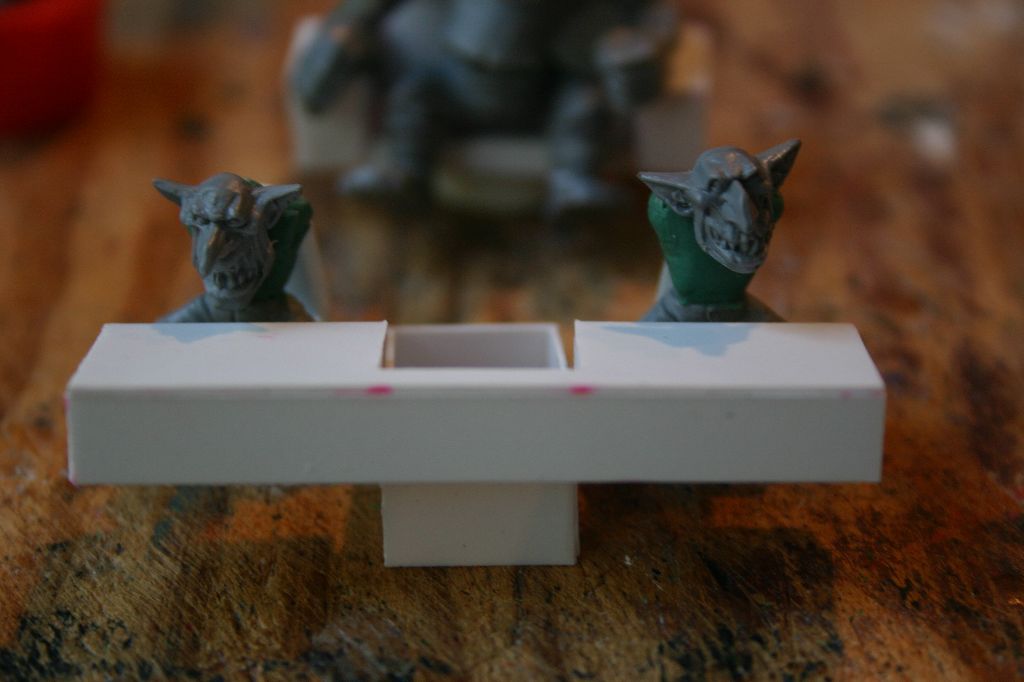
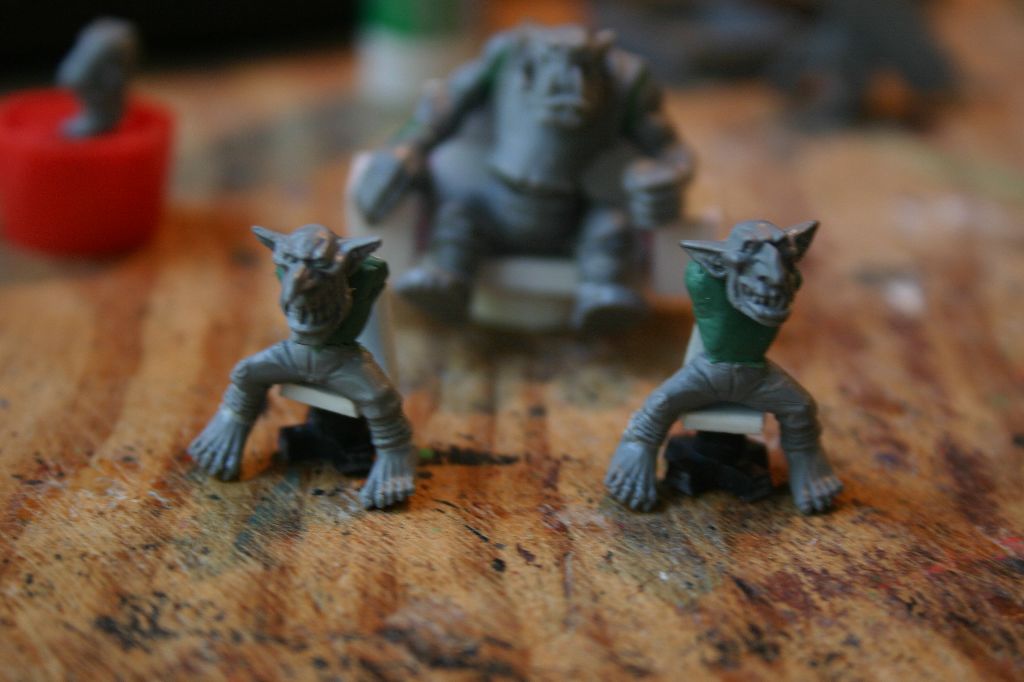
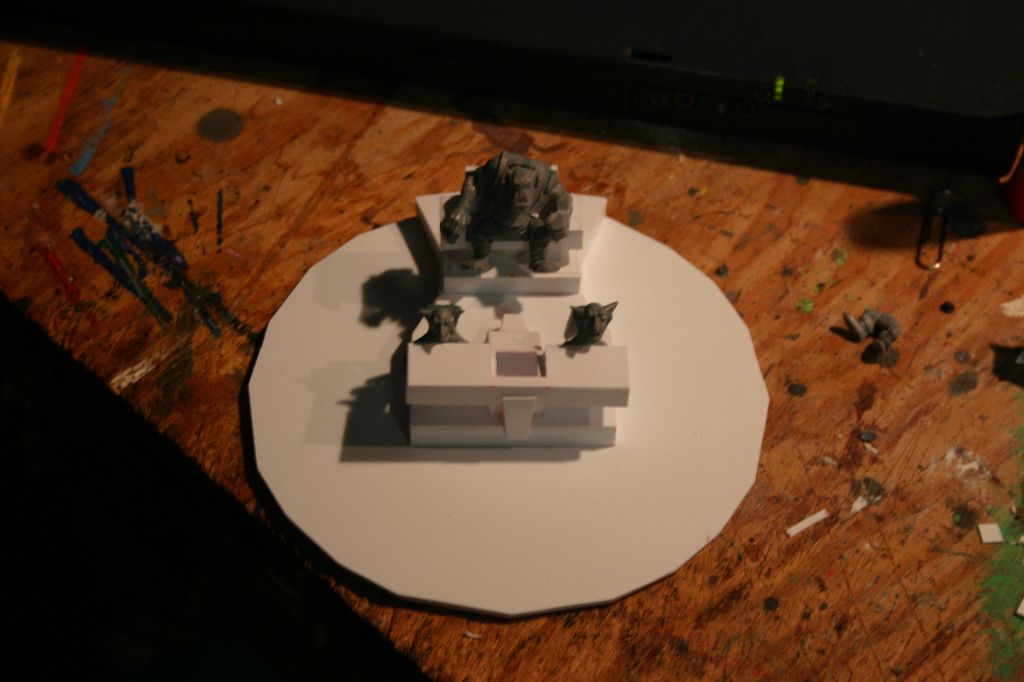
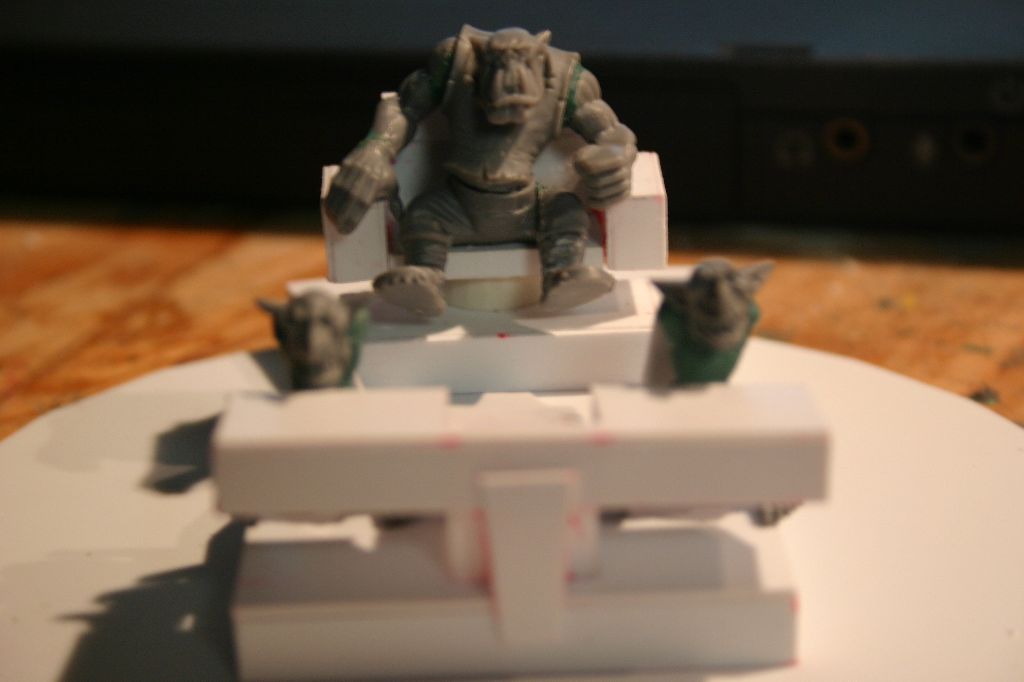
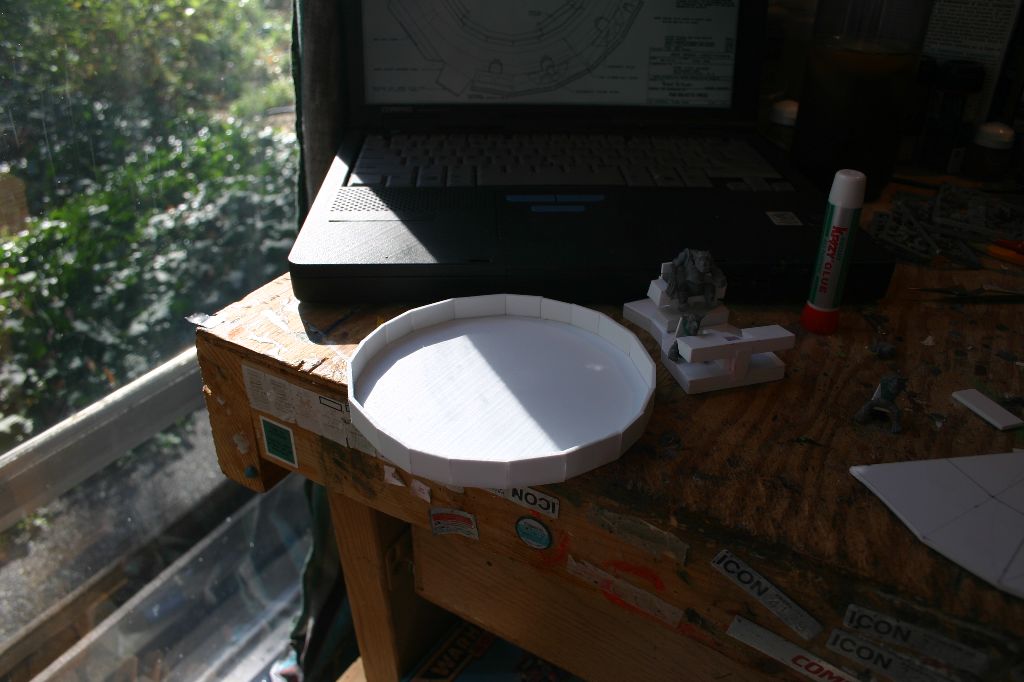
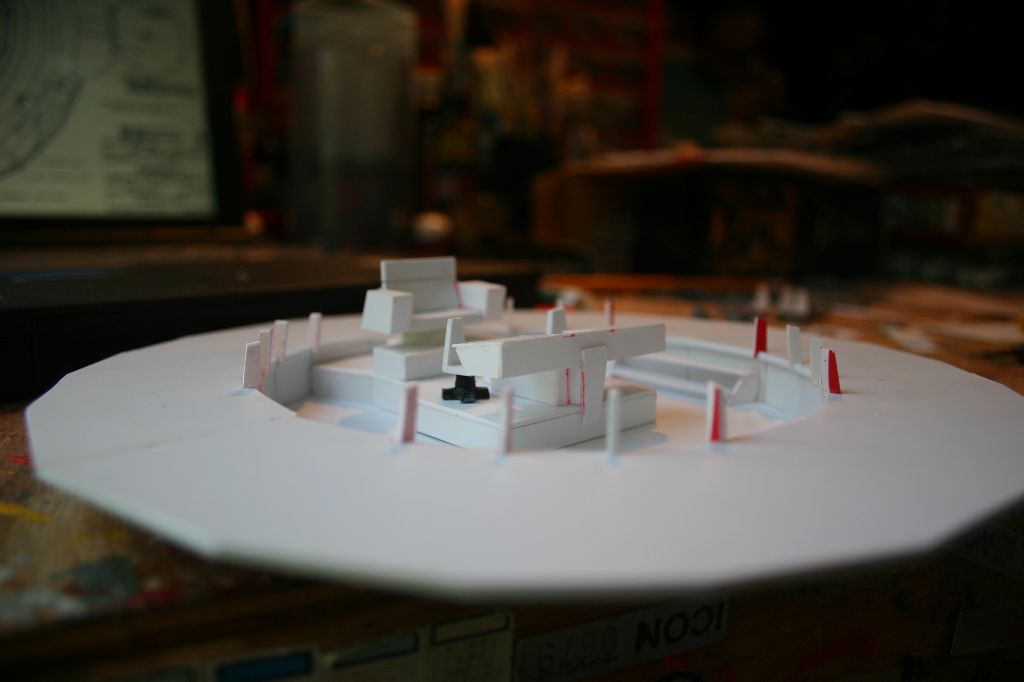
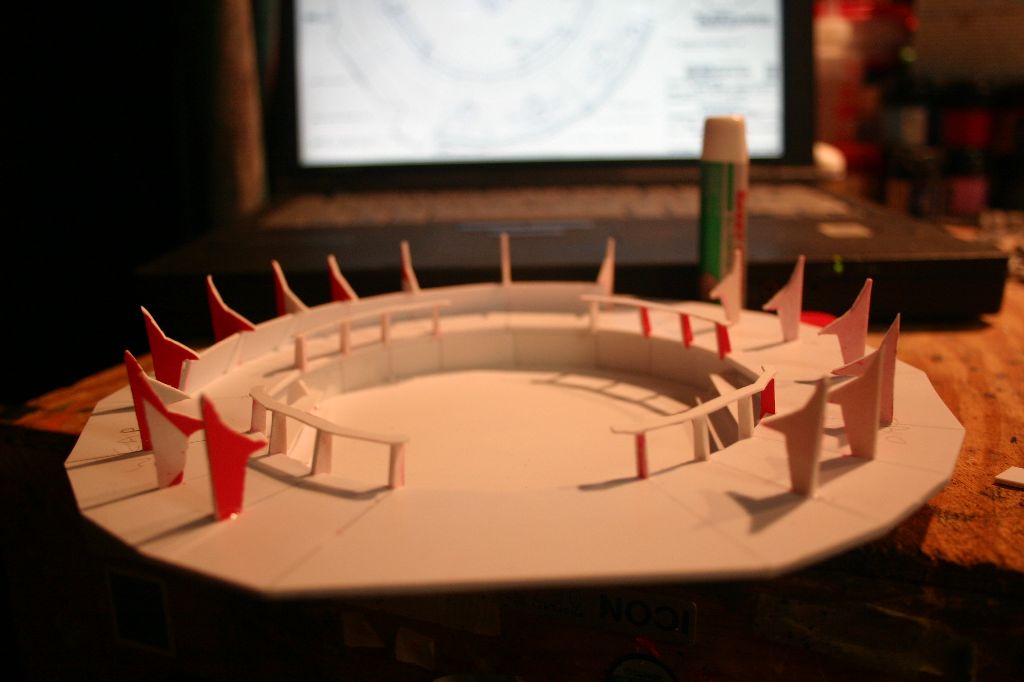
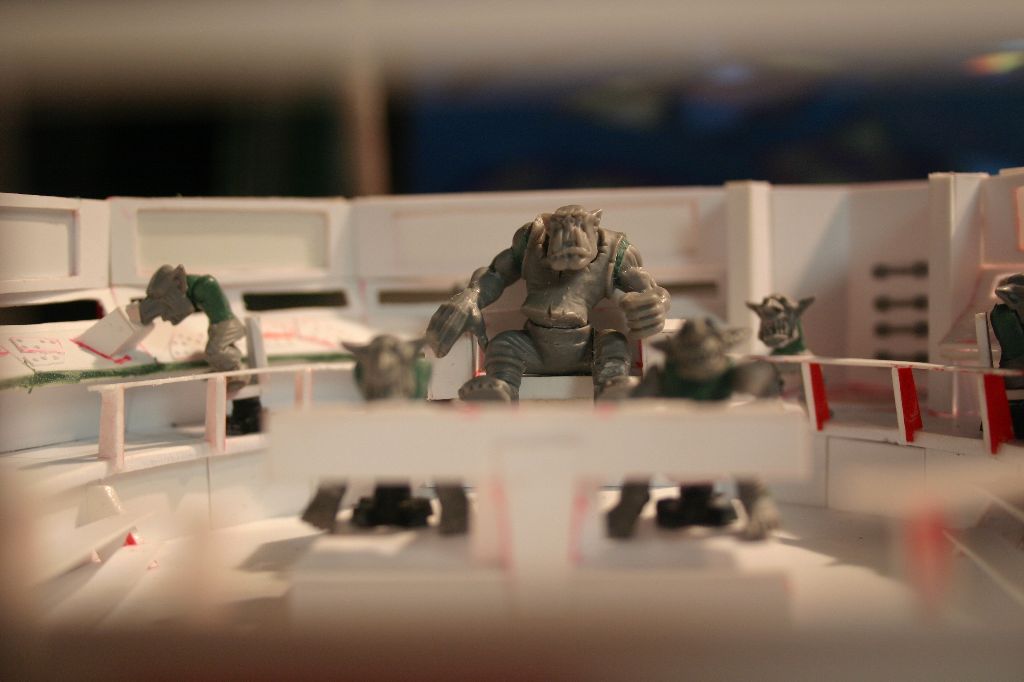
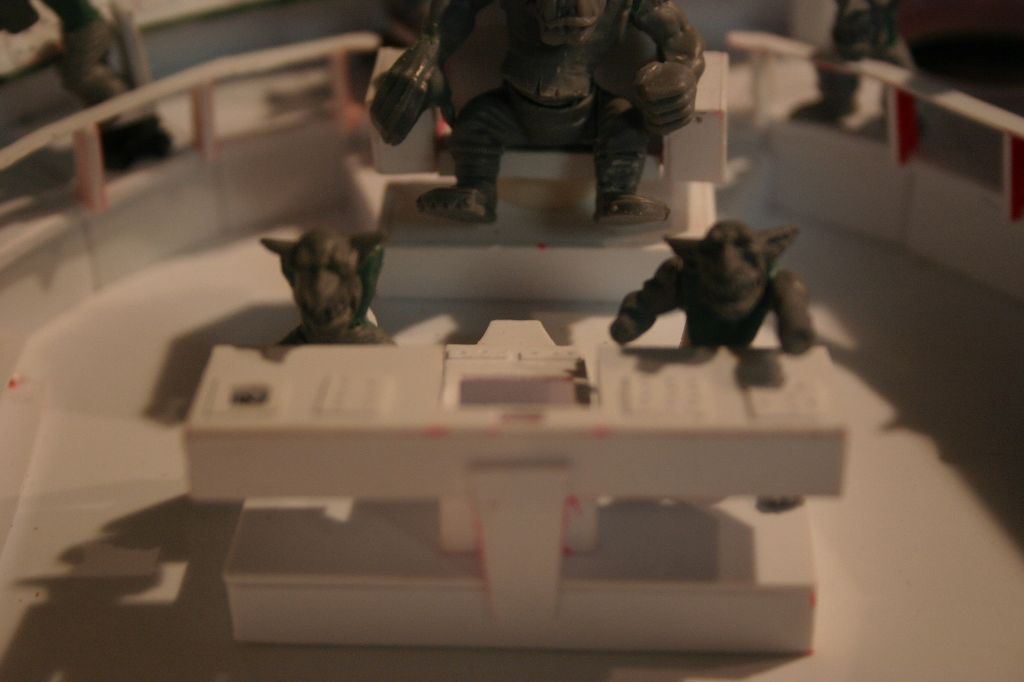
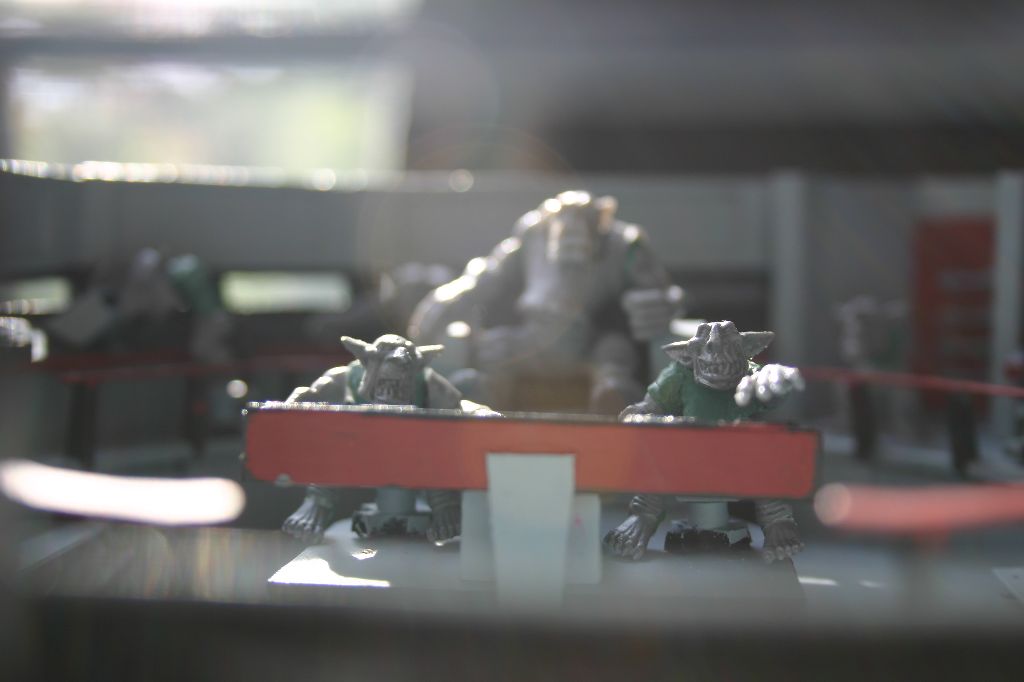
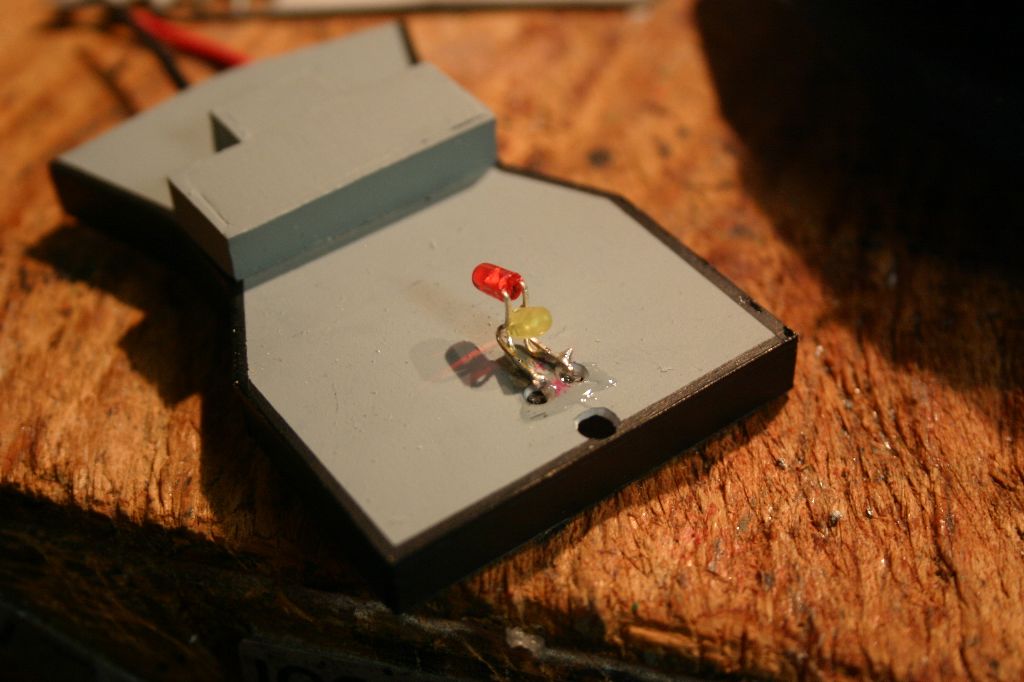
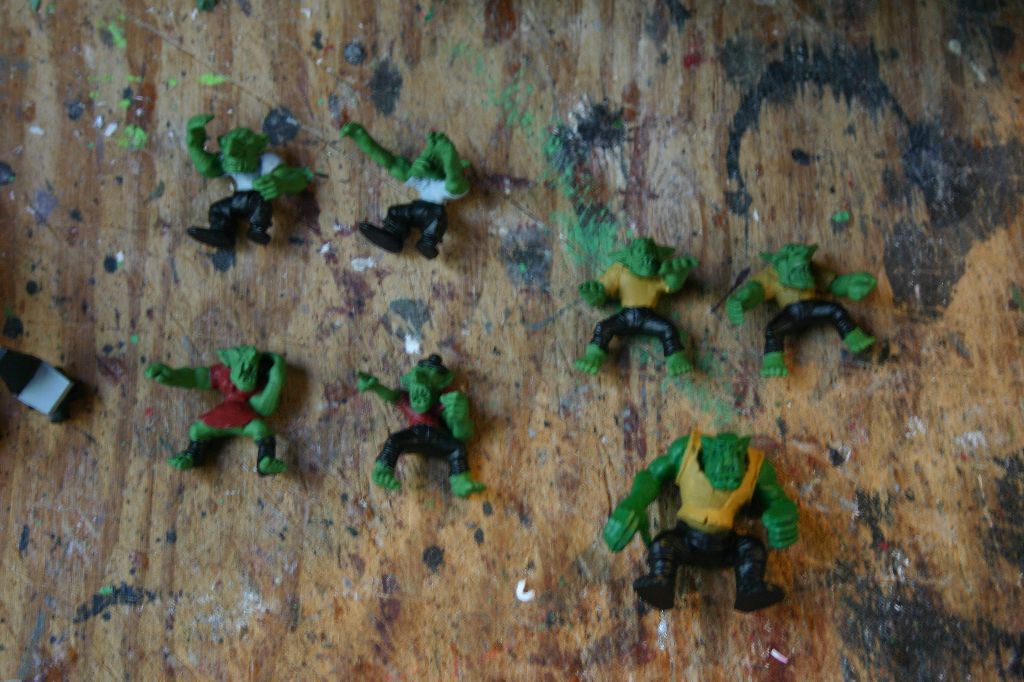
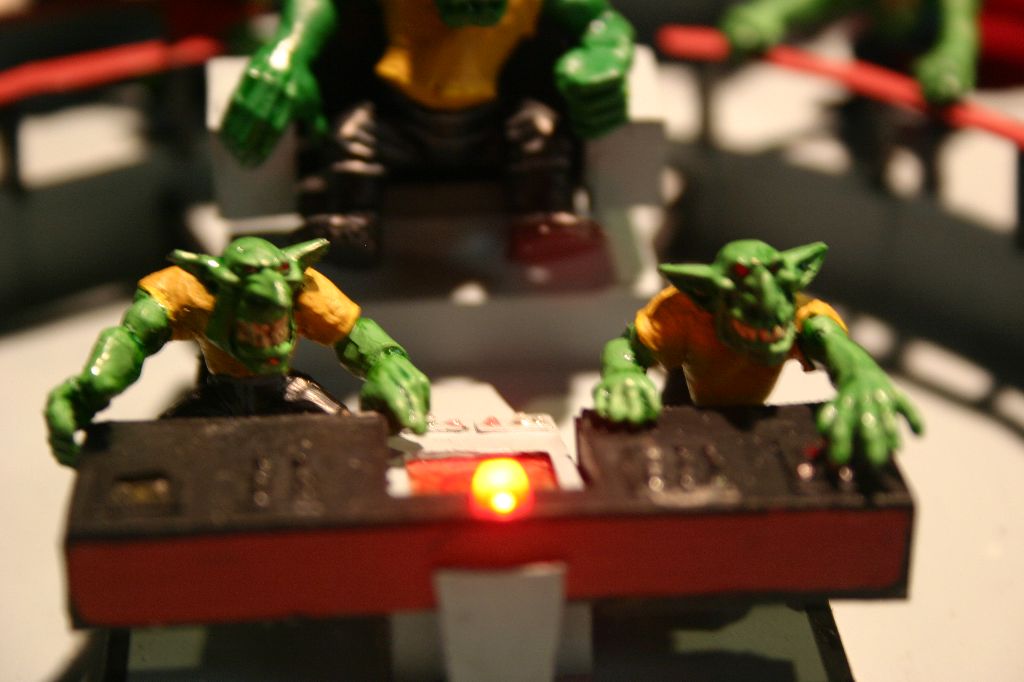
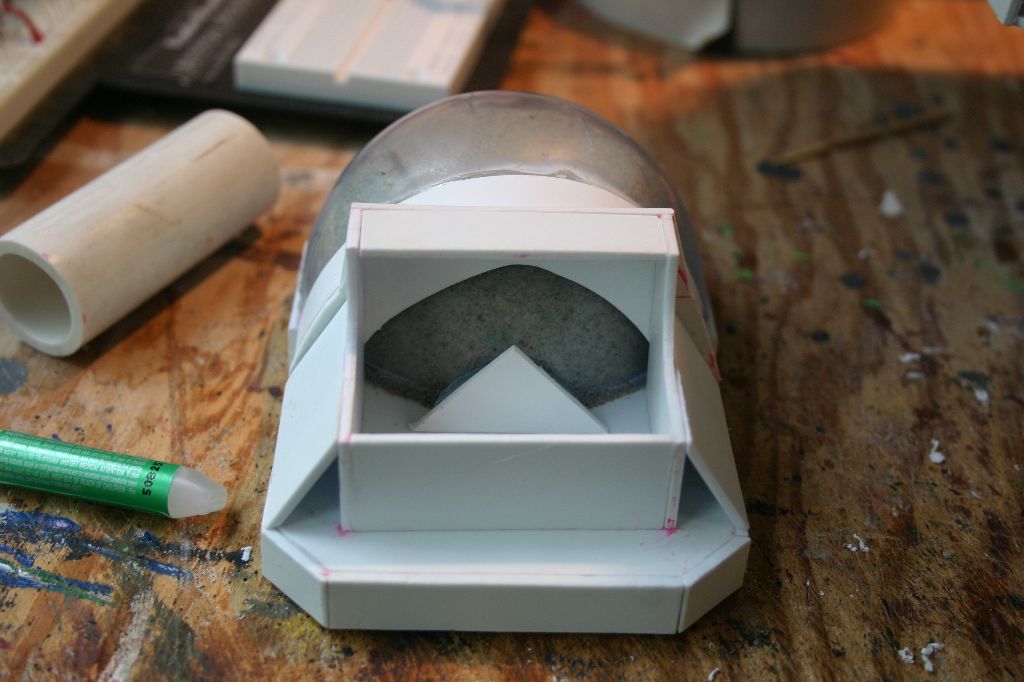
I started with the bridge for a number of reasons. If I couldn't pull it off I was screwed, it would dictate the overall size of the stompa and trying to build it to fit inside a stompa body would be like building a ship in a bottle. I was fortunate in that the Trek nerds have not only worked out all the bridge dimensions but have made and posted blueprints to the internet. Thanks to the Star Trek LCARS Book & Episode Database for their extremely elaborate blueprints. With the design in hand I went about trying to figure out the best scale. In the end I had to shrink things down a lot or else I would have ended up with either a Gargant or a Stompa that was twice as wide as it was tall. This influenced my decision to use grots for all the crew except for Kaptain Kork as they were the only ones that would fit. With the scale decided on I started by making the center console and captains chair and began the crew for those positions.
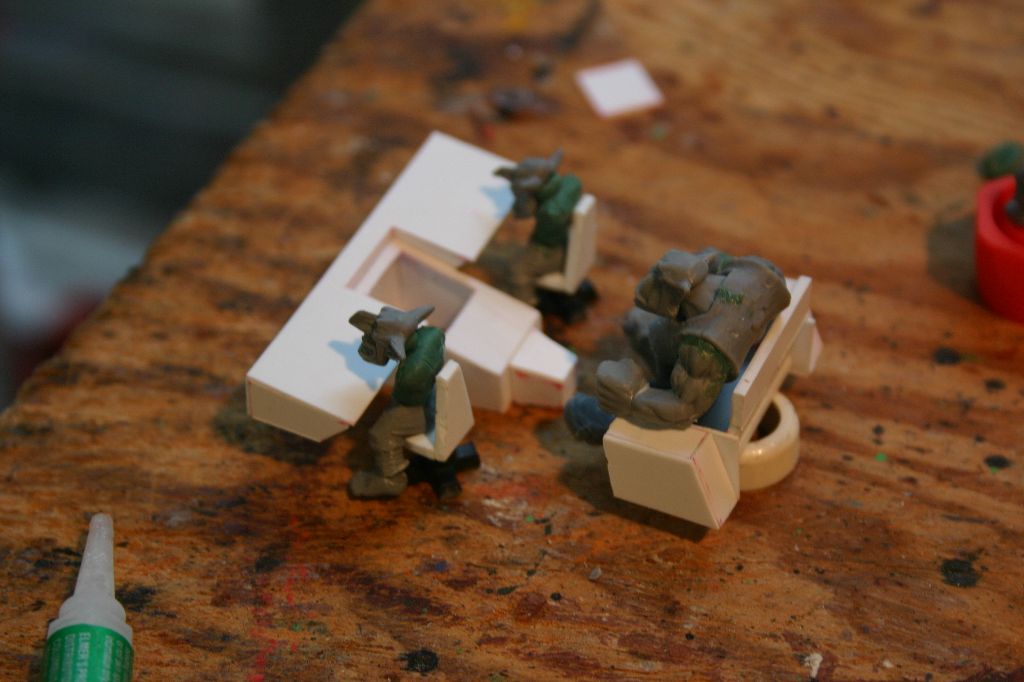
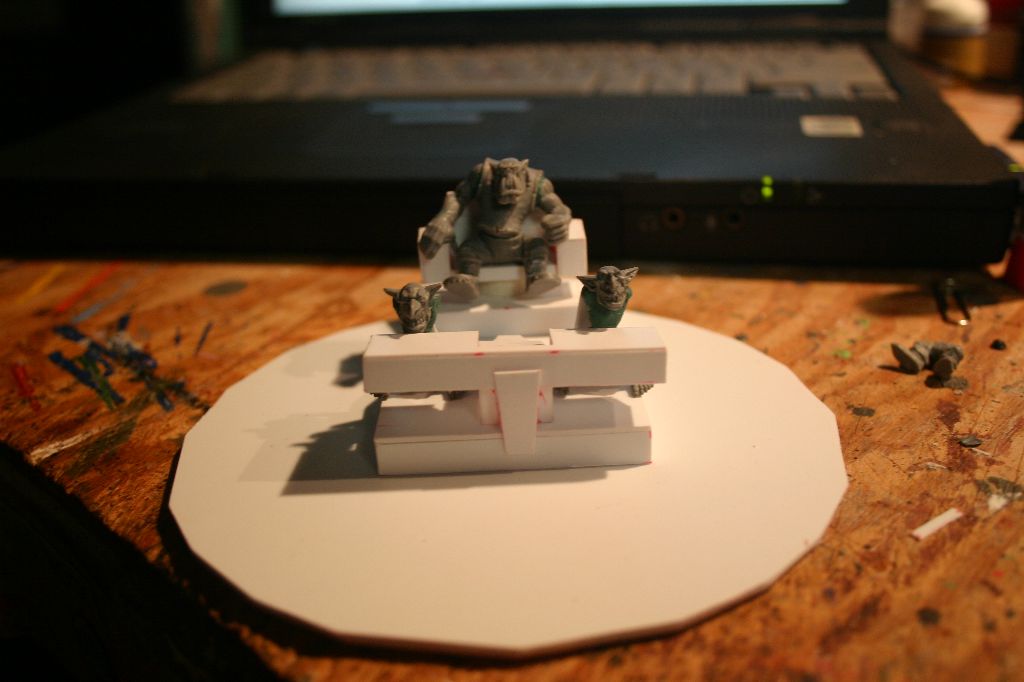
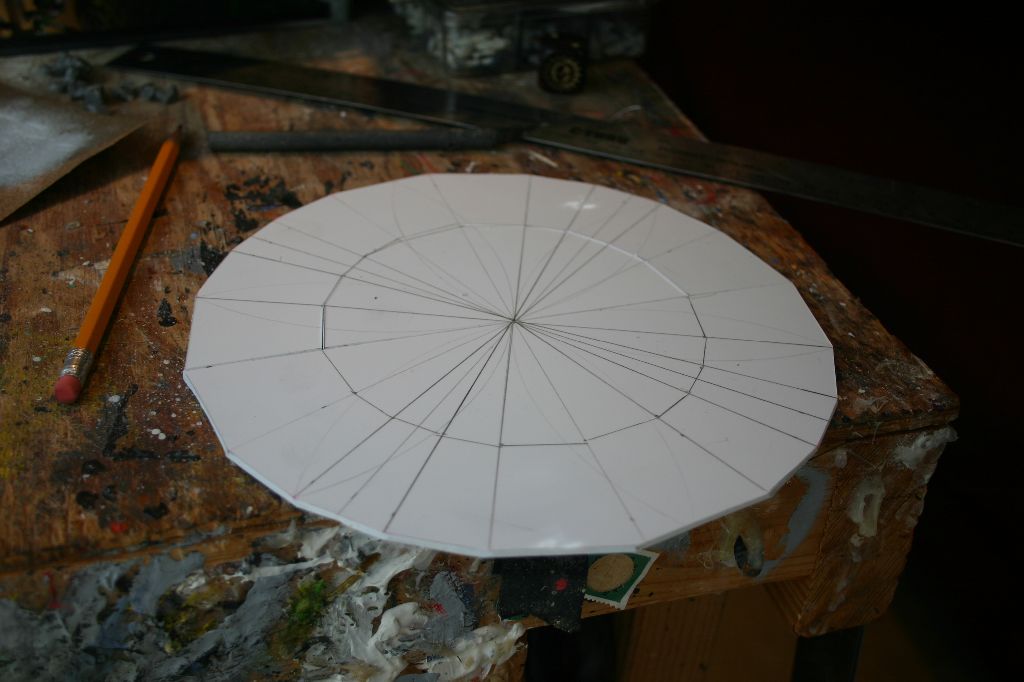
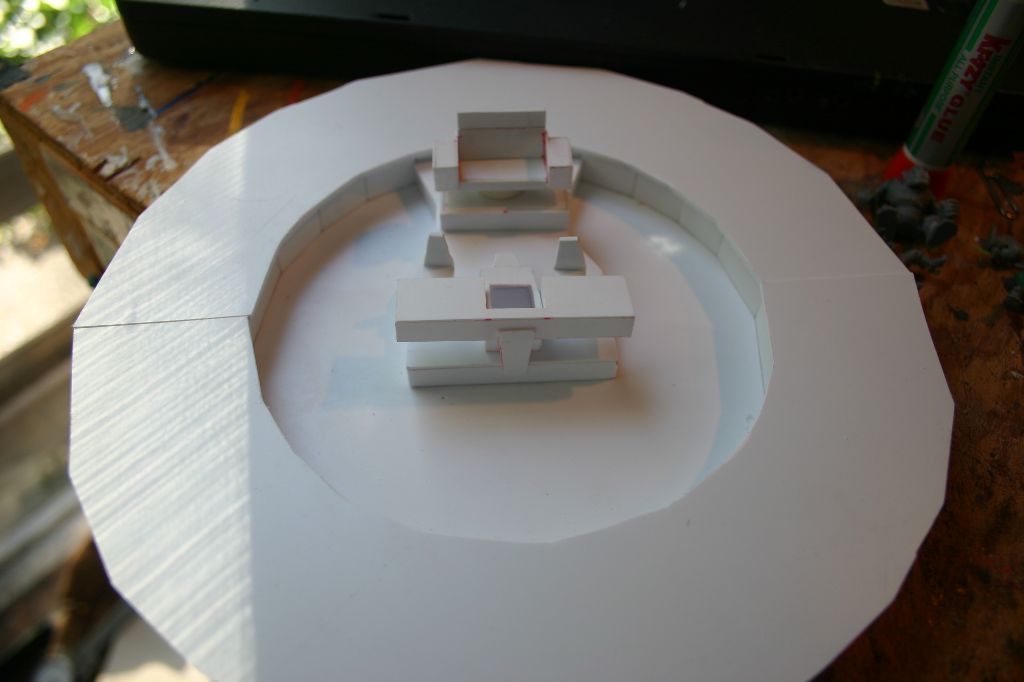
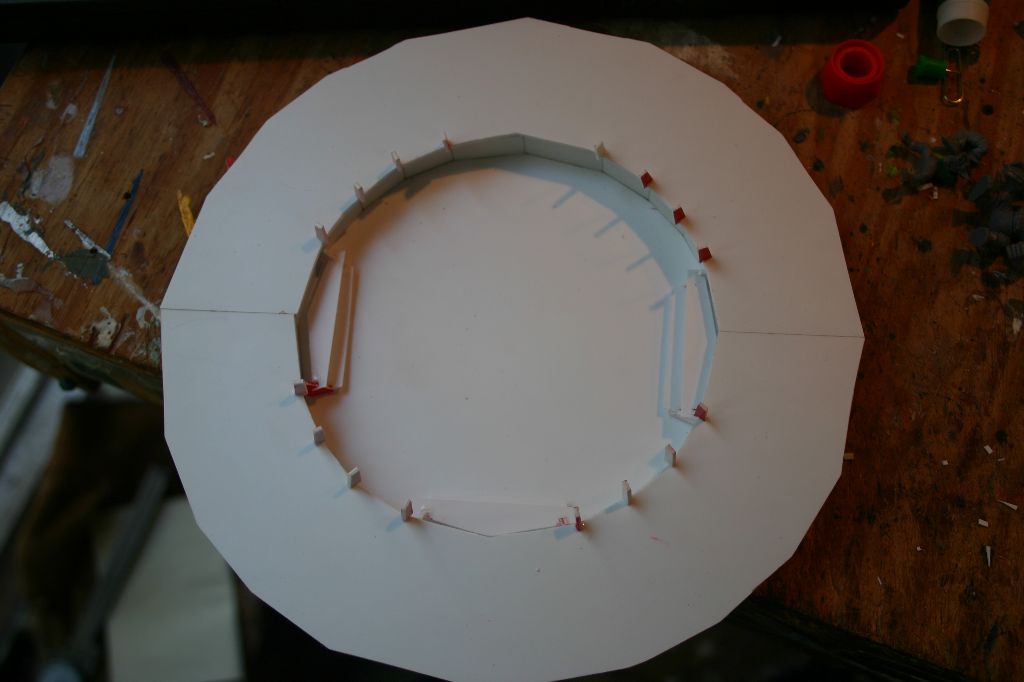
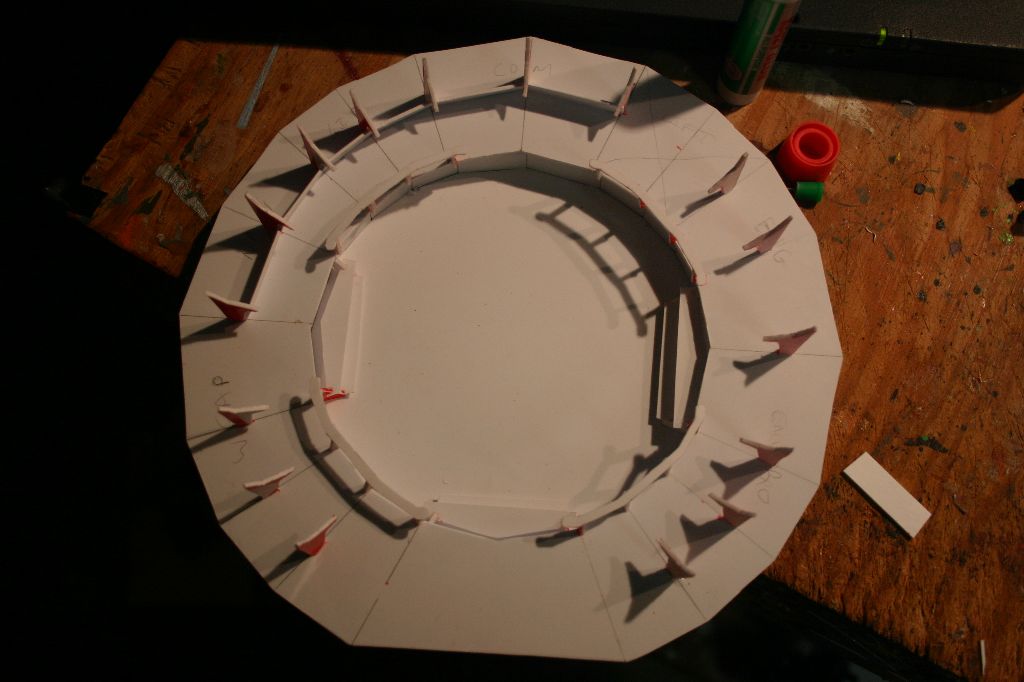
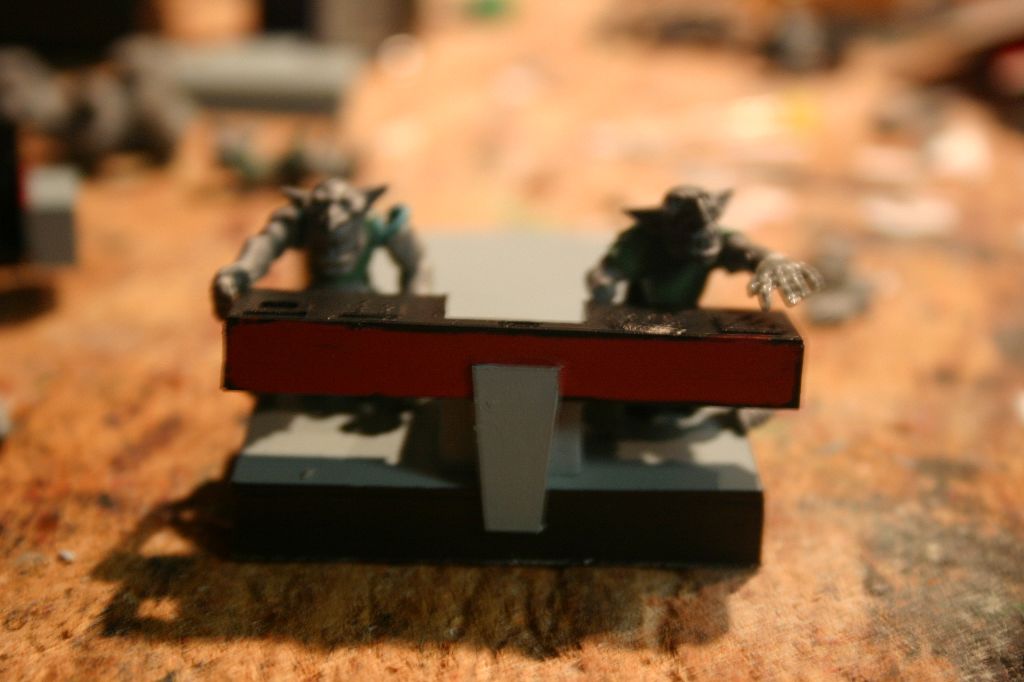
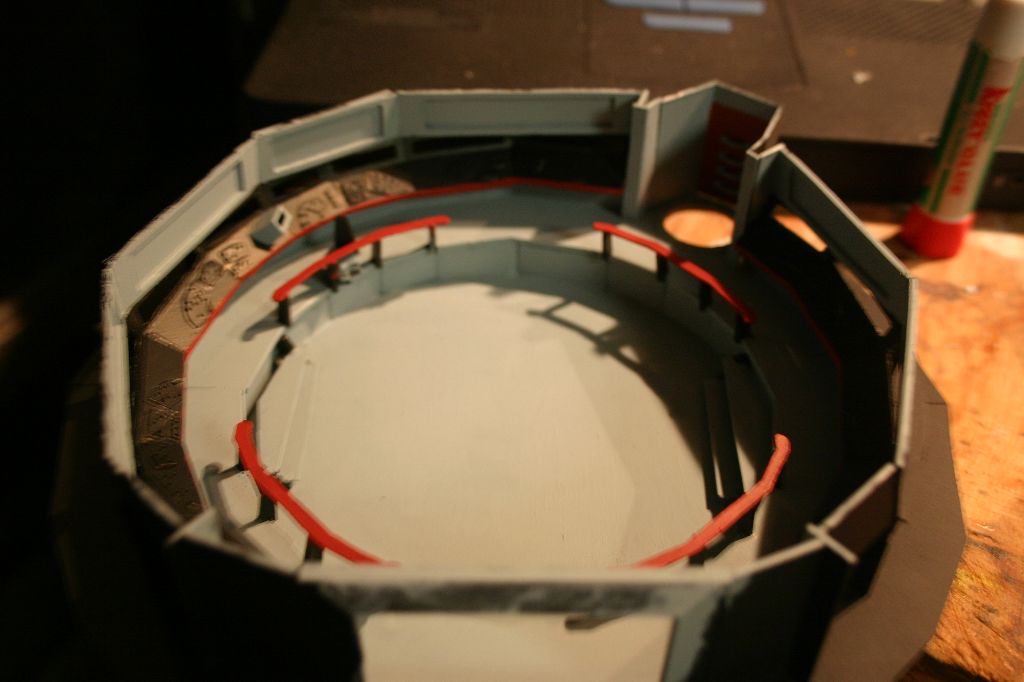
Next was the pit floor with raised peninsula and captains pedestal. At this point I was cursing whoever decided to design the bridge as an 18 pointed polygon. My annoyance only got worse as this project went on.
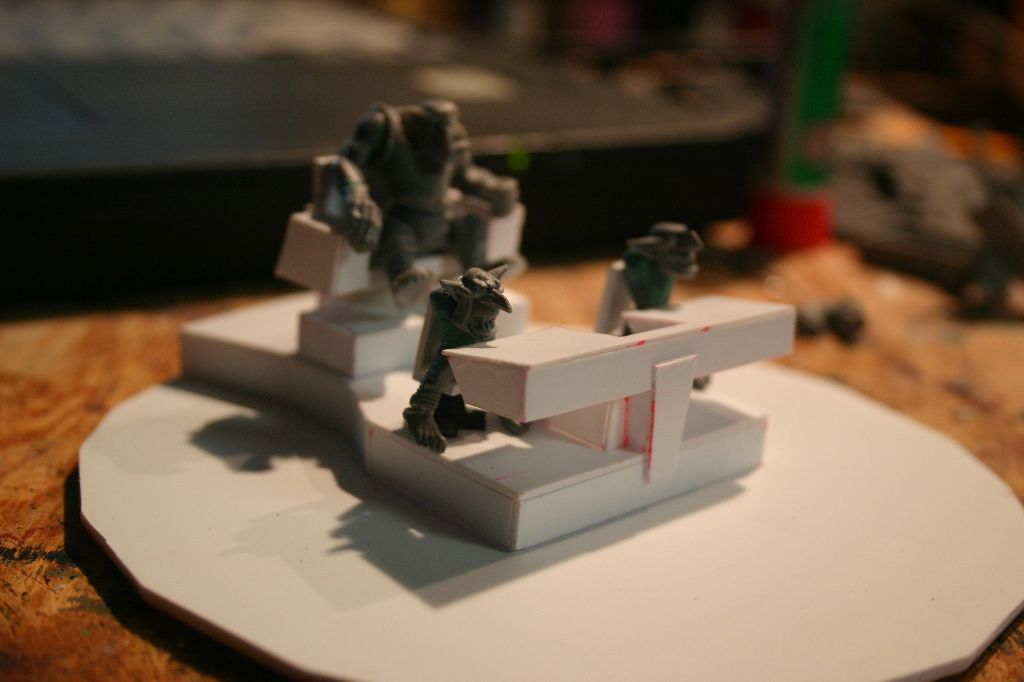
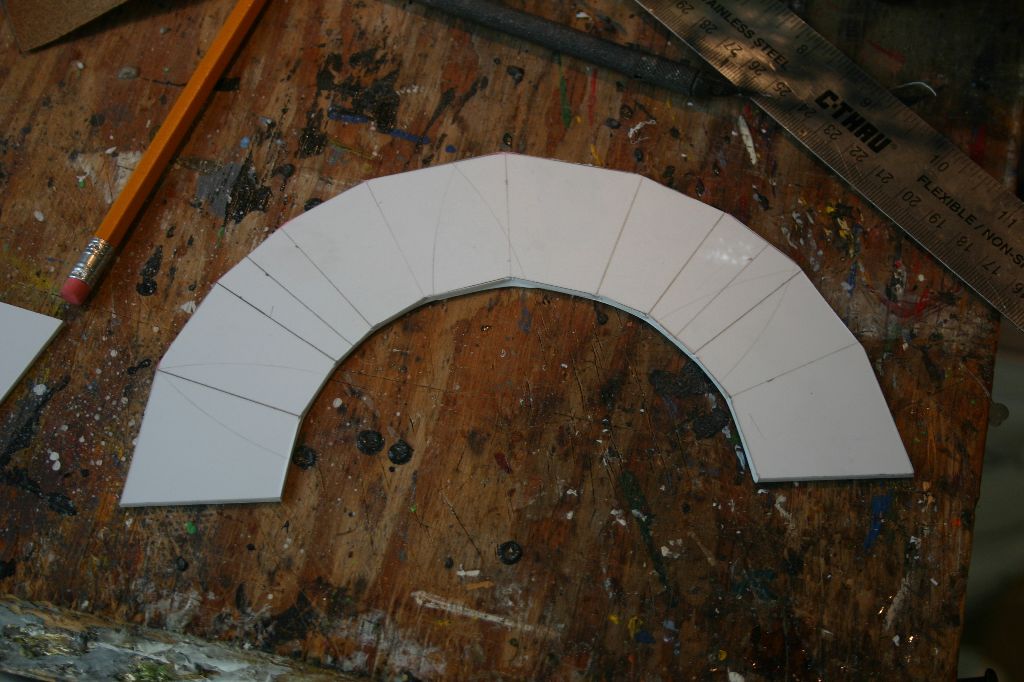
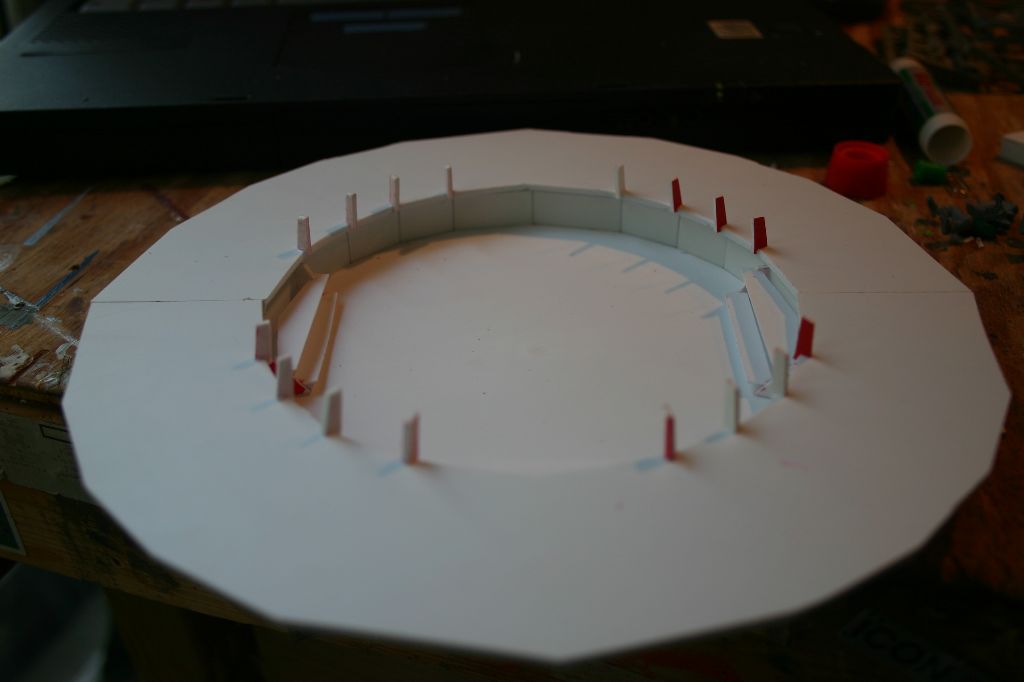
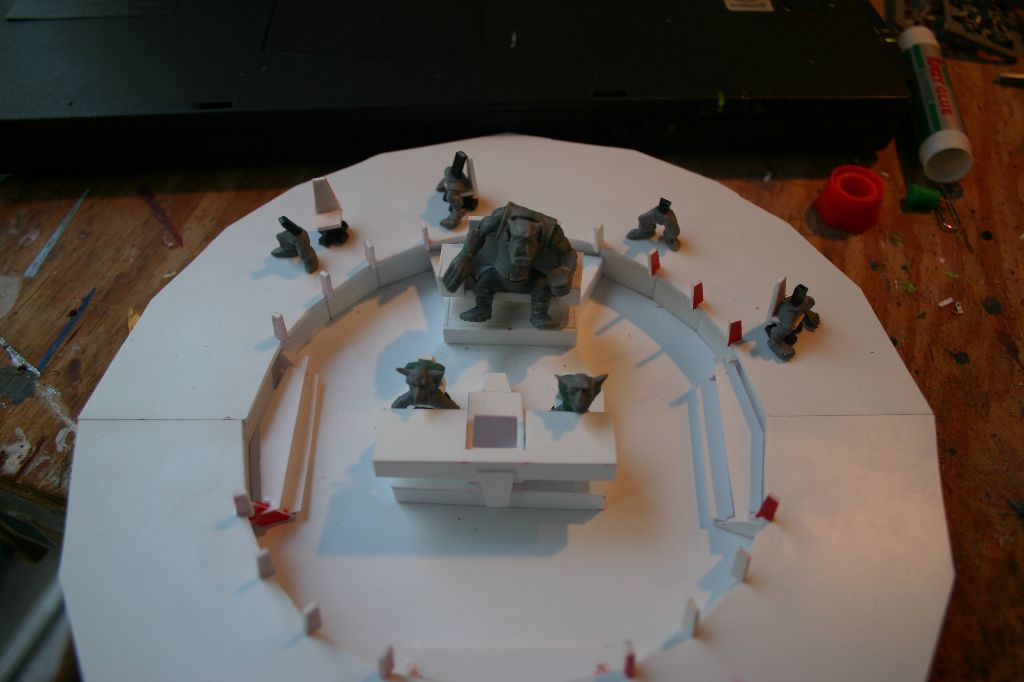
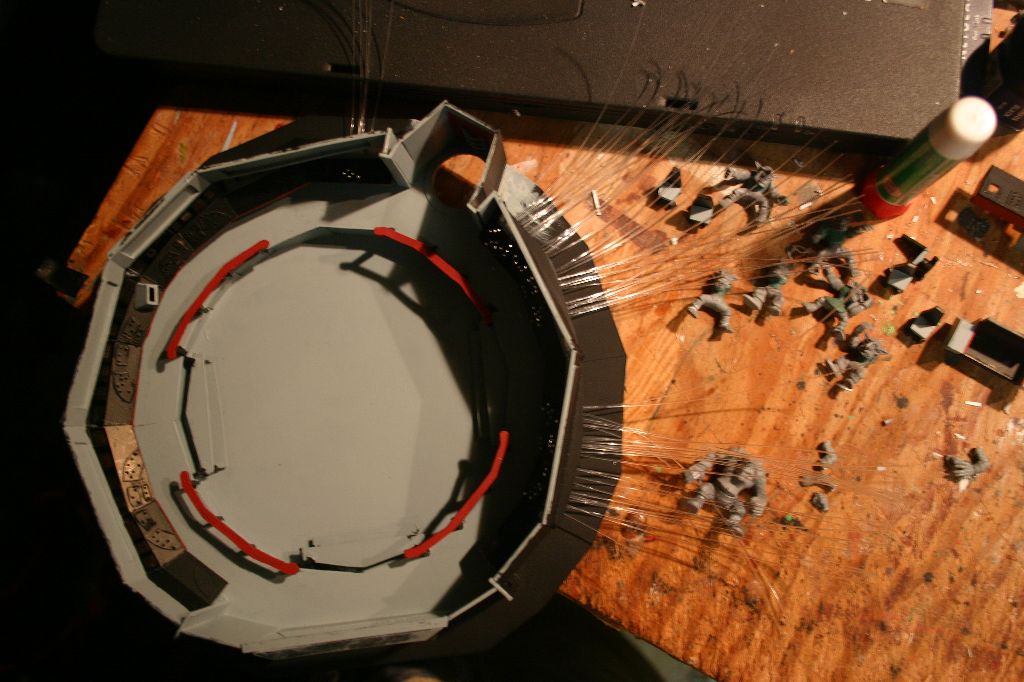
With the pit floor done I could start building up. The pit "walls" were added and the second layer put on.
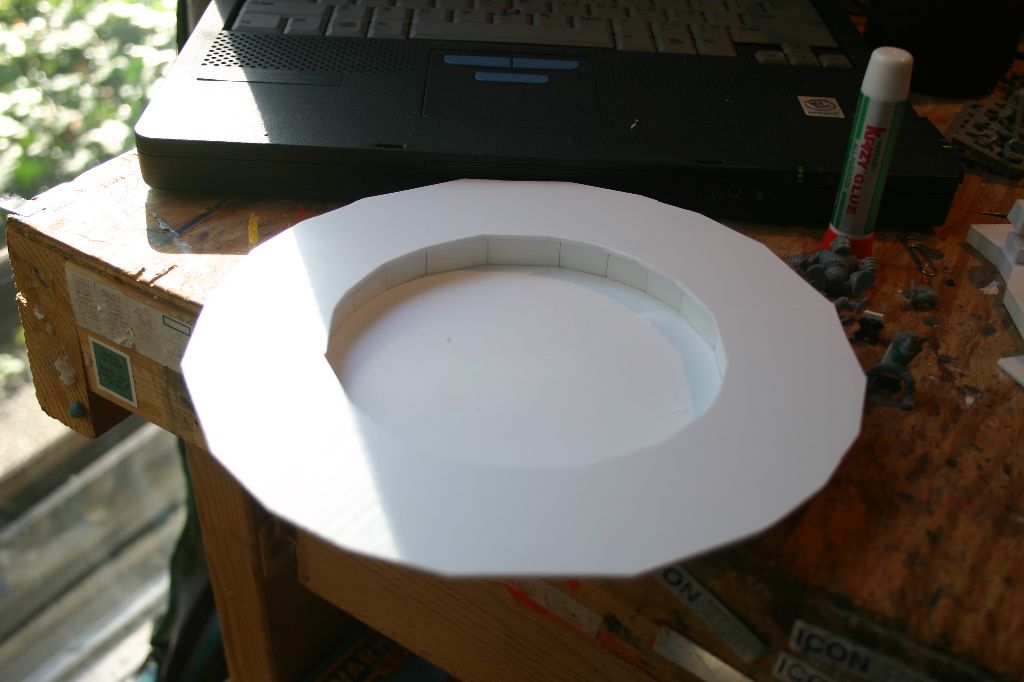
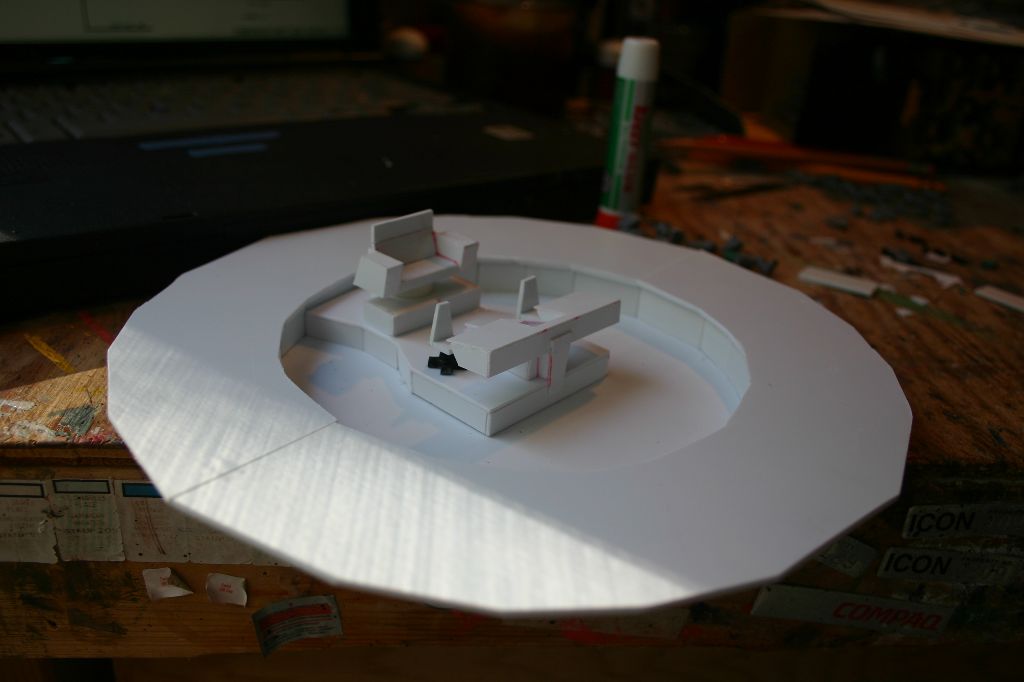
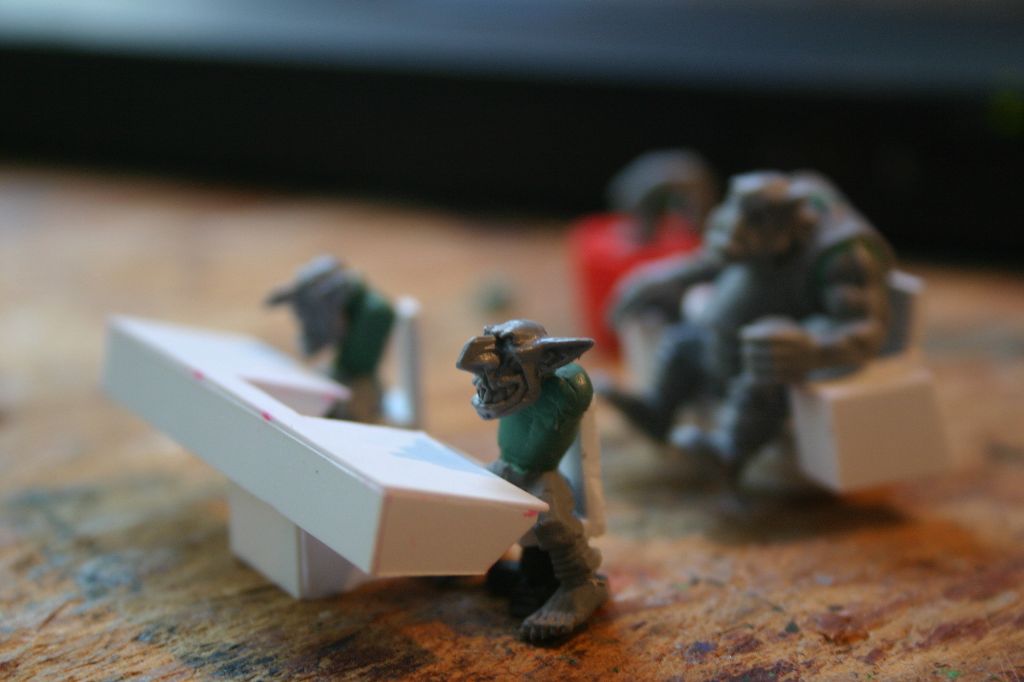
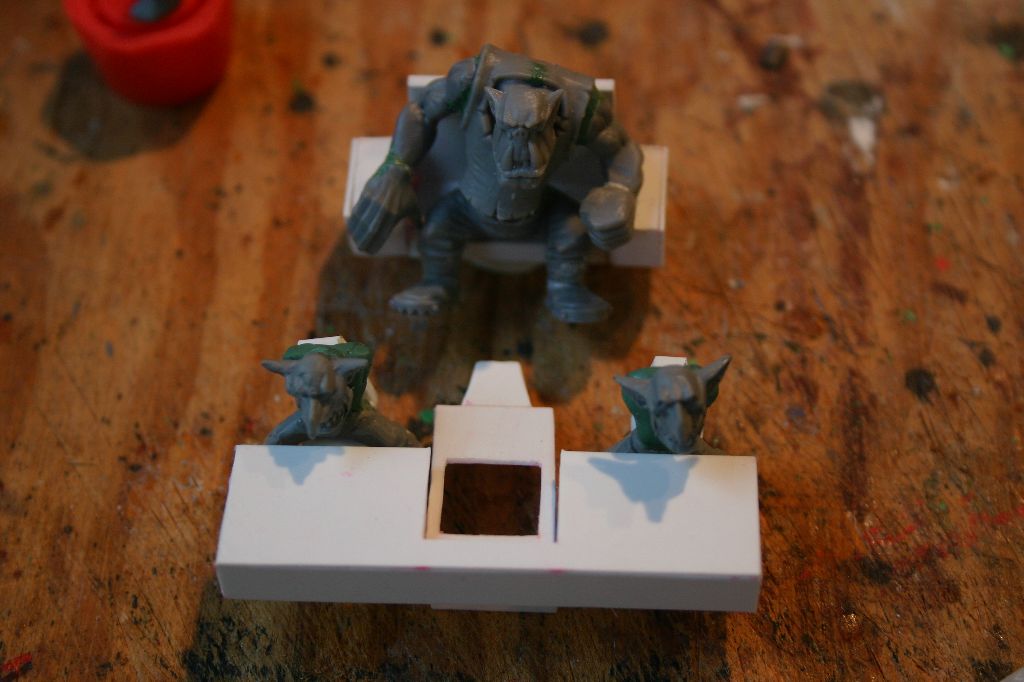
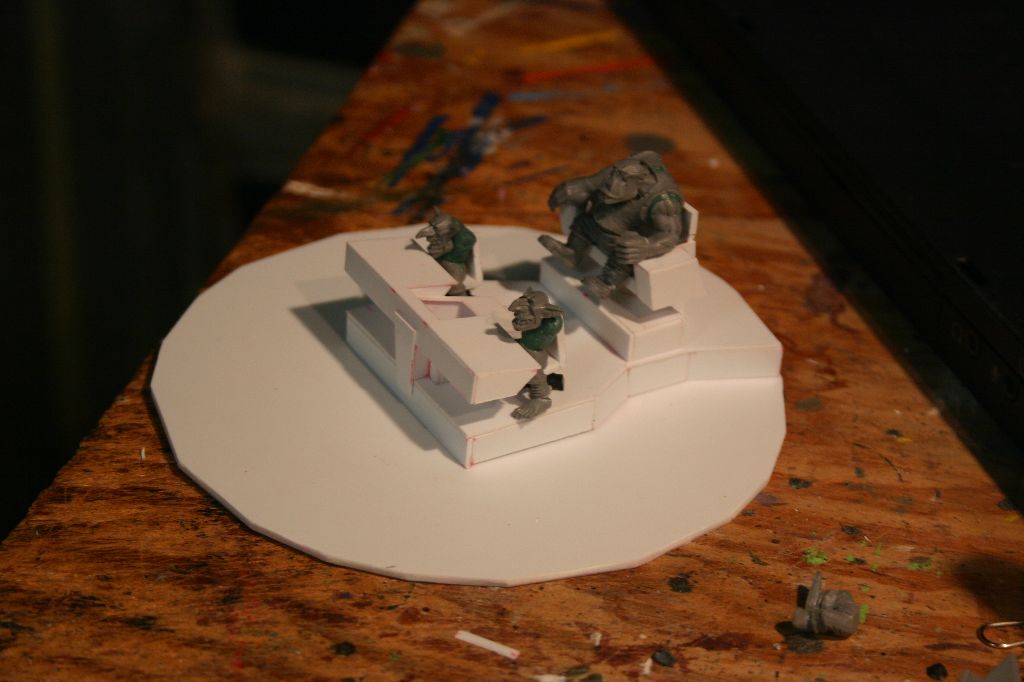
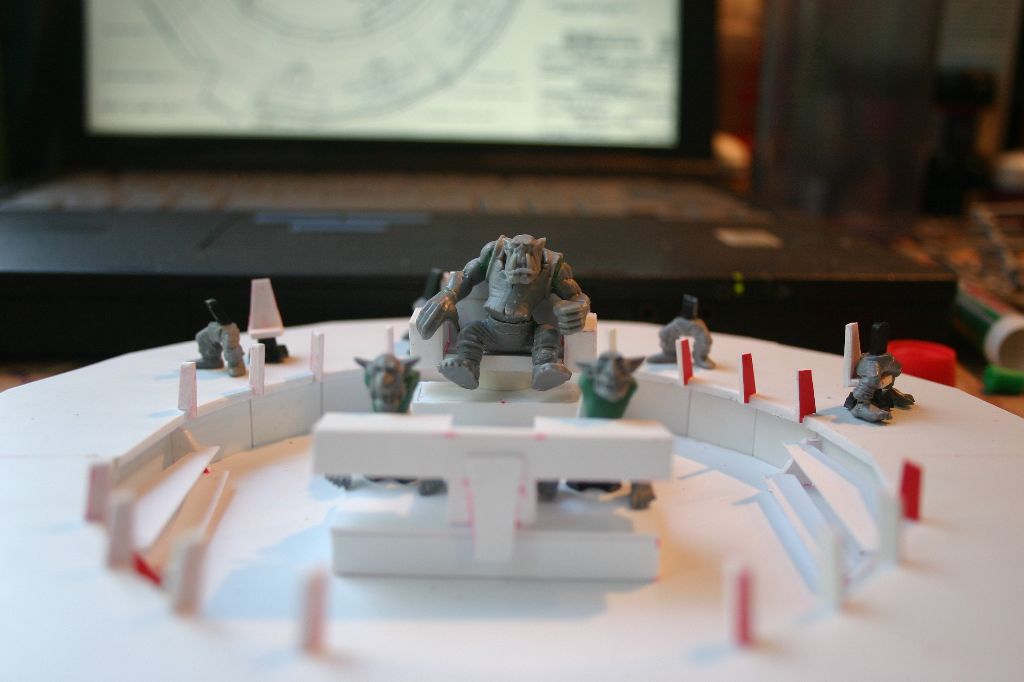
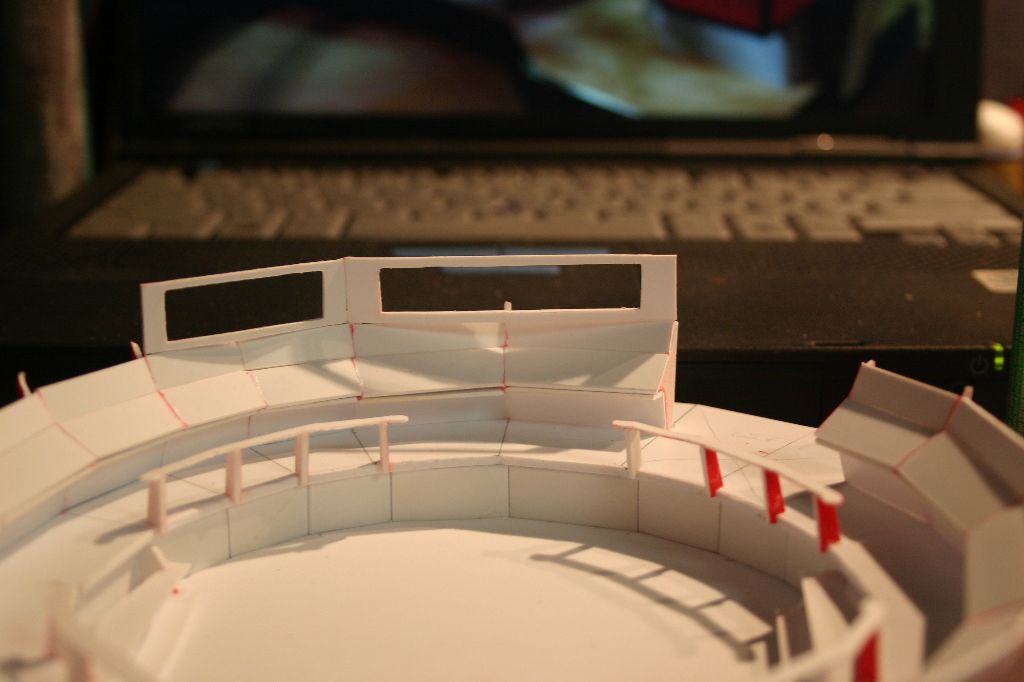
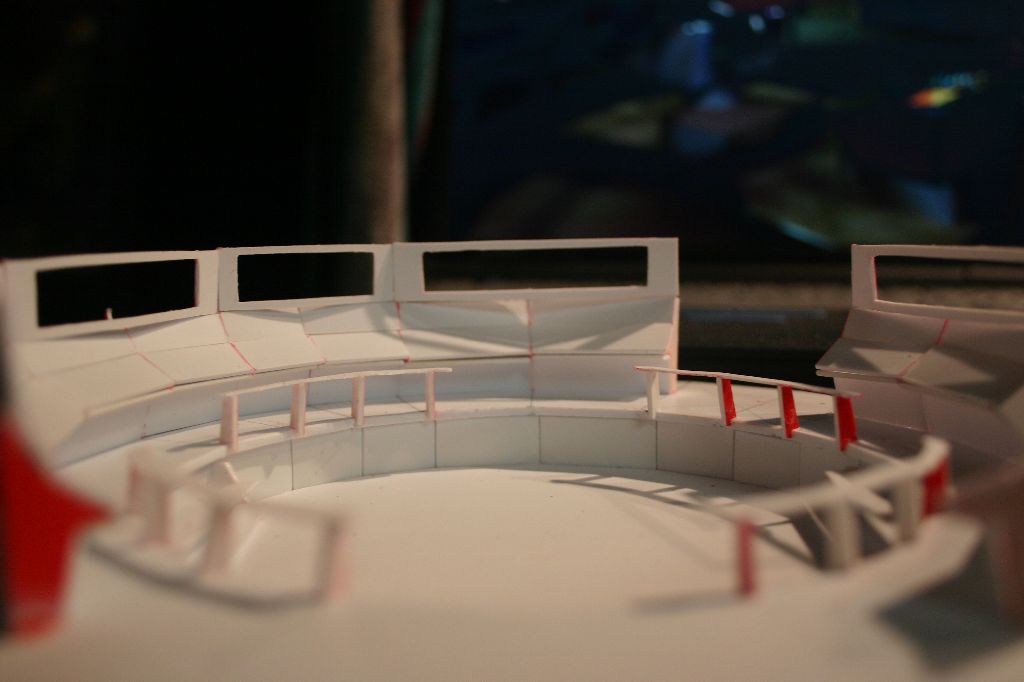
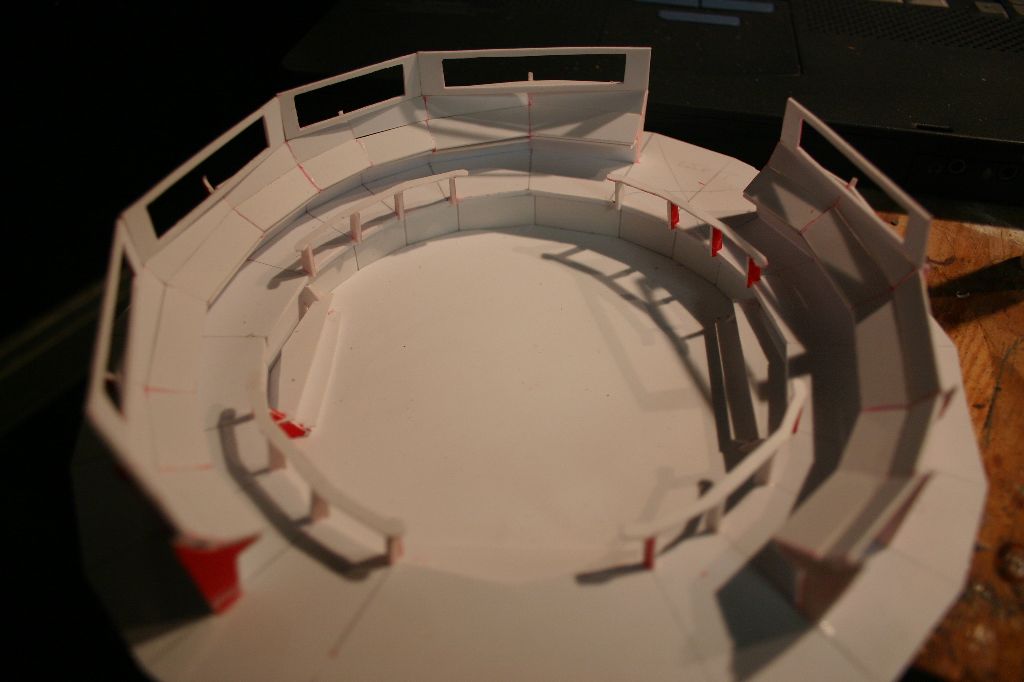
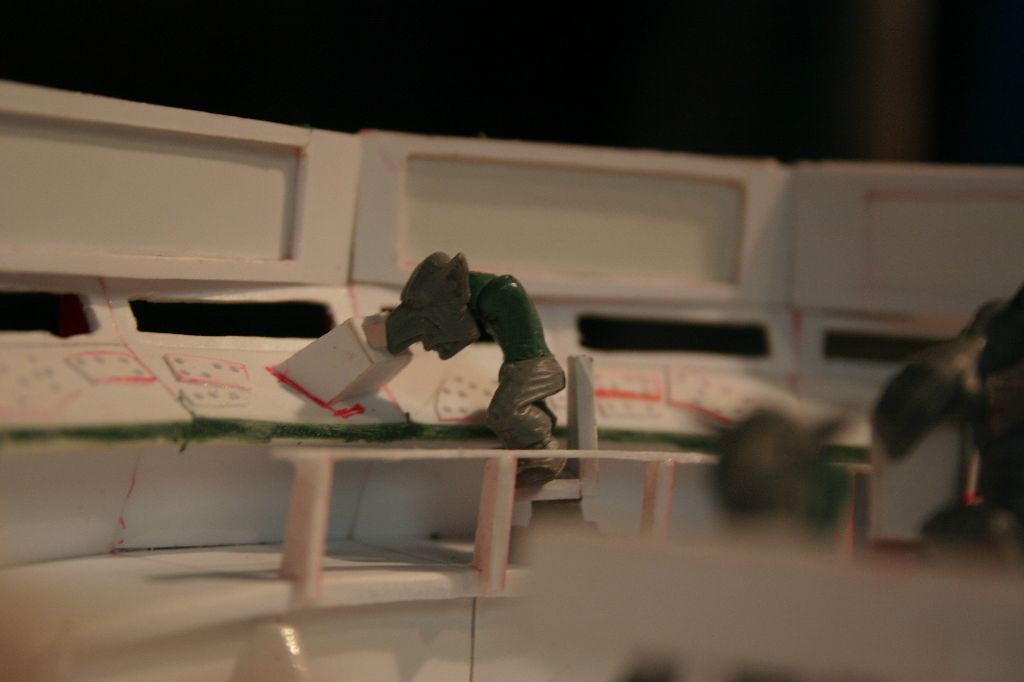
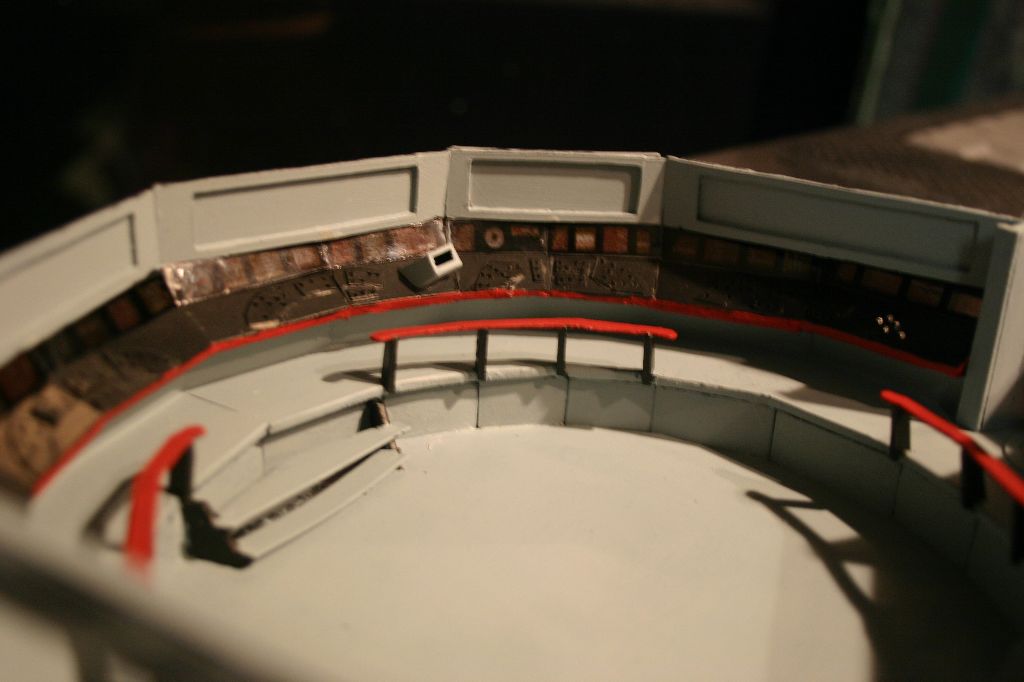
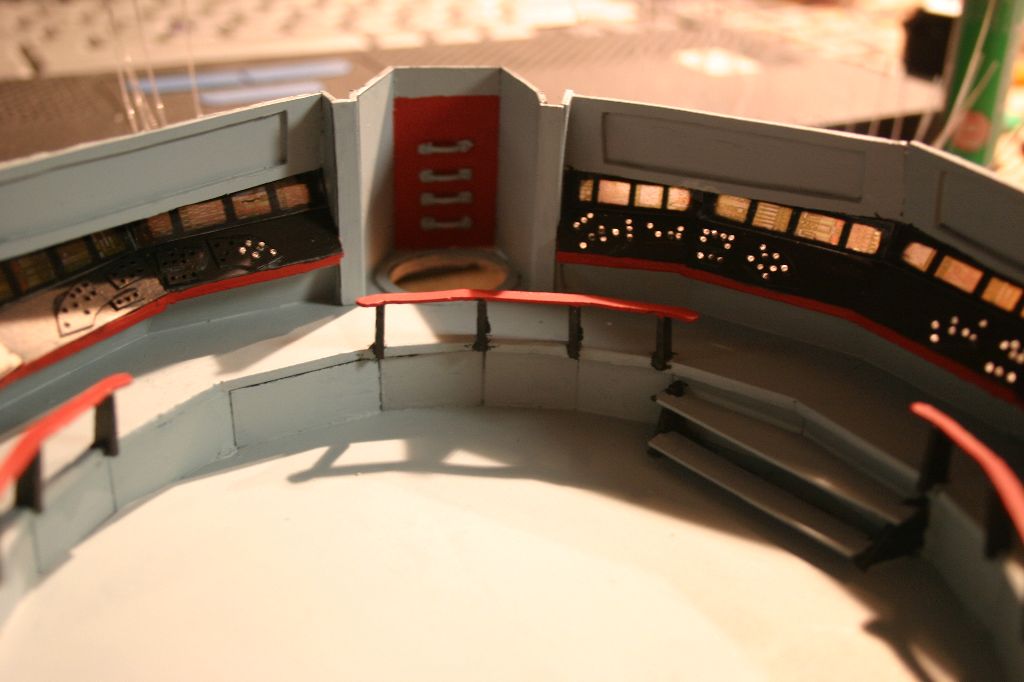
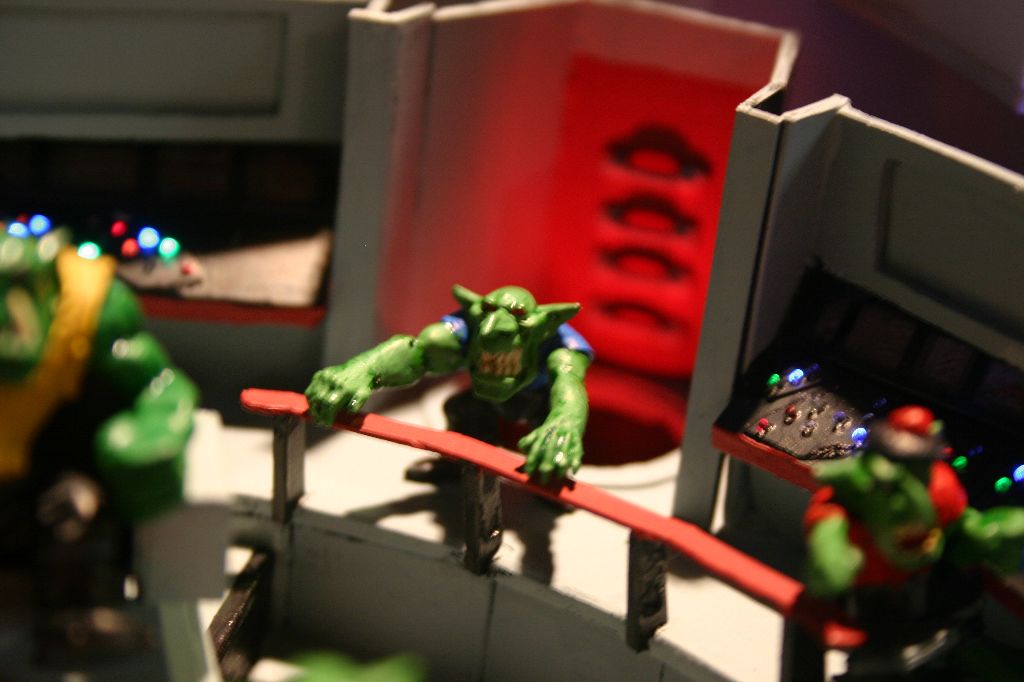
Next I installed the railing around the interior and stairs down into the pit. Started more crew members to test scaling.
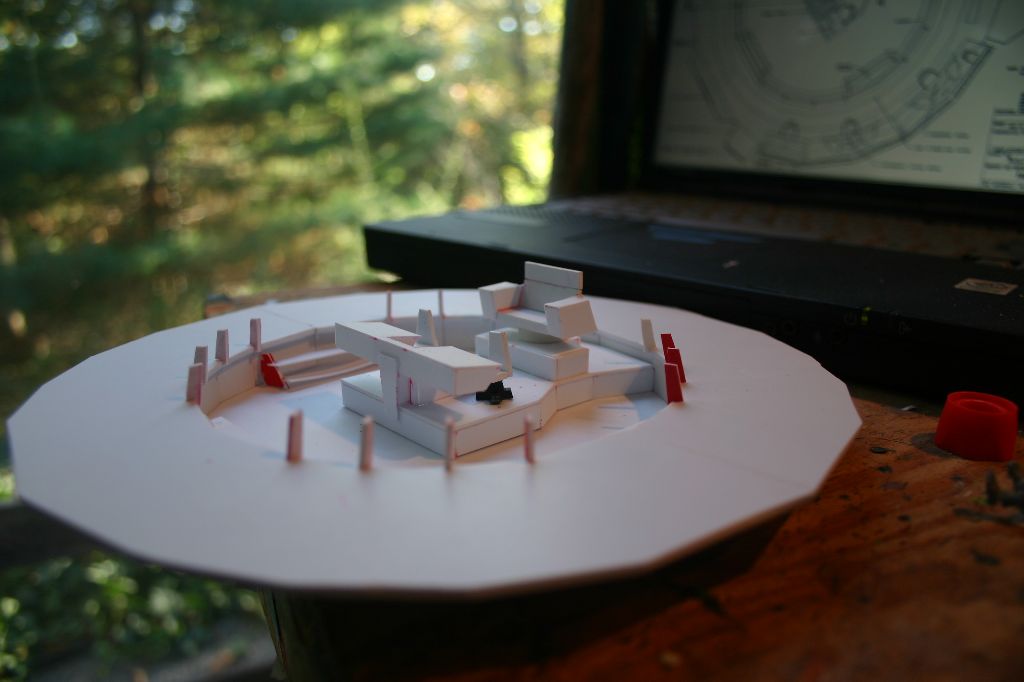
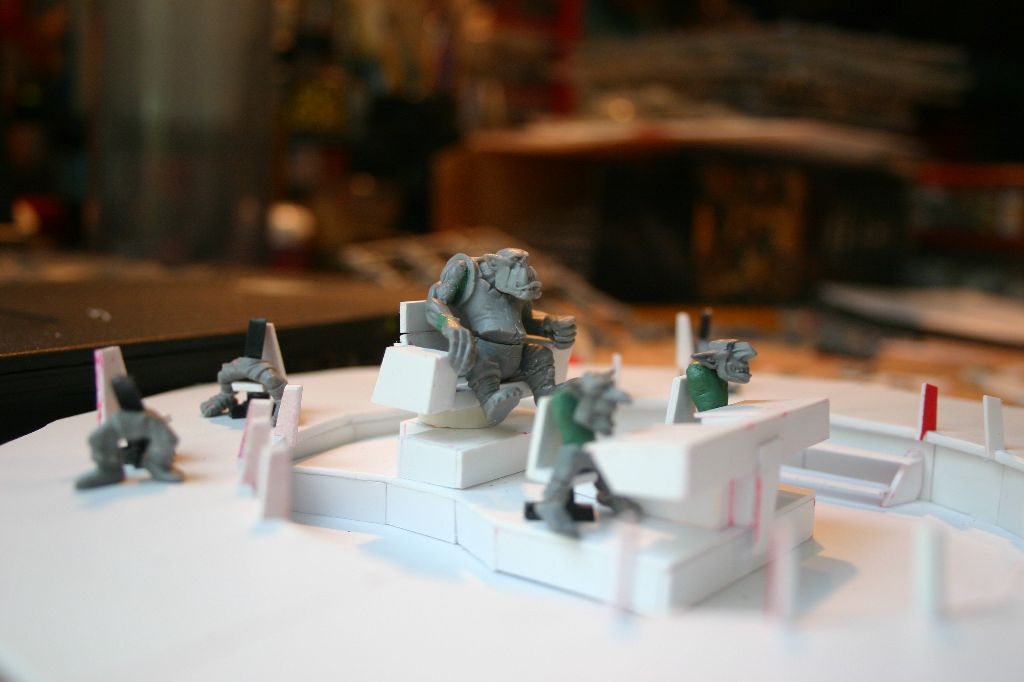
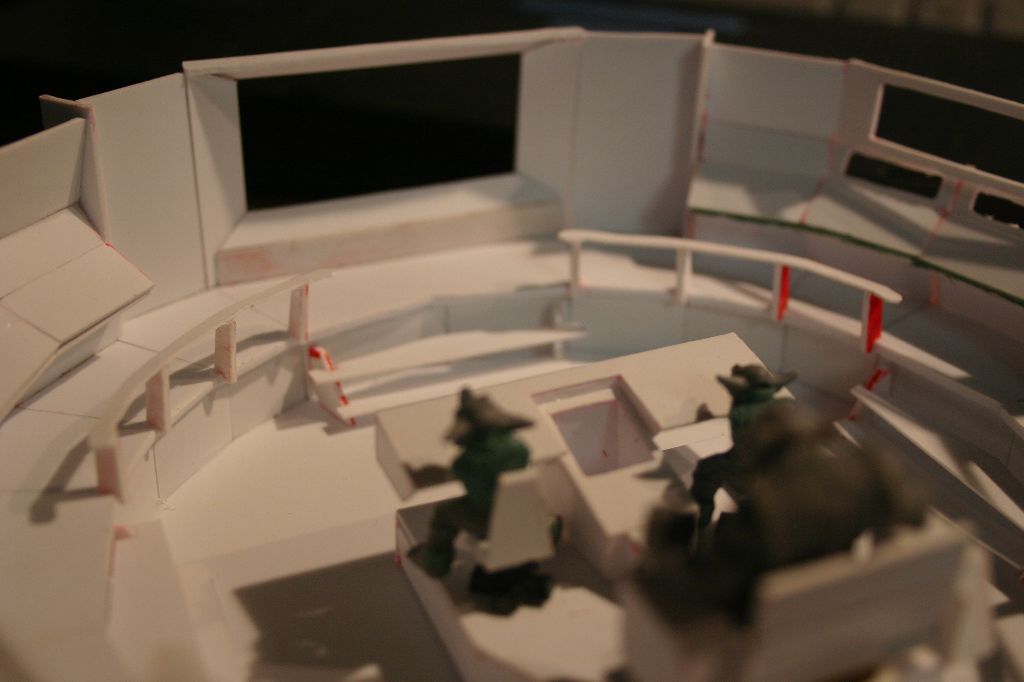
For the outer consoles I started with uprights which were then skinned.
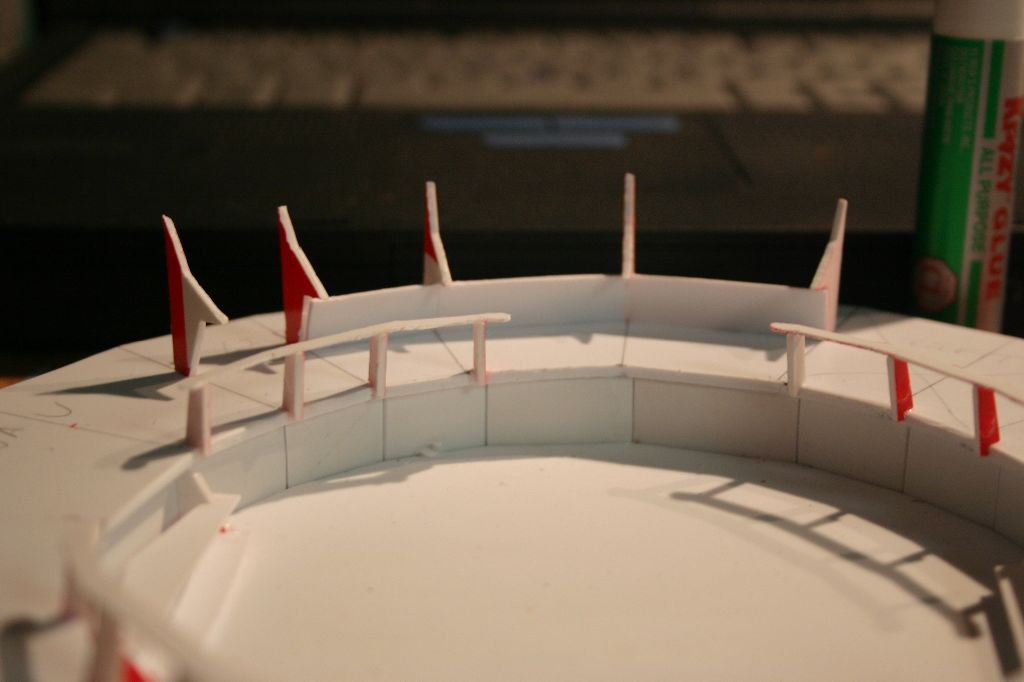


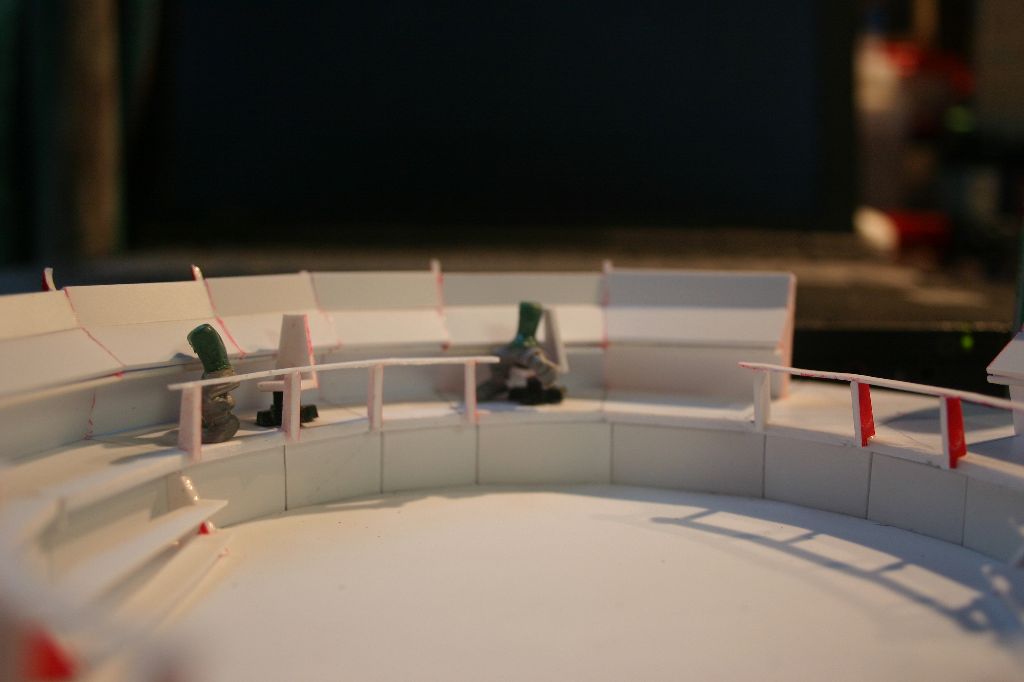
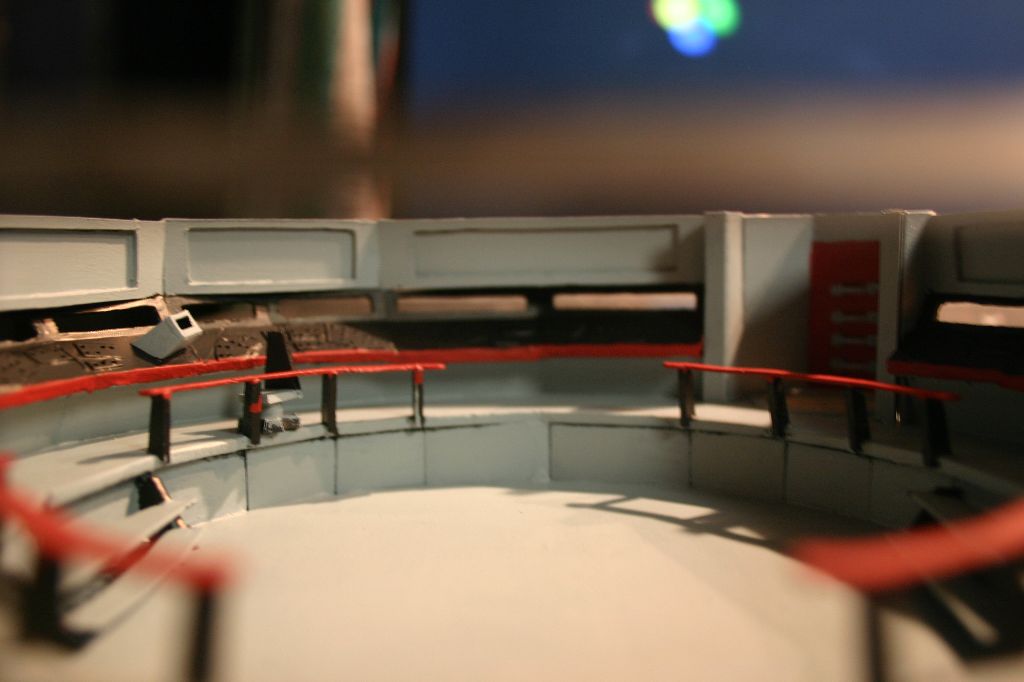
Just to piss me off even more the upper sections of the walls skip every other point and have sunken display panels.

It was about this time I really decided to go crazy. I figured if I was going this far with it I might as well go all out and put in lights. This would prove to be one of the best and one of the worst ideas I had with this project, more on that later. This also meant I now had to carve out the midlevel display panels.
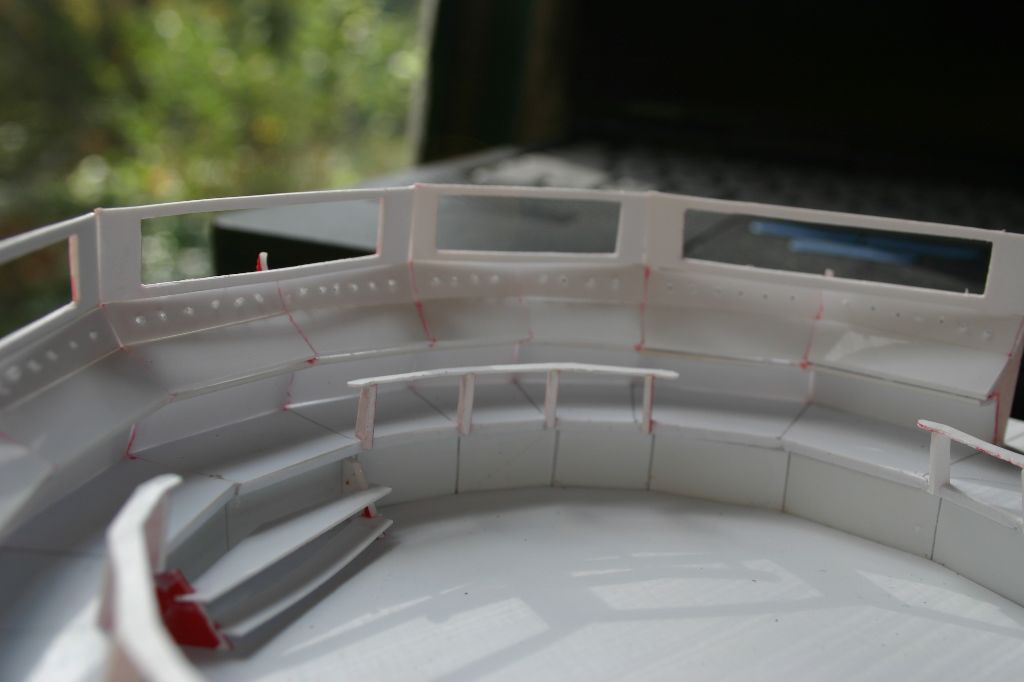

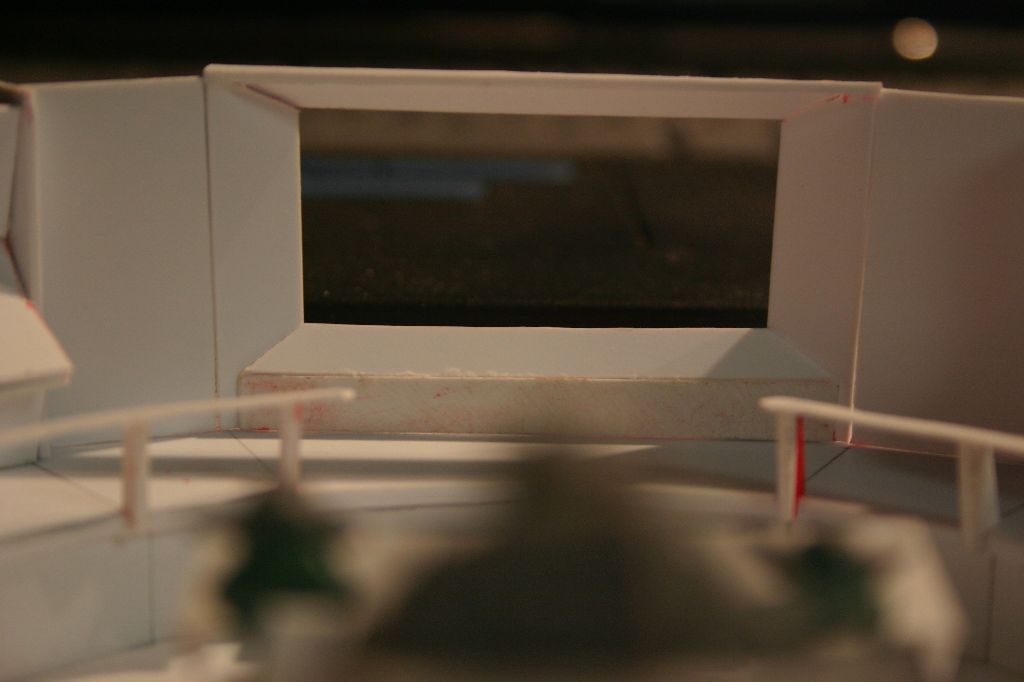
The bridge structure was finished off with the "lift" alcove and "view screen" sections. I could have left it at this and probably gotten the stompa done in time for our megabattle.
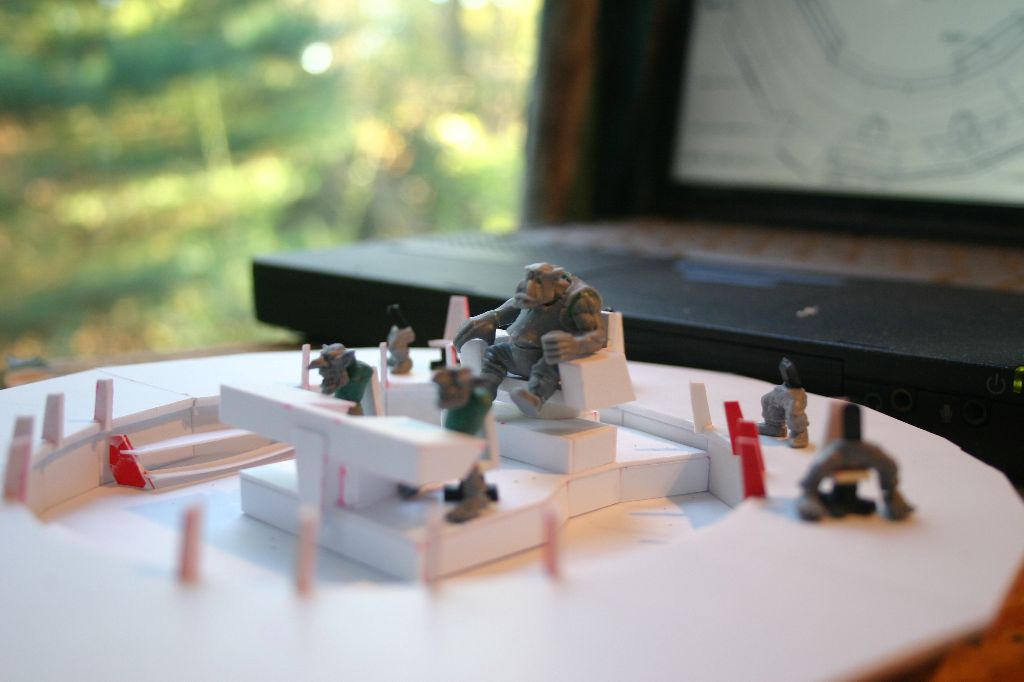
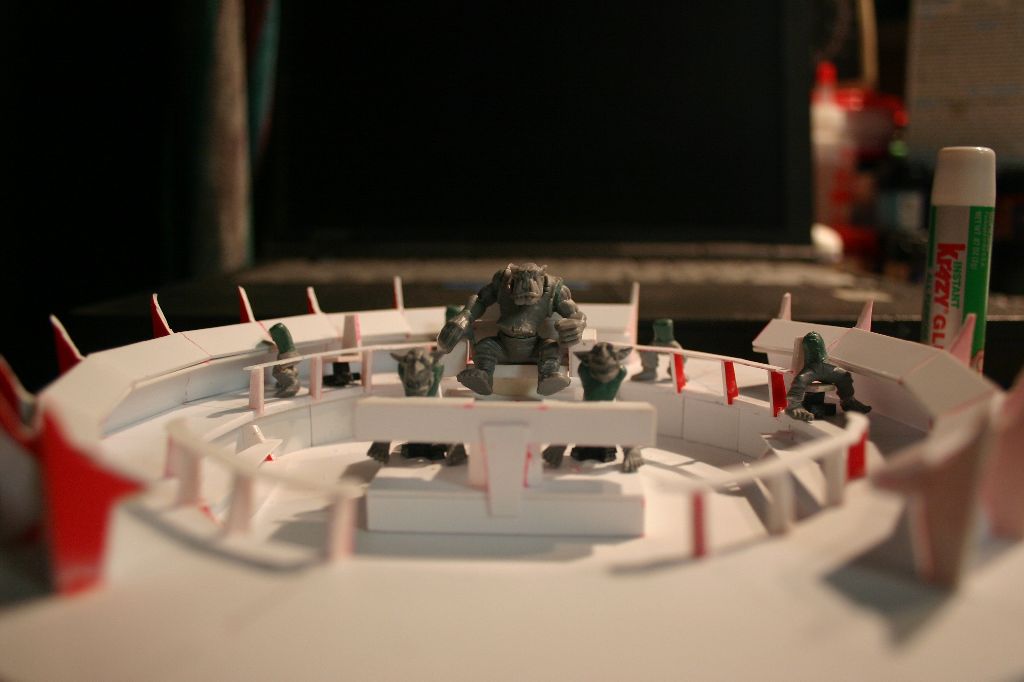
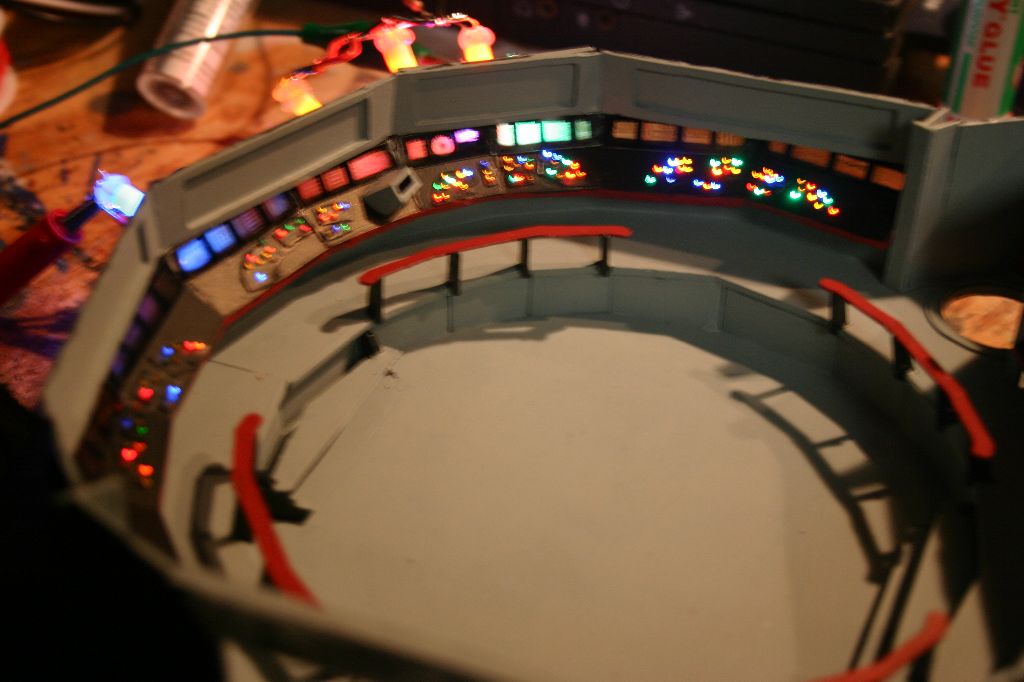
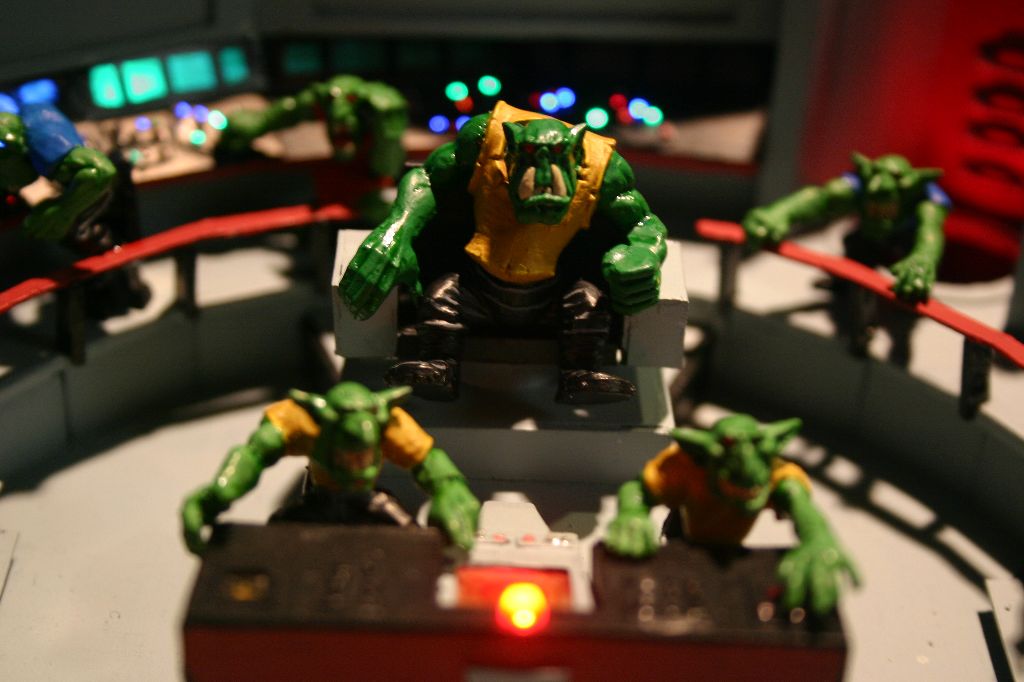
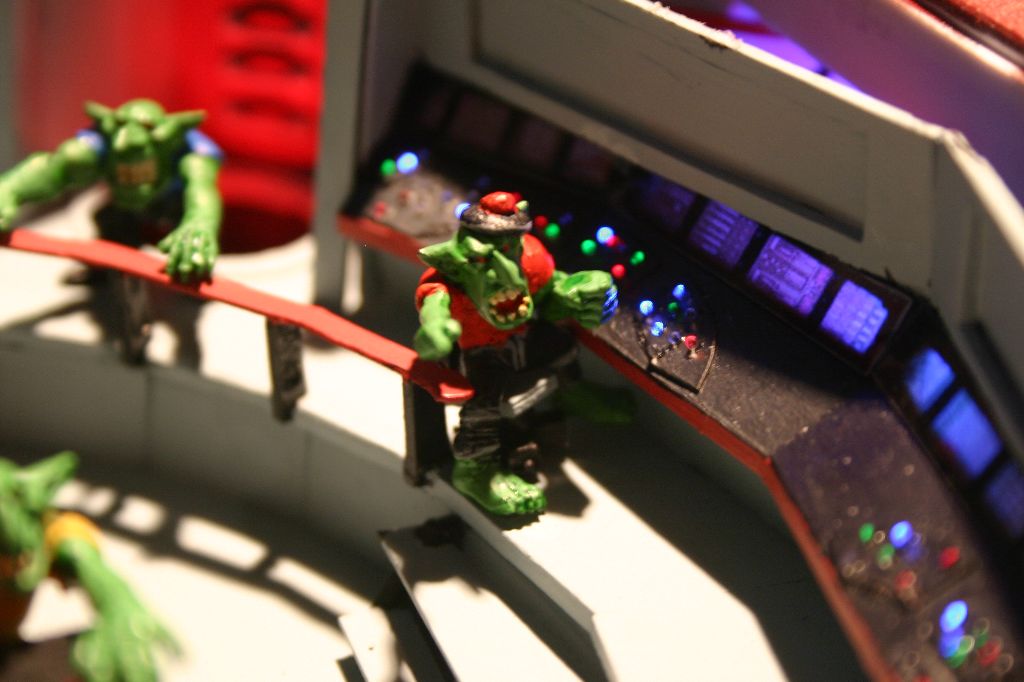
Work on the crew continued and the control panels were added. I've had a few spools of fiber optic line sitting around from another abandoned project for a long time so I figured it was time to use them. Holes were drilled into the panels with a pinvise. Cracks were filled with greenstuff and other details were added. At this point the center console, captains chair and all crew chairs still aren't glued in.

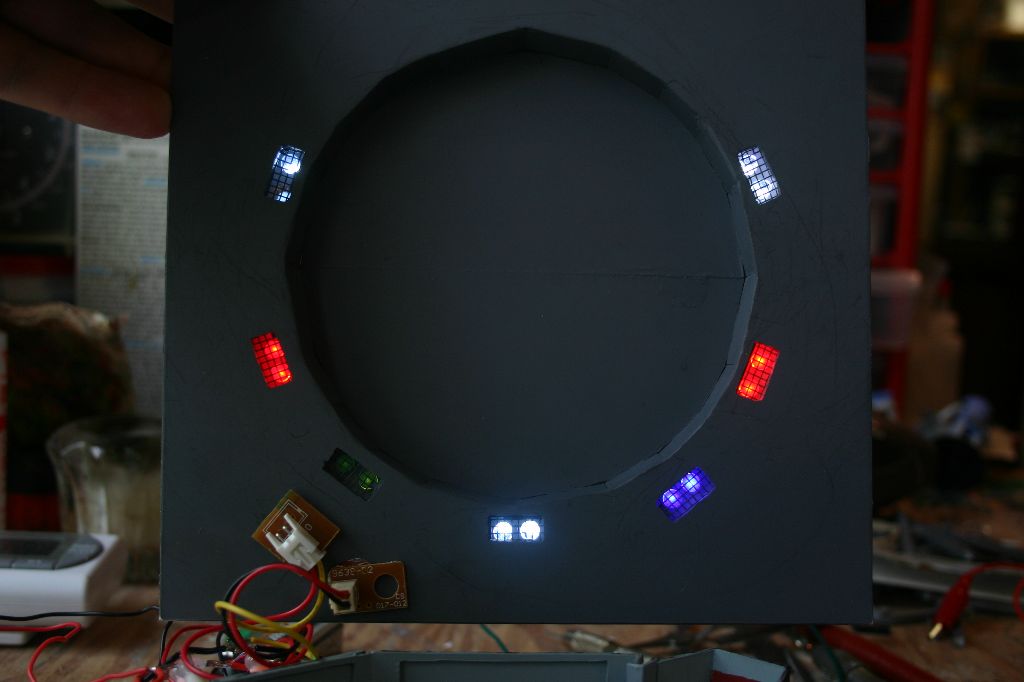
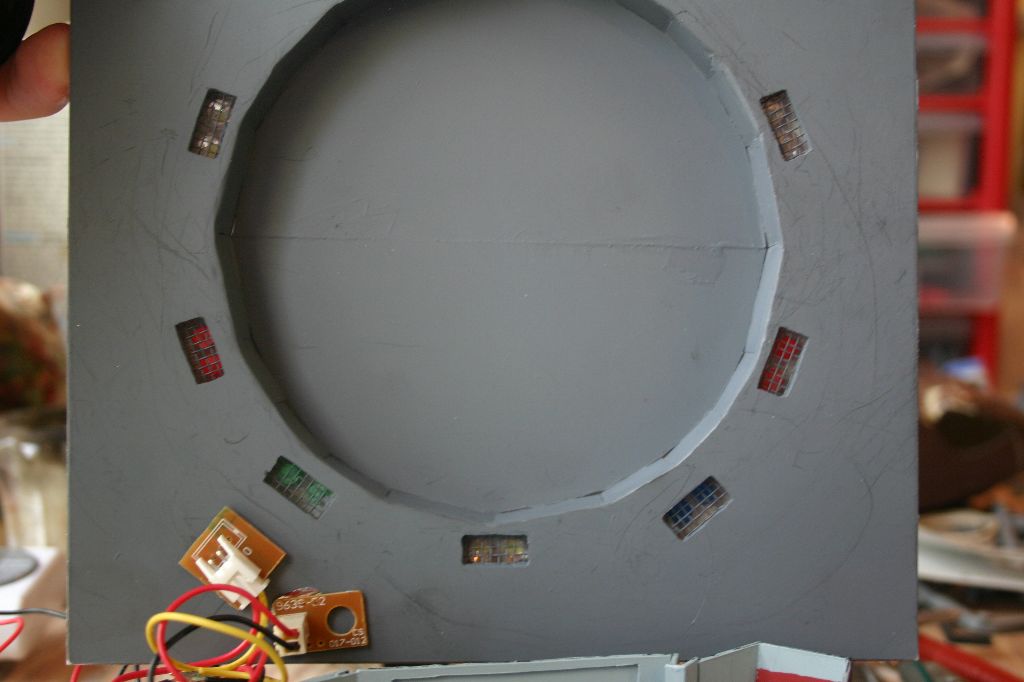
Before I could add the fiber optics the bridge had to be painted.
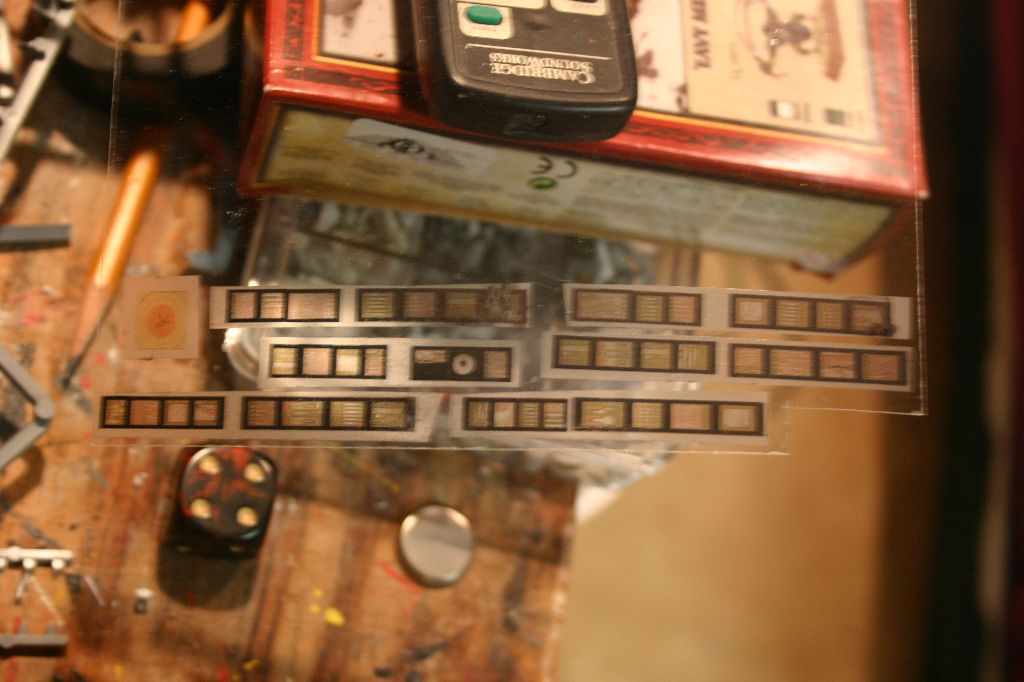
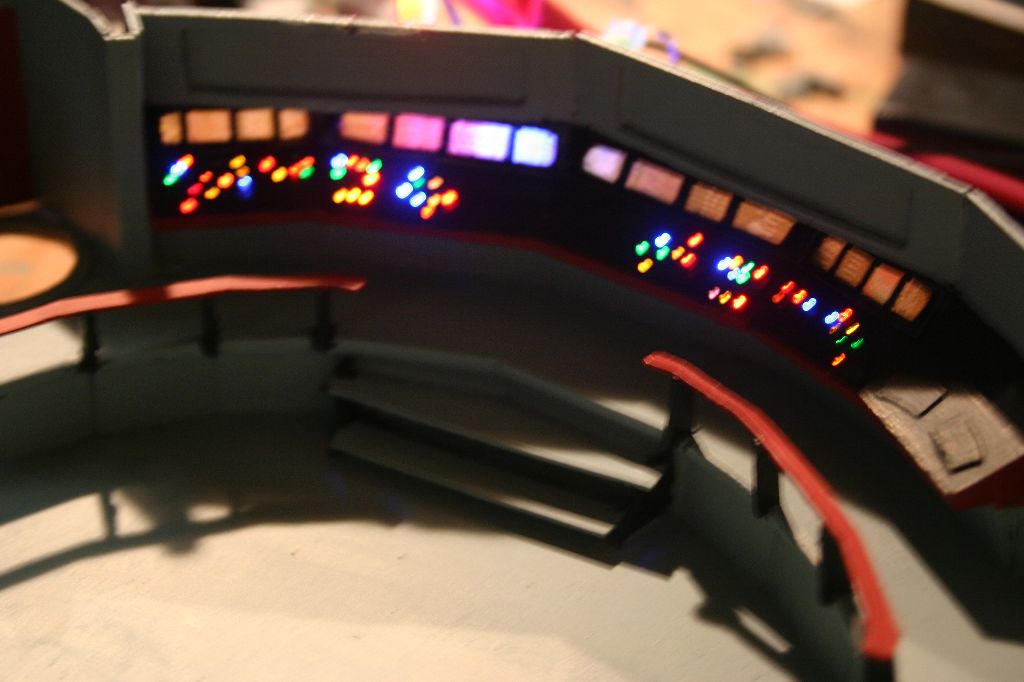
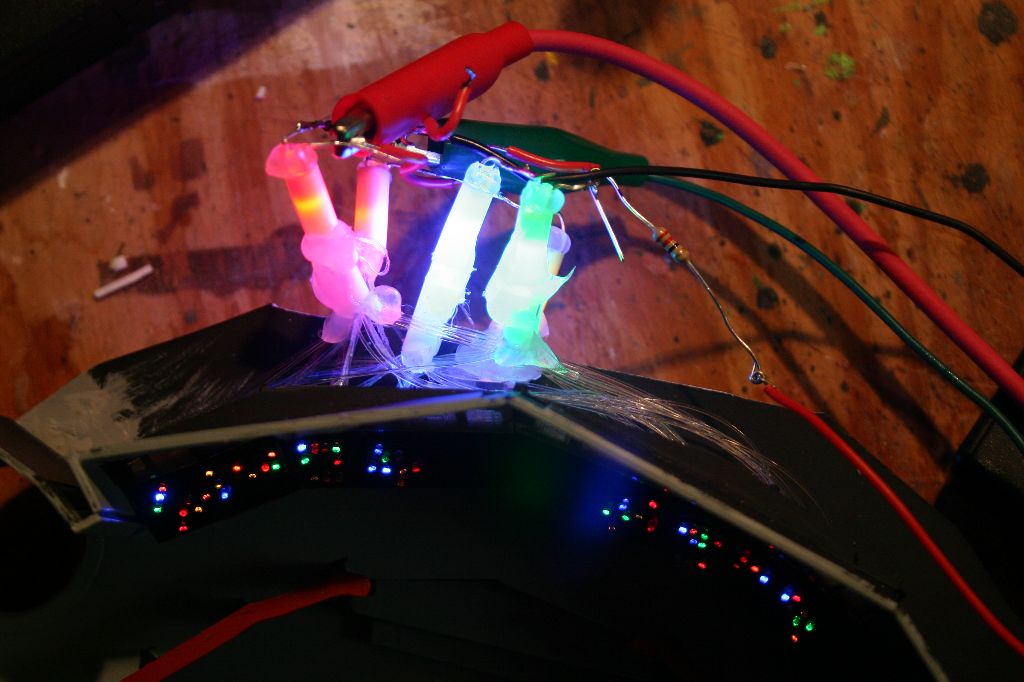
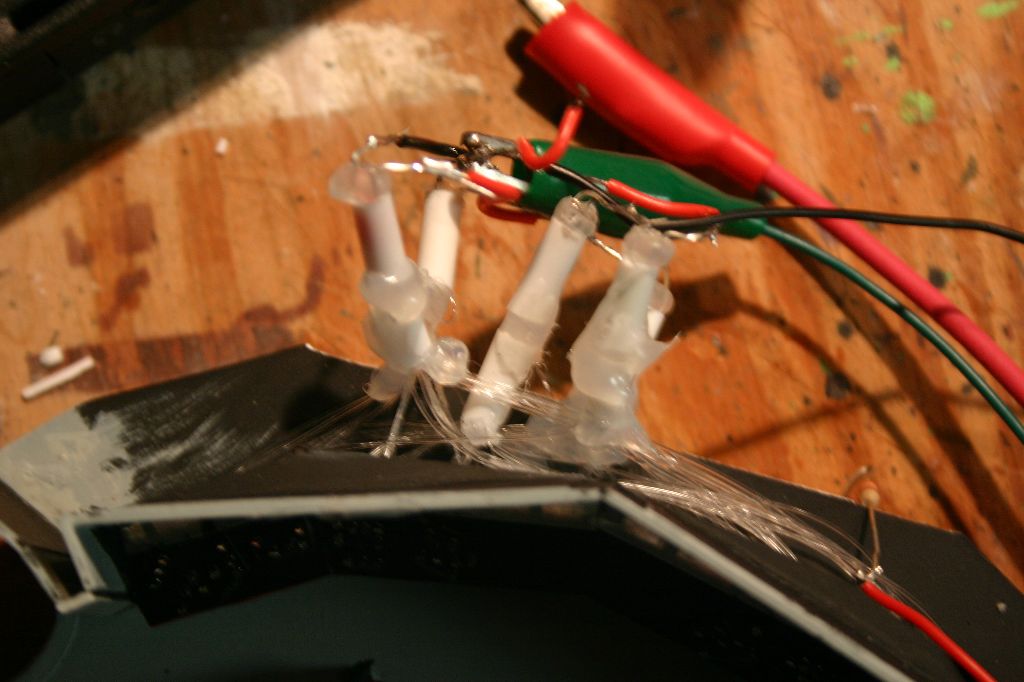
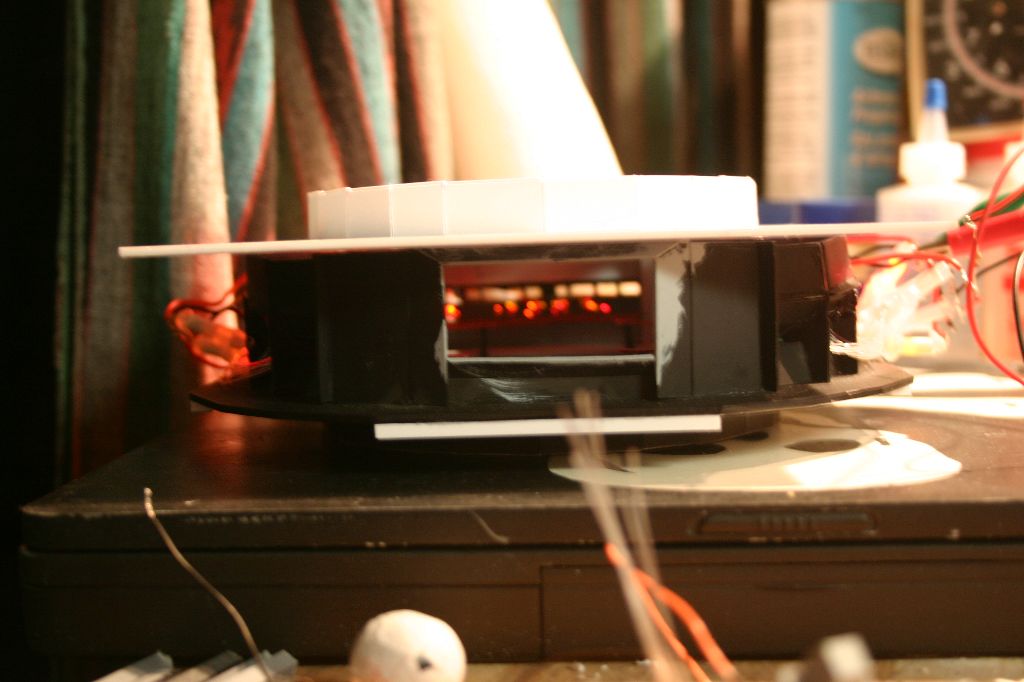
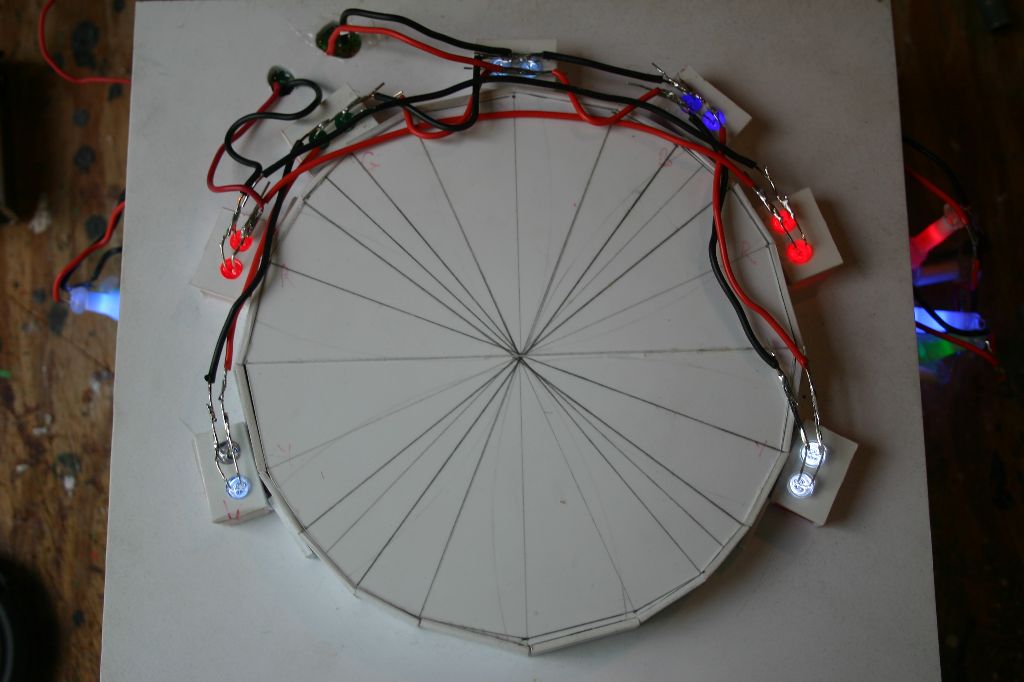
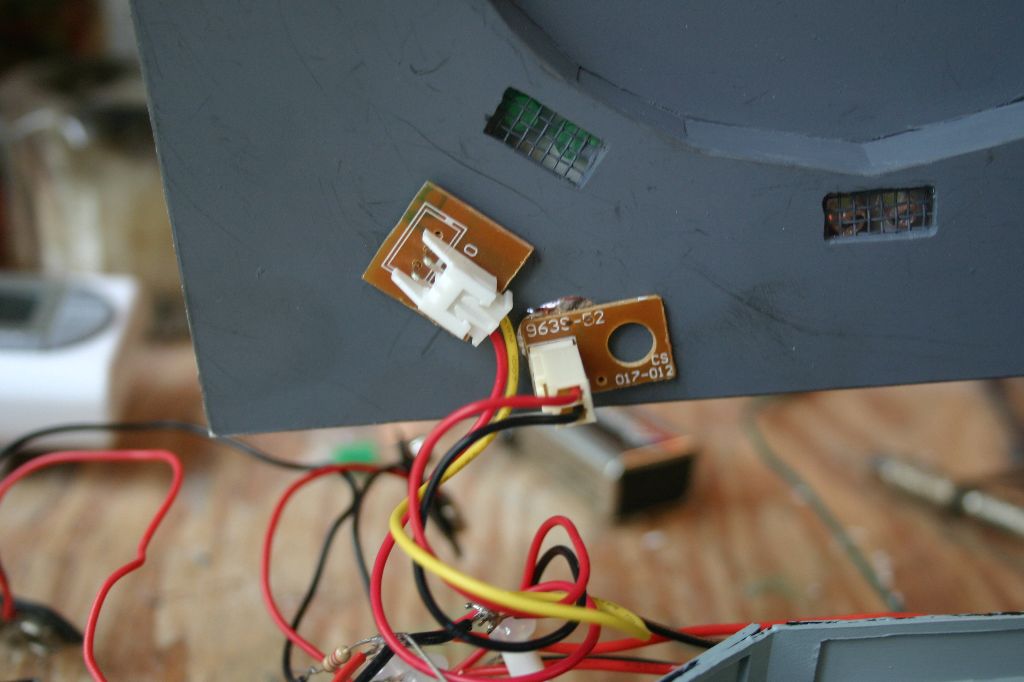
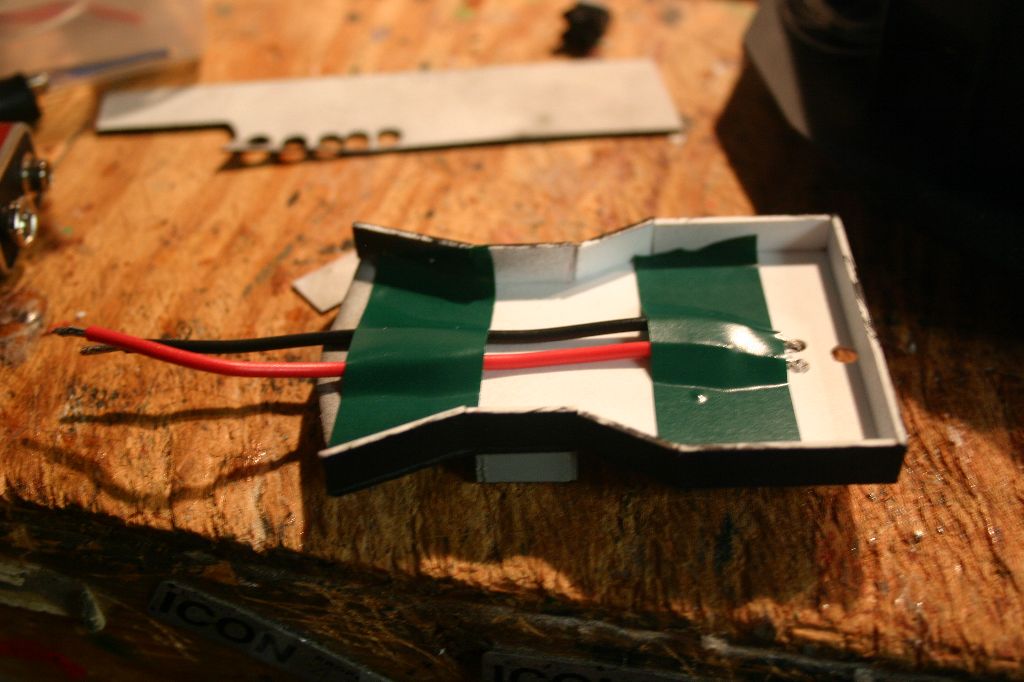
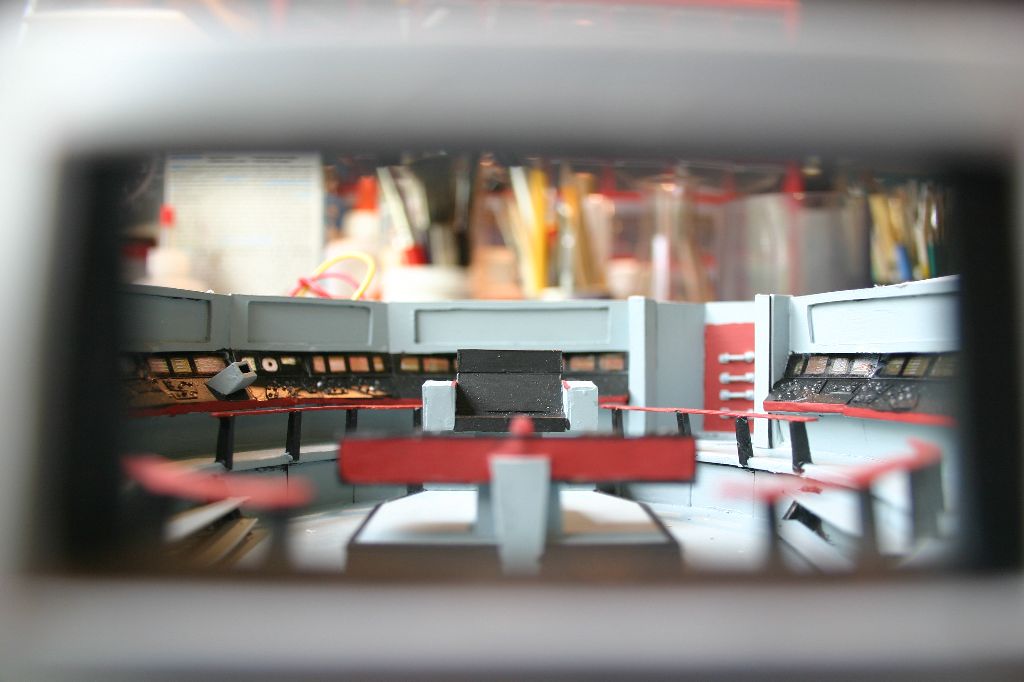
For the main consoles I found images of the actual console displays on this website: The Enterprise Bridge Model. These were scaled to fit the dimensions of my consoles, printed out on inkjet decal paper and applied to a transparency. Strands of fiber were cut and one end was "mushroomed" over a candle to keep it from slipping through the hole and to spread the light out of the end.
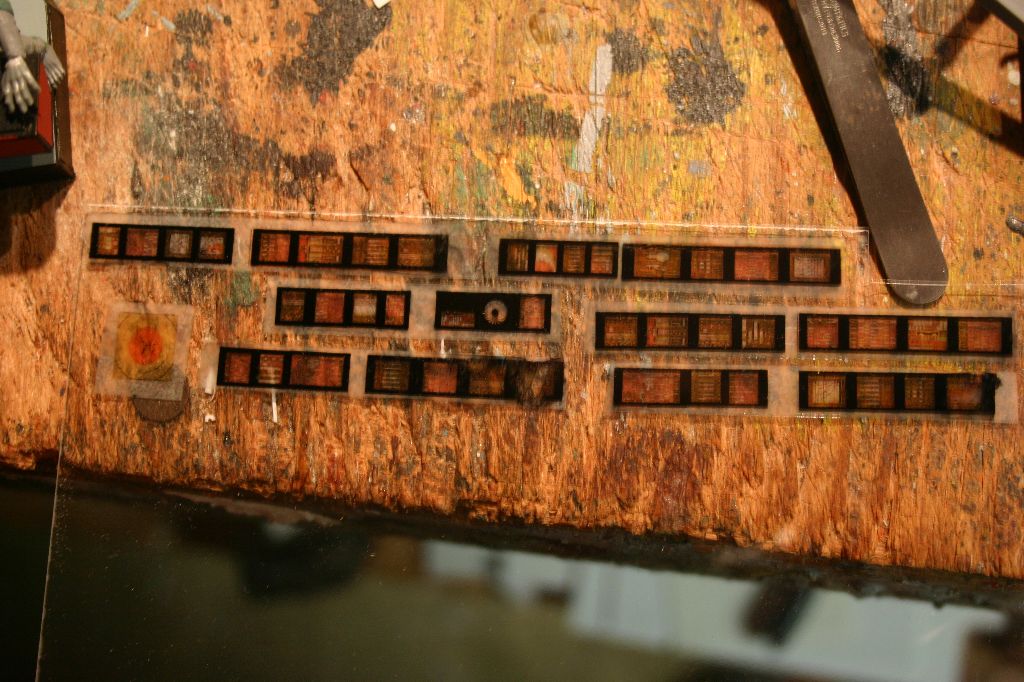

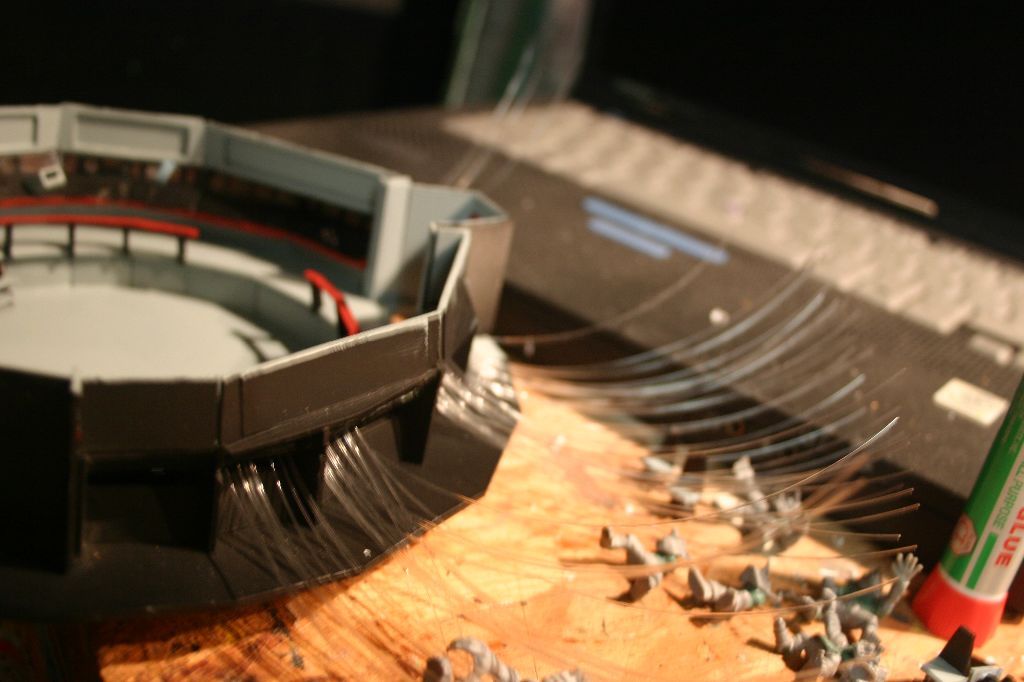
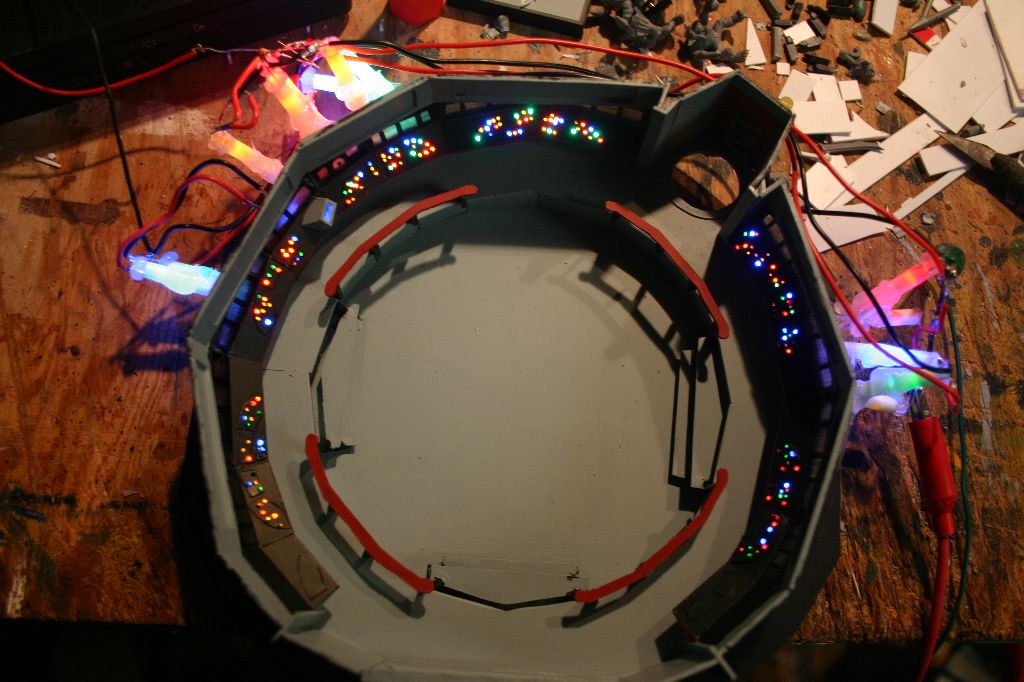
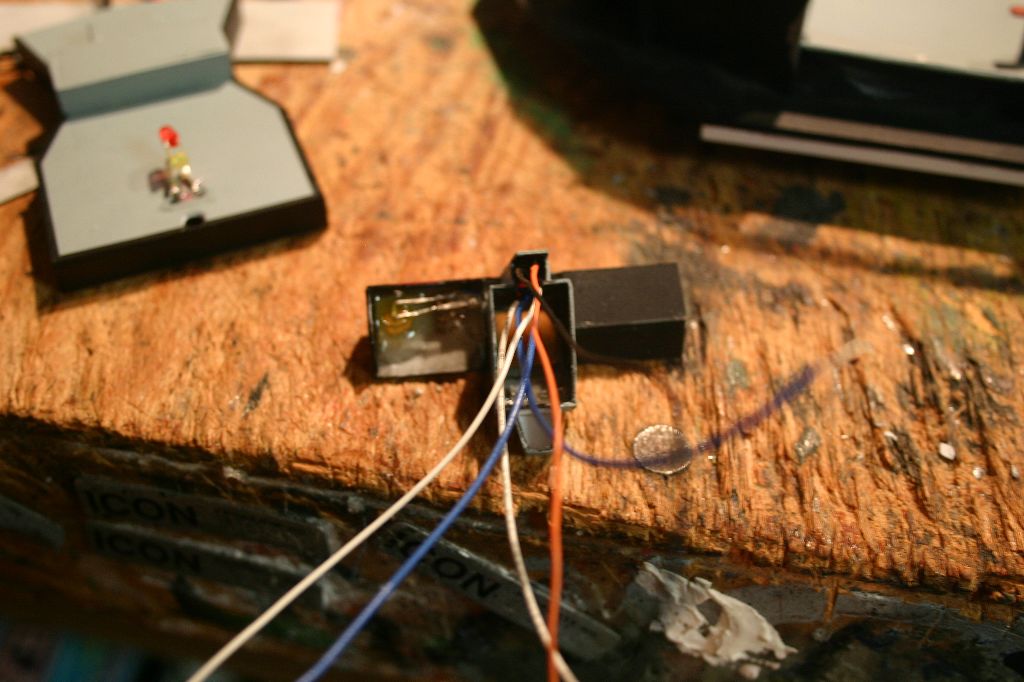
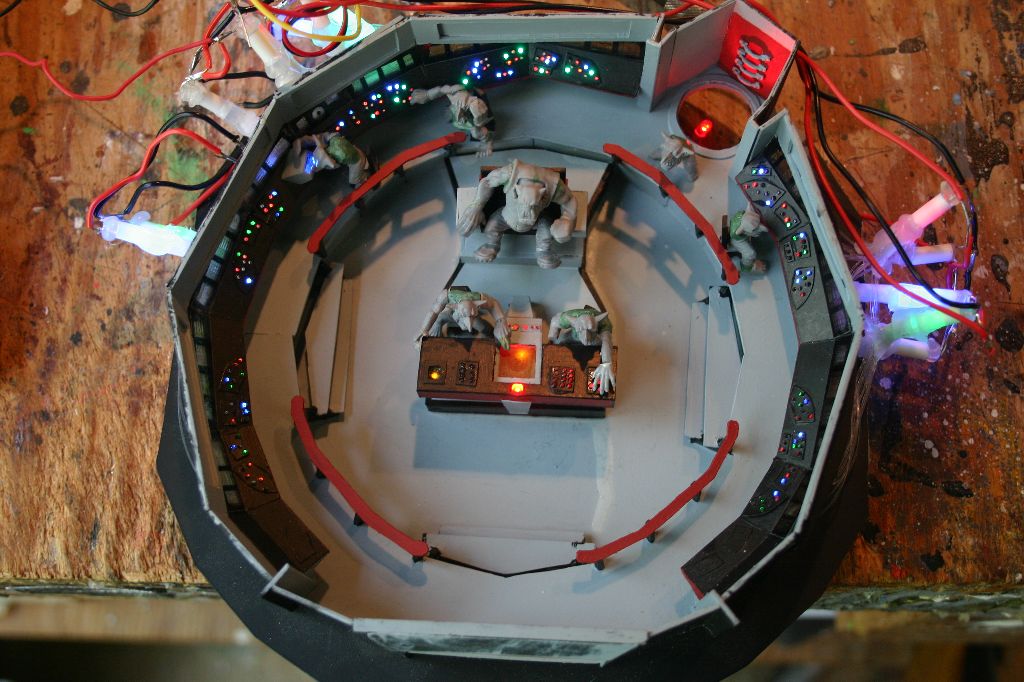
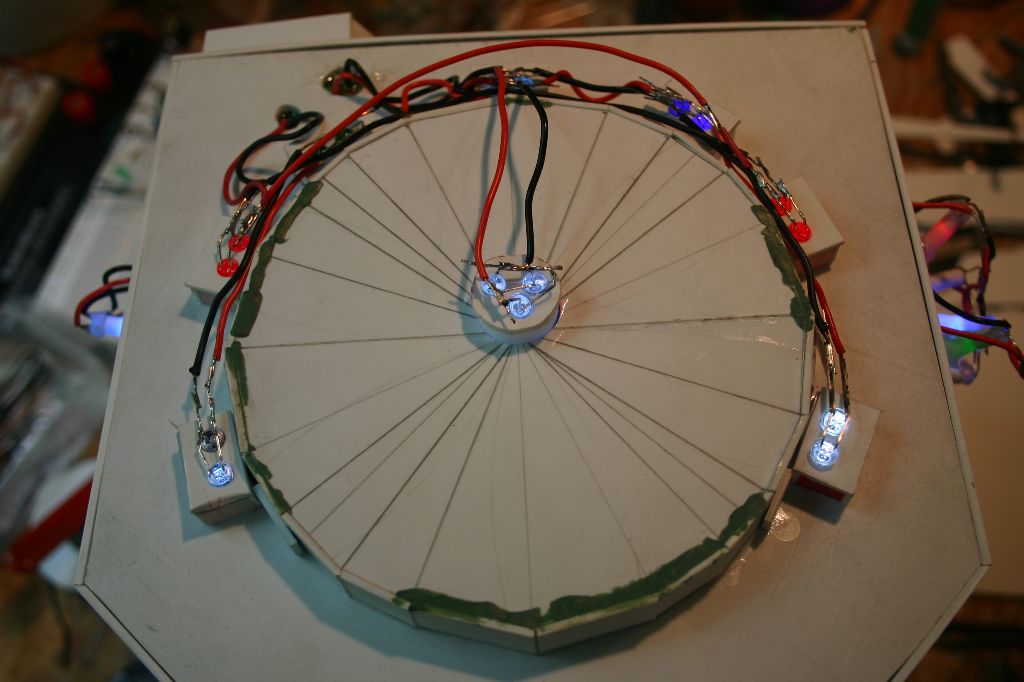
I decided to split the two sides up for lighting. Organizing all the strands was a hassle and only so many could be lit from one LED easily. Once a panel had all of its strands installed I dripped some 5-minute epoxy in behind it to secure them. Originally I tried using superglue on a test console but it made the fiber extremely brittle and prone to breaking with any slight shock. I used styrene tube to collect and hold the strands and position the LEDs. Here's where I made the biggest mistake of the project. Instead of buying LEDs I decided to use bulbs from a string of LED christmas lights figuring them to be a cheap source of bright LEDS. It turns out that, for whatever reason, the blue and green LEDs "steal" all the power when put in the circuit with the red, yellow and orange. I'm still not sure how they manage to do this but no matter what I tried I couldn't get them to run on the same circuit. In the end I wound up making two separate ones, one for the blue and green and the other for everything else. Unfortunately this wasn't the end of my LED problems, I'll get back to them later. Originally I had thought to put a row of yellow LEDs behind the main consoles to light all the transparent panels. Once I had the fiber installed though I ran into a number of problems with that idea. There was no good way to block off the light from the existing LEDs and the power headaches I'd experienced made me not want to add that many more. Fortunately the existing LEDs provided an interesting back light so I left it as is.
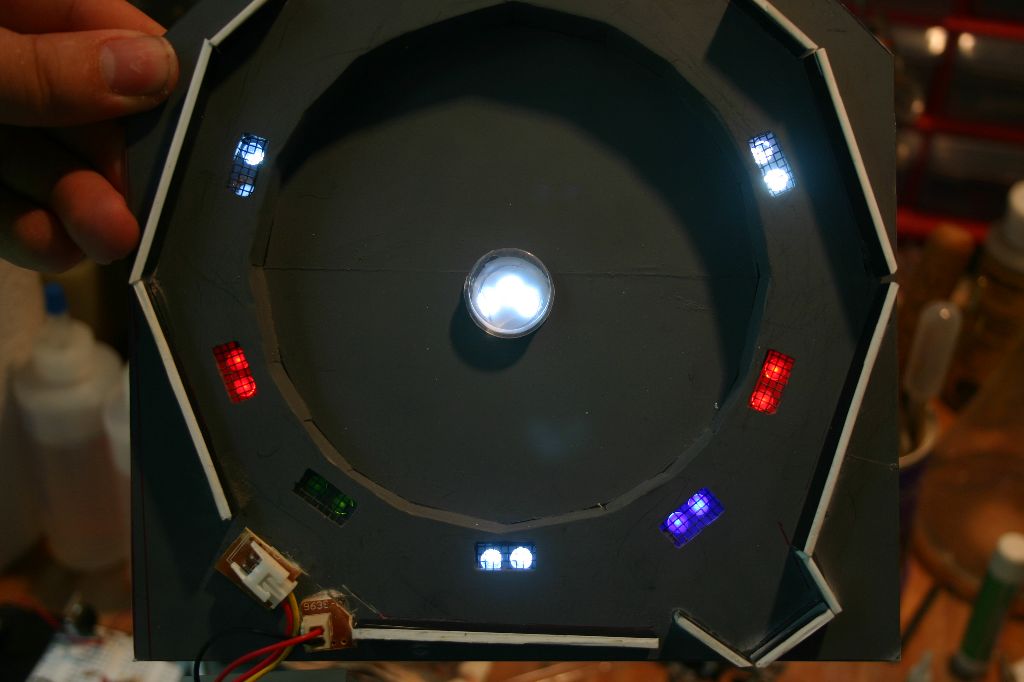
With the bridge essentially done I started working on the ceiling. You never see the ceiling of the original bridge so I had to fudge it a bit. Here's where my LED troubles continued as for whatever reason the green LEDs in the ceiling recess wouldn't go brighter than a dim glow. I tried multiple LEDs in various patterns but nothing wanted to play nicely. Added to that I noticed that some of the other LEDs that were working fine before started to dim. Eventually I got everything to a point I could live with and nothing's gone dark on me yet so I think a truce has been met.

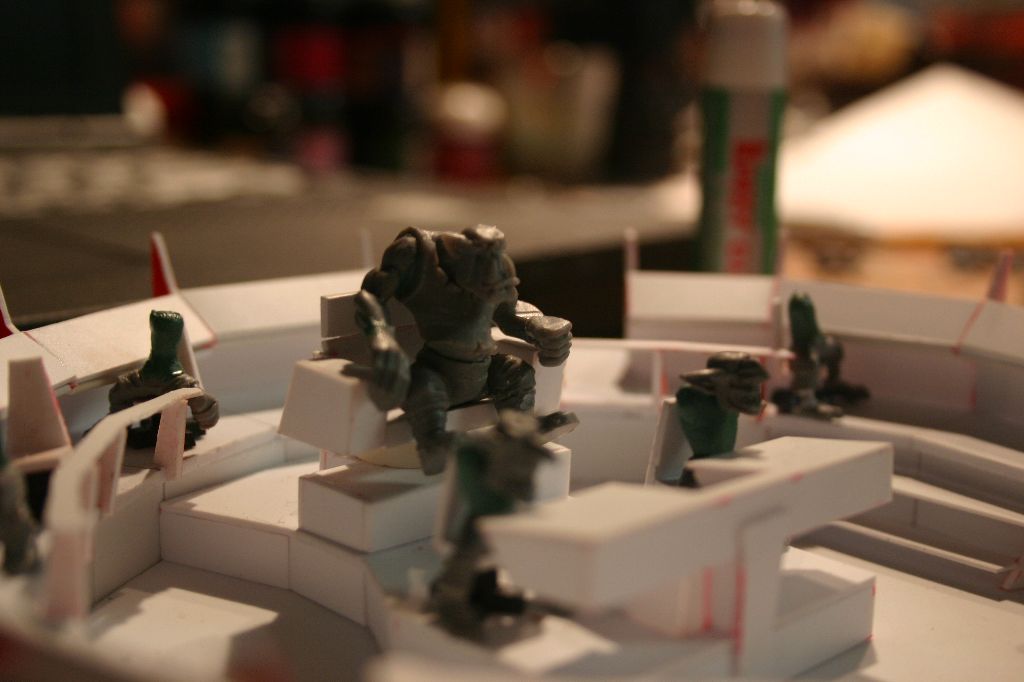
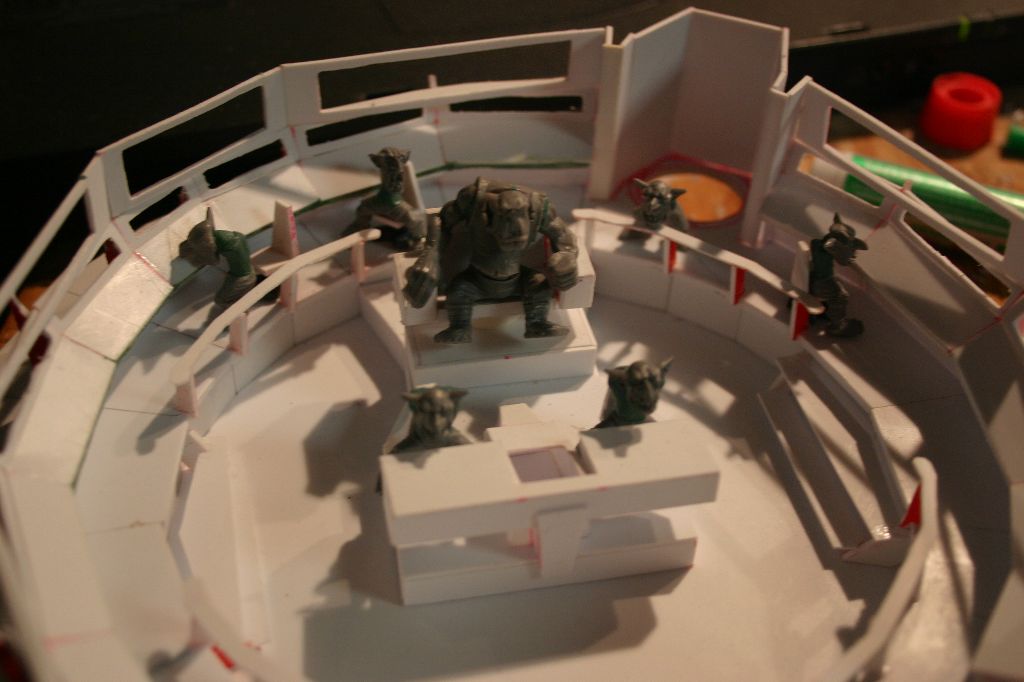
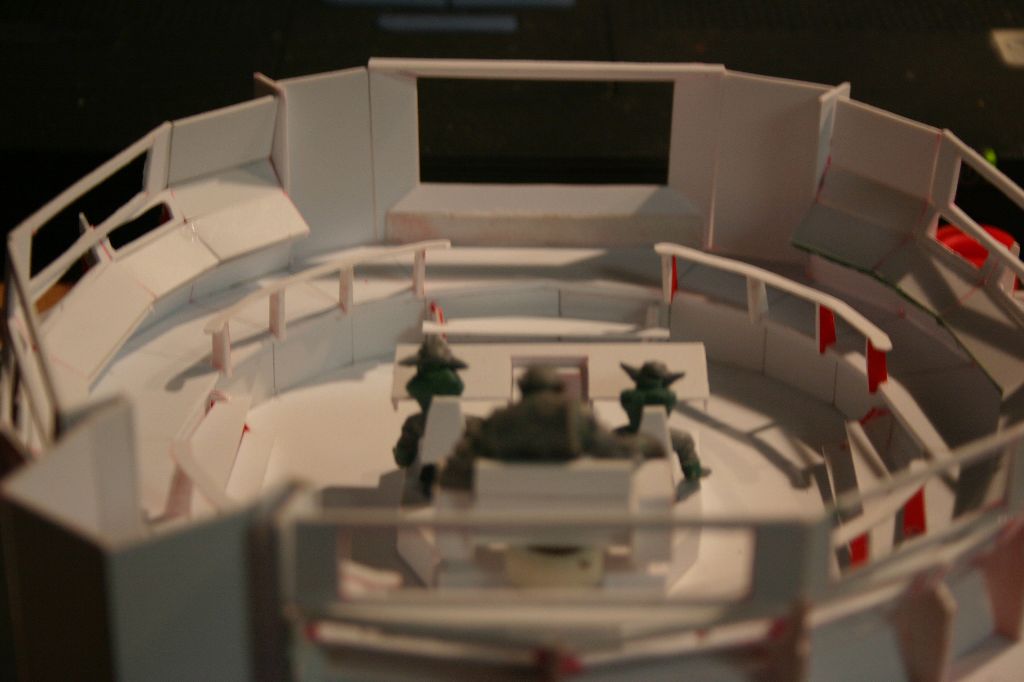
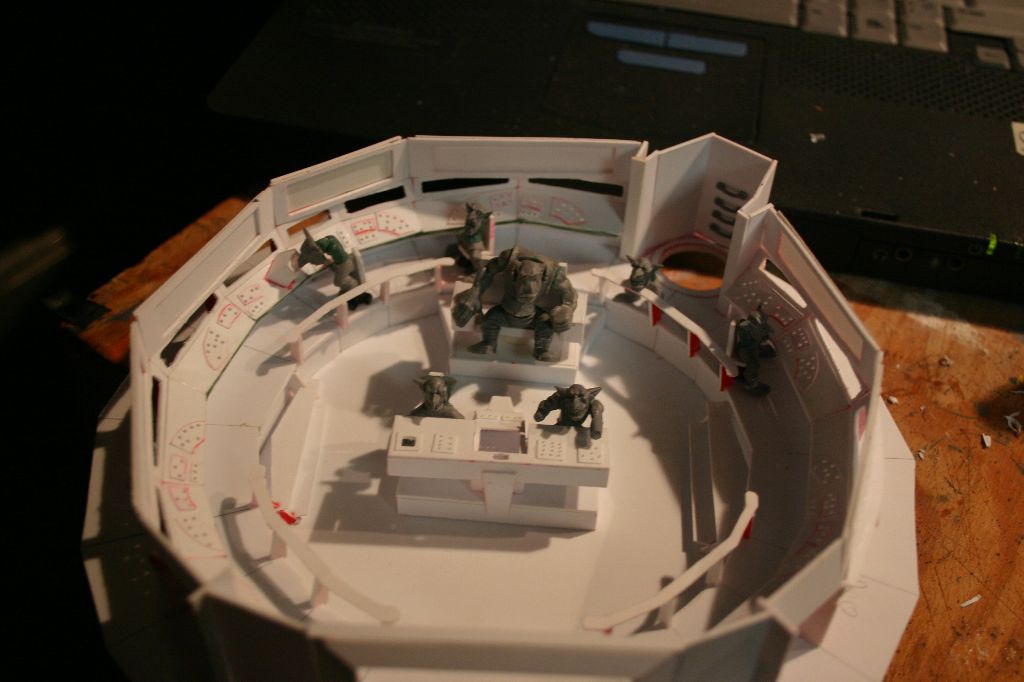
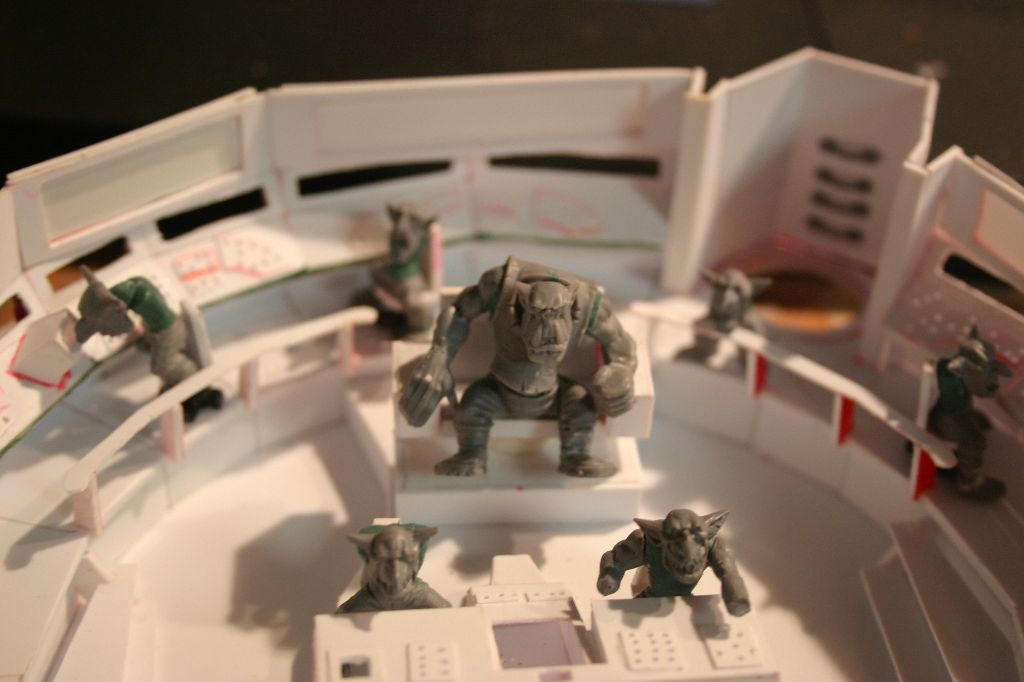
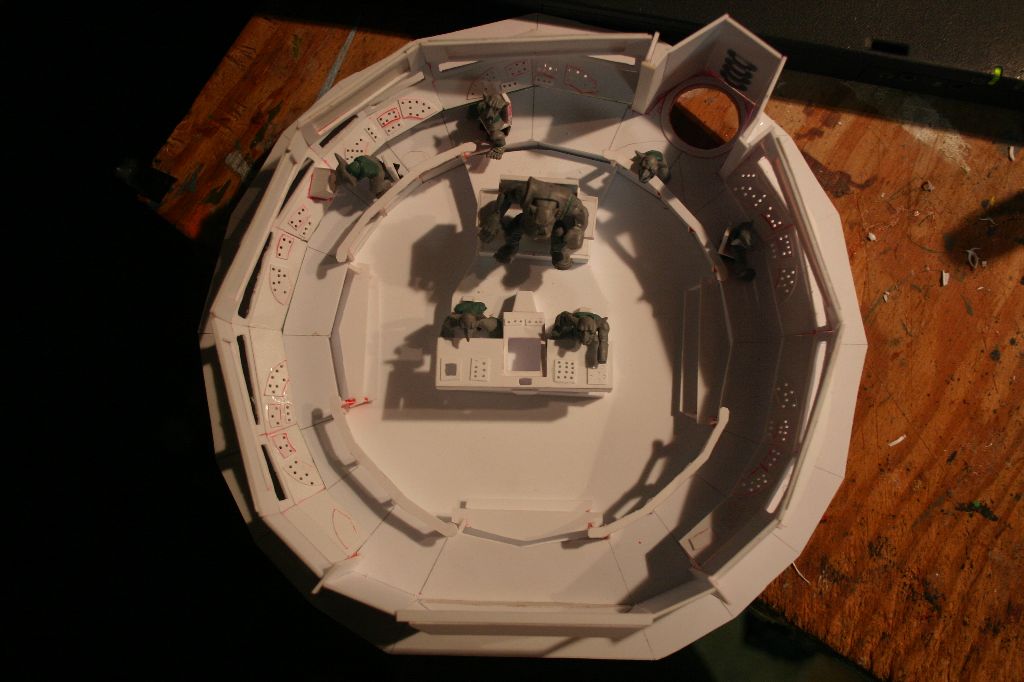
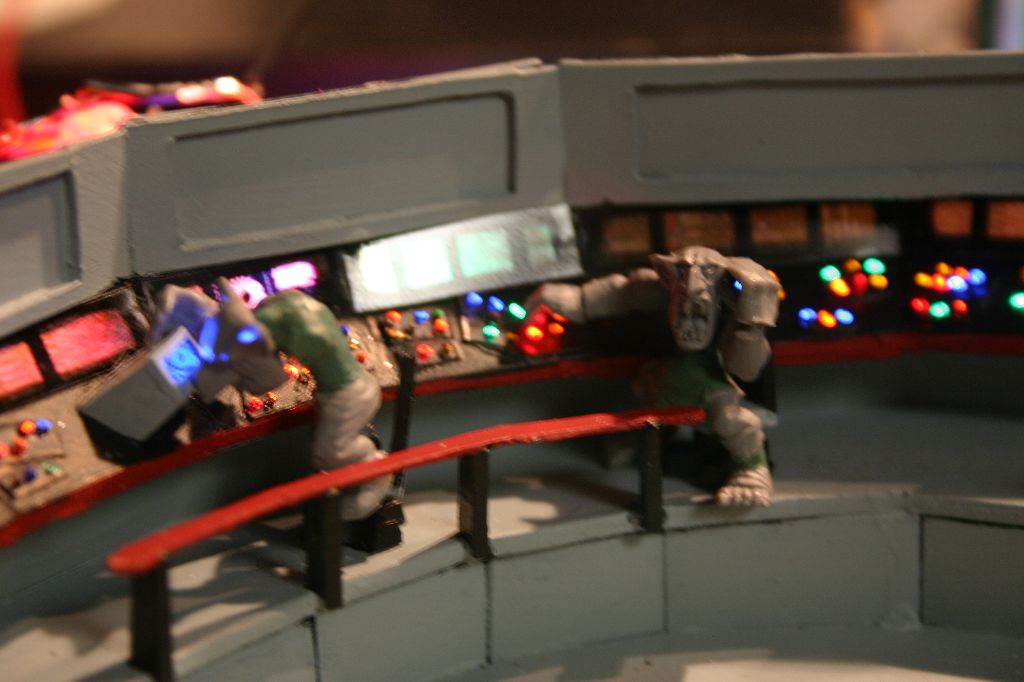
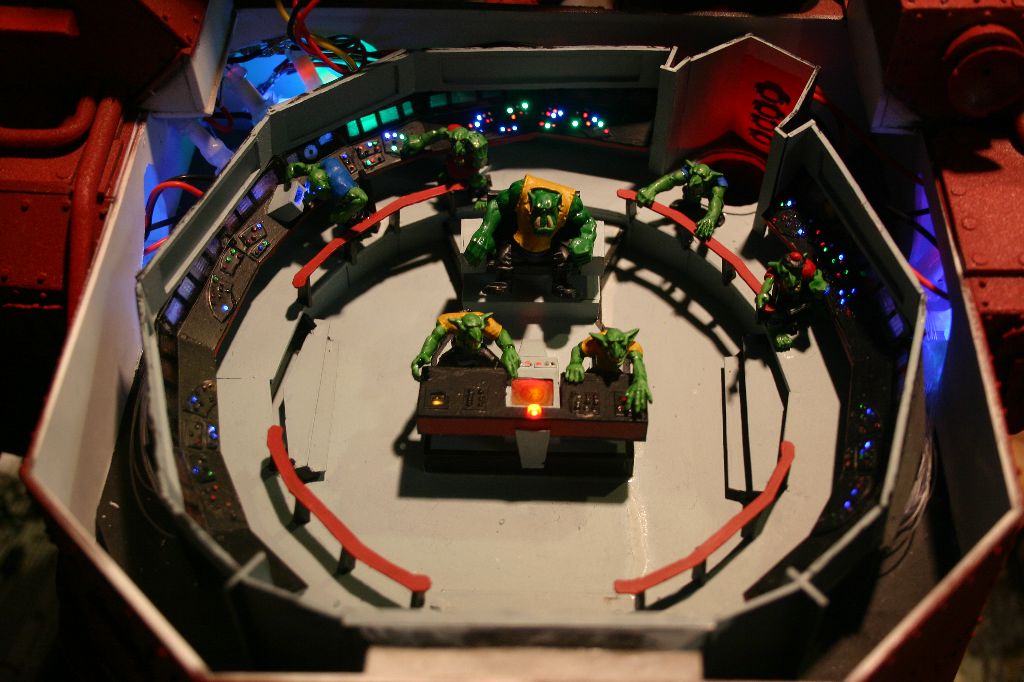
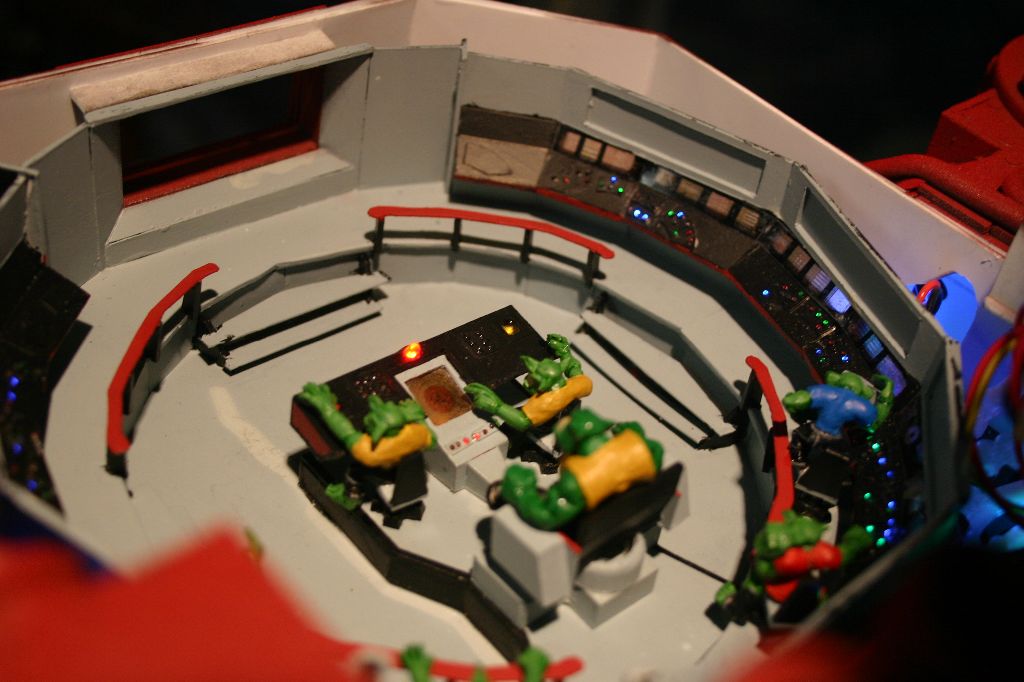
With the ceiling installed it was time to finish the interior details. Lights were added to the center console and "turbolift" and everything was glued in.
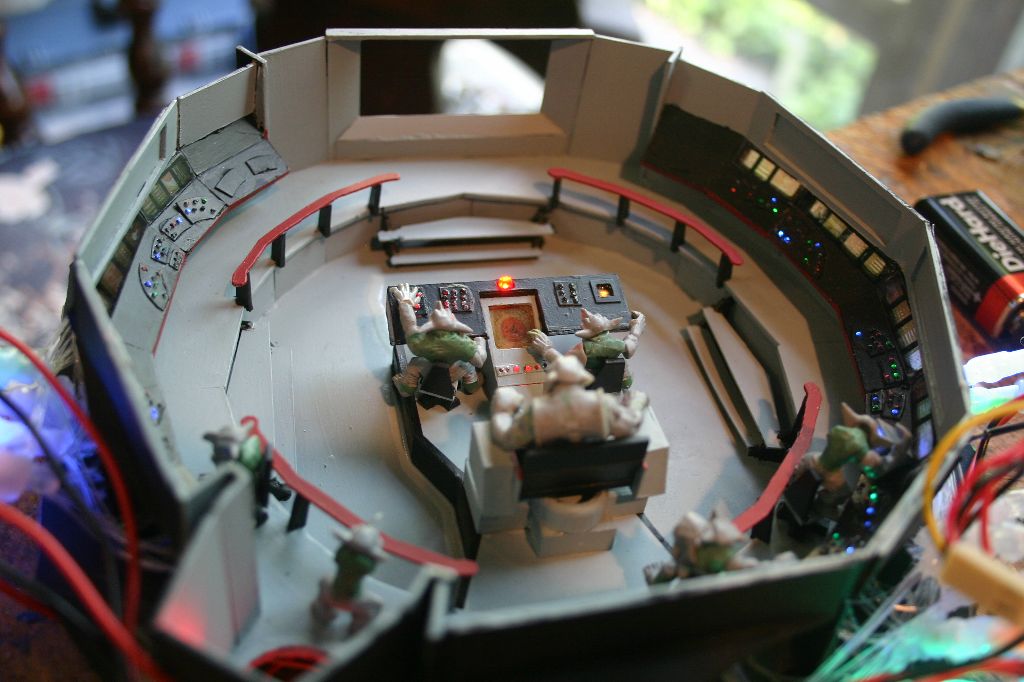
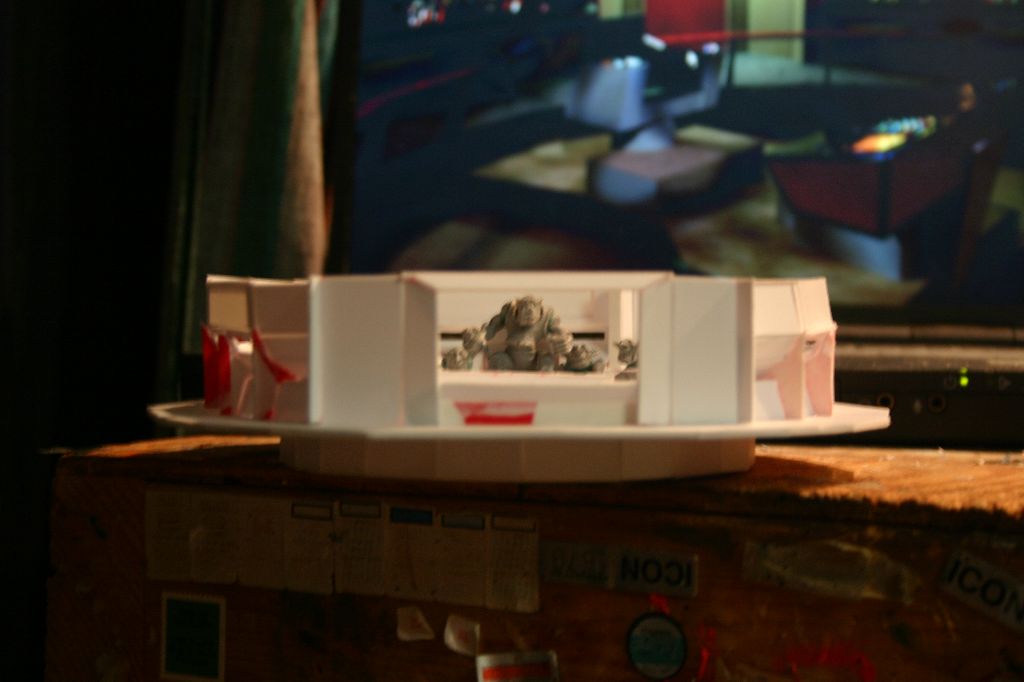
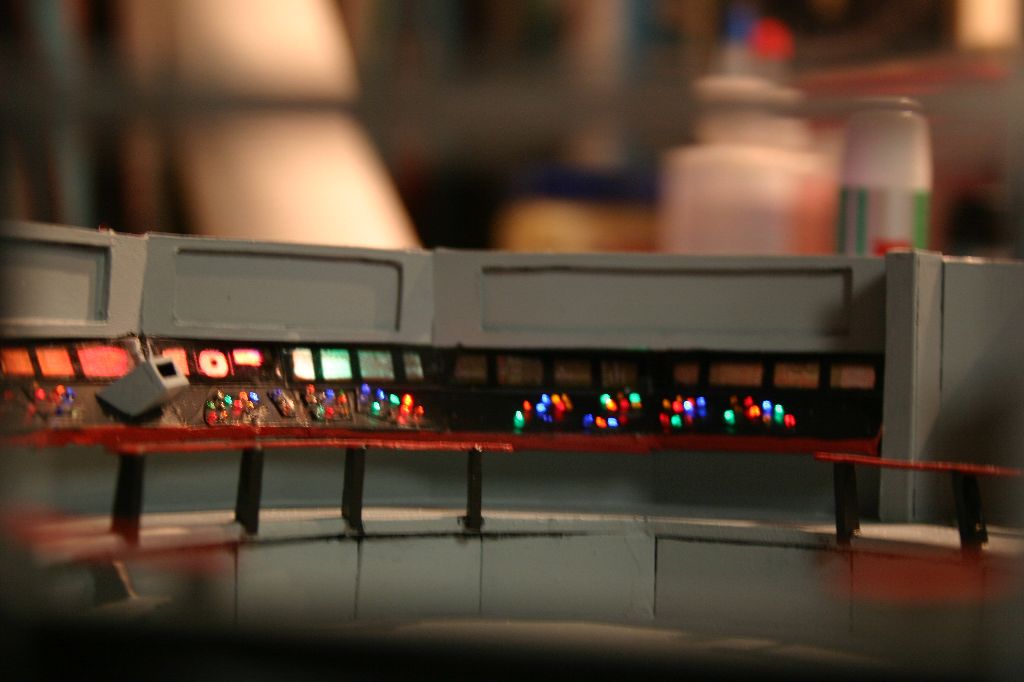
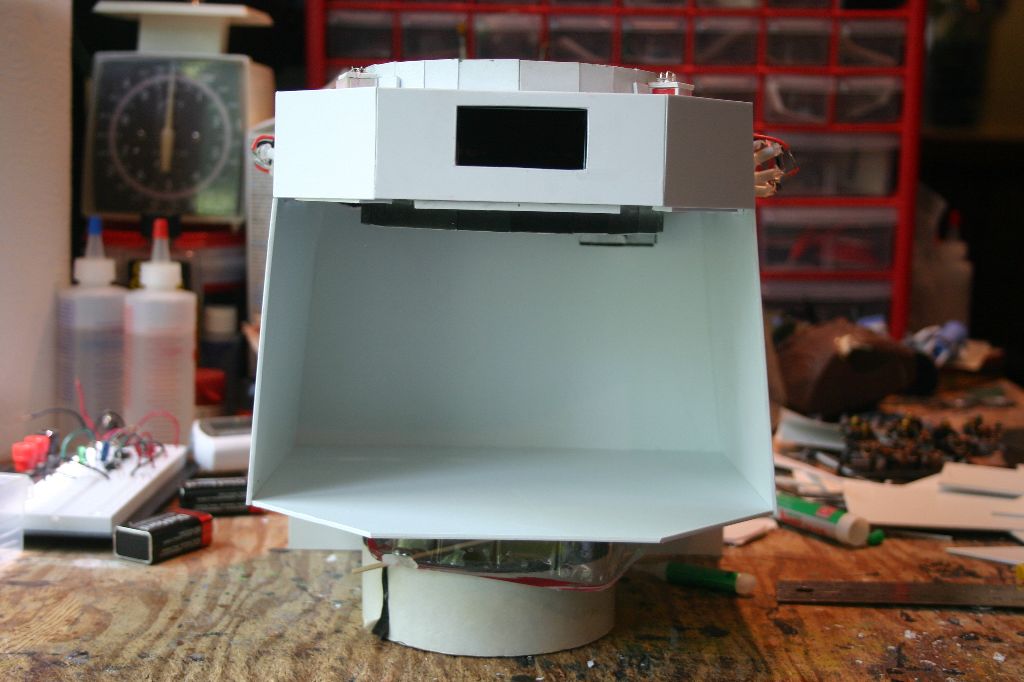
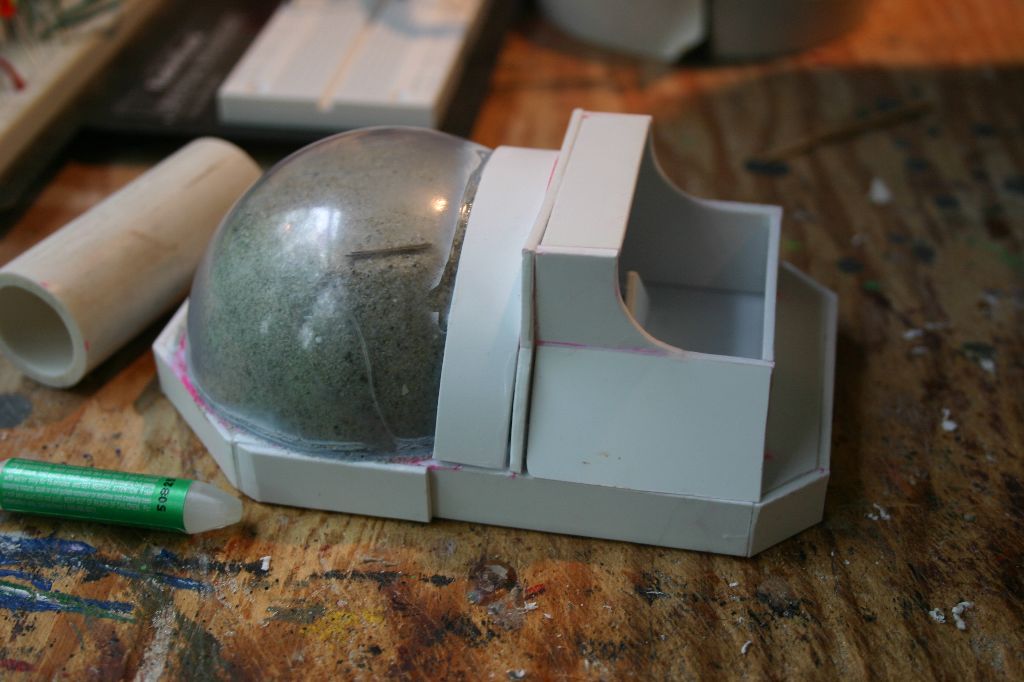
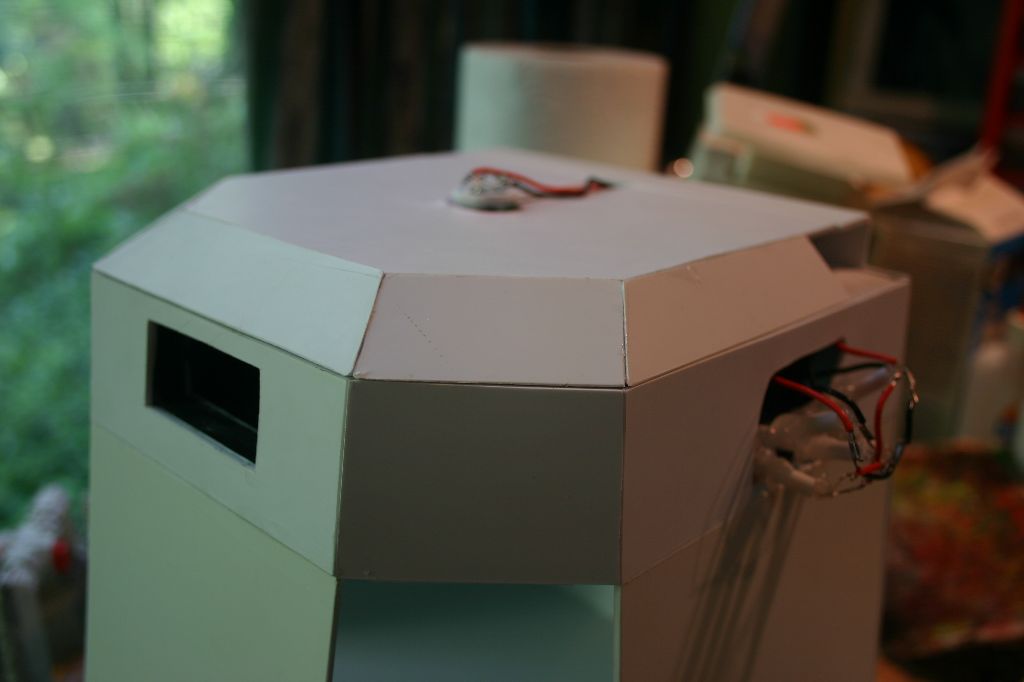
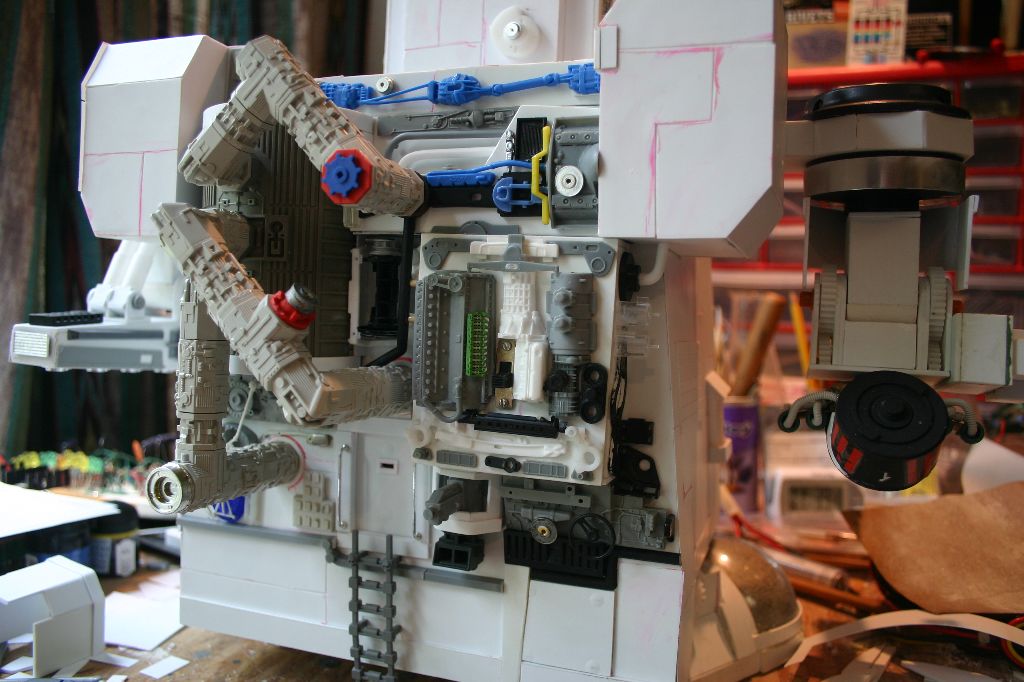
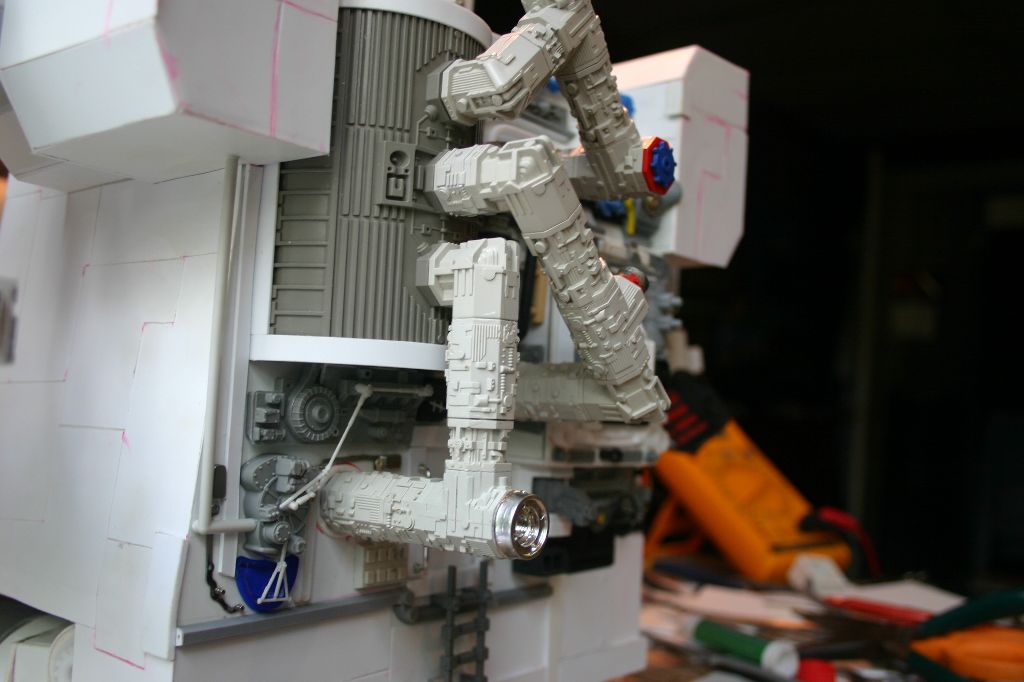
The bridge being more or less self contained I built the outer walls.
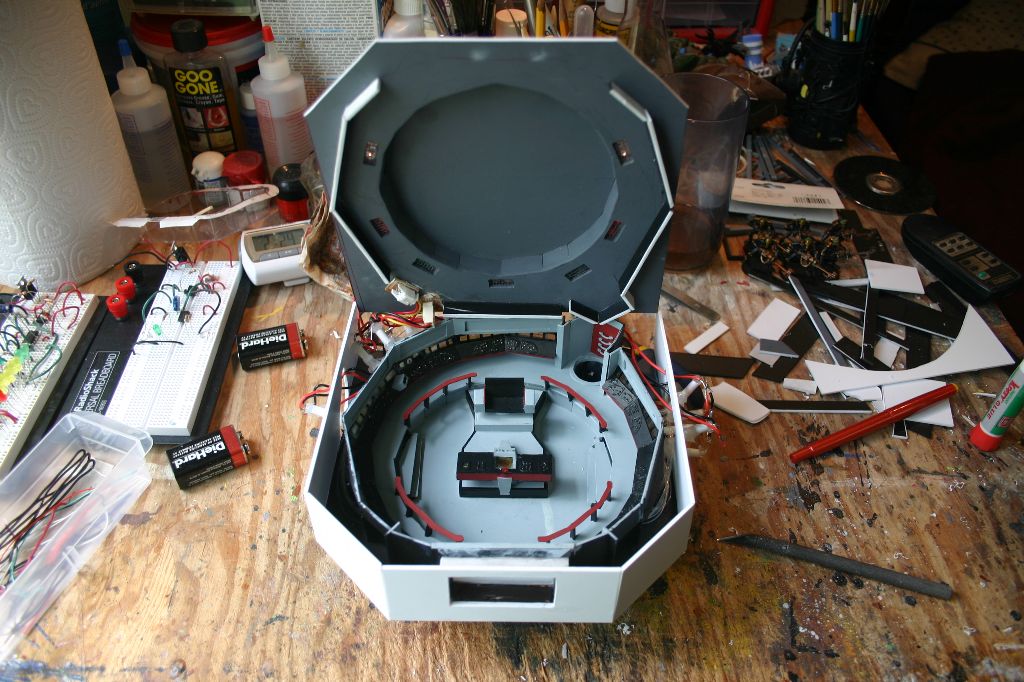
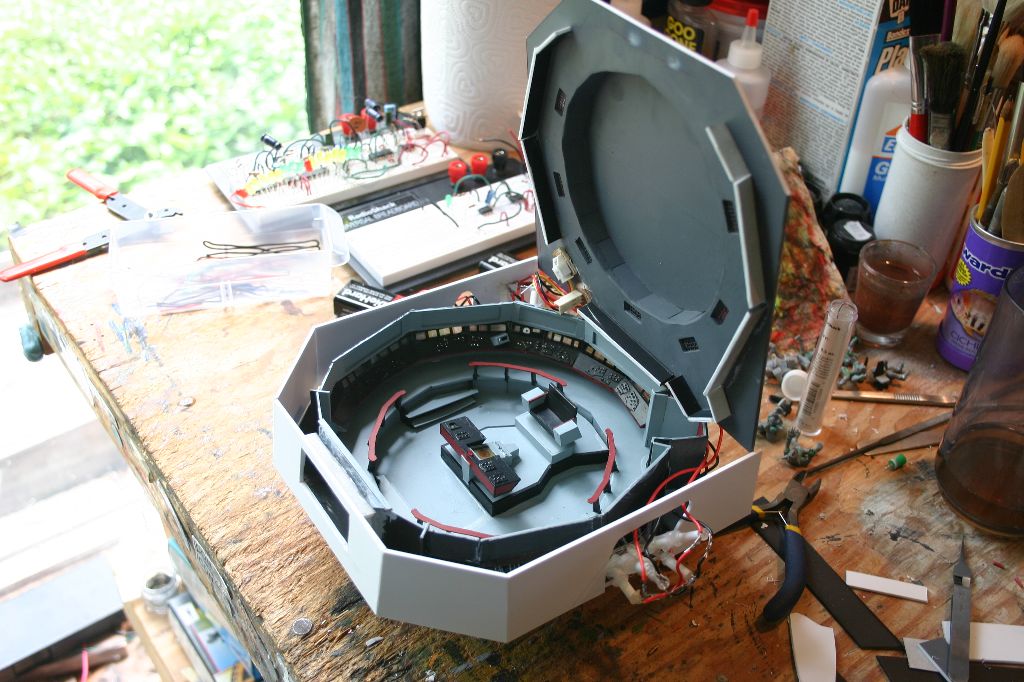
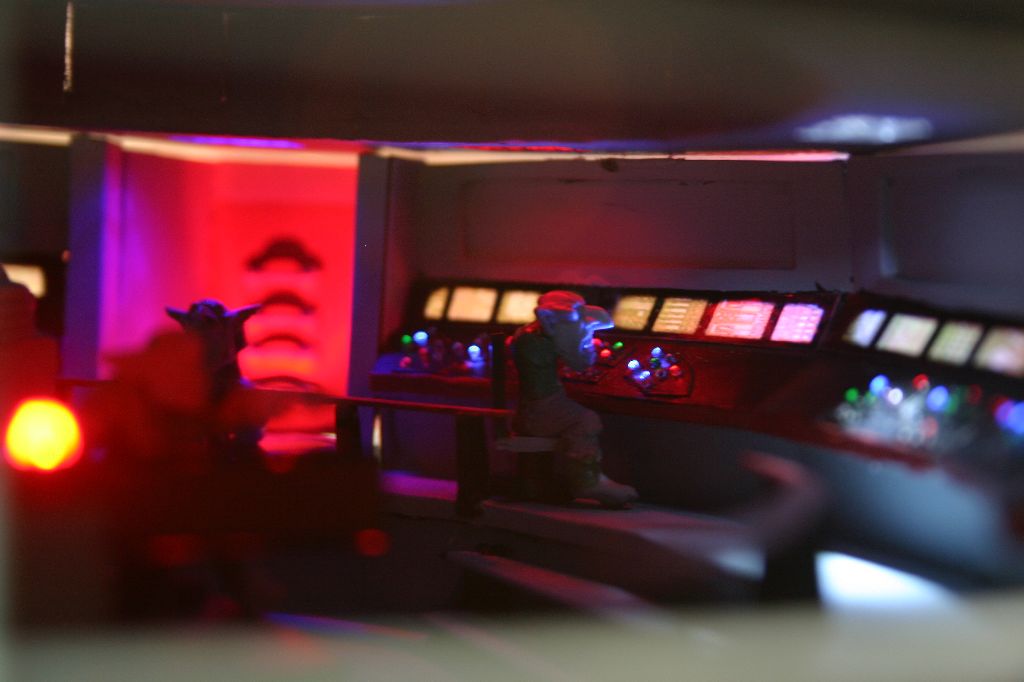
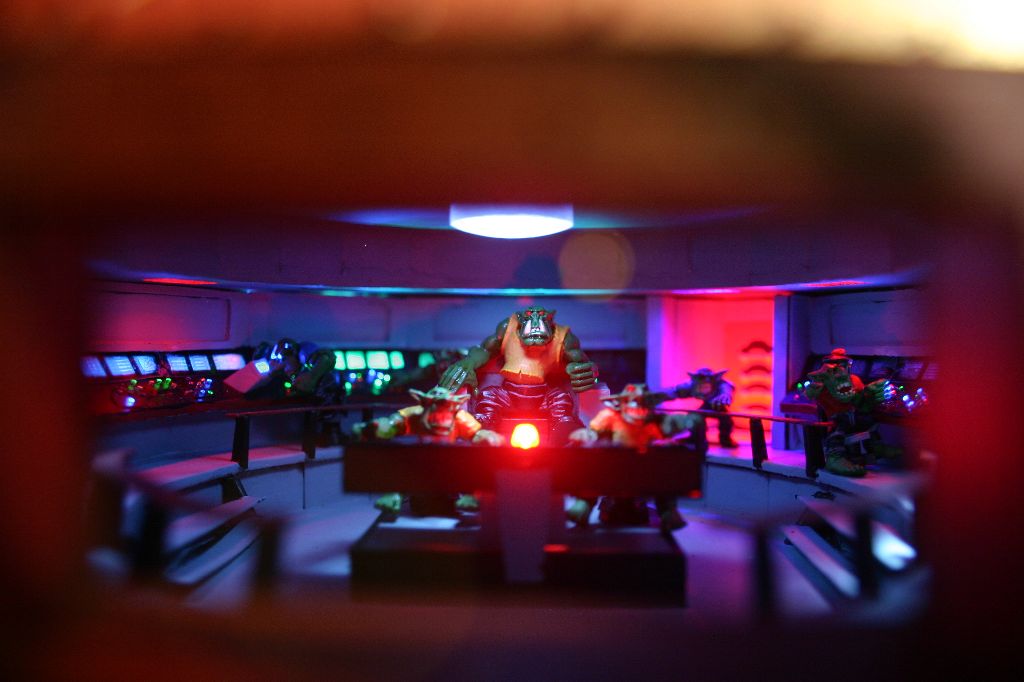
Now that it was fully enclosed I thought the interior was too dark even with all the lights so I added three ultrabright whites in the center of the ceiling. To diffuse the light I sanded the back of a clear plastic pushbutton off of a junked printer.
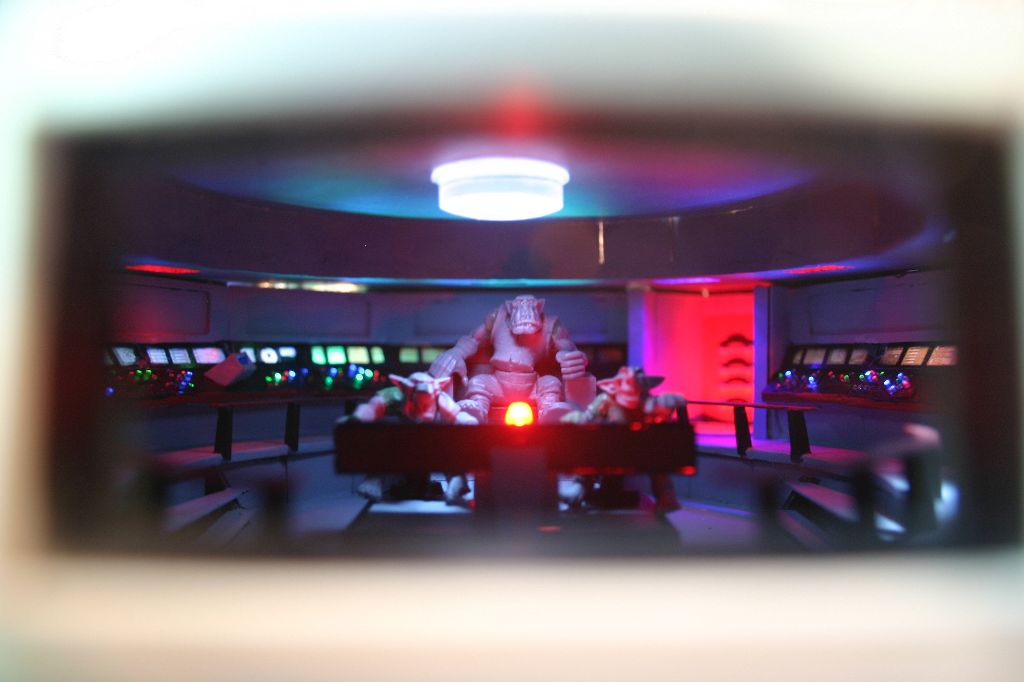
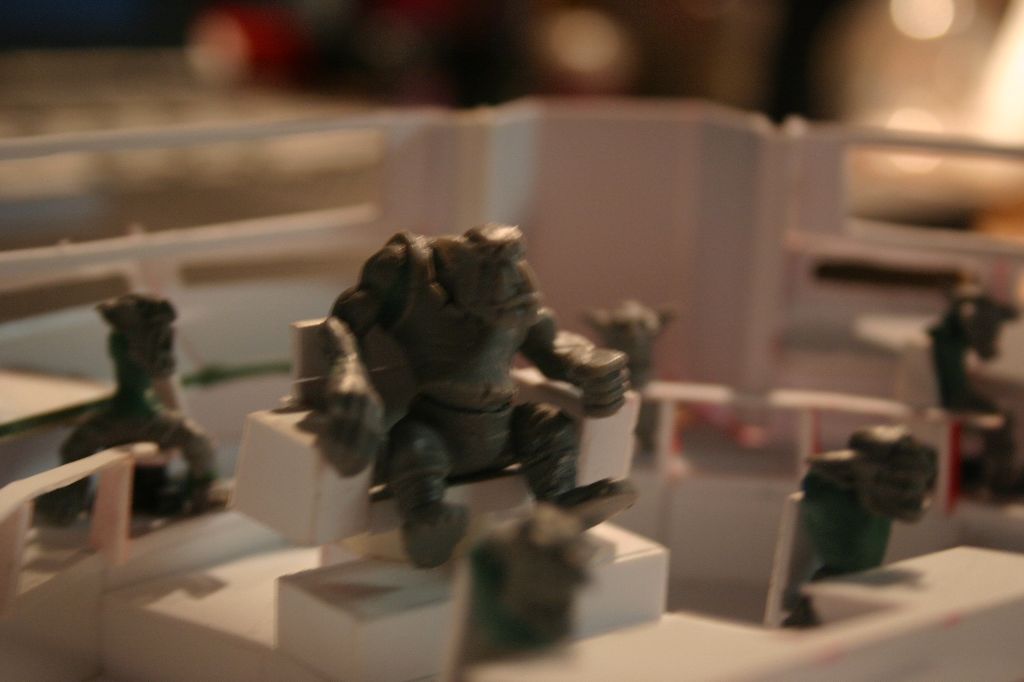
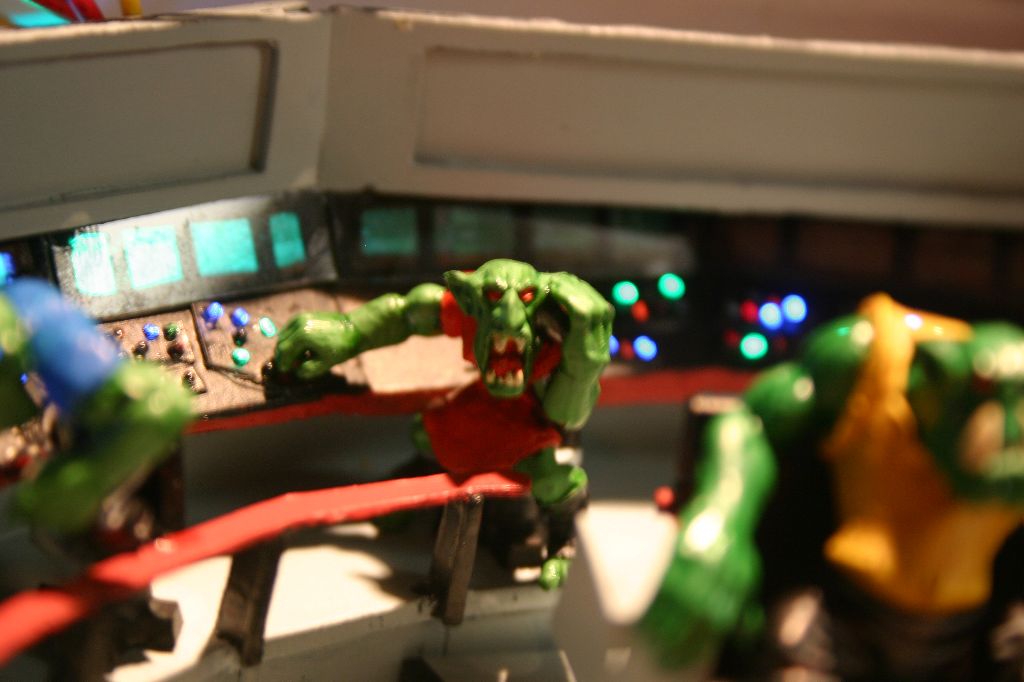
All that was left then was to finish and install the crew.
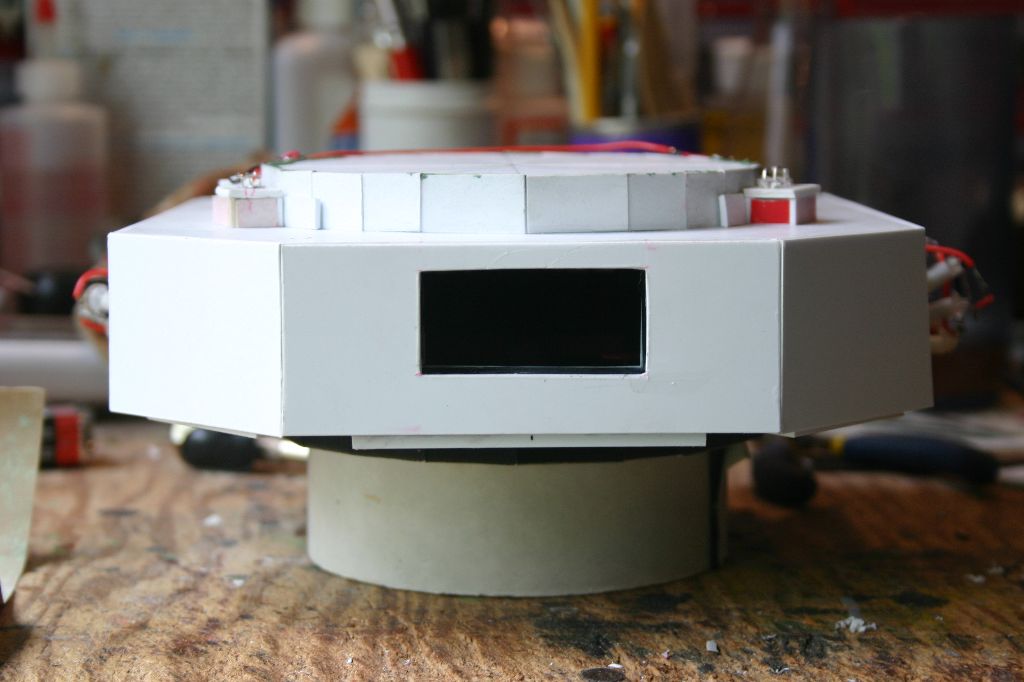
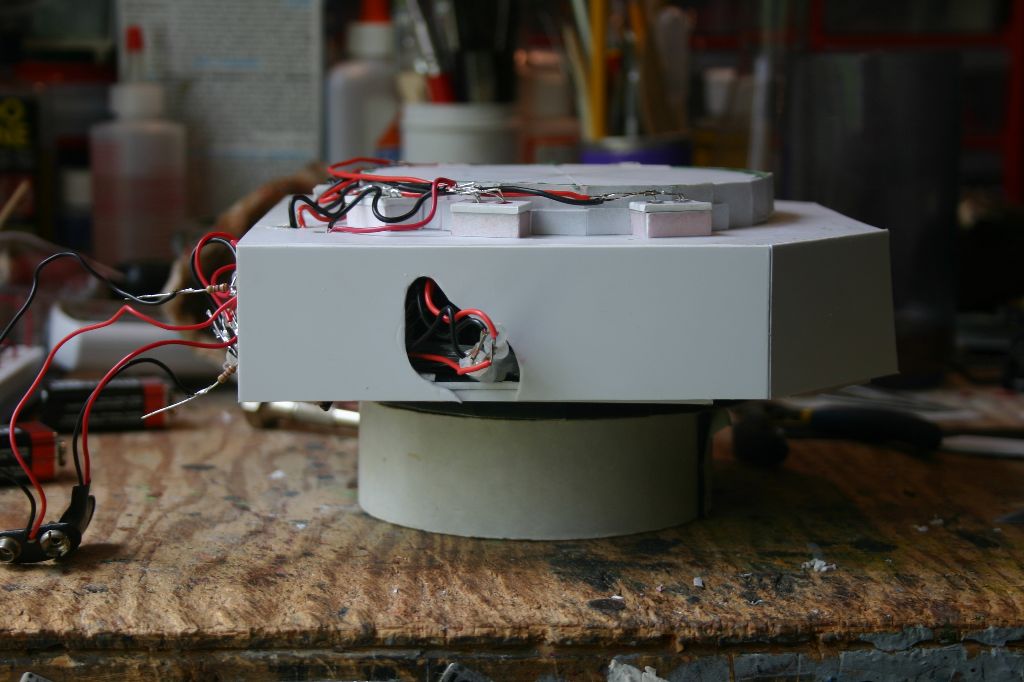
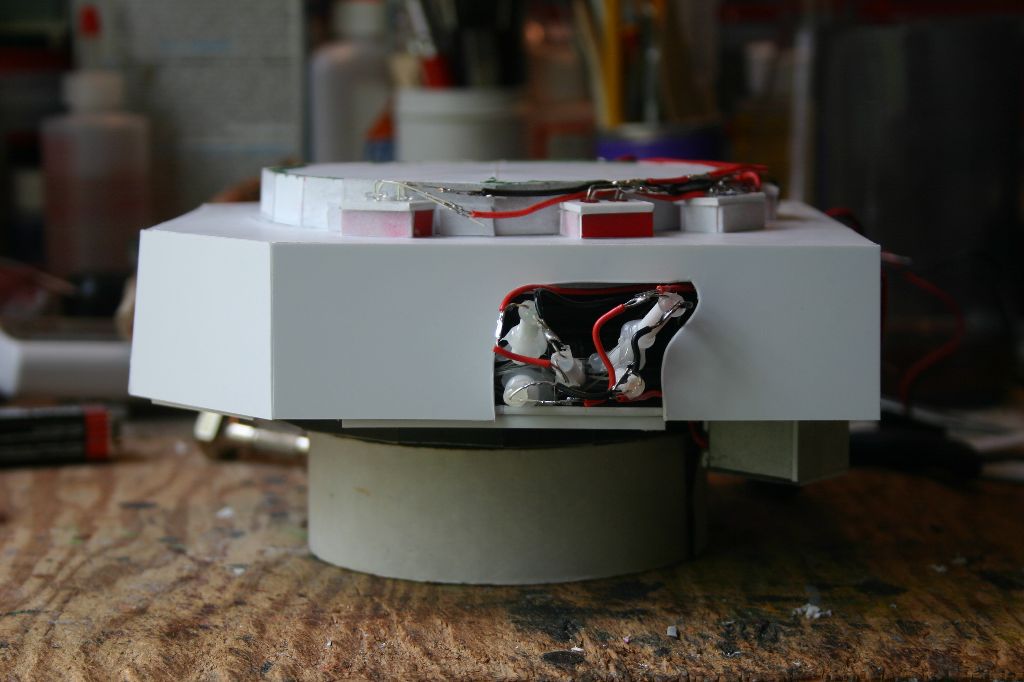
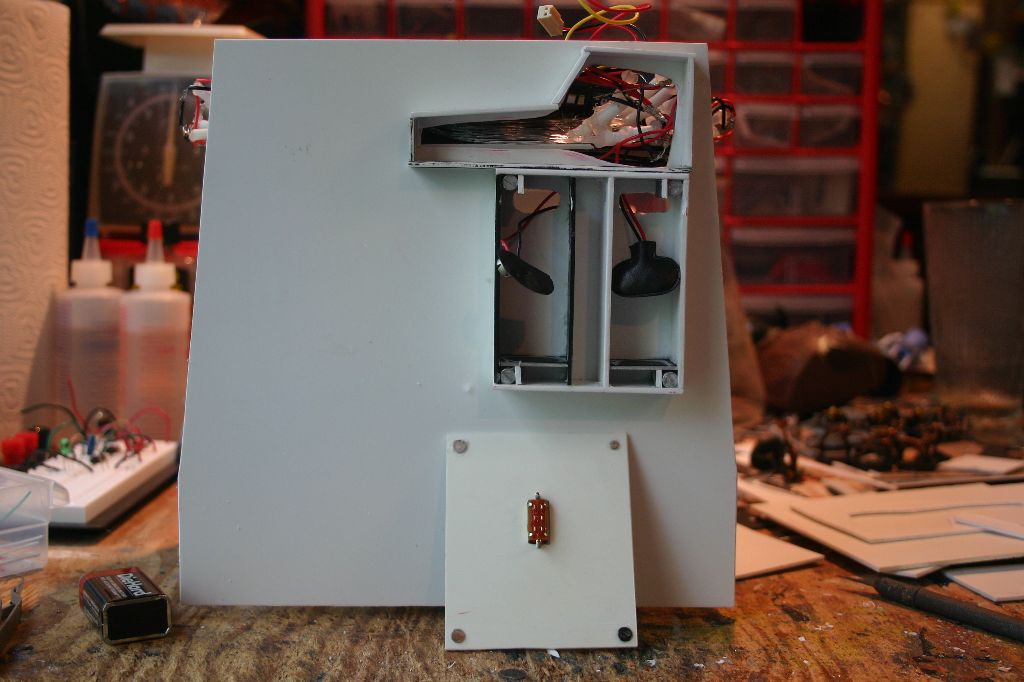
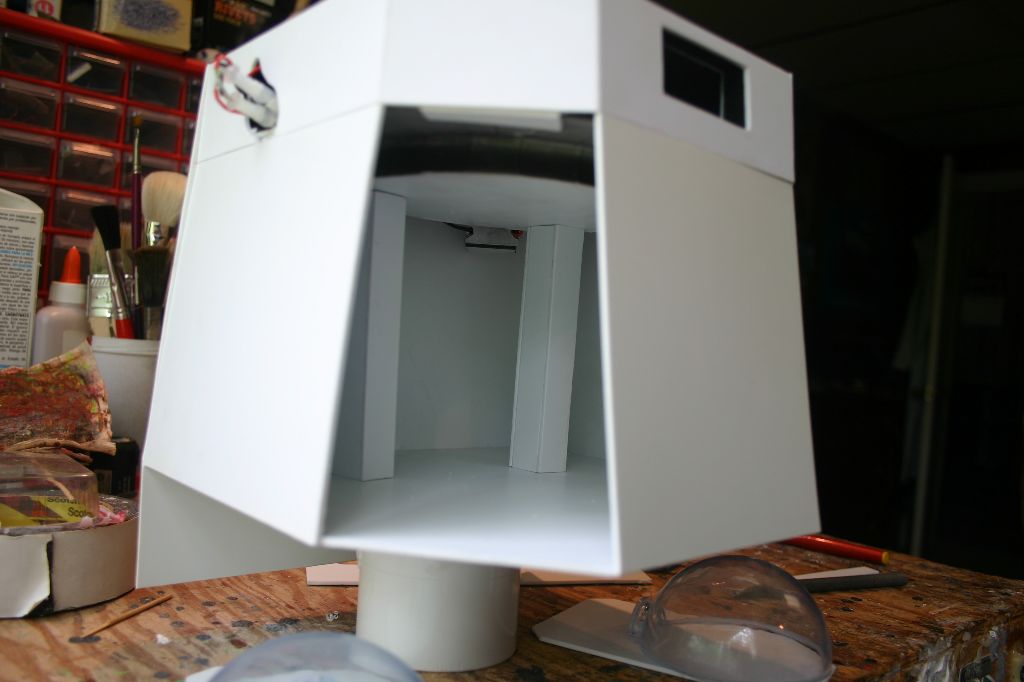
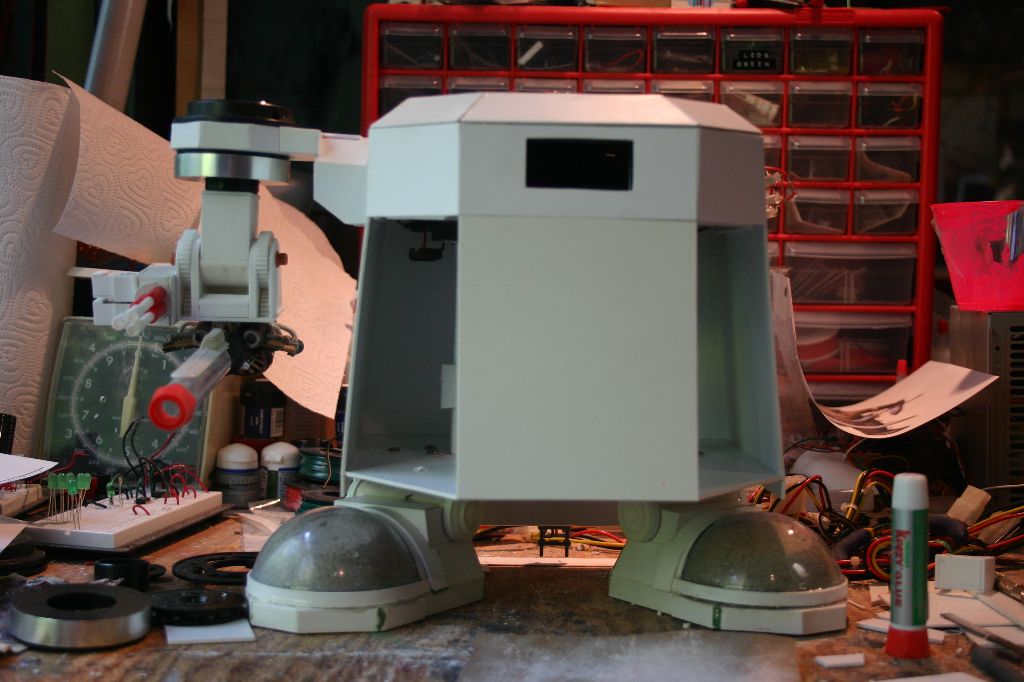
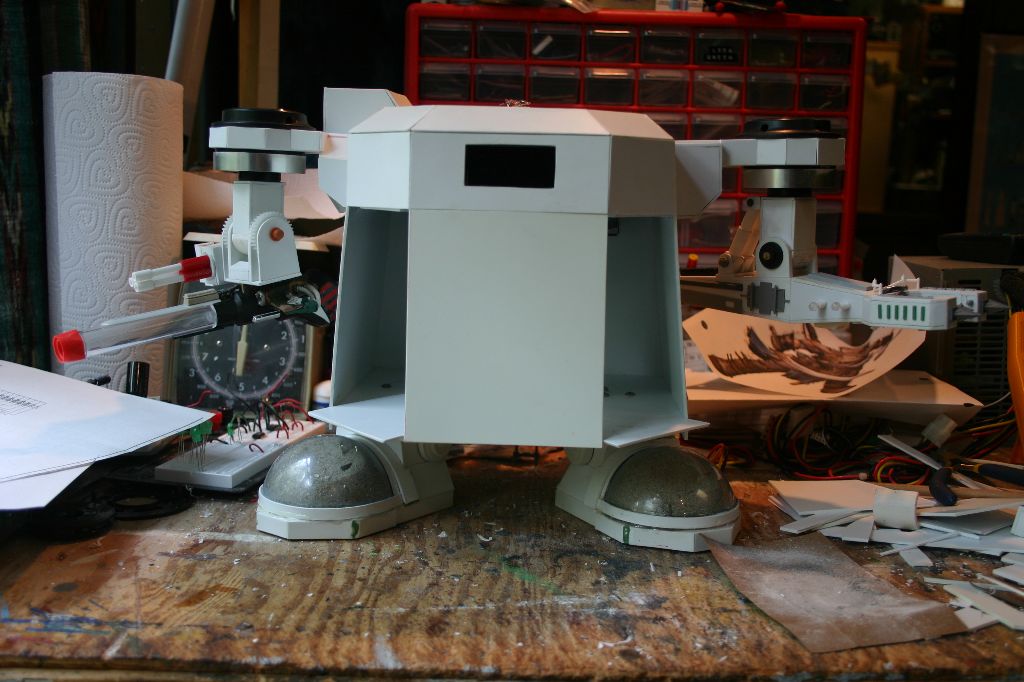
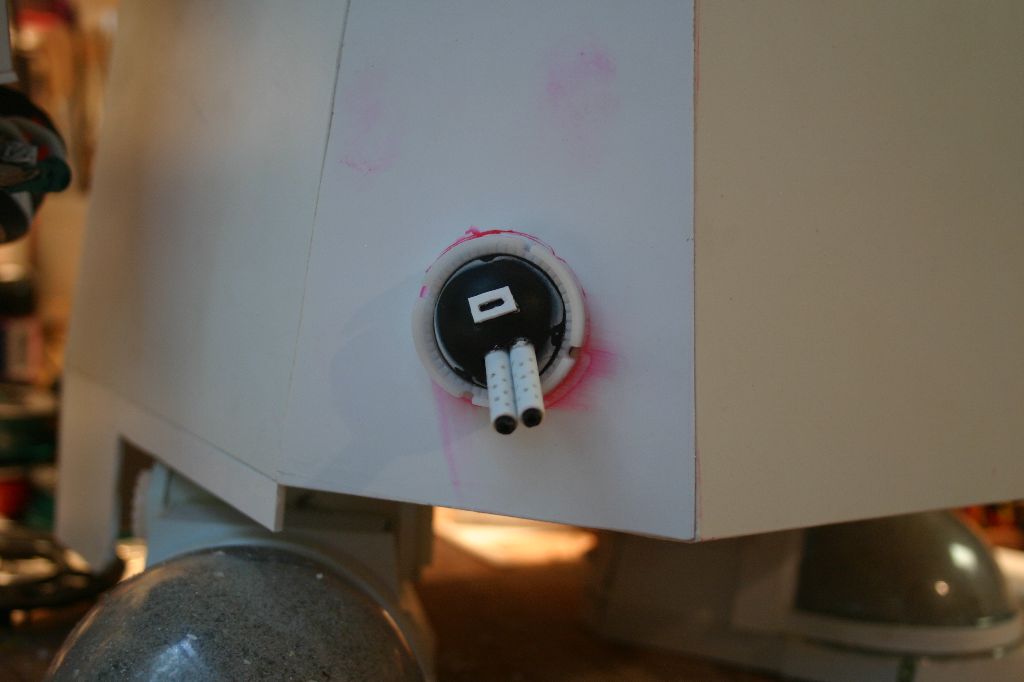
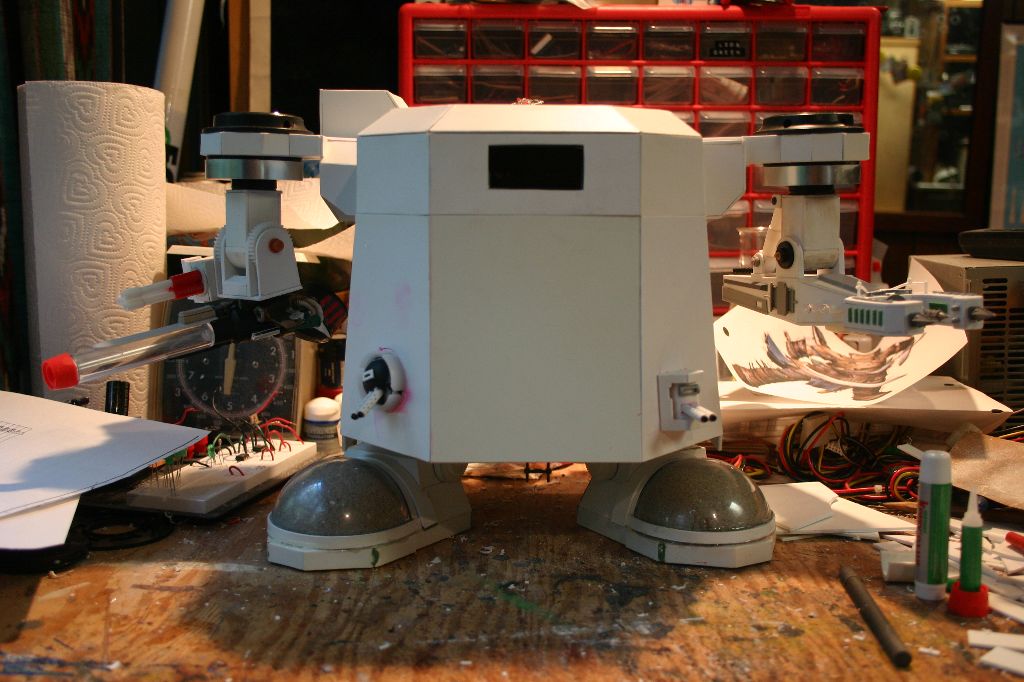
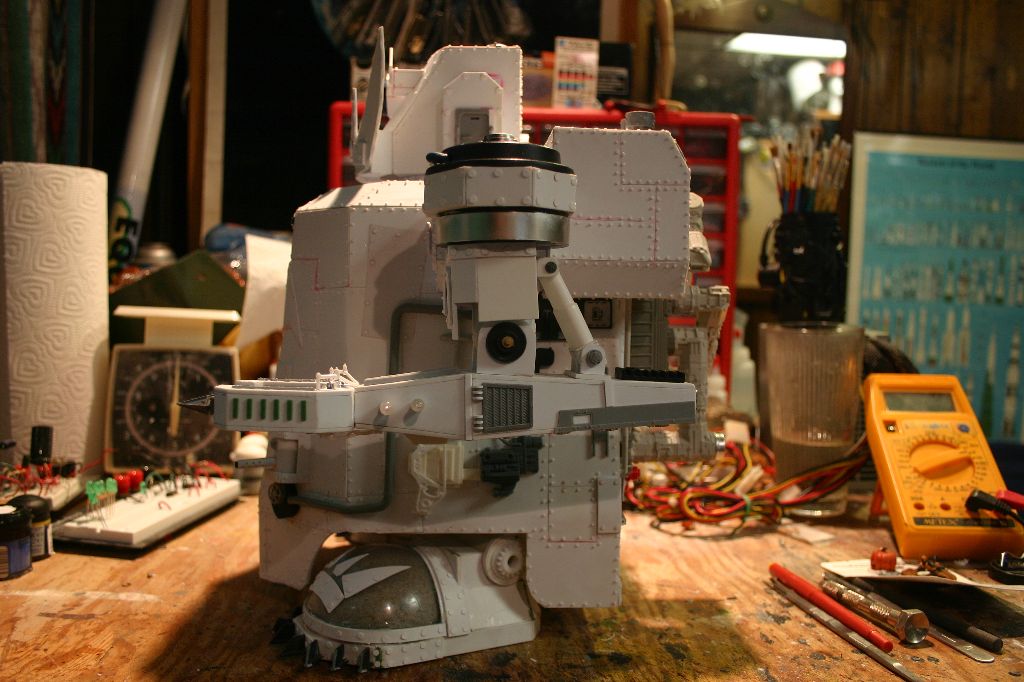
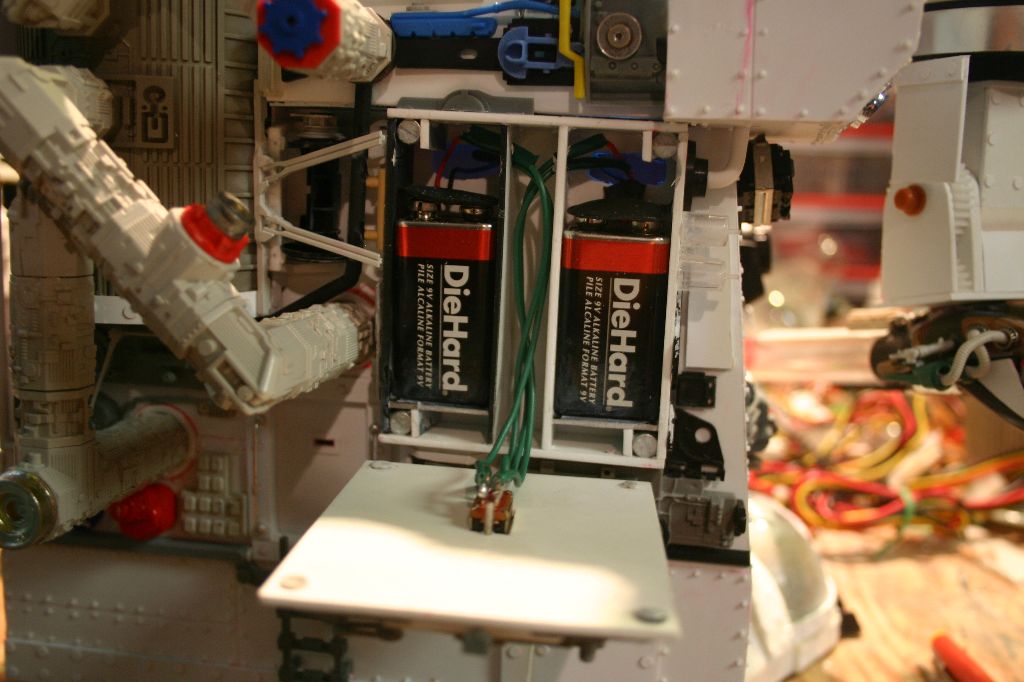
Now that I had the main focus of the stompa complete I could work on the rest of it. I wanted to keep the exterior as "normal" as possible with the awesome factor going to when you looked inside. I poked around the internet looking at what other people have made until I worked out a design I liked. The main problem I found was that Games Workshop messed up. The stompa and mekstompa they give rules for in the Apocalypse books are more like Gargants with limited weaponry. In the end I wound up making my stompa gargant sized but kept the stompa weaponry. I started with the body and battery compartment. The battery panel is held on with magnets.
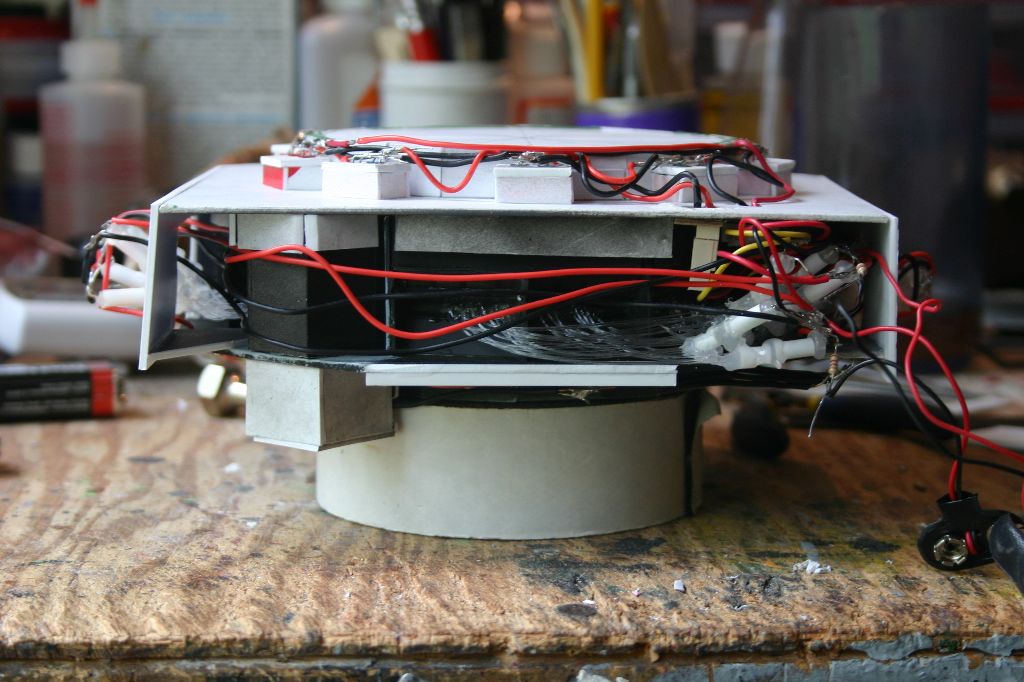
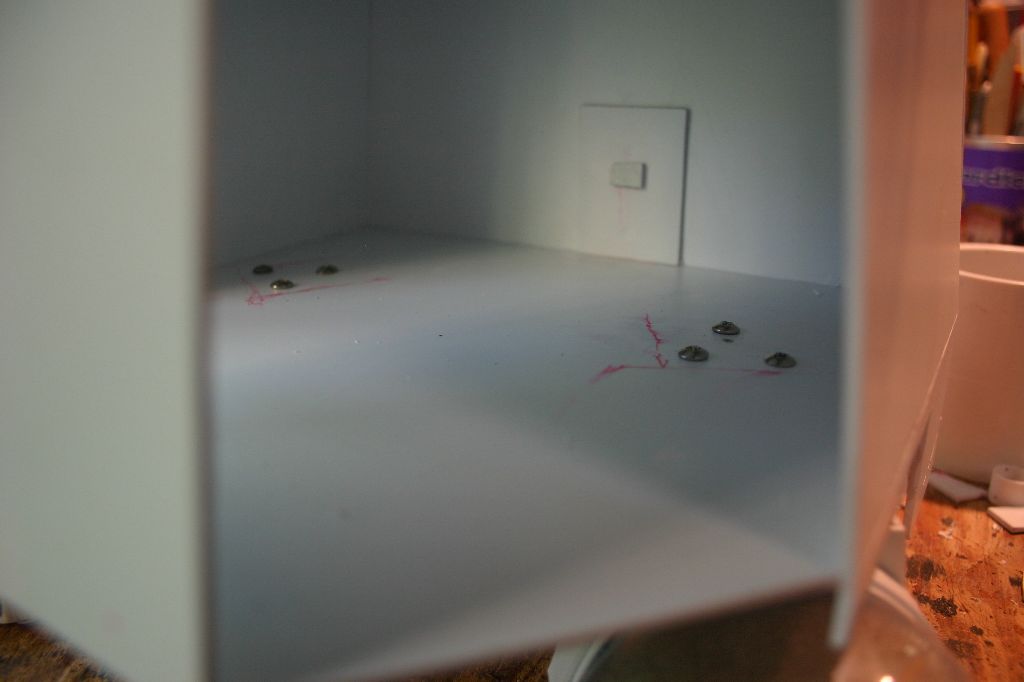
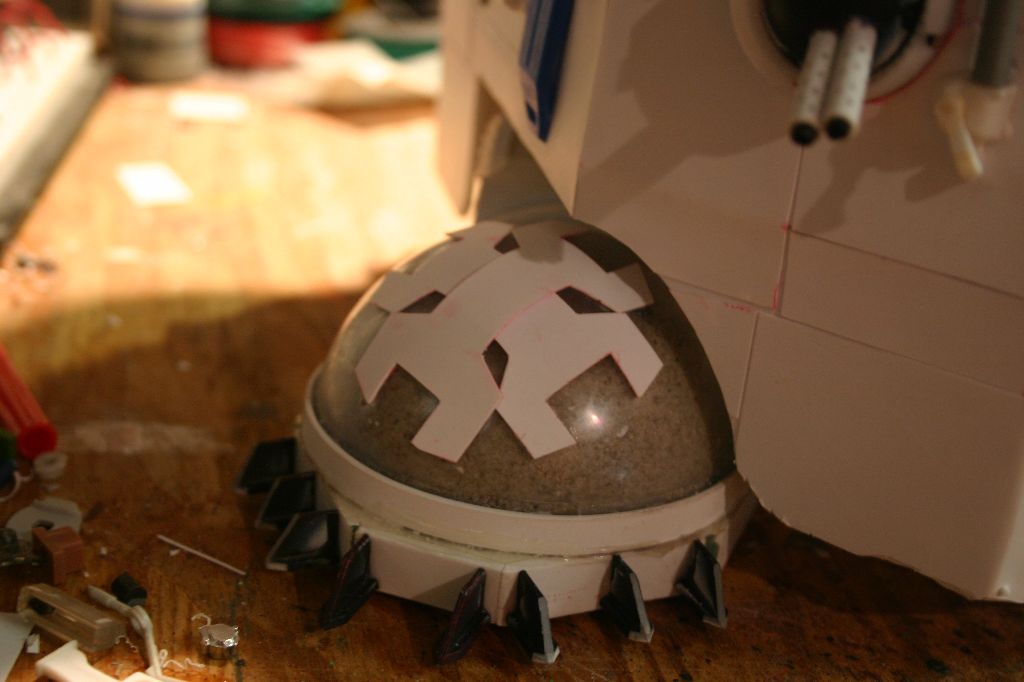
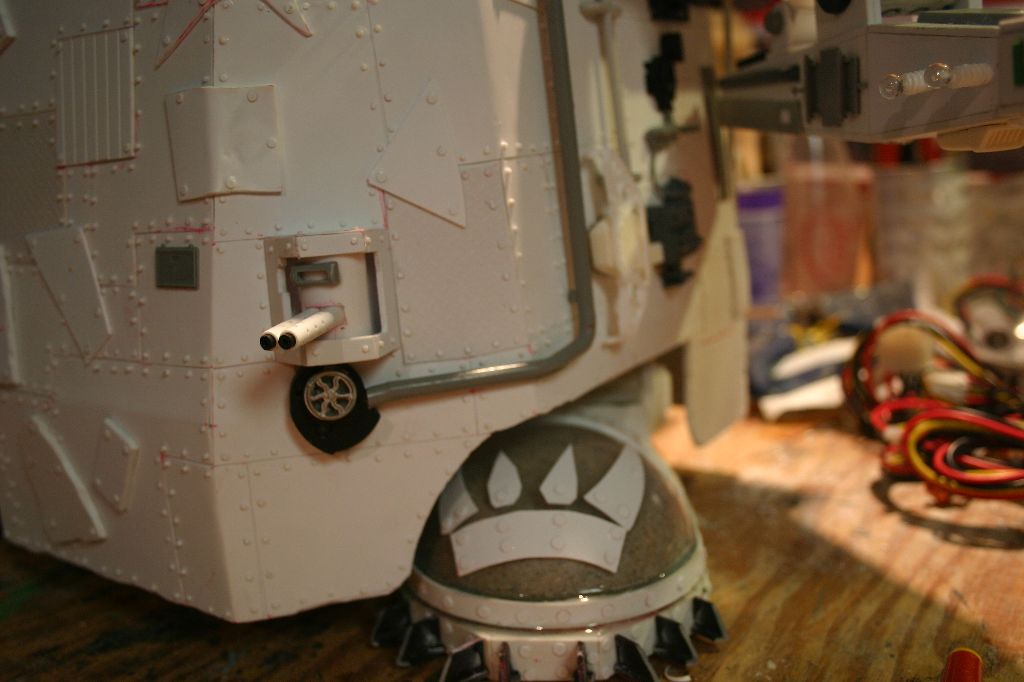
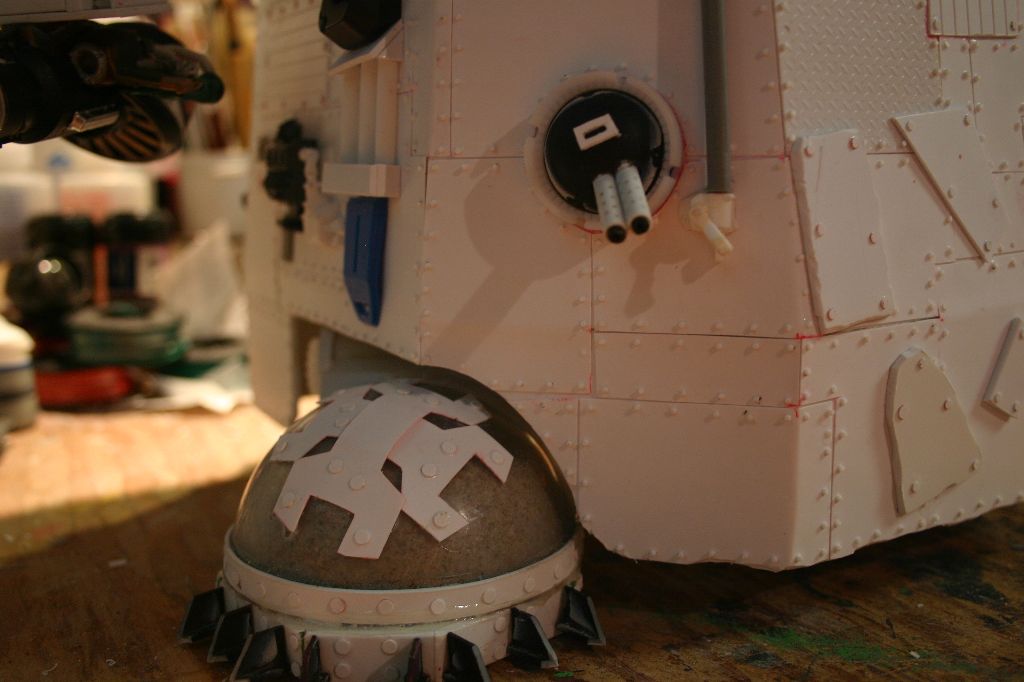
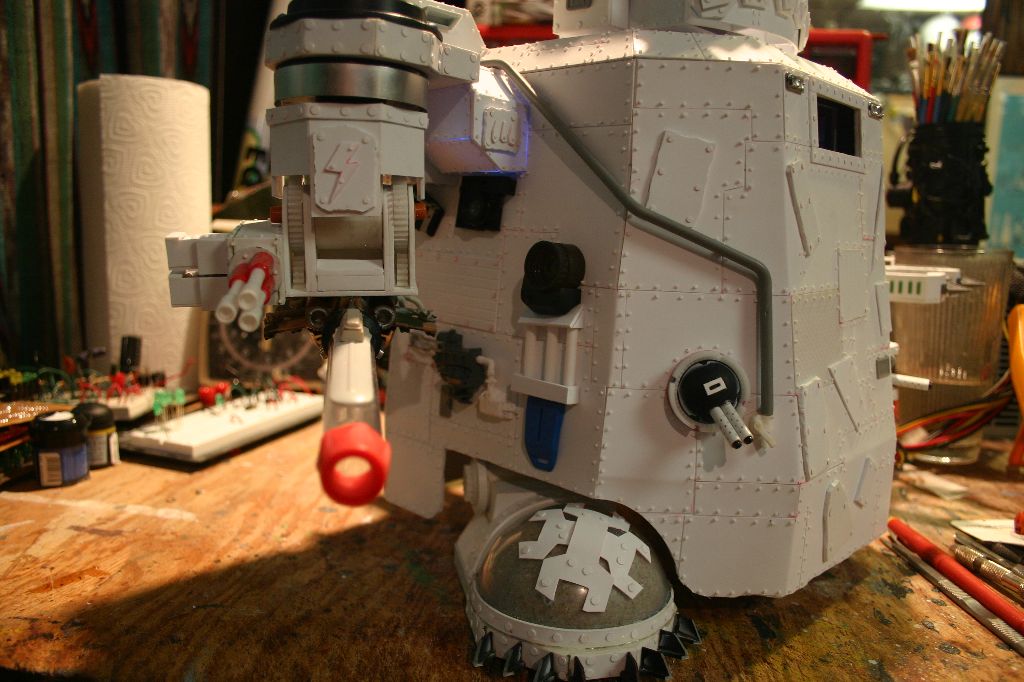
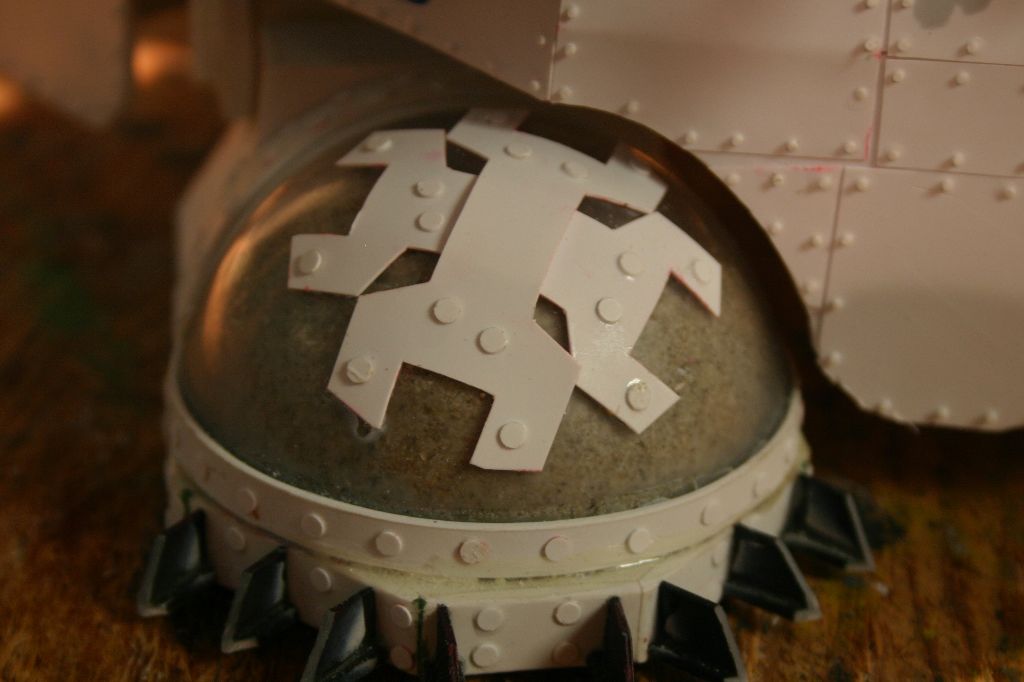
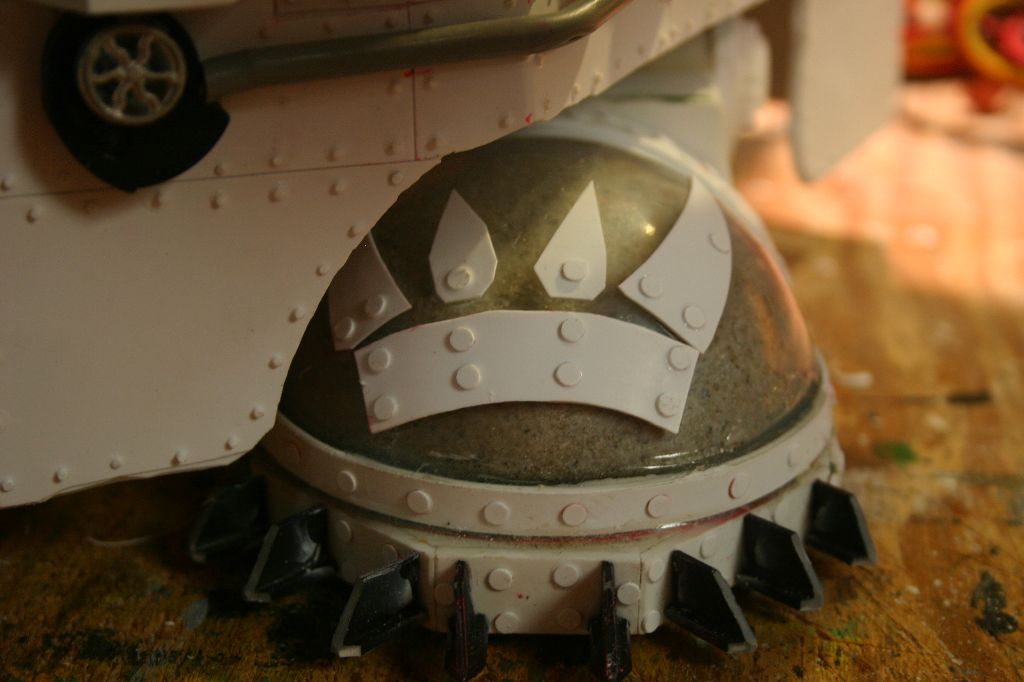
Next I built the feet. I filled the sole and "toes" with sand to improve balance and stability. There are a lot of top-heavy stompas out there, this isn't one of them. The ankle was made from 1" PVC pipe. The "toes" were made from one of those cheap wand toys with the LEDs that spin inside and make patterns. To attach them I used 5-minute epoxy and then shot three metal screws into them from inside the body.

The lights in the bridge ceiling were hidden with panels.
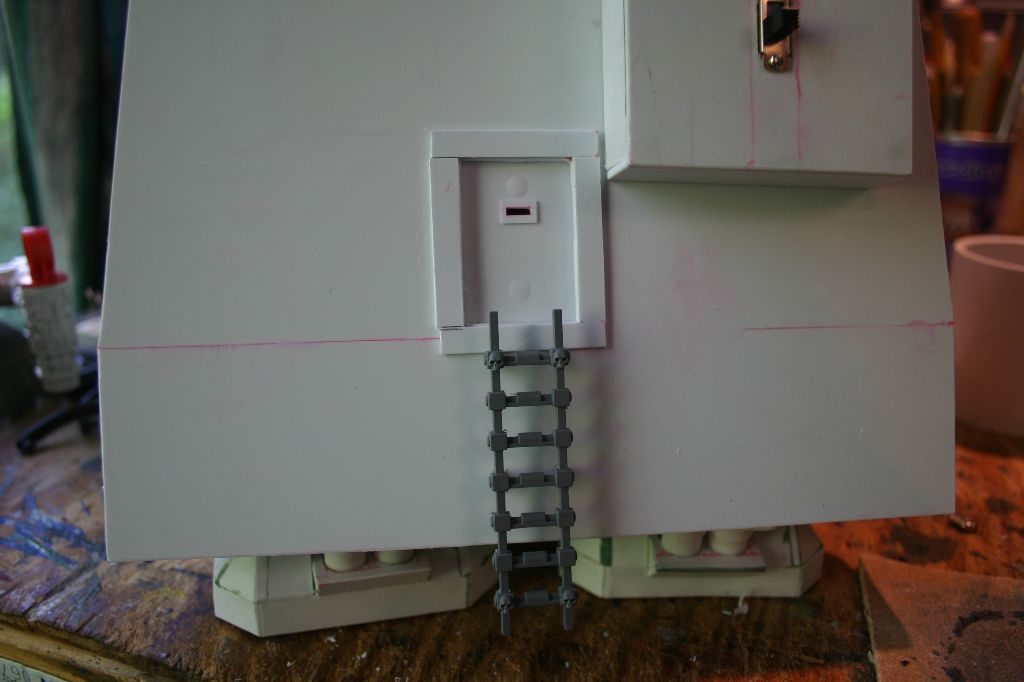
Before I closed up the body I added a recessed door in the back and installed central supports to distribute the weight on the feet.
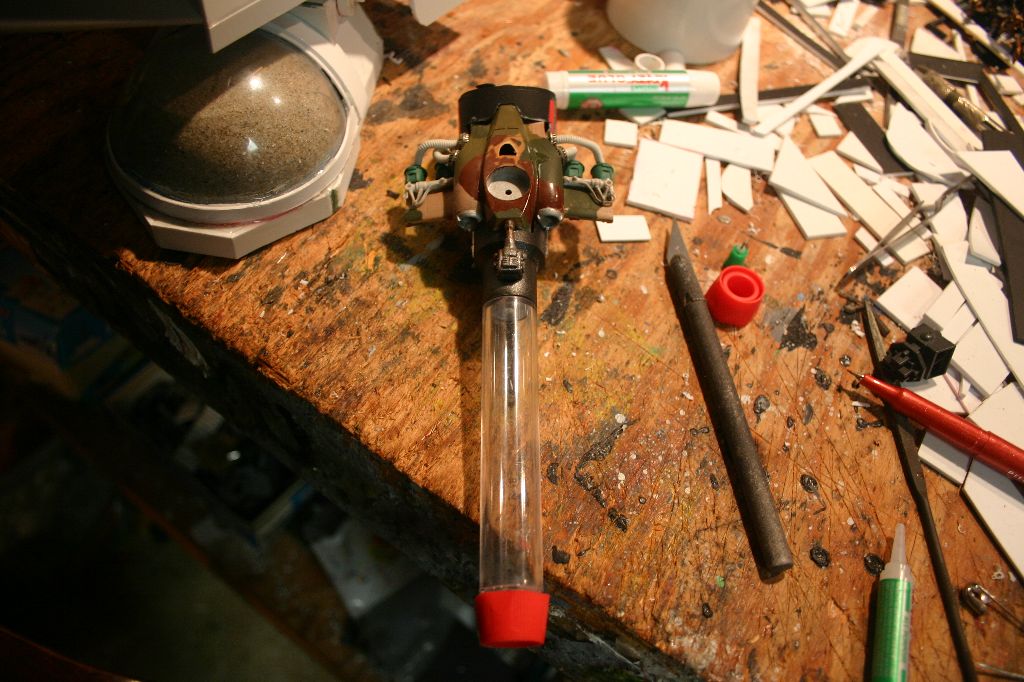
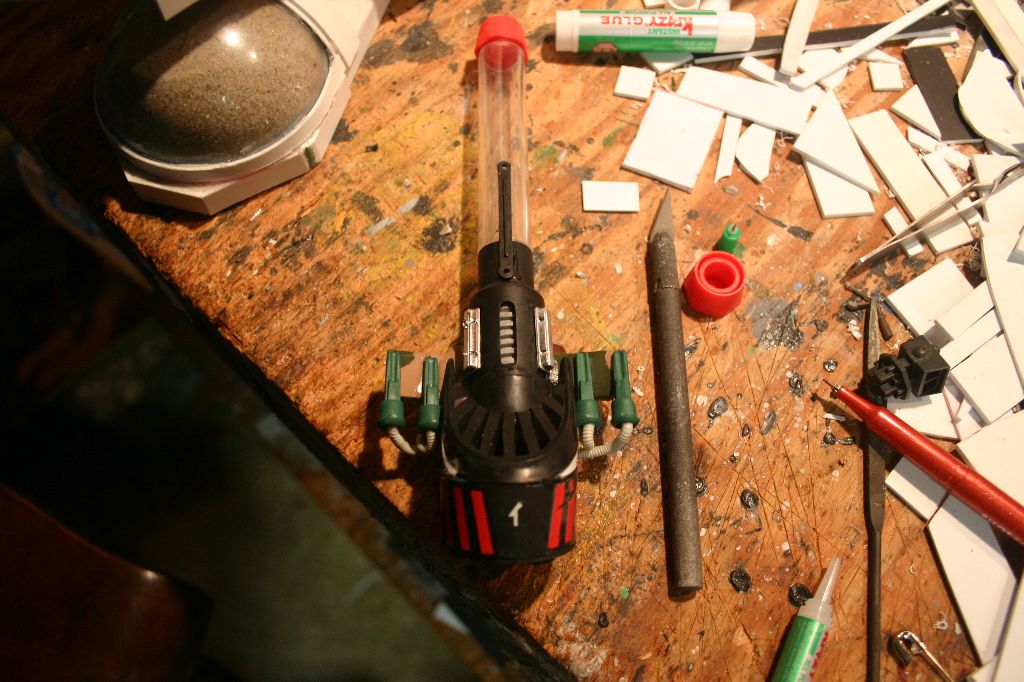
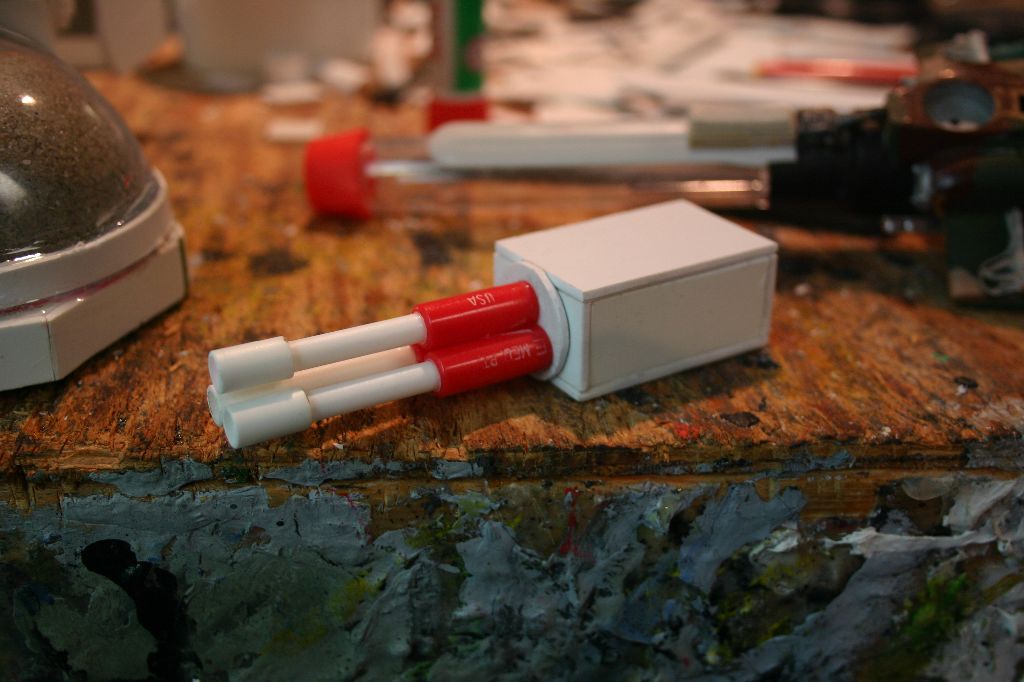
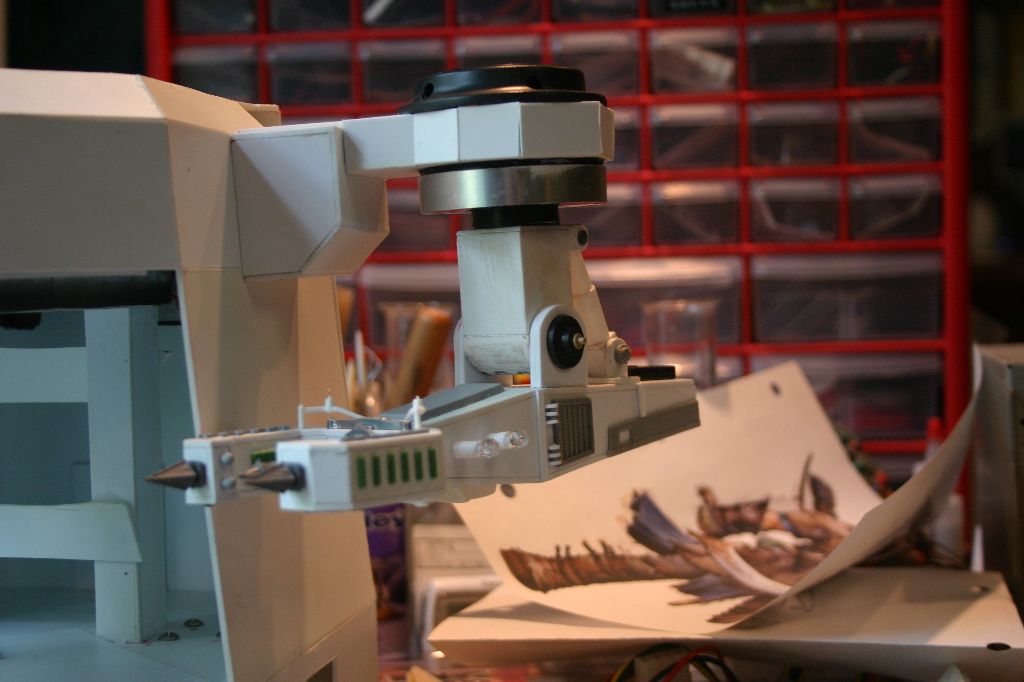
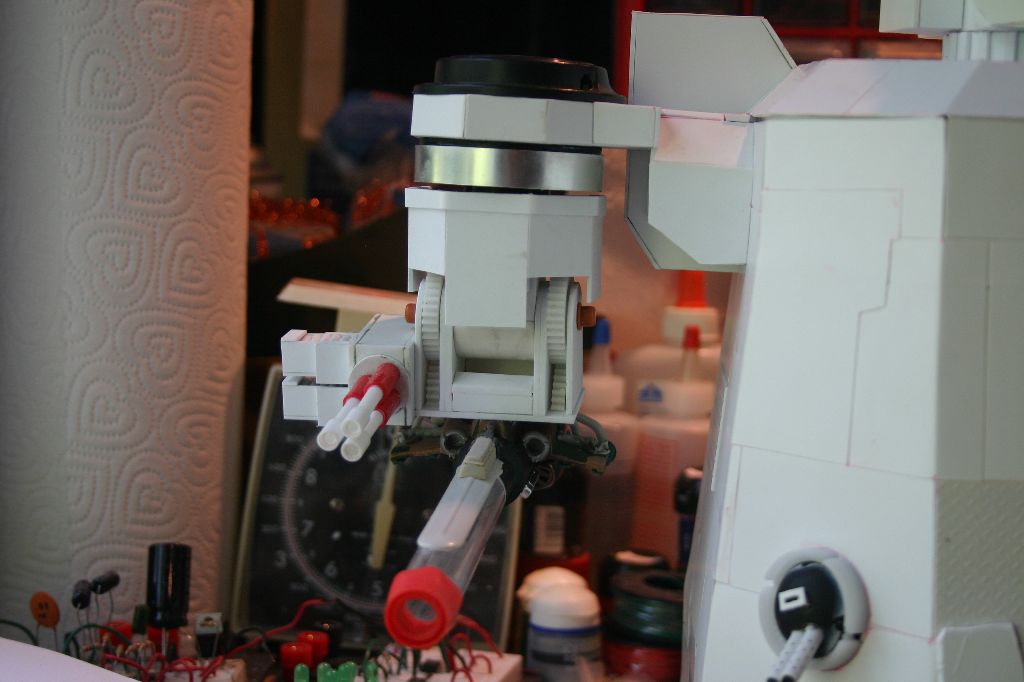
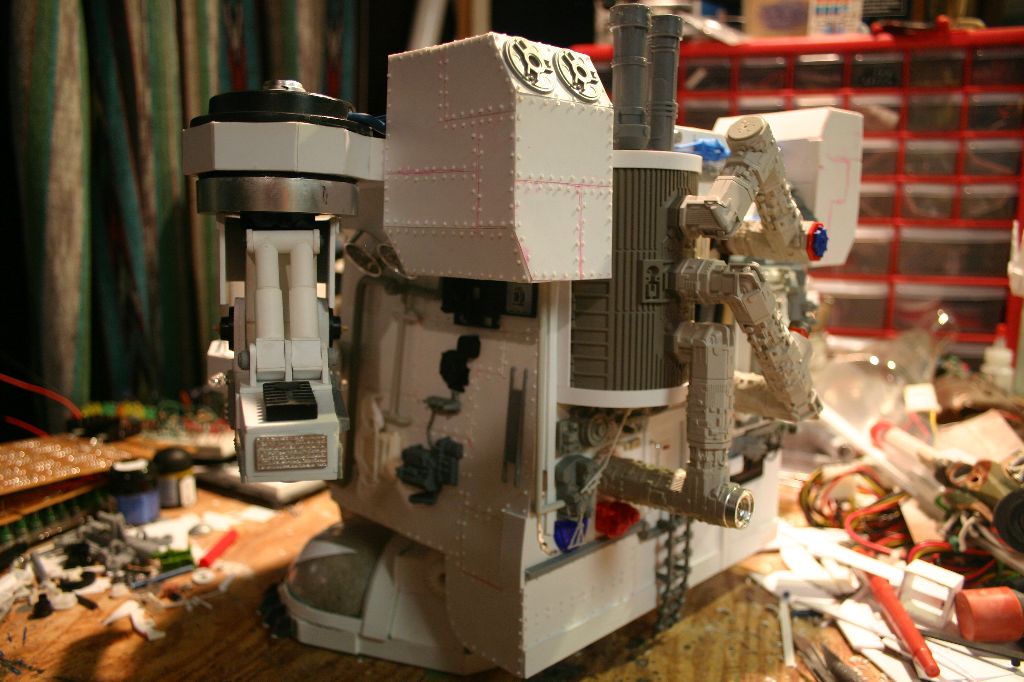
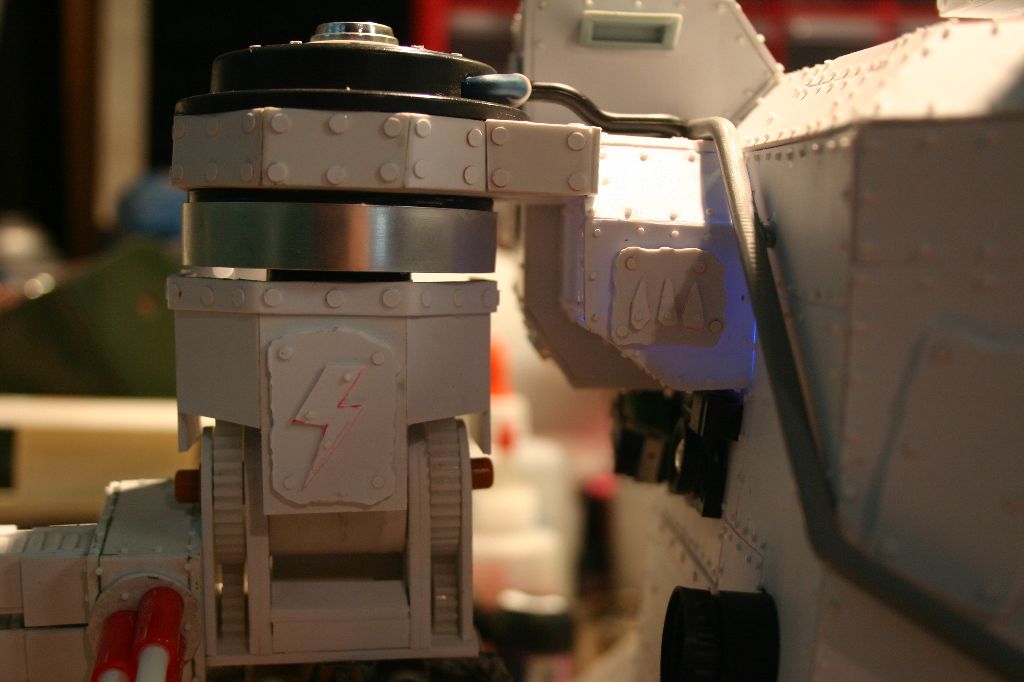
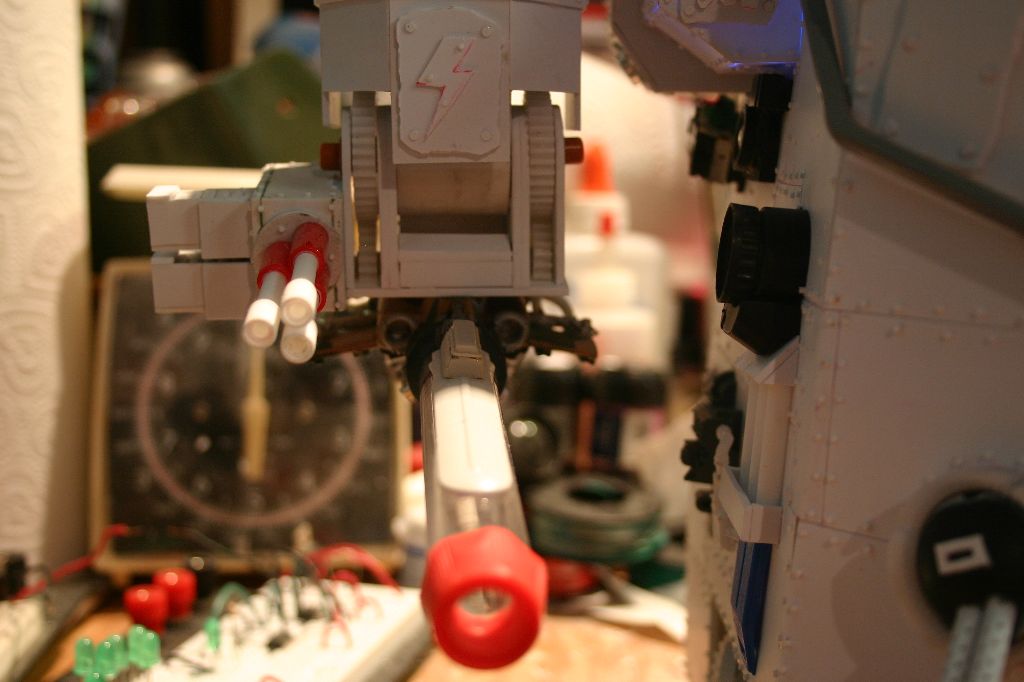
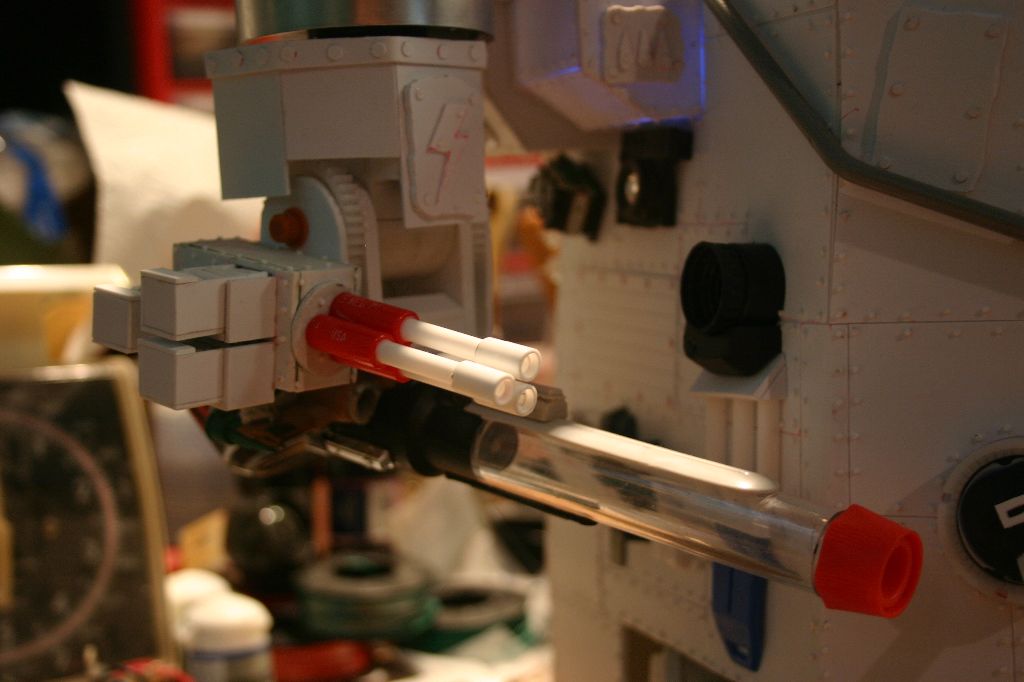
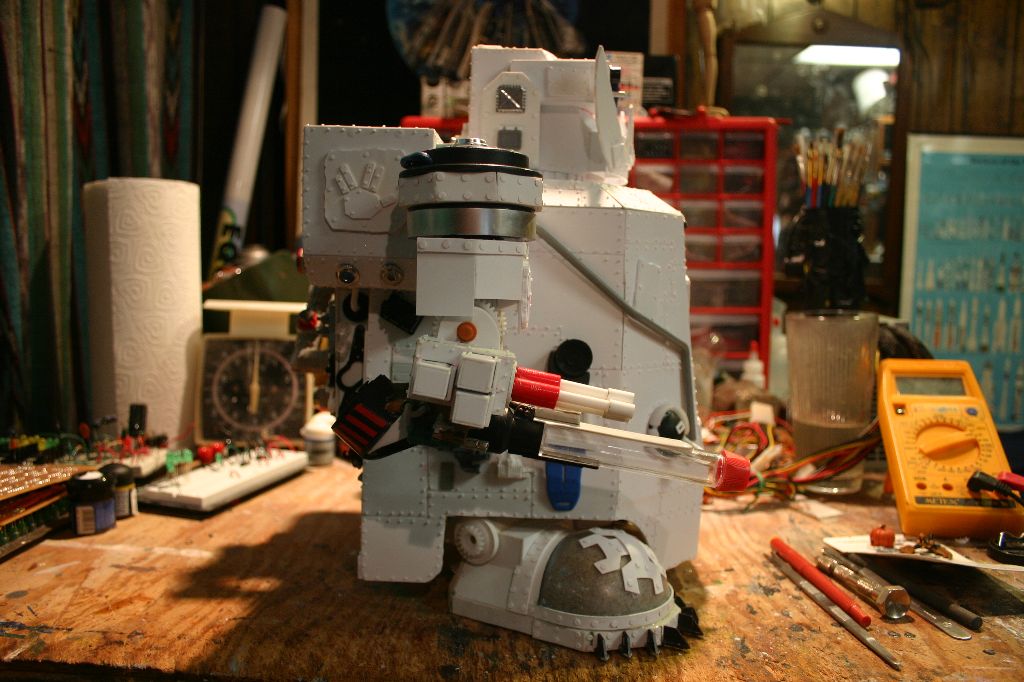
With the body done I needed to make the weapons so I would know how large the shoulders needed to be. The Deth Kannon was made from an empty solder tube, a scotch tape reel, toy gun parts, a model helicopter, light sockets, beads, split loom and various model pieces. The gigashoota was scratchbuilt from plasticard, styrene tube, pen tubes and styrene rod.
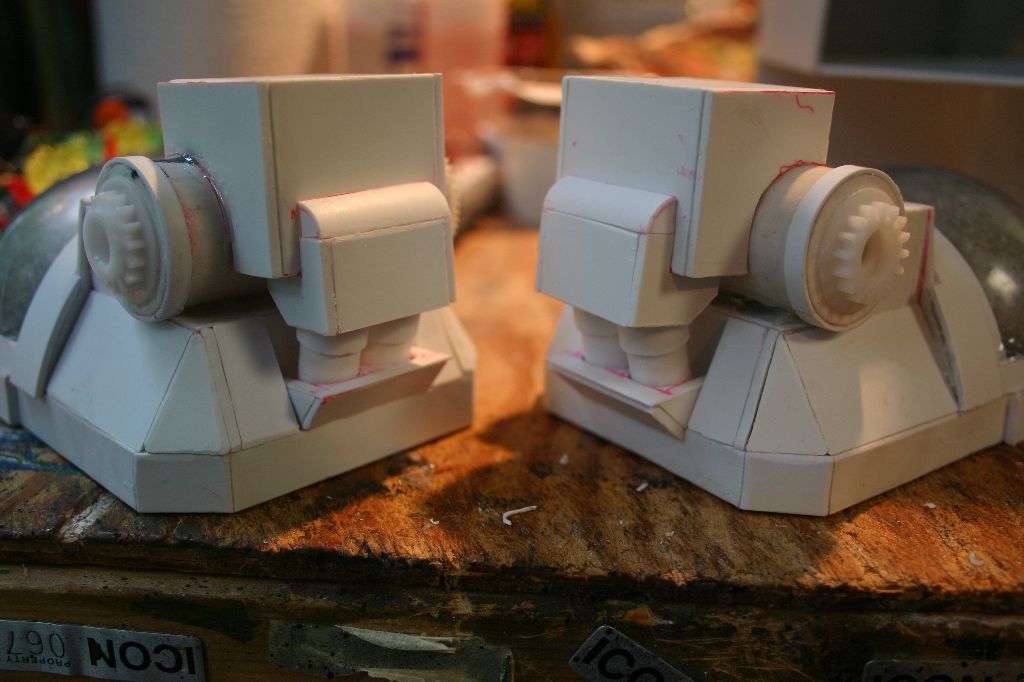
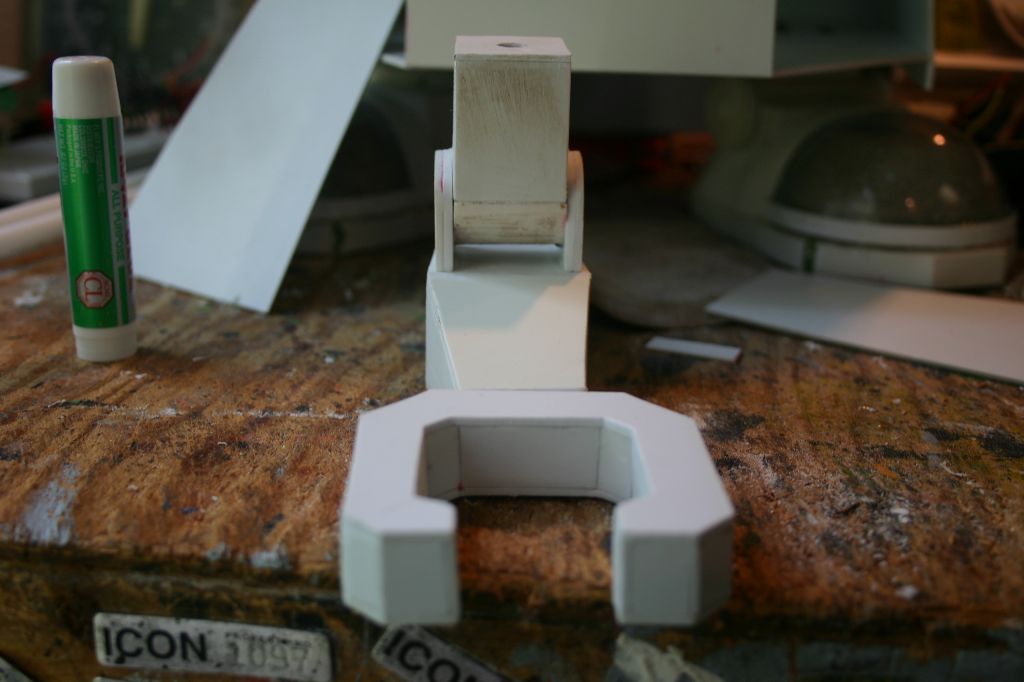
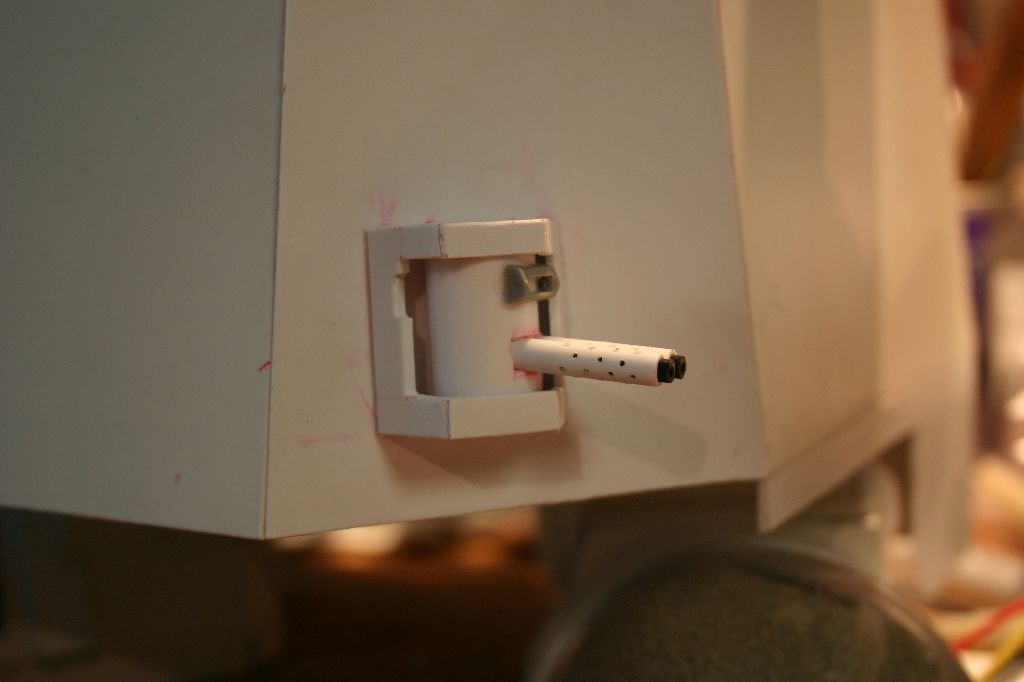
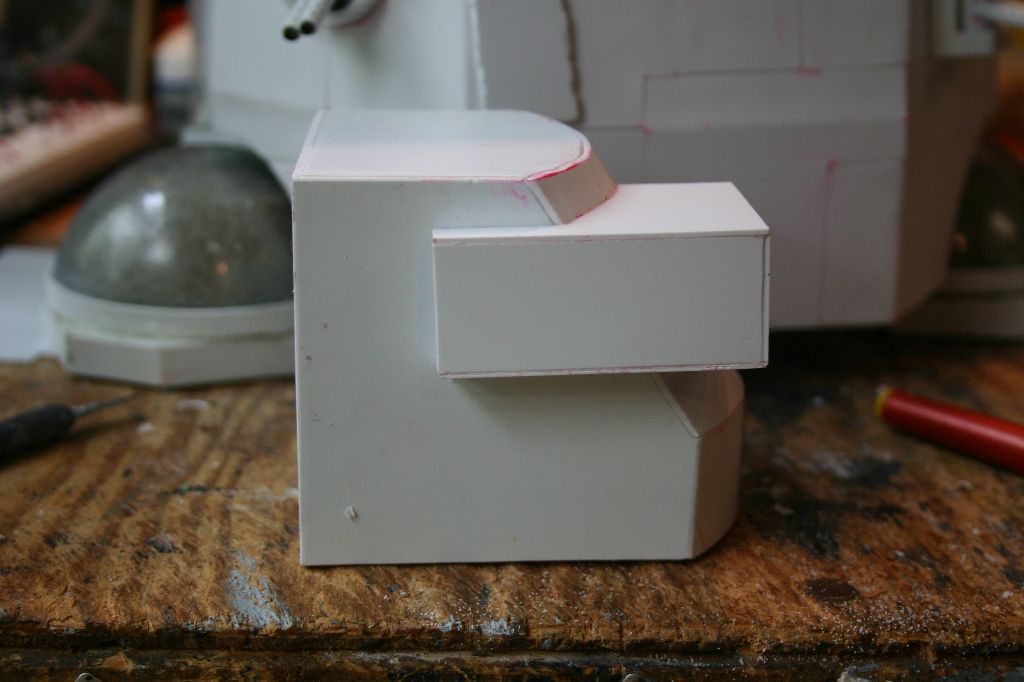
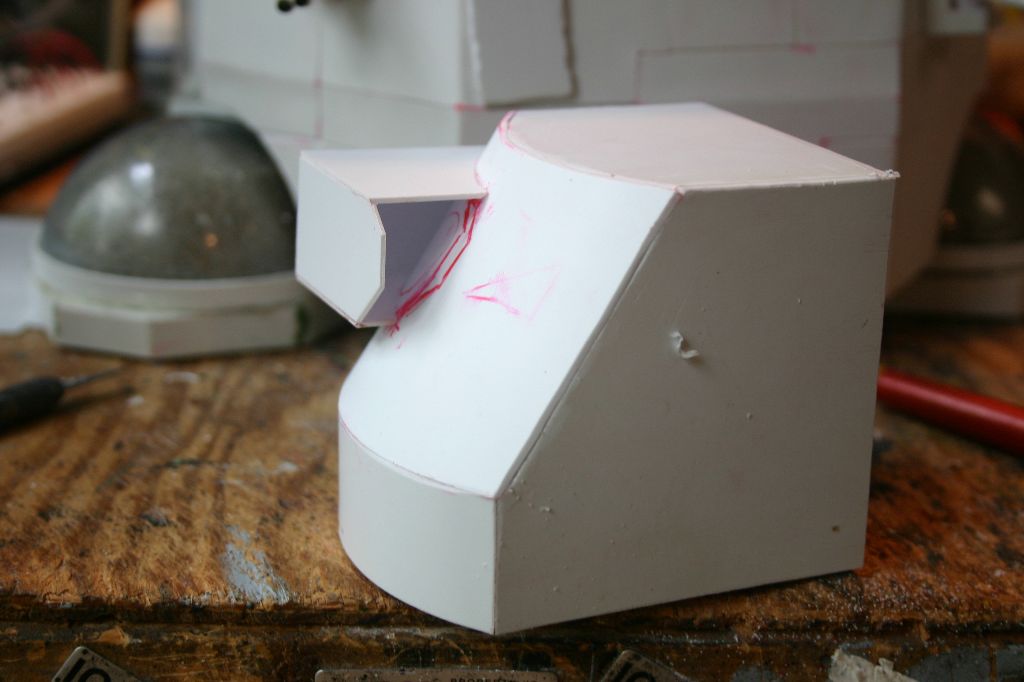
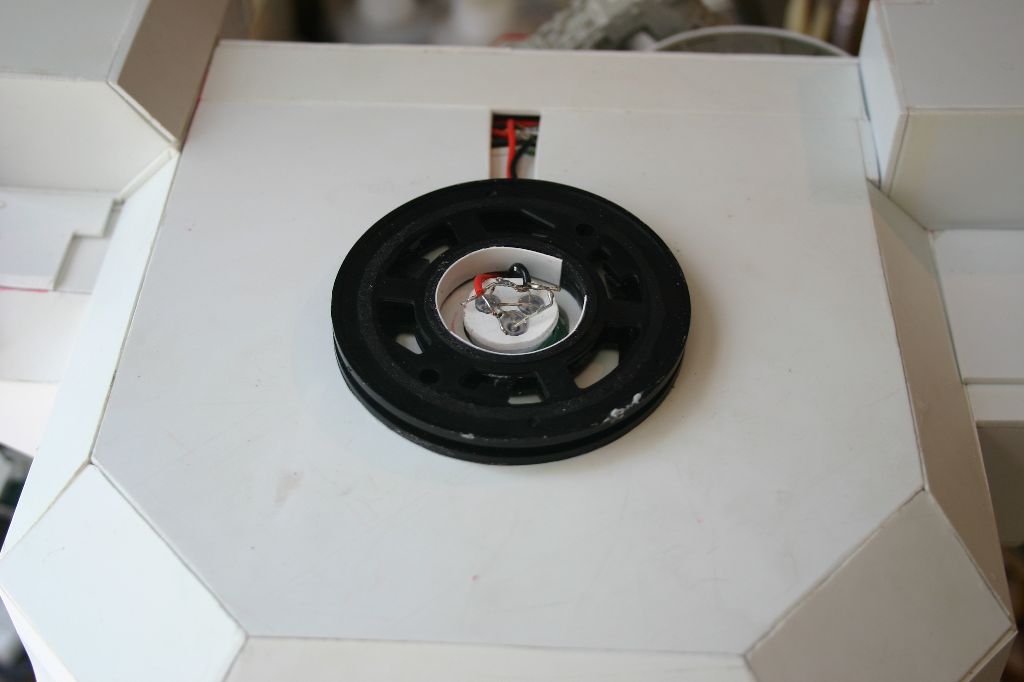
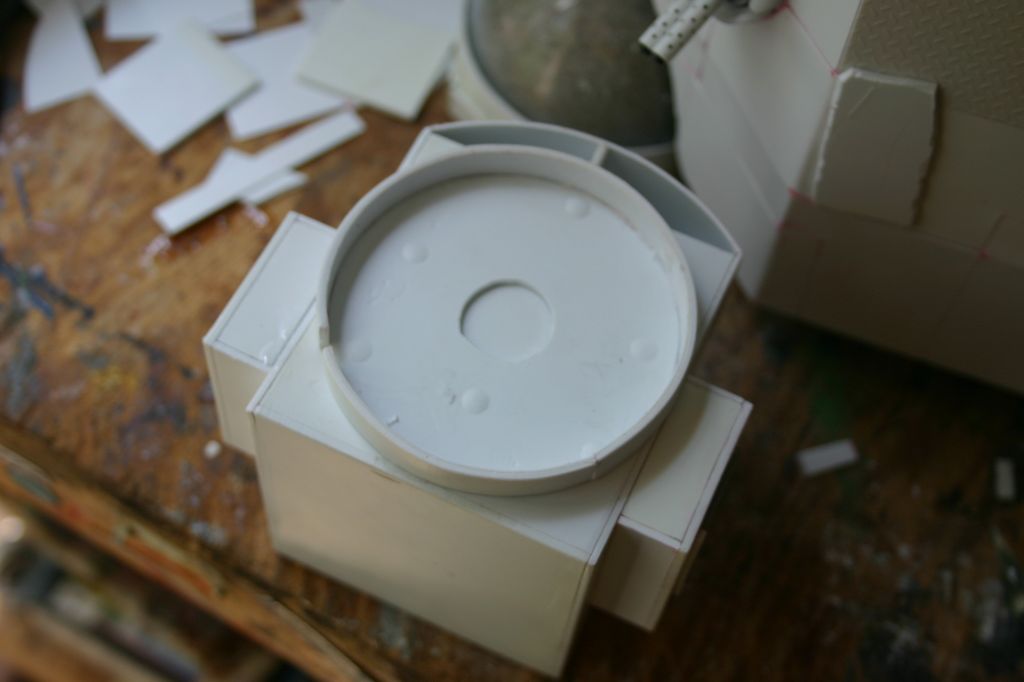
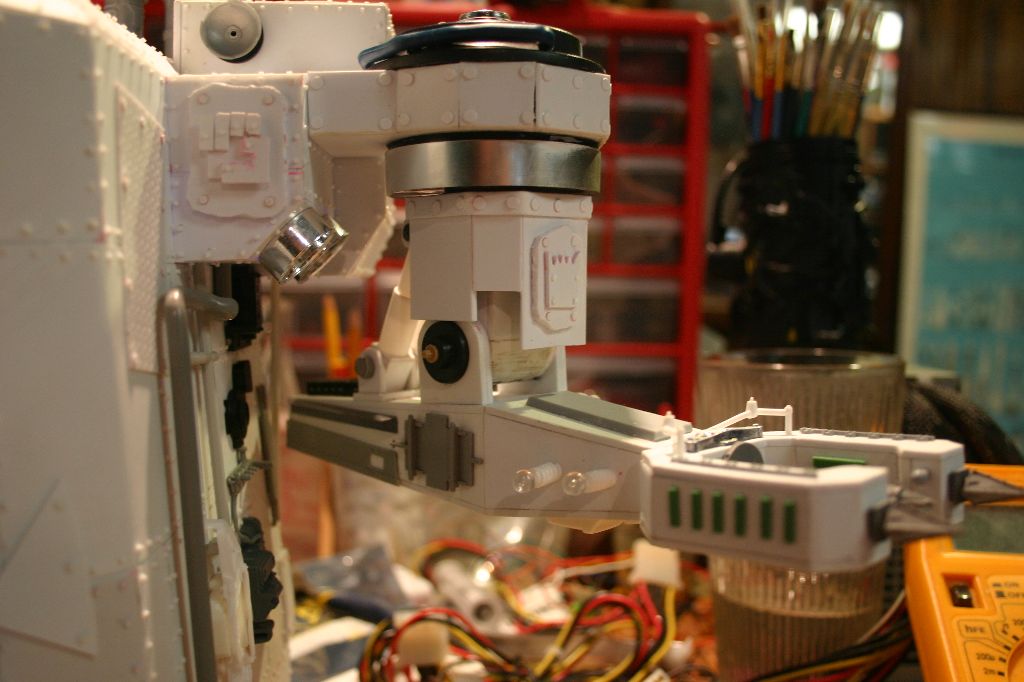
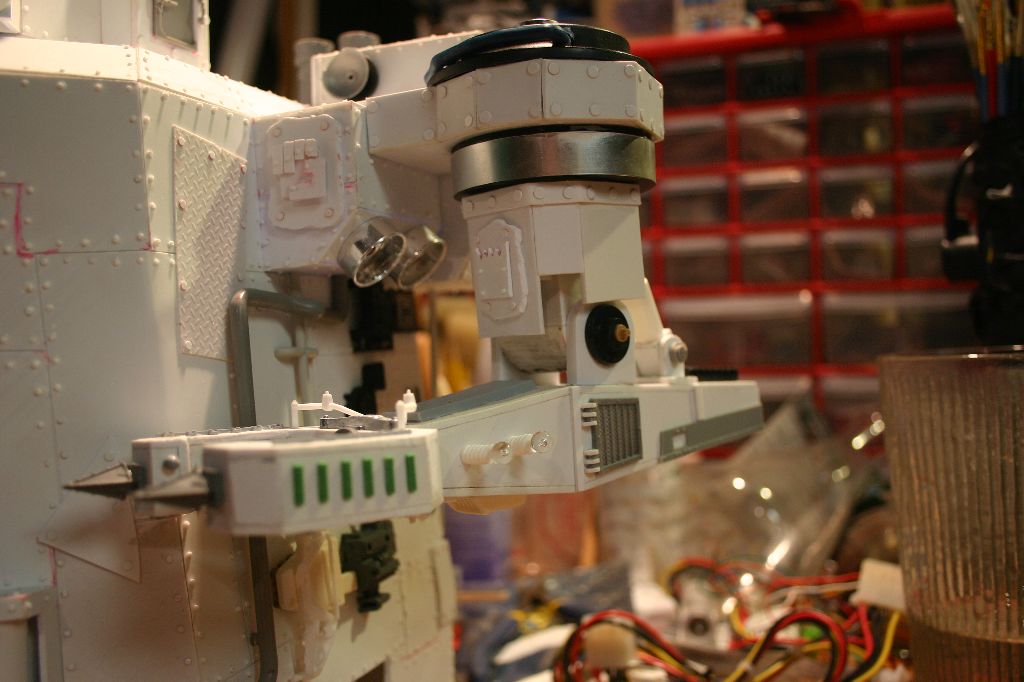
For the shoulder I used a combination of headphone and printer parts with a bolt down the center that would allow the arm to turn. A haphazard box was built around the exposed electronics which the shoulder was then attached to.
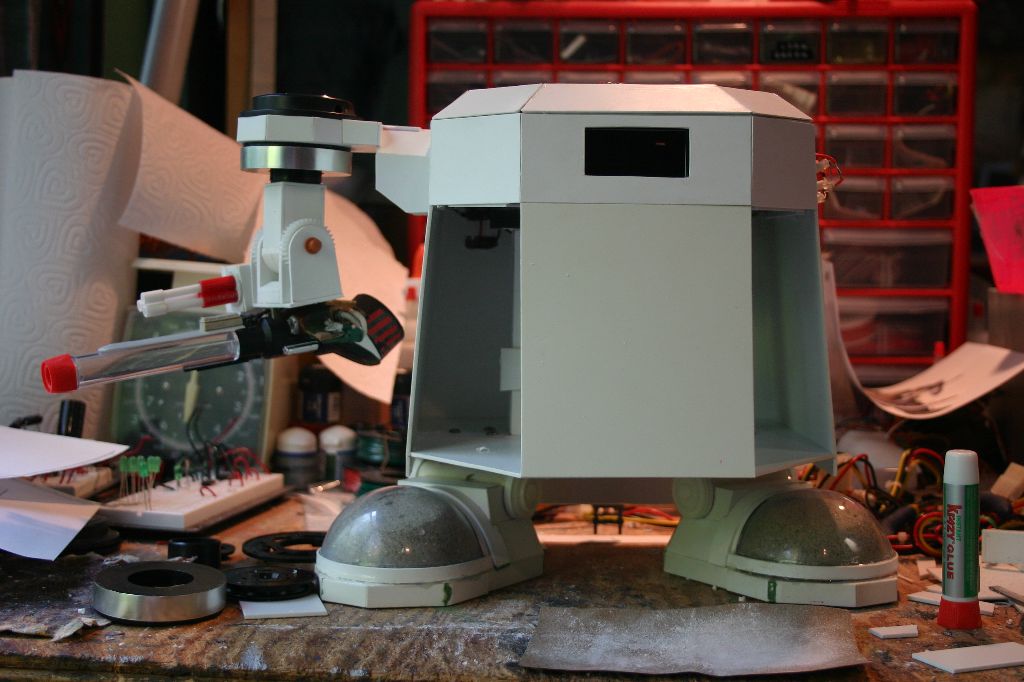
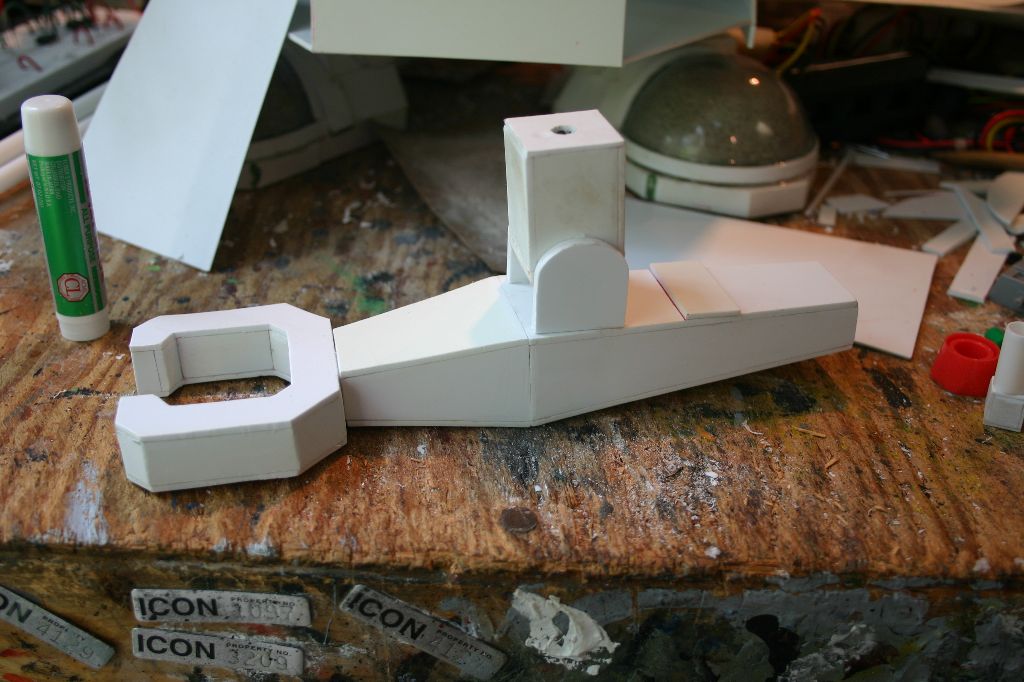
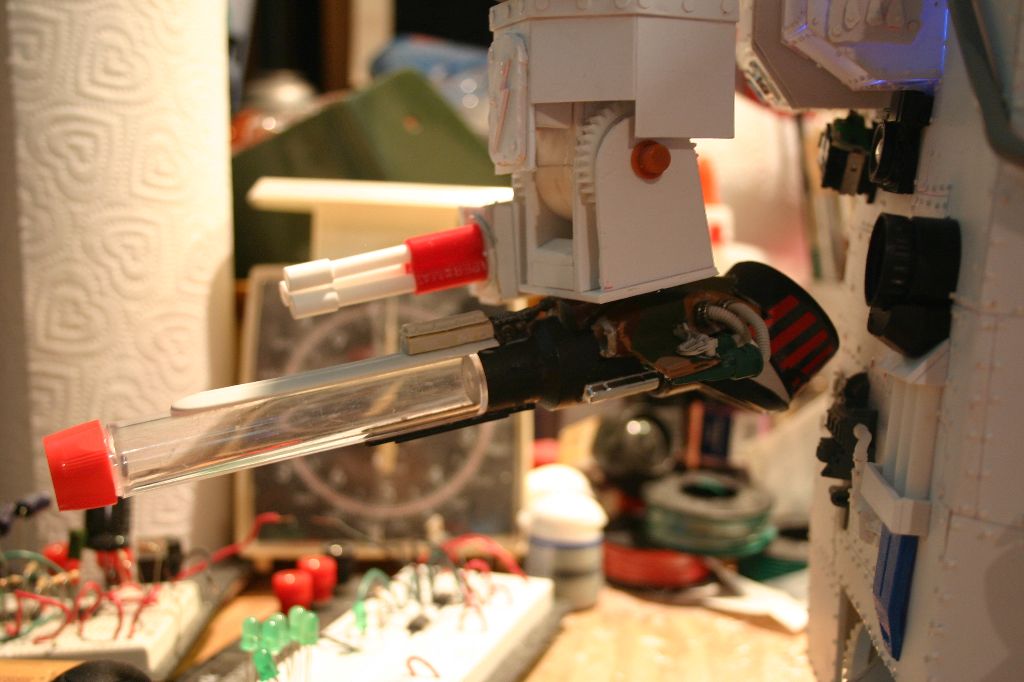
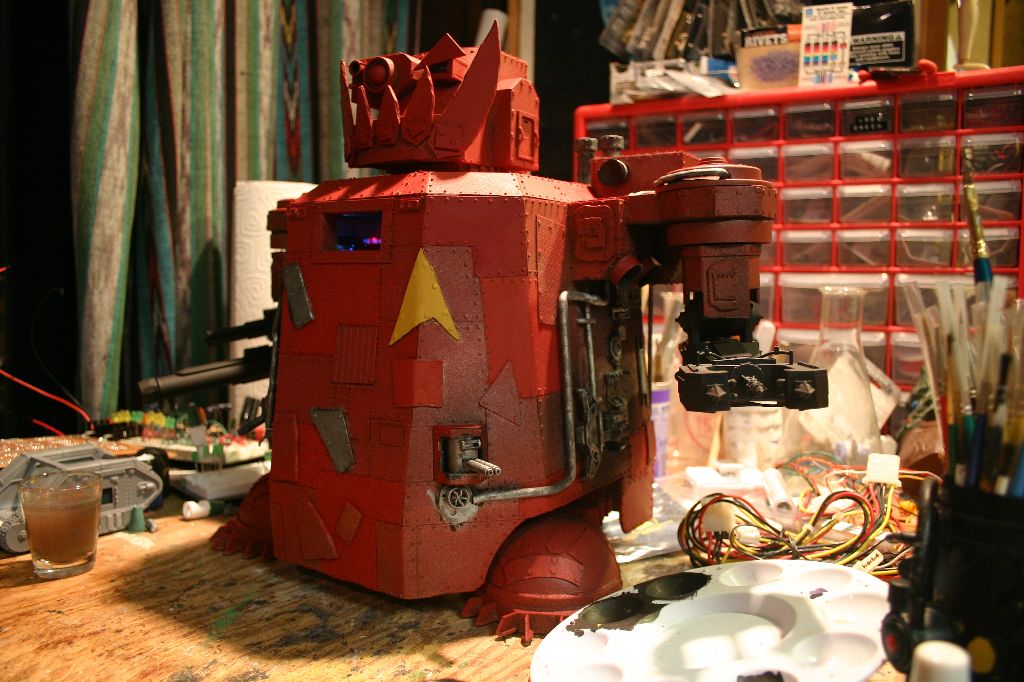
The body of the lifta-droppa was built from plasticard then various bits were kitbashed onto it. The shoulder was made the same way as the first one as I didn't want to take the time thinking up another way to do it and I had the parts.

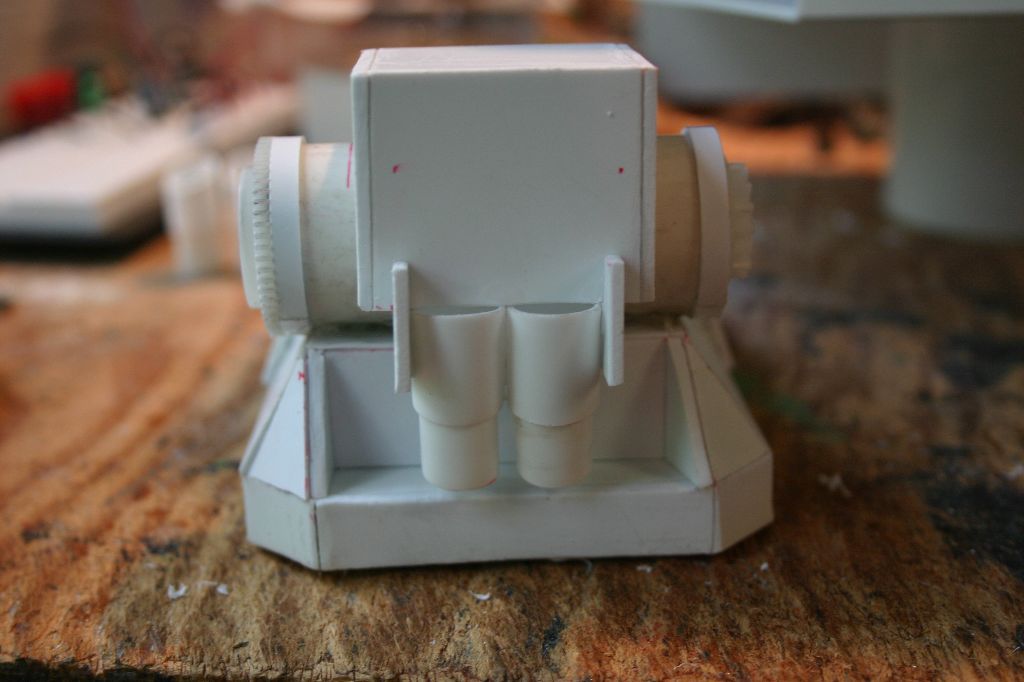
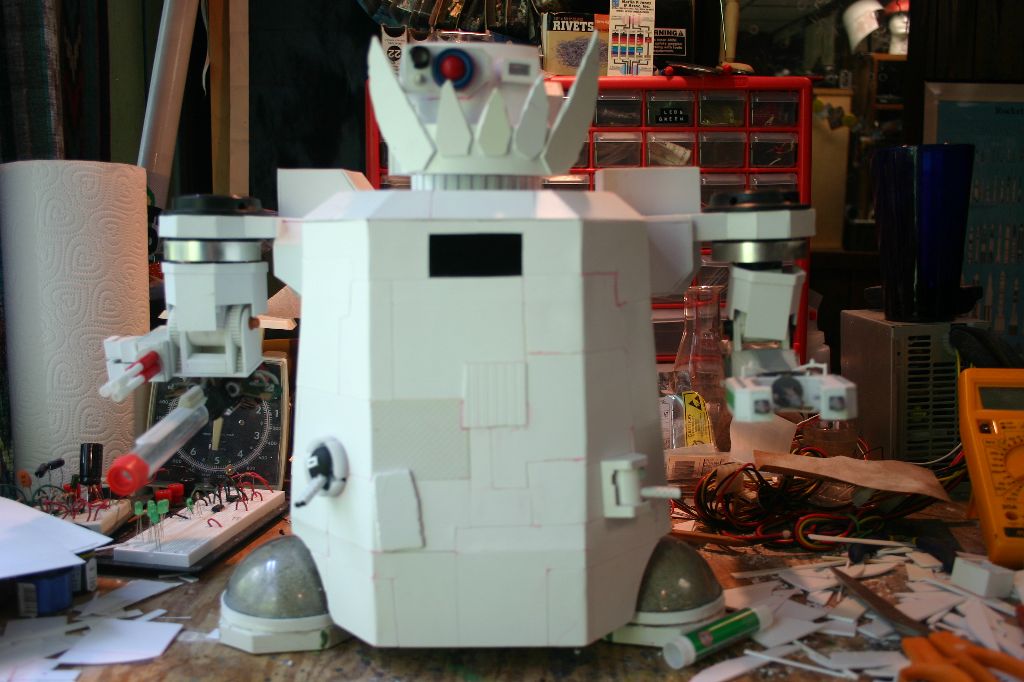
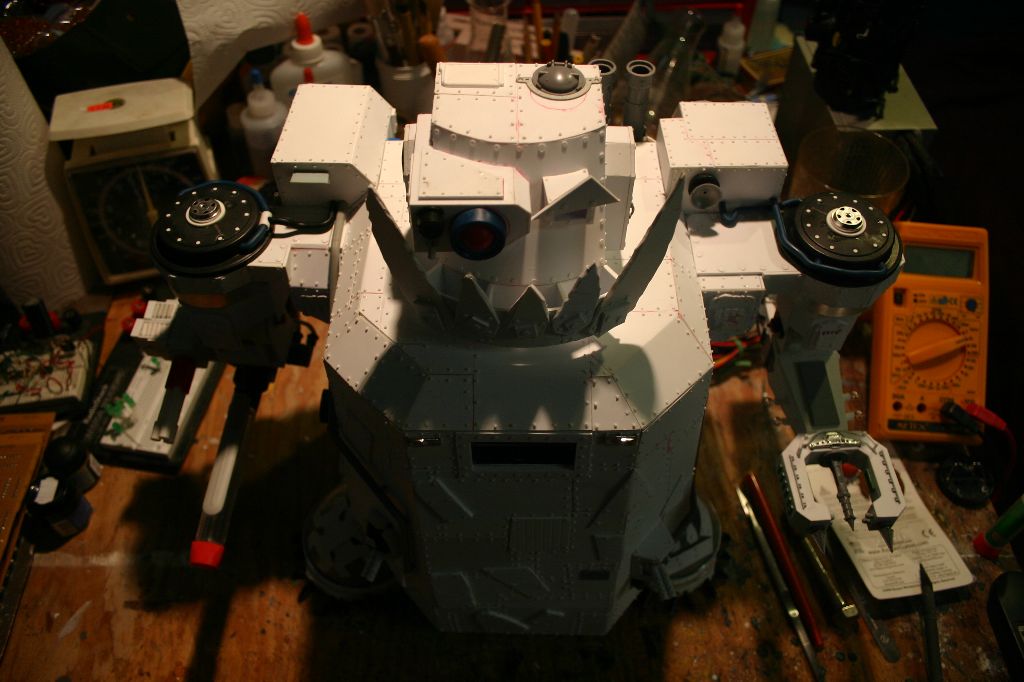
The body was finally closed up and the dual twin-linked big shootas were added.

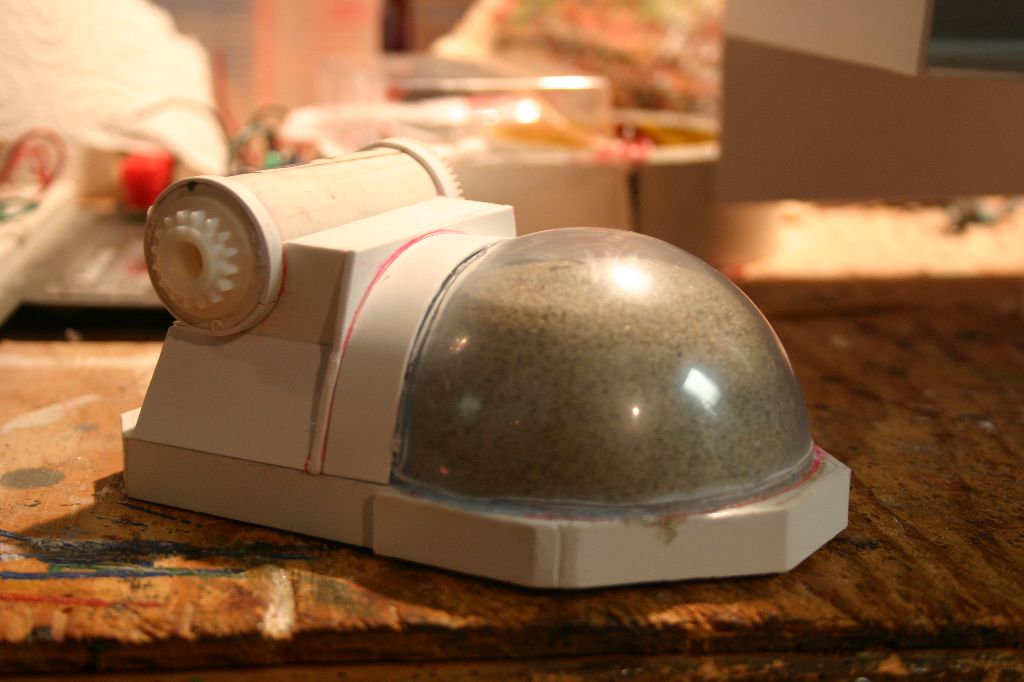
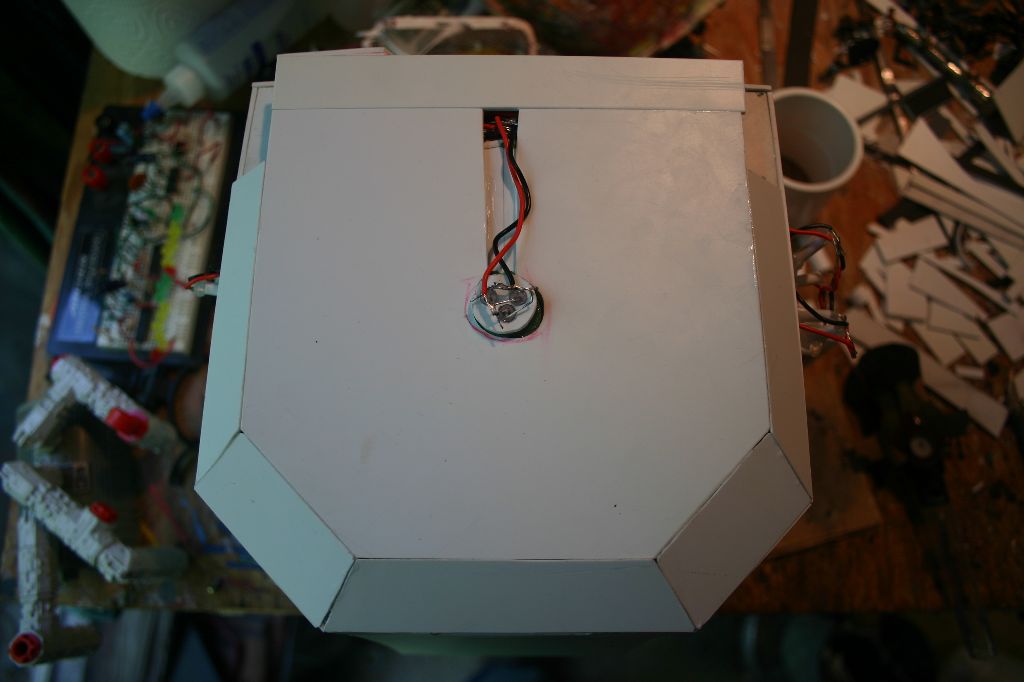
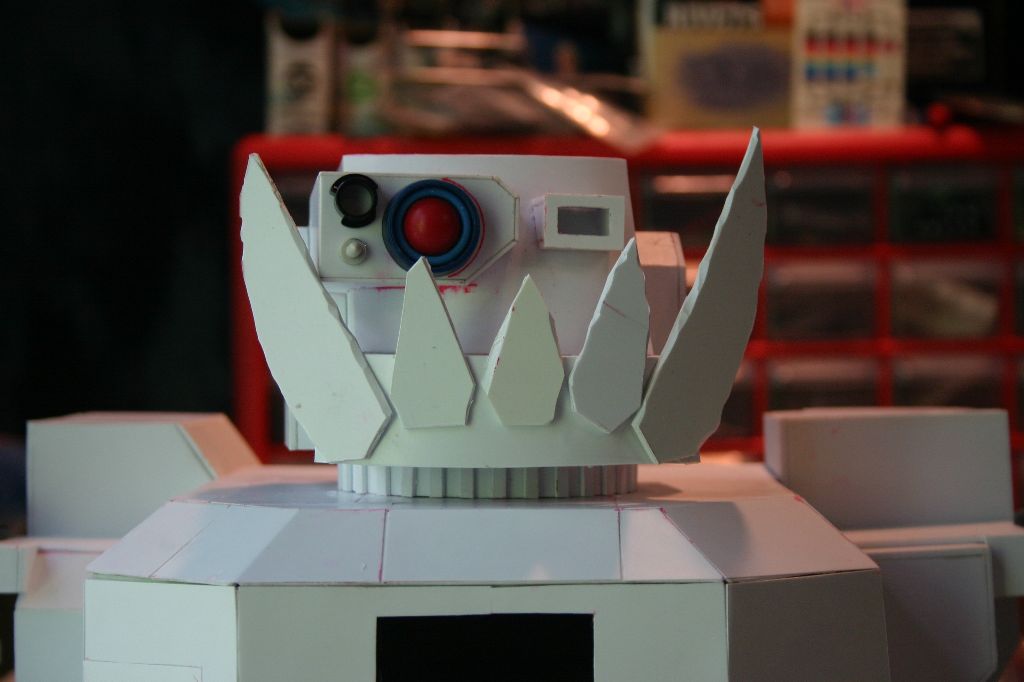
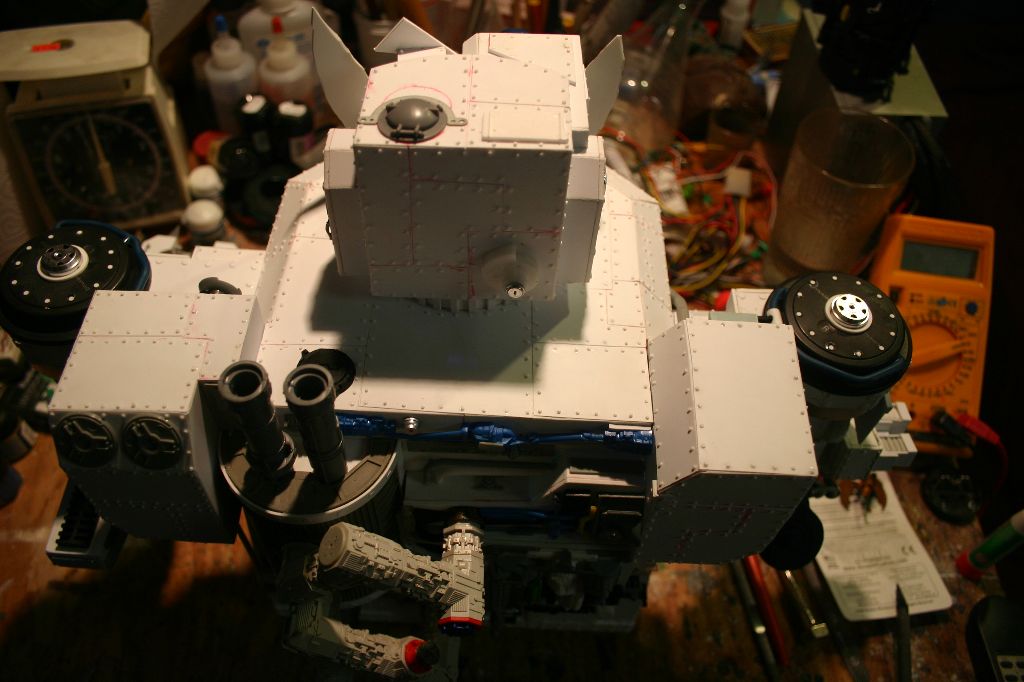
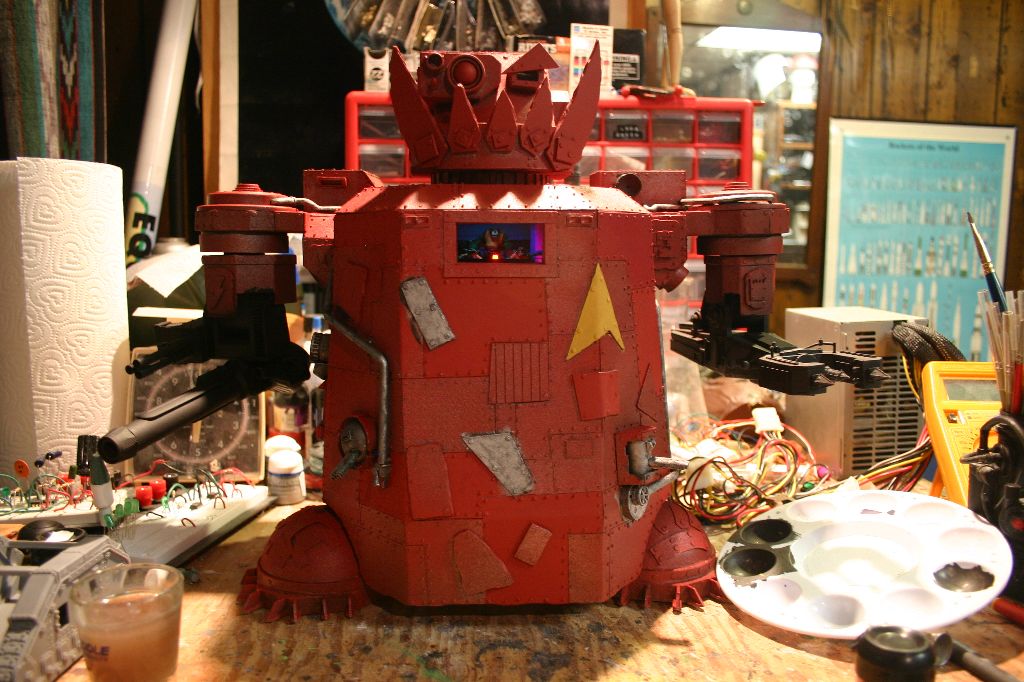
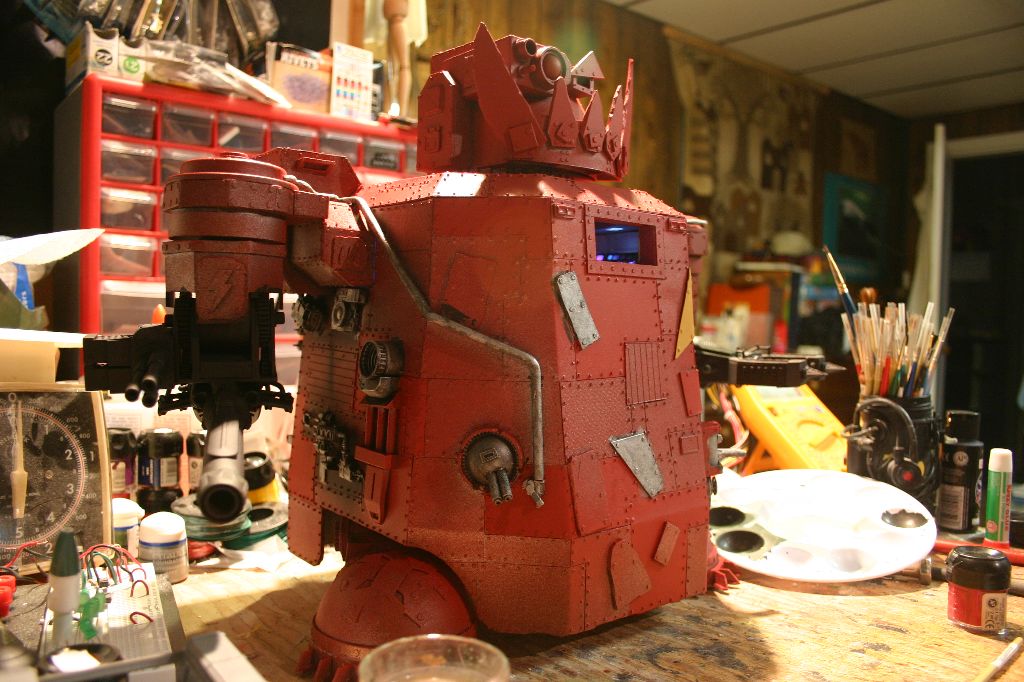
I then paneled the body in thin sheets of styrene and began construction of the head.
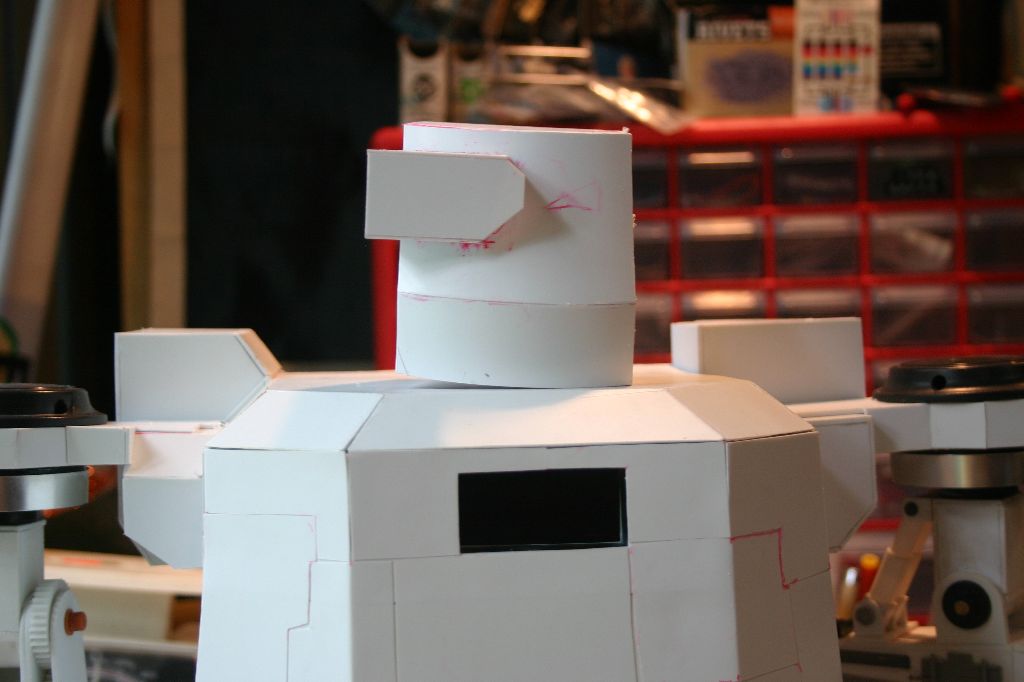
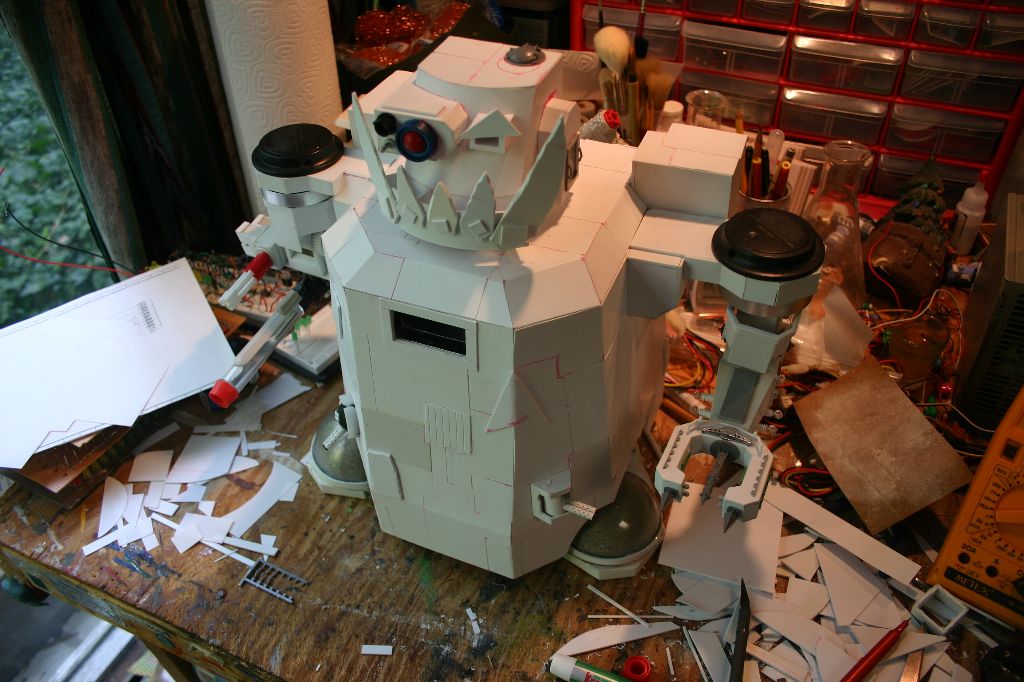
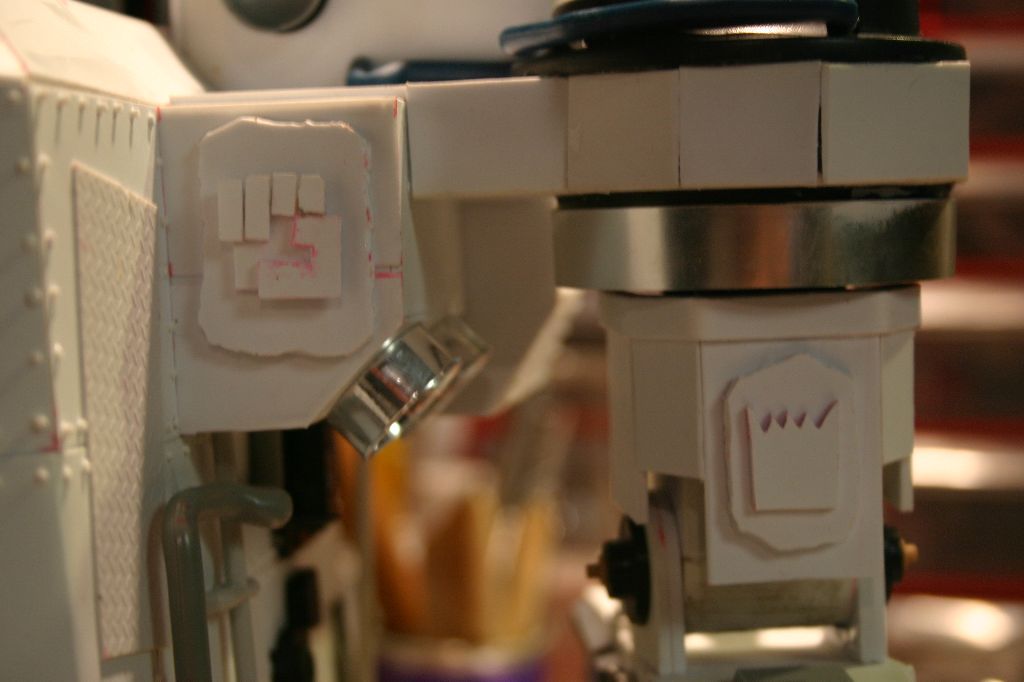
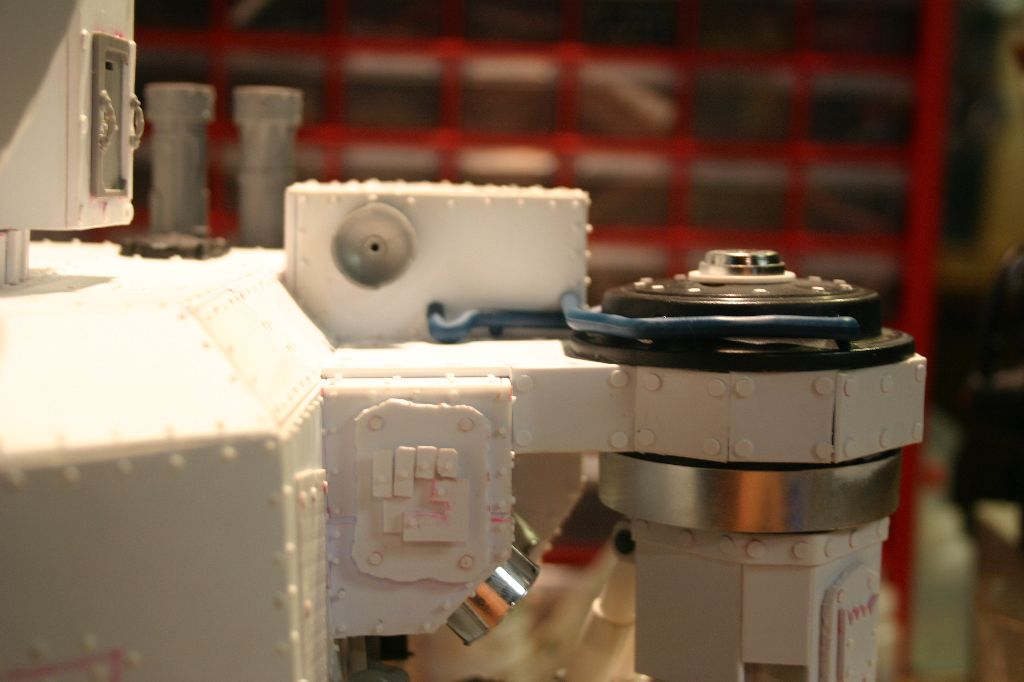
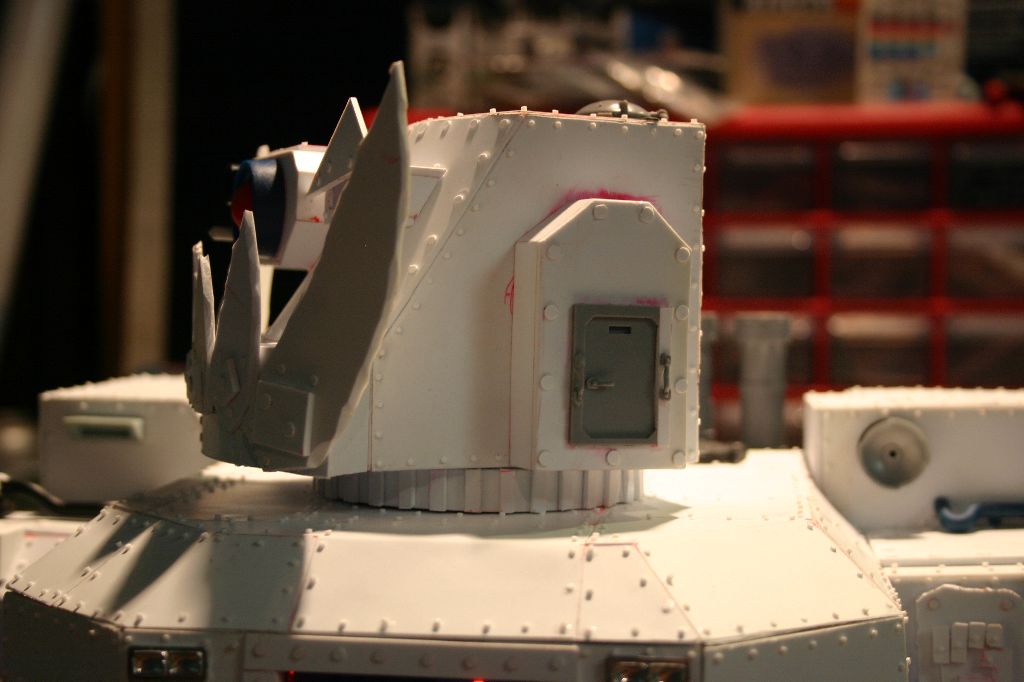
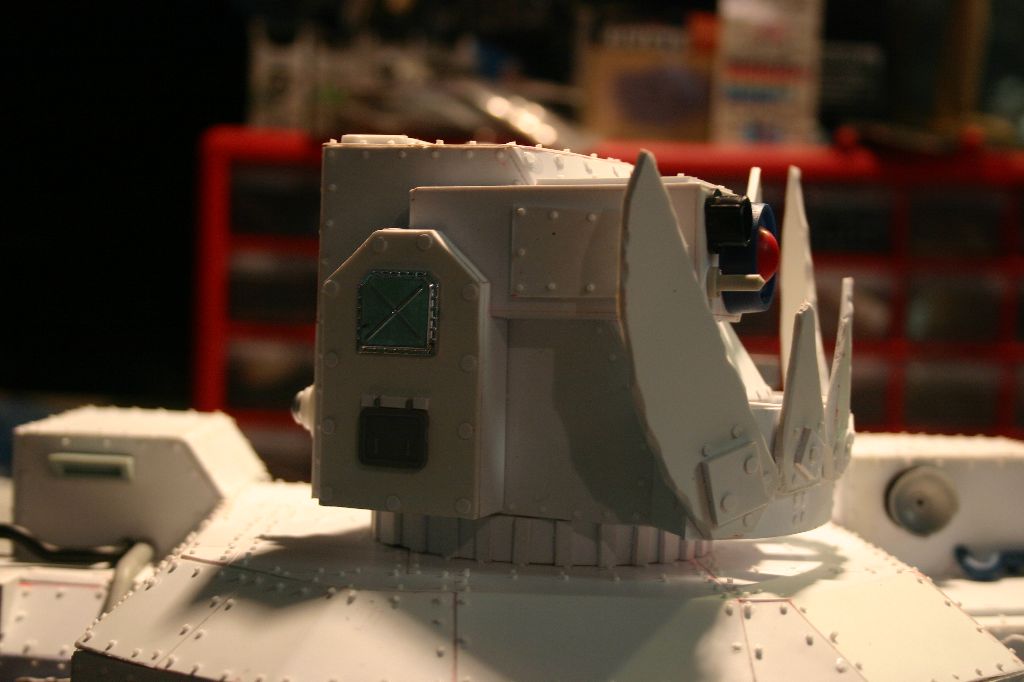
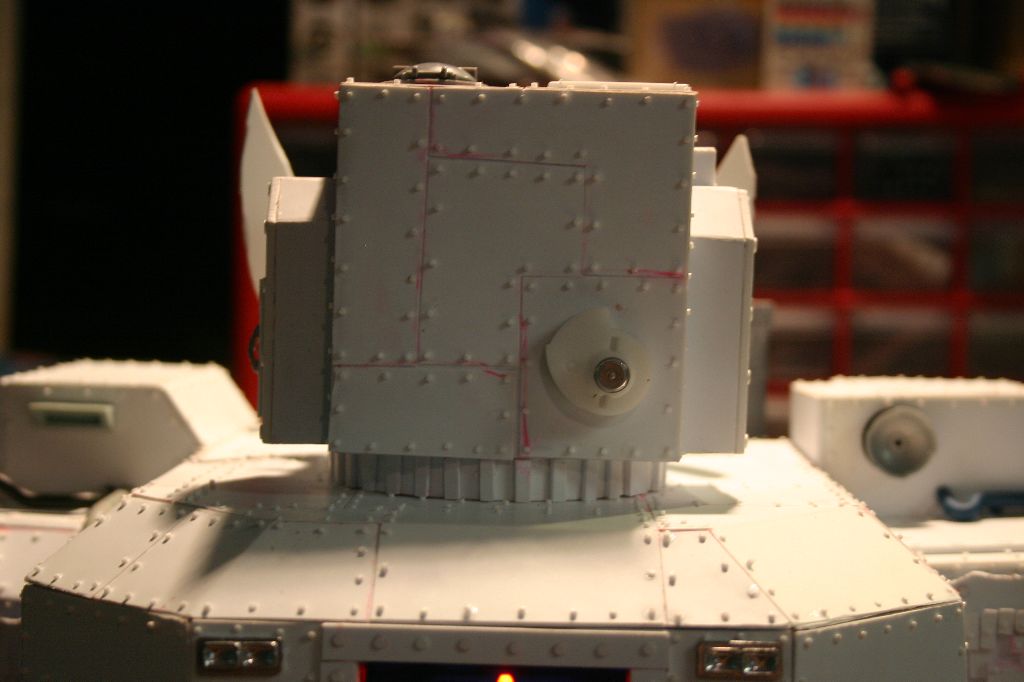
I wanted the head to be turnable so I used leftover headphone parts to make an attachment point and glued a ring of styrene to the bottom of the head. Additional details were added to the head and the arms were beefed up with some armor plating.
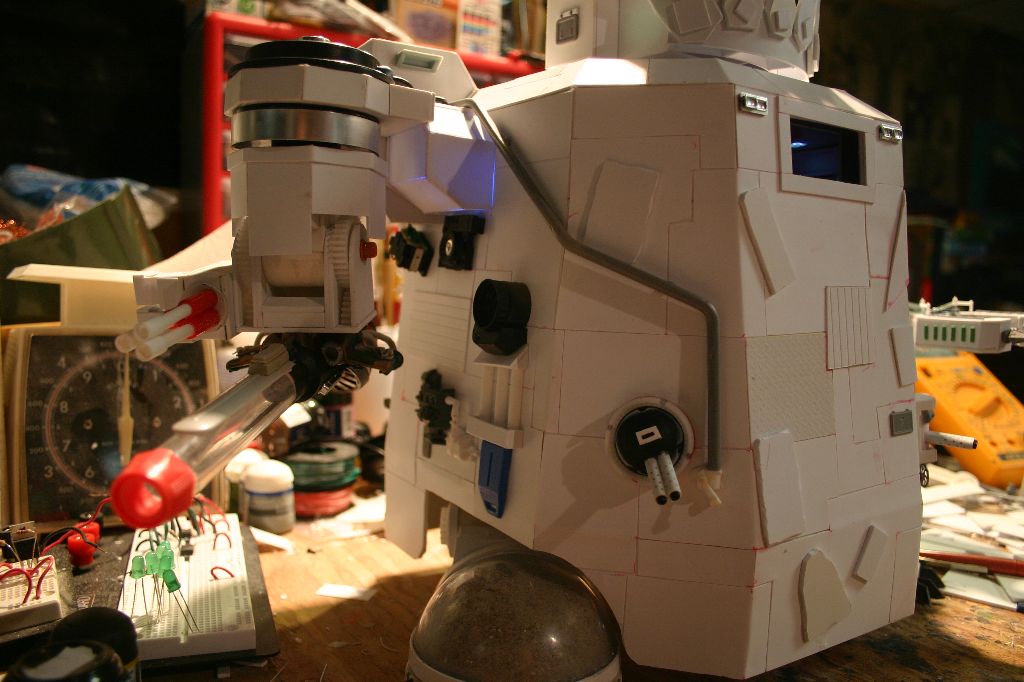
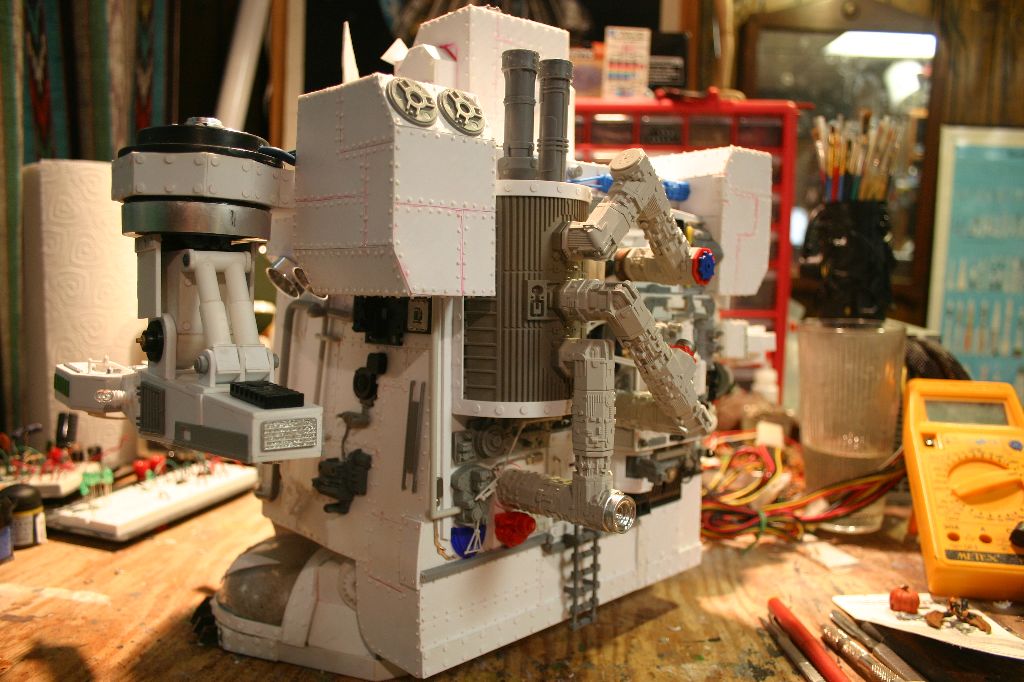
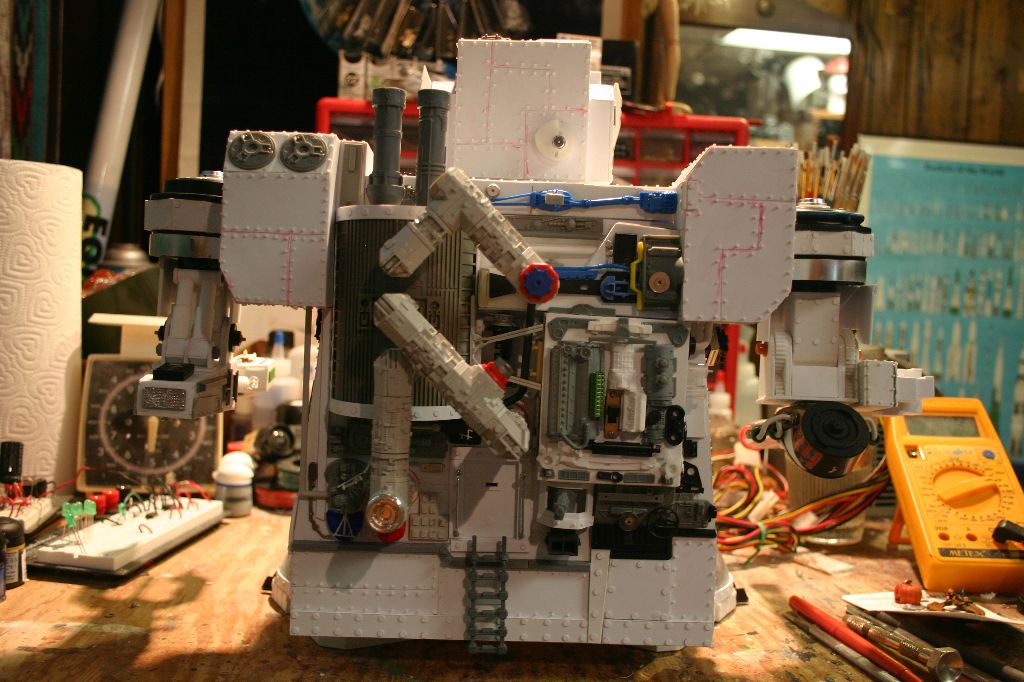
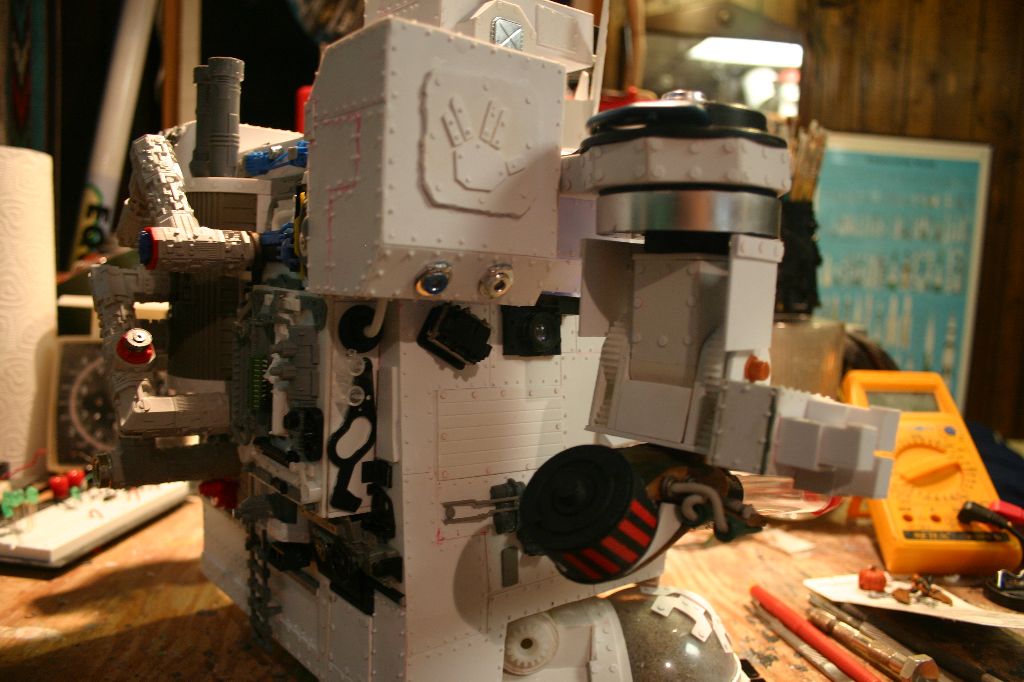
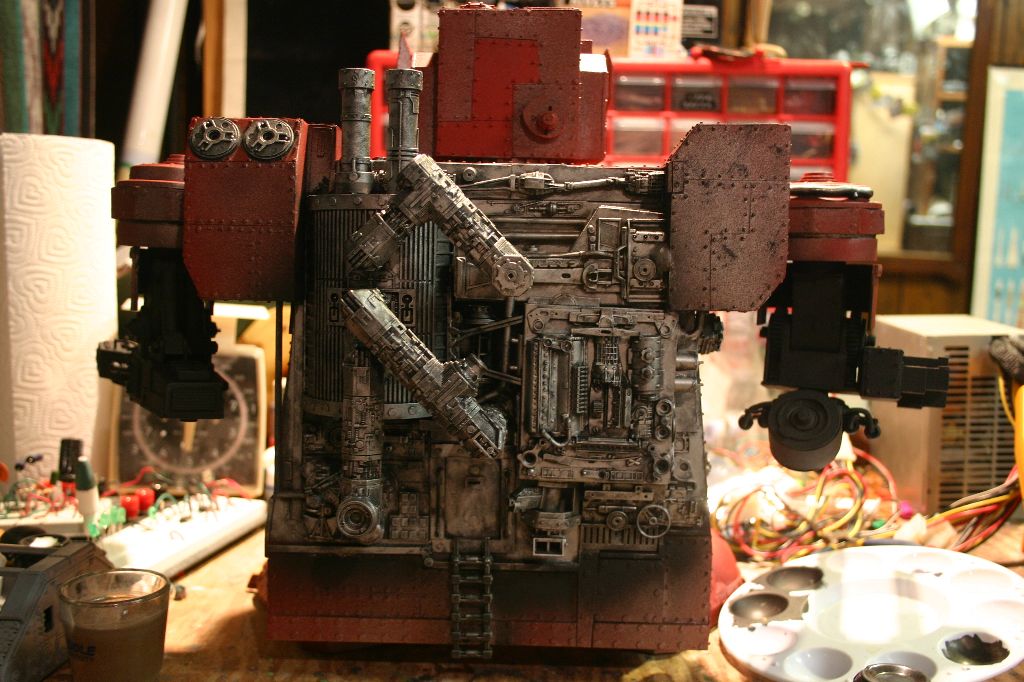
To say the back of the stompa is a kitbash is a bit of an understatement. I've got parts from at least a dozen models on it plus printer parts, electrical components, plastic sprue, hard drive parts and film spool. The main "reactor" and pipes are from a Robotics toy construction set.

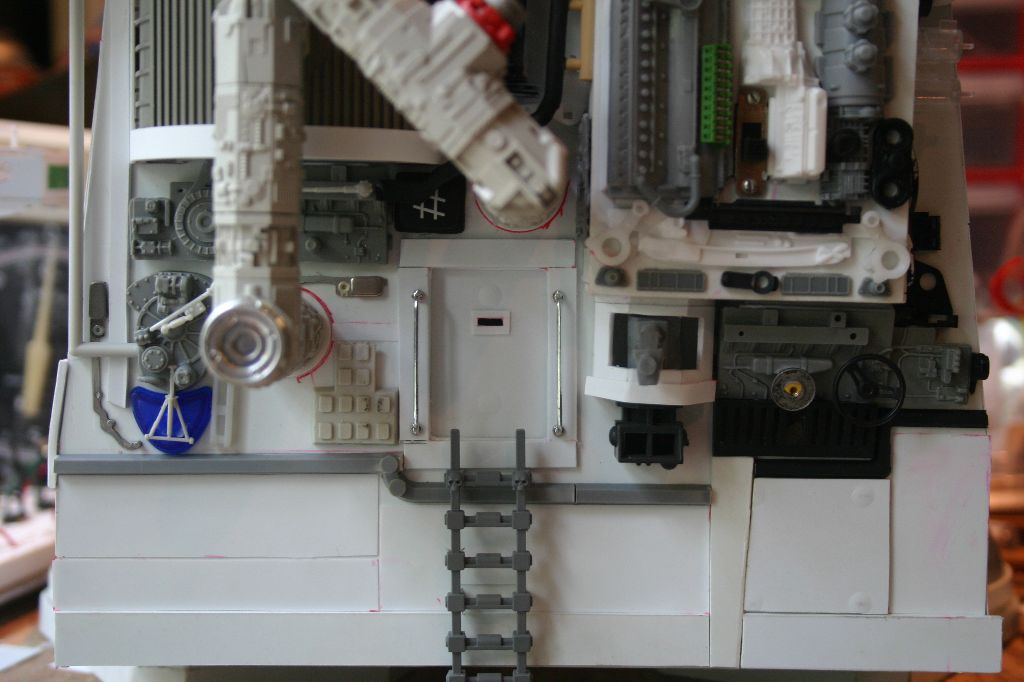
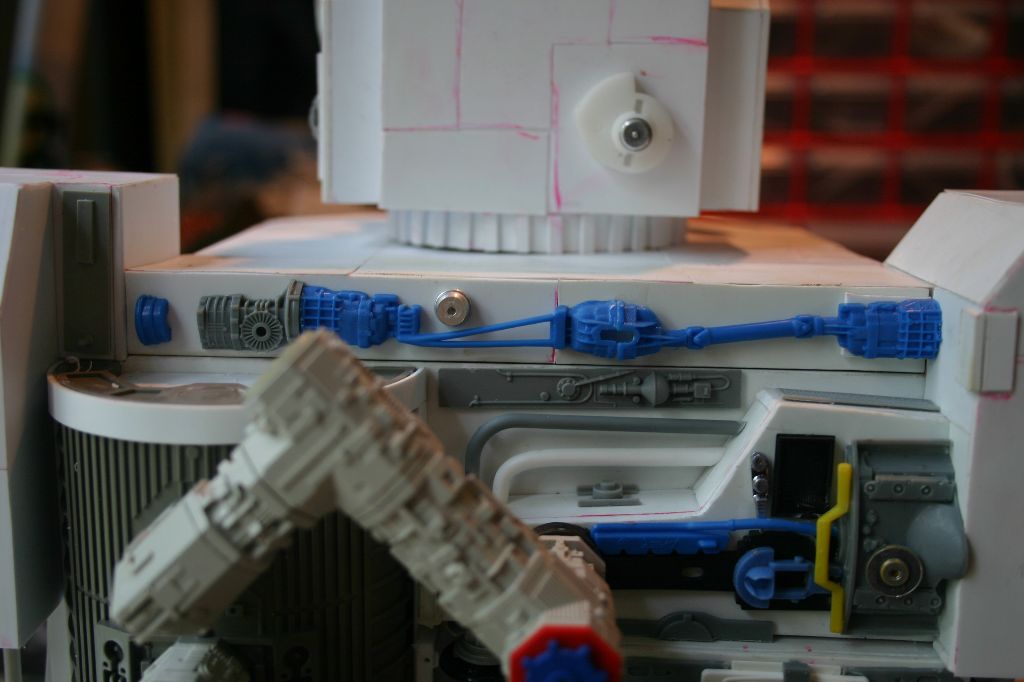
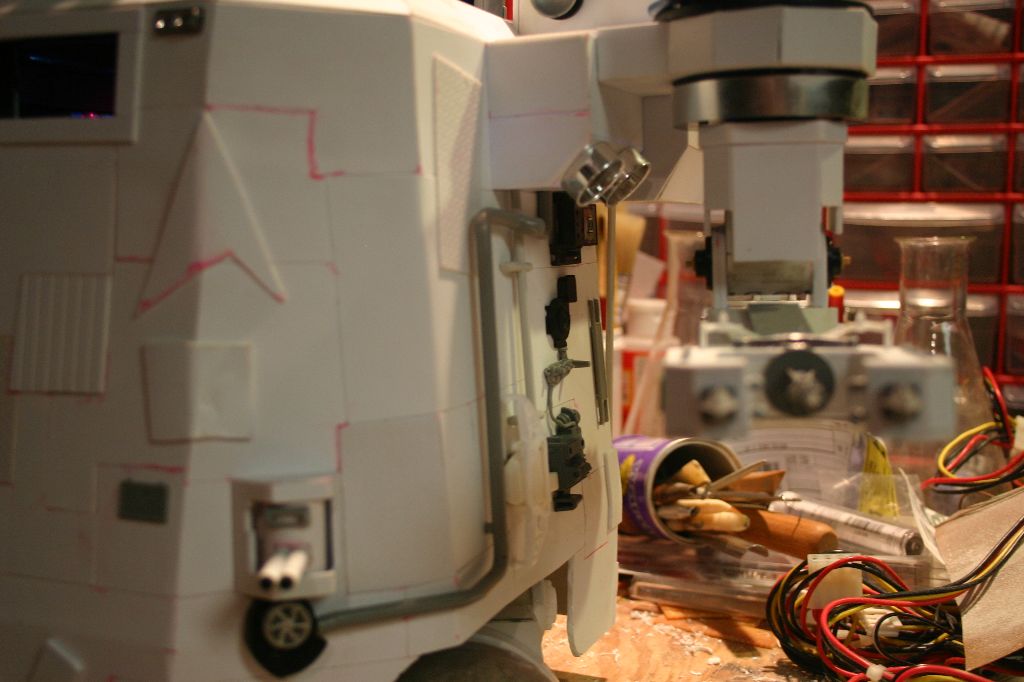
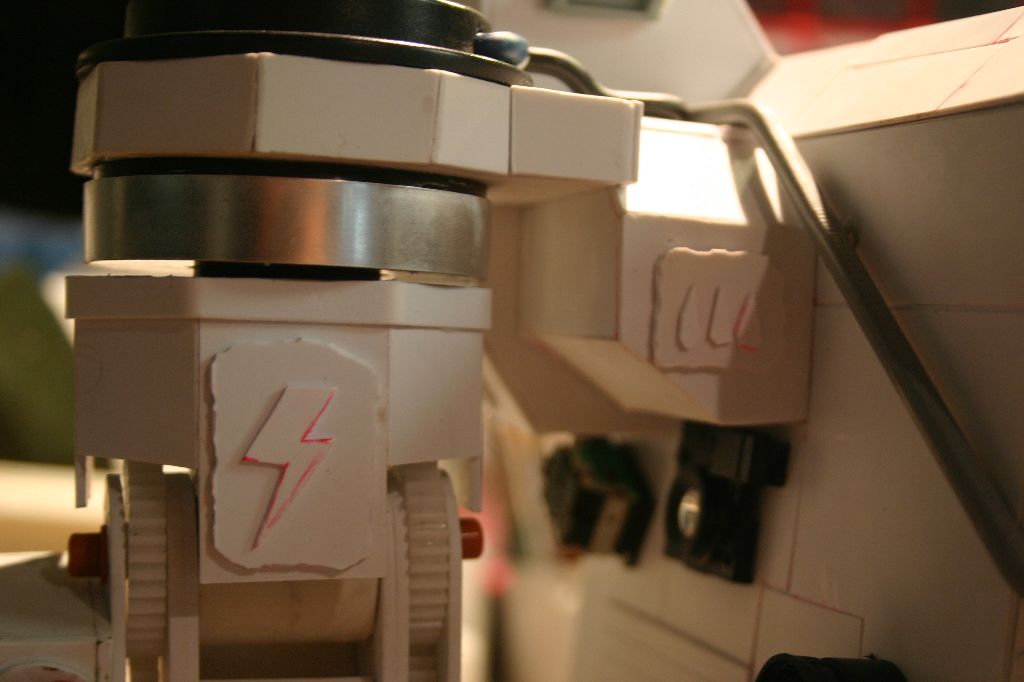
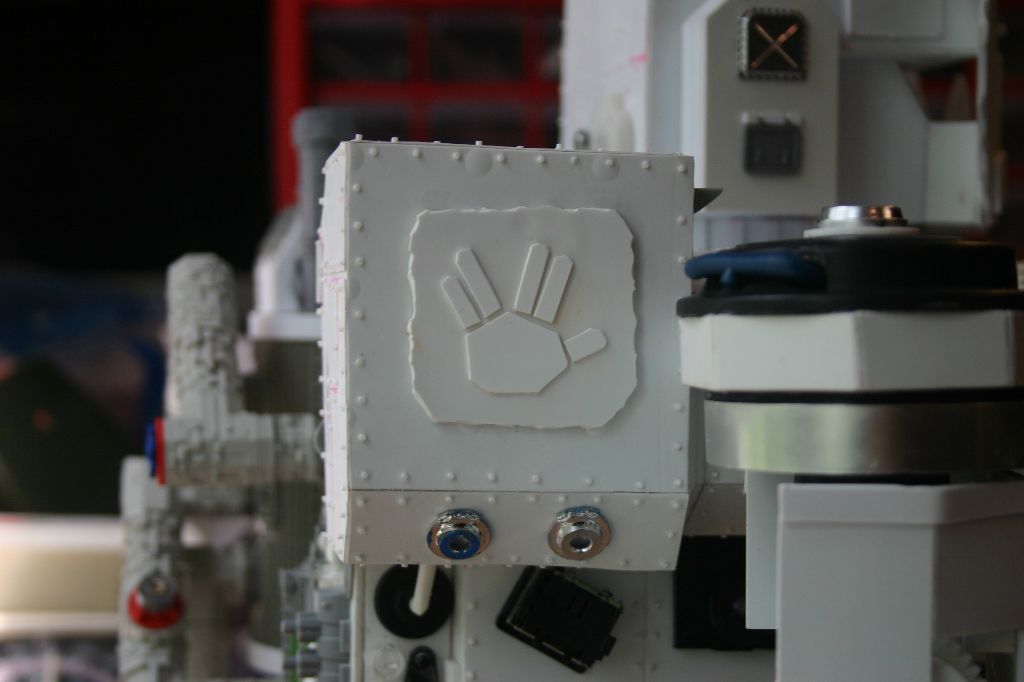
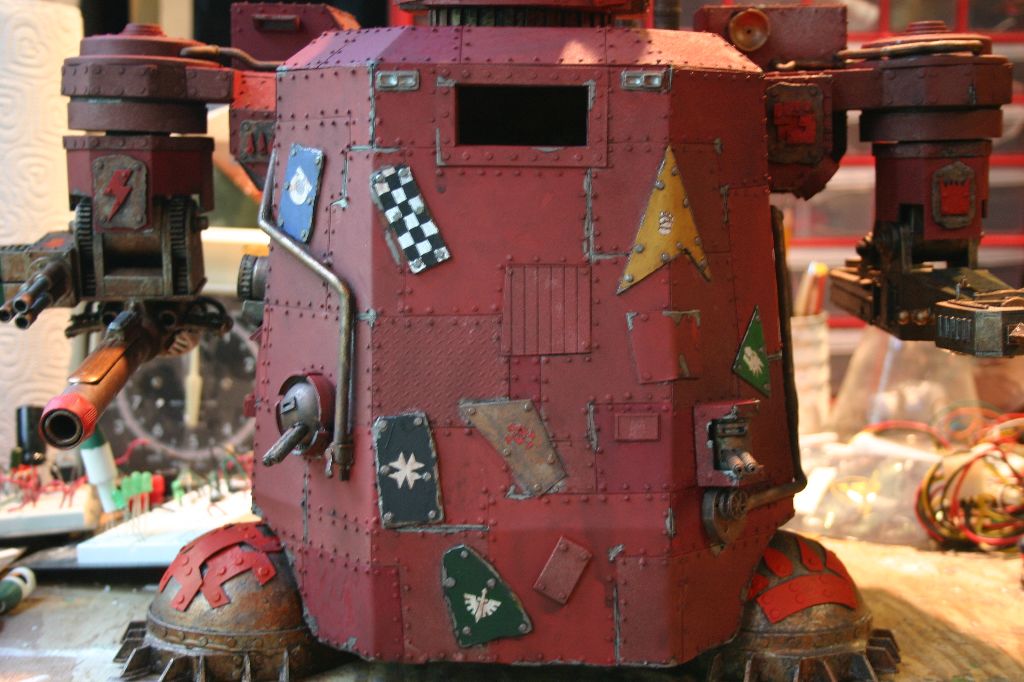
As the sides were a little bare I continued the kitbashing around. Then it was time to start adding the 3000+ rivets. The majority were cut from styrene rod with a scalpel though for the larger ones I used a hammer and rivet punch. Glyph plates were added wherever it seemed bare.

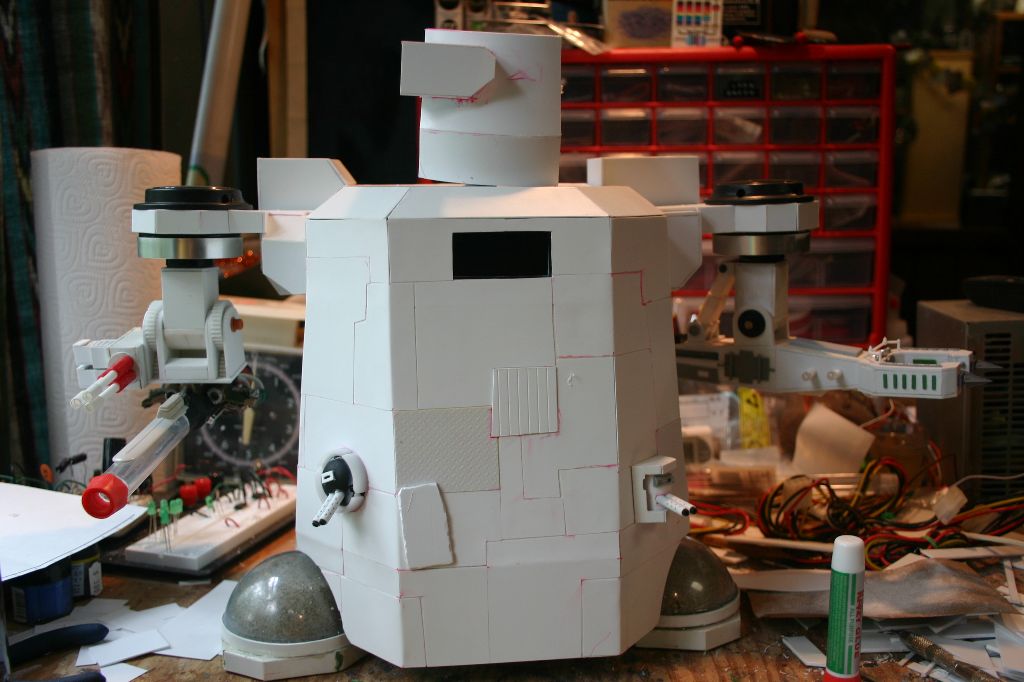
The final product before painting.
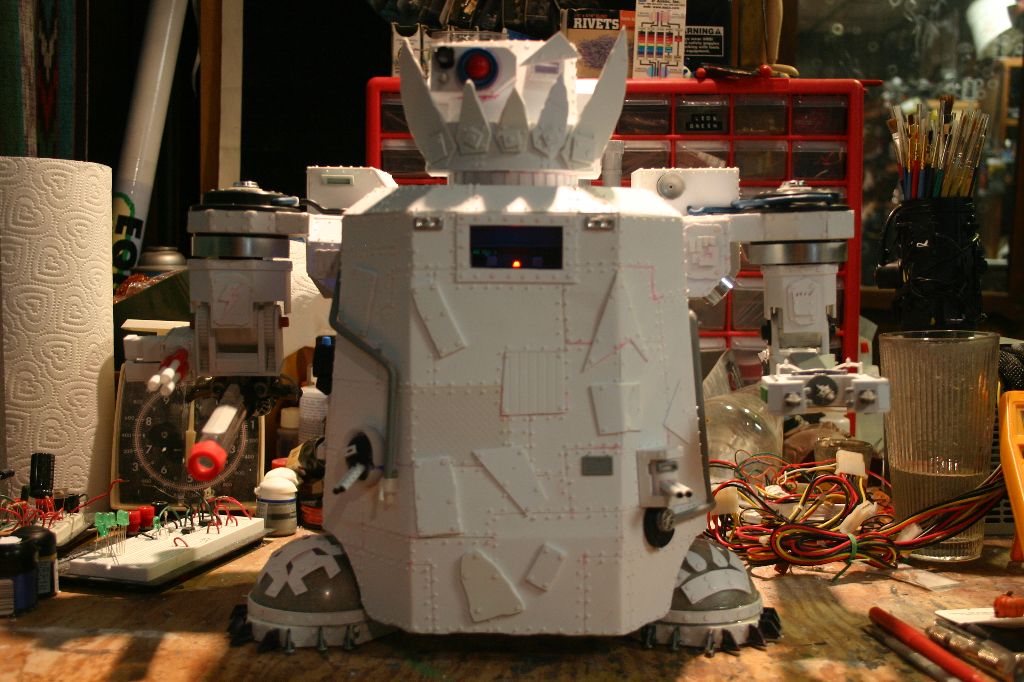
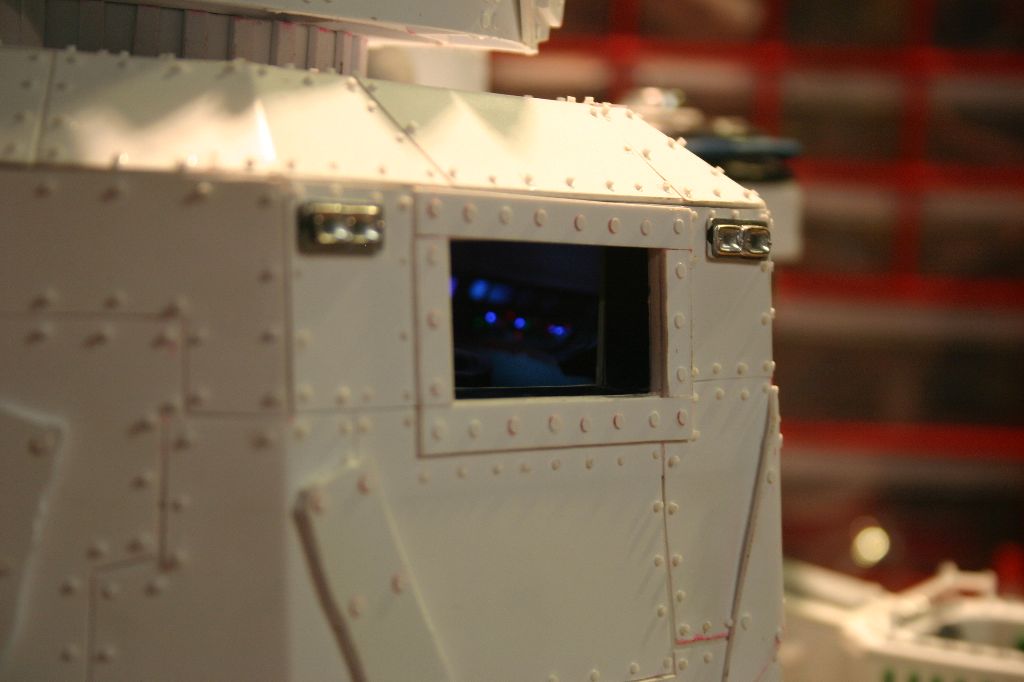
Afer masking off the viewing window I started painting by spraying the whole thing black. I followed this with a misting of silver then a misting of brown/rust. I then misted the body panels with red. With this base I then painted the weapons, feet and worky-bits black again, followed by a silver drybrush and brown ink wash. I painted random body panels different shades of red to give it that orky feel. Various trophy panels were painted up with appropriate army decals added. Once everything was done I gave the whole thing a fine spray of black and brown paint to give it a grimy feel.
And that's it! Completed pictures of the Orkerprise can be seen here. While this project was fun and worked out as well as I had hoped it's going to be a long time before I tackle anything of this magnitude again. Let me know what you think by contacting me at jackdoud at hotmail.
Tweet
